Table of Contents
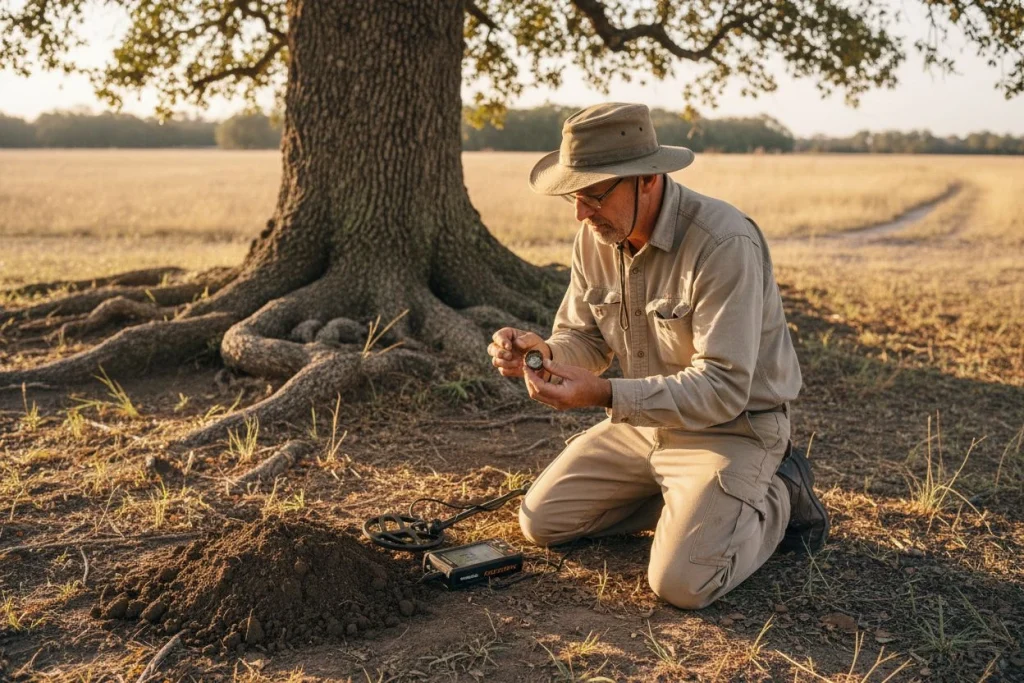
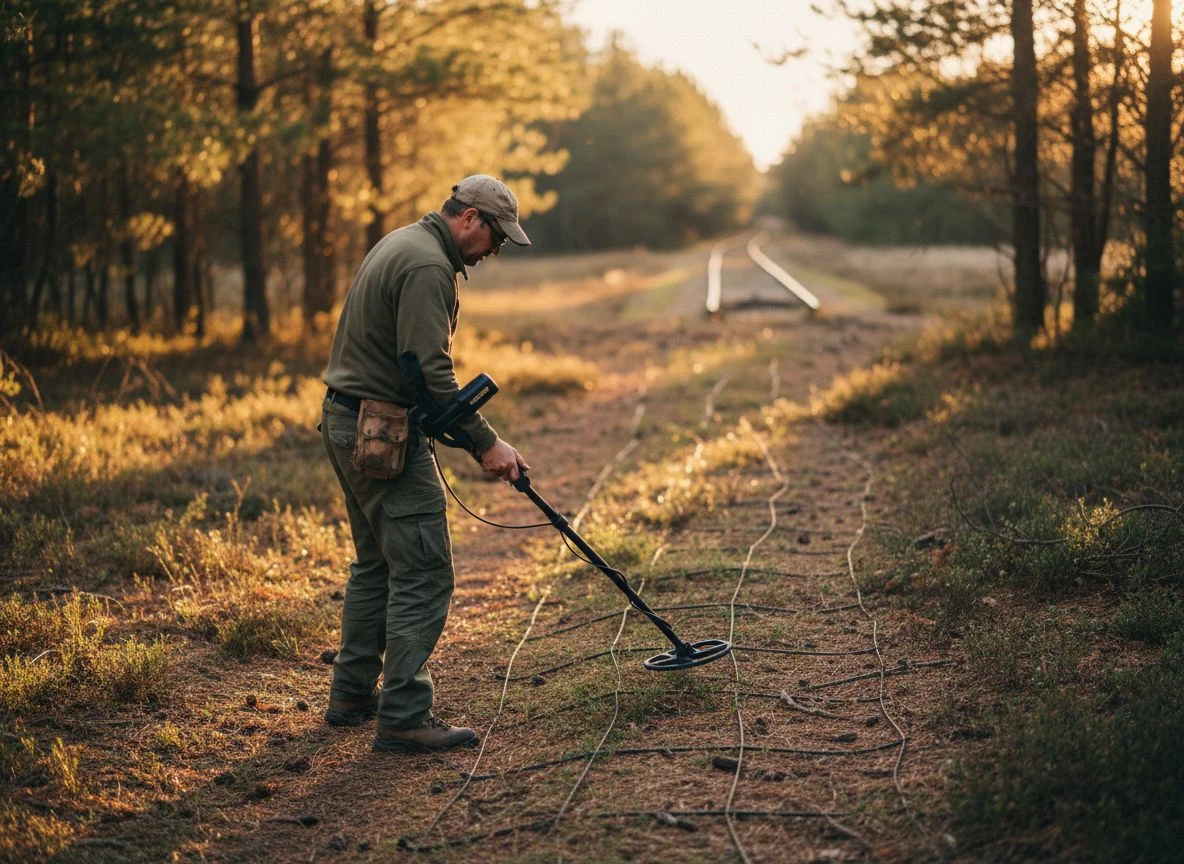
My buddy Mike looked at the cluster of Indian Head pennies and railroad buttons on my workbench and shook his head. “You’re just lucky, Paul. Plain lucky.” I’d heard that for years. Those coins and relics had nothing to do with luck. They came from weeks of research. Luck is finding a modern ring at a random park. What I do is detective work. This is the case file. It shows how the same methods for metal detecting Civil War relics apply to forgotten railroads.
Most detectorists know old railroads are good spots. By 1916, the U.S. had over 254,000 miles of active track. A huge chunk was abandoned later. But just walking the rails is a rookie move. The real story isn’t on the tracks. It’s where people gathered: station platforms, waiting areas, worker camps. Those spots are time capsules. But you have to be a historian first to find them.
Archival Research for Metal Detecting Civil War Relics

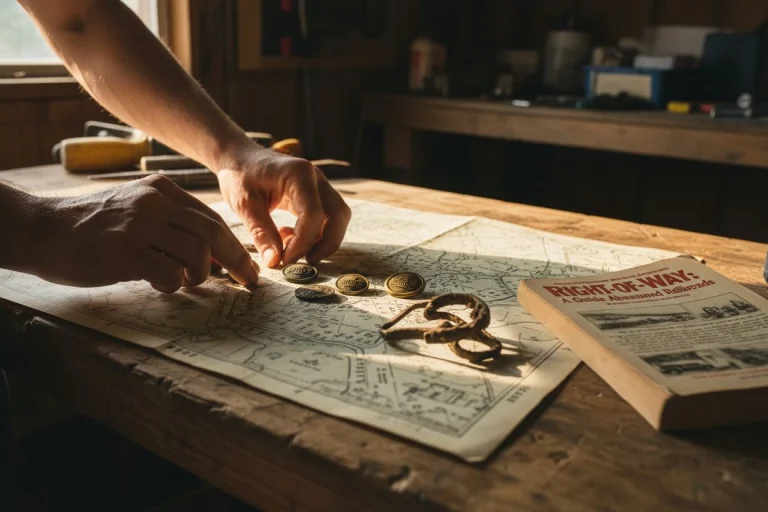
This whole hunt started because I was bored. I’d been hitting the same local parks for months. My finds pouch was full of clad quarters and pull-tabs. I needed a new project. I remembered a book mentioned on a forum: Waldo Nielsen’s Right-of-Way: A Guide to Abandoned Railroads in the United States. It’s a classic for this research. I found a used copy online. I spent a weekend with it, a state map, and a highlighter.
The book led me to a spur line of the old Central Pacific Railroad. It serviced granite quarries in the foothills near Auburn. The main line is still active. But this little spur was ripped up in the 1930s. On a modern map, it was just a vague line through thick woods and private property. It was a dead end.
This is where most people give up. But the practical guide to metal detecting research I follow says map analysis is just step one. Next is archival work. So I went to the Placer County Archives. In person. The good stuff often isn’t online. This is the same crucial first step for anyone interested in metal detecting Civil War relics. You must move from a general area to a specific, human-frequented point. For a Civil War hunt, you’d start with troop movement maps or camp registries. For my railroad hunt, it was timetables and property records.
Using Historic Sanborn Maps for Metal Detecting Success
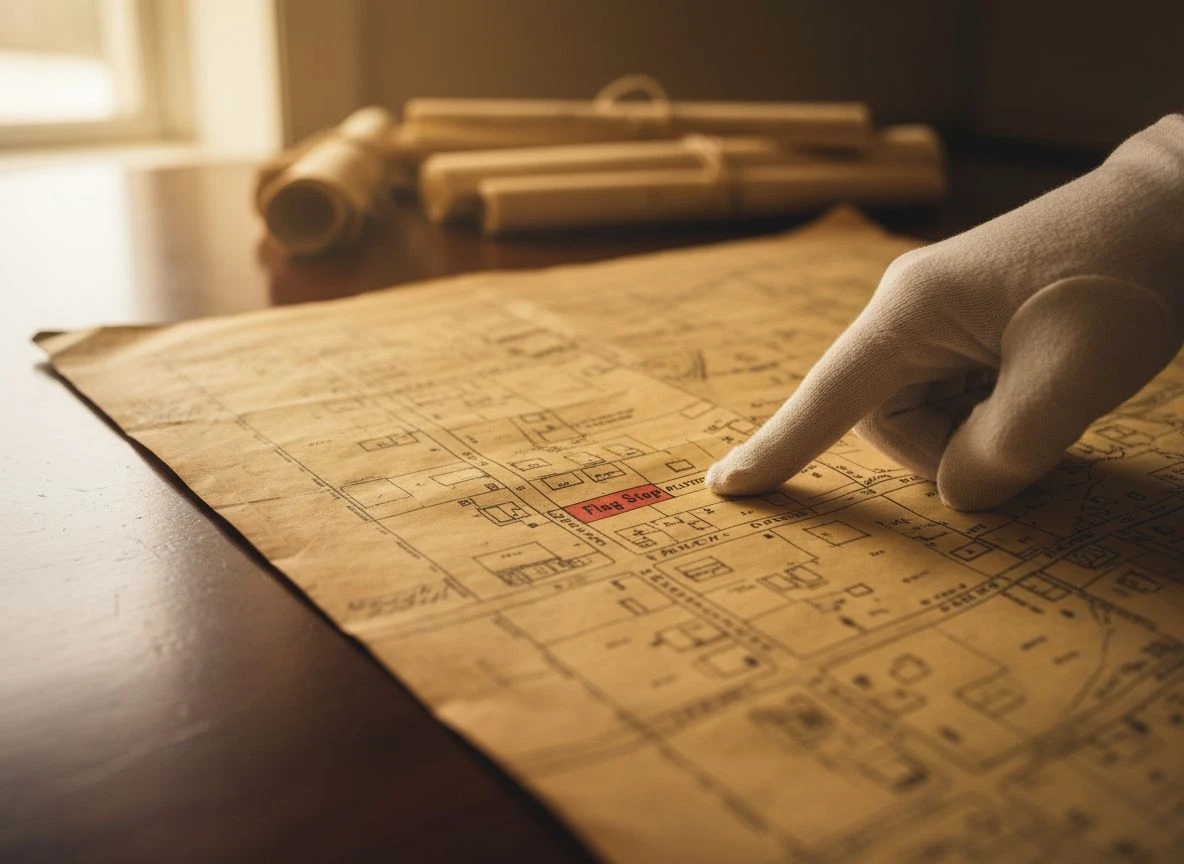
After a few hours, I found it: a 1901 Sanborn map. For the uninitiated, these were incredibly detailed maps made for fire insurance companies. They show every building, what it was made of, even outhouses and water pumps. And there, clearly marked, was “Auburn Quarry Spur – Flag Stop.” Not a station. A flag stop. The train would only stop if someone waved it down.
The map showed a tiny wooden platform and a waiting shed. Crucially, it showed the platform area was graded gravel, not paved. That was my target. History sinks in; modern trash stays on top.
I now had a name and a precise, century-old layout. But I didn’t know where it sat today. The satellite view showed a dense canopy of trees.
This is where modern tech met the old map. I used a technique from a UK detectorist: using LiDAR data to “strip away” vegetation. I pulled public LiDAR for the area. Suddenly, under the green blur, the raised bed of the old rail spur appeared. And right where the Sanborn map said, a small, flat rectangle was visible next to it—the platform. Bingo.
Gaining Permission and Facing Field Challenges
I had my spot. Now came the hard part: legal access. This is non-negotiable. As the research notes, many abandoned rights-of-way are still owned by railroad companies. Detecting there is trespassing. This parcel, however, had been sold to a private timber company decades ago.
(Here’s where my wife says my obsession with polite, handwritten letters pays off). I spent a week tracking down the land manager through county records. I wrote a letter. I explained my historical research. I included a copy of the Sanborn map with my target circled. To my surprise, I got a call back with permission. The manager was a history buff himself. This process is vital, especially for sensitive sites related to metal detecting Civil War relics. Getting formal, documented permission protects both you and the history you’re trying to uncover.
My first trip out was humbling. The LiDAR didn’t show the poison oak or the 50-year-old fallen pine. When I finally broke through to the clearing, my Minelab Equinox 900 lit up. Not with sweet high tones, but with the chaotic chattering of iron. The place was littered with old square nails and rusted barrel hoops. I dug for three hours and found one worn 1917 Wheat penny. Mike’s voice echoed in my head.
Why Your Initial Search Grid Might Be Wrong
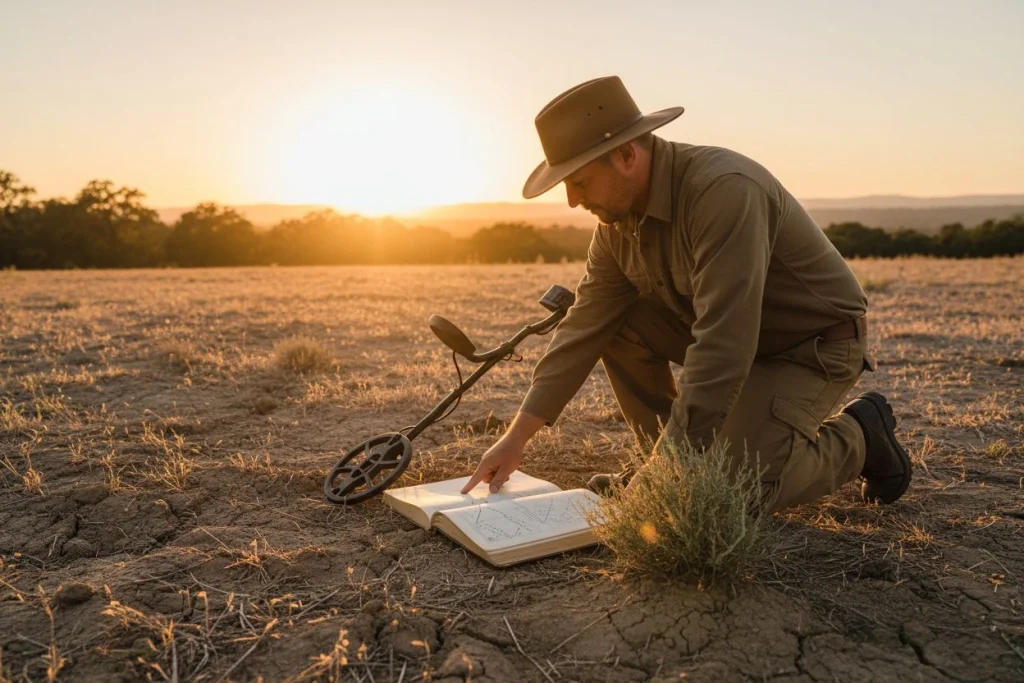
I was ready to write it off. But the guide stresses that the final stage is the field survey. You have to let the site talk to you. On my second trip, I ignored the platform itself. If it was just a work area, the good stuff wouldn’t be there.
I focused on the footpath from the platform toward the quarry. This was the route workers and passengers walked every day. I started doing tight grids along this invisible line.
Ten minutes in, I got a beautiful high 27 on the Equinox. Six inches down, my pinpointer hit metal. I pulled out a perfect, shining Mercury dime—1919. My heart started pounding. That’s the feeling. Five feet later: a 1902 Indian Head penny. Then another. And another. I wasn’t in a work zone; I was in a transit zone. Understanding metal detector tones and VDI numbers was key.
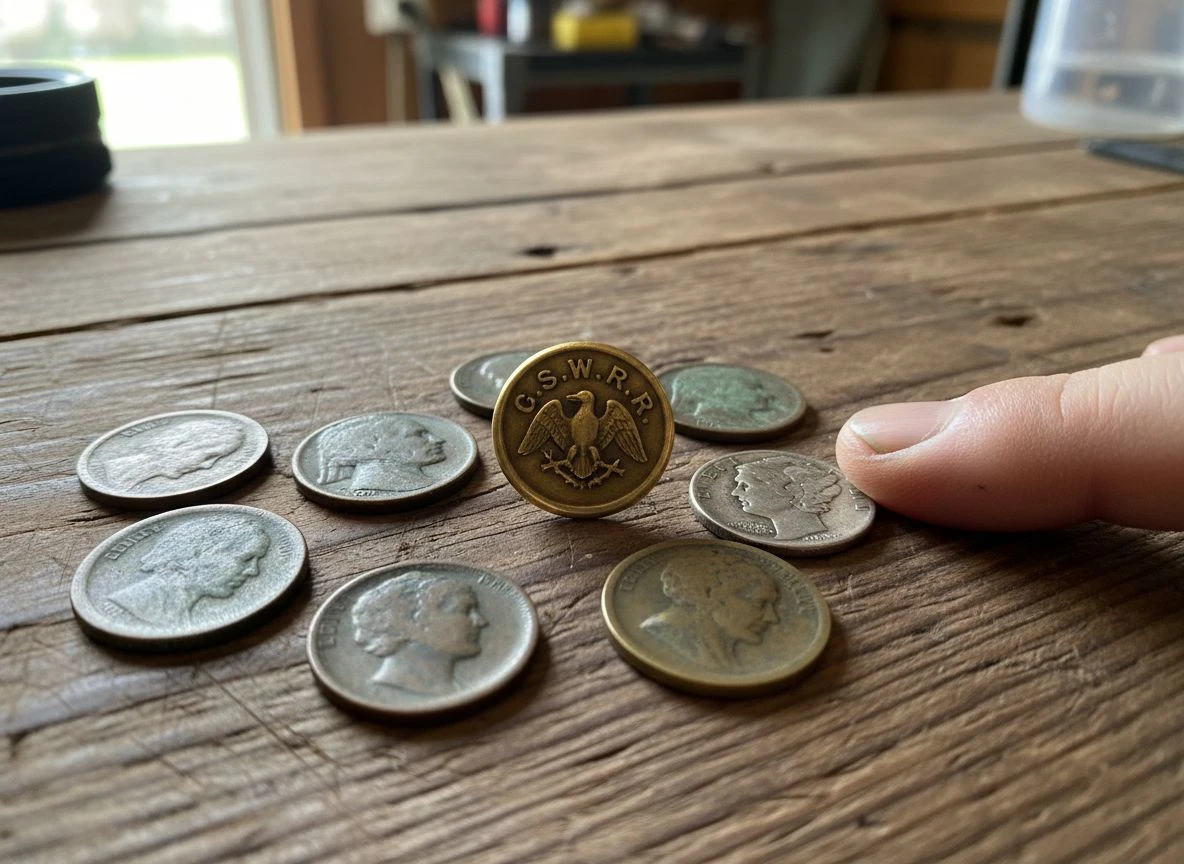
The third trip was the jackpot. I expanded my grid and found the “sweet spot.” In a two-foot radius, I pulled up seven more Indian Heads, two Buffalo nickels, and the prize: a beautiful brass “G.S.W.R.R.” button. It wasn’t gold. But holding it, I could picture the man who lost it over a hundred years ago. This careful site analysis is critical, whether you’re metal detecting Civil War relics or railroad history. You must look for the natural foot traffic patterns and social areas, not just the obvious structural remains. For a Civil War camp, that means looking for the latrine areas, cook sites, and personal spaces between tents, not just the center of the camp.
The Archaeologist’s Approach to Metal Detecting Civil War Relics
So, was it luck? Let’s tally the score:
Research Hours: ~40 (books, archives, maps, LiDAR, letters)
Field Hours: ~15 (across three trips)
Total Finds: 14 Indian Head pennies, 3 Buffalo nickels, 2 Mercury dimes, 1 V Nickel, 1 railroad button, about 80 lbs of iron junk.
Monetary Value: Maybe $120.
Historical Value: Priceless.
That’s the trade. This hobby isn’t a get-rich-quick scheme. It’s a bridge to the past. Every one of those coins was lost by a quarry worker heading home. The button came from a man who worked on the very line I was researching. The same disciplined approach transforms a hobby into a form of historical preservation, which is the ultimate goal.
The process I used is repeatable for metal detecting Civil War relics and other historical sites:
- Start Broad: Use resources like Right-of-Way or AbandonedRails.com to find a candidate line. For Civil War sites, begin with official records and soldier diaries to identify camp locations and movement corridors.
- Get Specific: Hit the local historical society for Sanborn maps and photos. Find the human gathering points. Look for period drawings or letters that describe daily life in a camp.
- Pinpoint with Tech: Use LiDAR and historic map overlays to find the exact spot today. Tools like Historic Aerials can show landscape changes over decades.
- Do the Right Thing: Get permission. Always. For battlefield sites, this often means working directly with park services or preservation groups. Never detect on protected National Park land.
- Let the Site Guide You: Your first target might be wrong. Be ready to pivot. Techniques for hunting in trashy areas can help. Listen to what the ground and your machine are telling you.
This methodical research is what separates a productive hunt from a hopeful stroll. It’s the difference between knowing a battle happened in a county and knowing exactly where the 3rd Regiment’s picket line was stationed on the evening of July 12, 1863. That level of detail comes from cross-referencing sources and embracing the role of historian-detective.
Mike still calls me lucky. But Tom, my other detecting buddy, gets it. He smiled when I showed him the button. “Nice bit of research,” he said. That is the highest compliment. The detector is just the tool. The real metal detecting happens long before you ever turn it on. It happens in the quiet of an archive, the scrutiny of an old map, and the patience to see a landscape not as it is, but as it was. Whether your goal is a Civil War bullet or a railroad token, the path to finding it is the same.

My name is Paul and I am the founder of Detector For Metal, a dedicated resource for metal detecting enthusiasts seeking to uncover historical treasures and connect with the past using the latest technology. As a stay-at-home dad and family man, I’ve found metal detecting to be the perfect hobby that combines family adventure with historical learnings for the whole family.
As a father, I’m deeply committed to passing on this hobby to the next generation of detectorists, starting with my own children. I share advice on everything from metal detecting with kids to exploring the top 10 metal detecting sites you never thought about. My methodical approach to the hobby goes beyond the thrill of discovery—it’s about creating family traditions while preserving history and sharing the stories of those who came before us.