Table of Contents
Keeping kids engaged on a long beach day can feel like a battle. You build the sandcastle. You jump the waves. Then, the dreaded “I’m bored” starts to loom. What if you could flip the script? Metal detecting with kids at the beach turns that pile of sand into the most dynamic history classroom. It’s full of real stories waiting to be found, just by looking and asking questions.
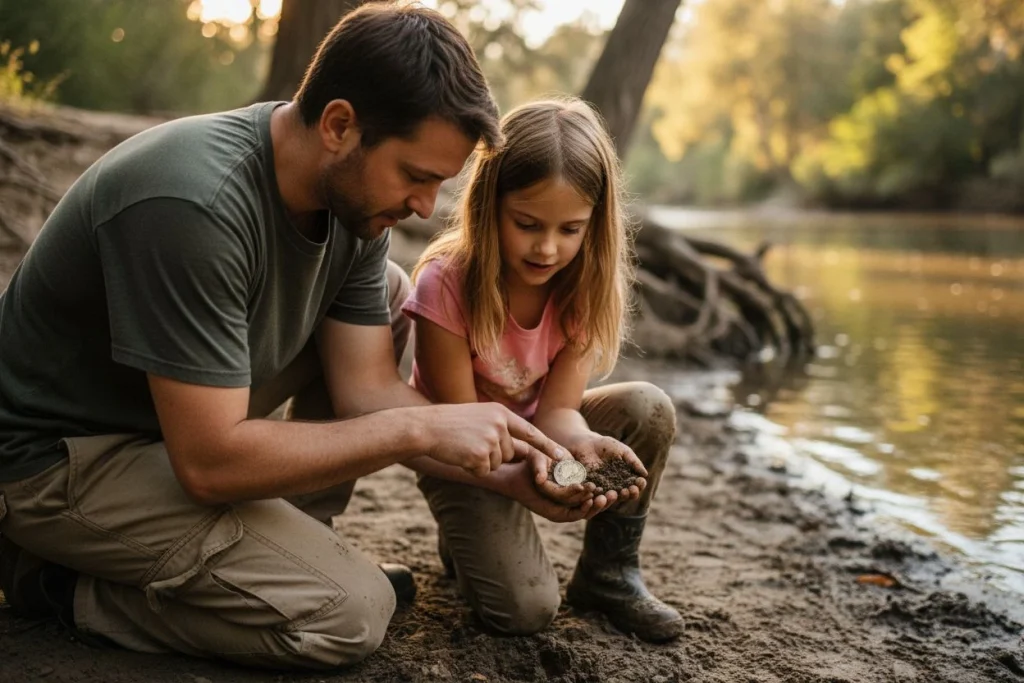
I hit this wall myself a few summers back. My kids were digging a massive hole when one of them pulled out a strange piece of greenish glass. It was thick and nothing like a modern bottle. That find launched twenty questions: “How old is it? Who dropped it? Was there a pirate ship?” We spent the next hour not just digging, but investigating. We became detectives on a cold case over a century old, using clues right under our feet.
That shift—from playing to investigating—is the whole game. It’s what the maritime archaeologists at MSDS Marine mean when they call archaeology a “big puzzle.” They note that many pros were first inspired by a childhood find on a beach. Your kids don’t need a degree to think like historians. They just need a nudge to see the beach not as a blank slate, but as a stack of stories.
By turning your trip into a “dig,” you’re not just killing time. You’re teaching observation and critical thinking. You’re showing how to connect physical clues to the people who came before. You’re proving history isn’t just in a book—it’s under their toes. So, grab a notebook and a ruler. You’re about to become the site director.
(Word count: 298)
How to Research Beach History in 30 Minutes

The best “dig” starts before you leave home. A quick research session transforms a beach from a generic strip of sand into a specific historical site. Spend half an hour with a few key tools. You’ll give your kids a treasure map of clues instead of sending them on a blind scavenger hunt.
My kitchen table looked like a detective’s board before our last trip. I had printouts of a 1920s beach resort map, an old postcard of the pier, and a shipwreck list. To my kids, it was a mystery to solve. To me, it was the fastest way to turn “just digging” into a targeted history lesson.
Find Lost Beach Stories in Old Newspapers
Don’t dive into deep archives. Just search “[Your Beach Name] + history” or “[Your Beach Name] + shipwreck” online. Your local library’s digital newspaper collection is a goldmine. Look for headlines about storms, pier openings, or ships in trouble.
The goal isn’t a thesis. It’s a handful of tangible clues. Find one old article about a fierce storm in 1912. Print it or save a screenshot. That storm is now your story. Your kids can hunt for evidence of the erosion or debris it caused. This is the heart of the maritime mystery-solving that NOAA’s educational programs teach.
Reading Coastal Erosion in Historical Maps
Here, the landscape itself tells a story. Pull up a historical map of your beach on the USGS TopoView website (it’s free). Then, look at the current satellite view on Google Maps. Use the timeline slider in Google Earth (on the desktop version) to see decades of aerial photos. This reveals the “digital history” gap most people miss.
What are you looking for? An old map might show a pavilion that’s now gone. The shoreline may have retreated. This isn’t just trivia. It tells you where to look. Areas of past human activity that are now underwater often cough up the oldest finds. The most dramatic example is South Carolina’s Morris Island Lighthouse. Built on land in 1876, it now stands over 2,000 feet offshore because of erosion. It’s a stunning, visible lesson in coastal change.
Uncovering Stories of Lighthouses and Shipwrecks
Finally, ground those geographical clues in human activity. Who was here? A quick search can tell you if there was a historic lighthouse, a popular pier, a ferry landing, or a known shipwreck nearby.
Arm your kids with this simple backstory. “See those old pilings? That was the municipal pier from 1898 until a hurricane took it in 1934. People dropped all kinds of things here.” Suddenly, every piece of rusted metal or pottery shard has a potential origin. You’ve borrowed a page from Historic England’s method. You use a known historical site as a focal point for observation, making the past feel immediate and real.

This prep work gives you the director’s script. You’re not just saying “look for cool stuff.” You’re saying, “Let’s find evidence of the old pier that stood right here.” That’s a mission. Trust me, watching your kid’s eyes widen when they realize a lighthouse is now stranded in the sea is a lesson they’ll never forget. This research is the perfect foundation for metal detecting with kids at the beach.
Essential Gear for Serious Beach Digging

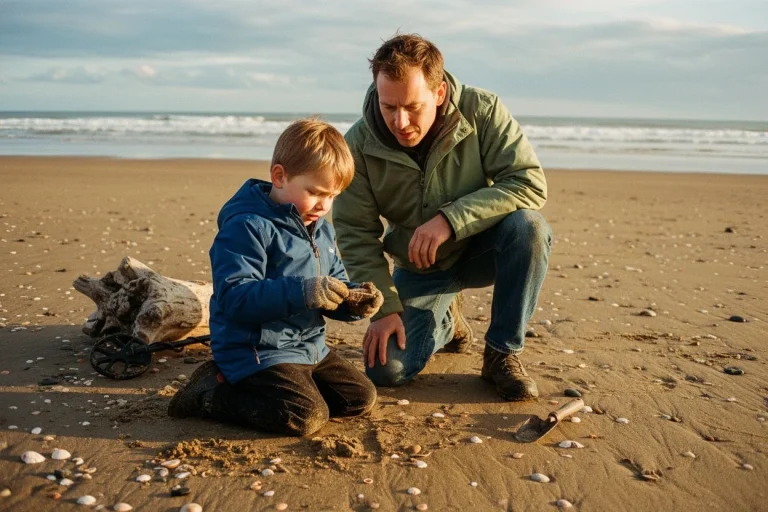
The goal isn’t to bring more stuff; it’s to bring the right mindset. A dedicated field kit transforms your kids from casual diggers into site investigators. They’ll focus on documentation, not just discovery. I learned this after forgetting a ruler. My kids argued for ten minutes over which seashell fragment was “the biggest.”
The tools are simple, mostly from around the house. Think like the NPS/NOAA Mock Shipwreck activity, where kids use slates and measuring tapes to solve a mystery. Your version is:
- A small kitchen strainer or sifter for gently separating finds from wet sand.
- A ruler or measuring tape (the archaeologist’s best friend) to record size and depth.
- A waterproof notebook or slate and a pencil (pens smudge) for the Beach Archaeologist Field Journal. (Print our free journal cover here before you go.)
- Zip-top bags for labeling “finds” like unusual shells or pottery shards.
- Your smartphone’s compass app for orienting your dig site.
- A magnifying glass—this is the magic wand. Suddenly, a piece of glass isn’t just green; it’s covered in tiny bubbles from 19th-century making.
This kit shifts the focus from “what did I find?” to “what does this find tell us?” It’s not about gear. It’s about using a plastic bag and a ruler to think like a scientist. The real treasure is the process.
How to Grid Your Beach Dig Site
Now for the main event. This is where your research and field kit turn a patch of sand into a living history site. We’re not just digging random holes. We’re doing an excavation. We use the same basic principle as the NOAA Mock Shipwreck simulation: define a site, document everything, and let the clues tell a story.
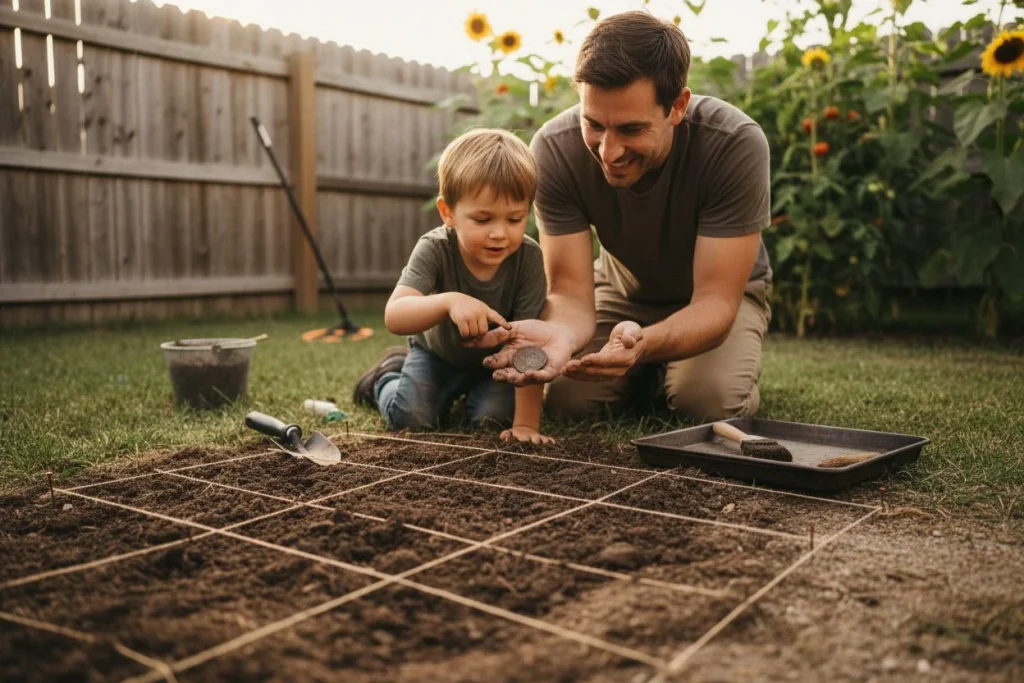
A Beginner’s Guide to Beach Digging Grids
Start small. A 1-meter by 1-meter square is perfect. Use four popsicle sticks as corner markers and run kitchen string between them. This simple boundary does two powerful things. It focuses your kids’ attention. It also introduces the concept of systematic archaeology. I helped my daughter do this at Stinson Beach. As we pulled the string taut, her play became purposeful work. “This is our dig site,” she declared. She was the site director for the day.
What Artifact Layers Tell You About History
Here’s where the magic happens. Don’t just dig a pit. Dig in controlled, horizontal layers. Scoop off the top 2 inches of sand across the whole grid and sift it. What you find here is your “modern layer.” In our grid, it was a 2021 penny and a plastic bottle cap.
Then, carefully remove the next 2-inch layer. This is where history often starts whispering. In that next layer, we found a cluster of old, blackened oyster shells. They were a stark contrast to the modern trash on top. What did that tell us? It prompted the exact kind of inquiry the Dunwich Museum encourages. We used our senses to imagine the past. We talked about who might have feasted on oysters here decades ago. The story was in the layers.
Documenting Your Beach Finds Like a Pro
Every find is a data point. This is where your field journal and ruler become critical. For a simple “detective’s slate,” have your kids draw a box for the grid. When they find something, they note its location (“oyster shells, lower left corner”) and its depth.
Was it in the modern layer or the historical layer? This practice—recording context—is the most important habit. It turns a bucket of curiosities into evidence. A lone shell is a souvenir. A cluster of shells mapped in a specific layer is a clue to past human activity.

Identifying Relics vs. Ordinary Beach Rocks

Answer Capsule: That smooth, green glass isn’t just trash—it’s a time capsule. The goal isn’t a final answer, but a practice in historical reasoning. We teach kids to be evidence-gatherers. They use a simple flow of observation to build a case for their find’s story. The value is in the detective work, not the dollar value.
Is that smooth, green glass a treasure or trash? (Hint: It’s both). This is the most rewarding part of the dig. Your field kit and patience pay off here. My kids and I once spent twenty minutes debating a worn, white disc. Was it a rare gaming token? A fancy button? (It was a modern washer, but the debate was fantastic).
This is where you channel the spirit of groups like MSDS Marine. They note that many professionals were first inspired by childhood discoveries. Your find might not be a coin, but it is a clue.
Here’s a simple flow chart you can walk through with your kids:
- Material: Glass, metal, ceramic, or stone? Green glass with tiny bubbles suggests age.
- Shape: Is it geometric (a brick fragment) or organic (a bone)? Does it have a manufactured edge?
- Wear Patterns: Are the edges frosted and smooth (tumbled for decades) or sharp (recently broken)?
- Hypothesis: Now, piece it together. That frosted green glass? Likely sea glass from an old dump site. That strange black stone? As Rainy Day Homeschooling points out, it could be a fossil, telling a story millions of years old.
The power is in the conversation. You’re not giving them answers. You’re giving them the tools to ask better questions. “Why would someone bring a medicine bottle here?” or “How did this brick end up here?” The relic might just be a rock. But the lesson in observation is the real treasure. This skill is vital for metal detecting with kids at the beach.
Contributing to Science Through Beach Digging
Answer Capsule: The real treasure isn’t always something you can take home. Sometimes, it’s the data you help preserve. When your family uncovers something that looks historic, you can contribute to real science. Programs like the NPS’s Shipwreck Tagging Archaeological Management Program (STAMP) let you help. This turns a cool find into a genuine act of stewardship.
Here’s where a detectorist’s mindset pays off. Our first instinct is often “How old is this?” But on a public beach, the better question can be, “Who needs to know this is here?” Programs like STAMP track the movement of shipwreck timbers. They monitor the effects of storms and climate change. A great example is the scattered remains of the Bessie A. White, a schooner wrecked in 1922. Historians actively monitor it.
This is the ultimate history lesson: going from finder to steward. It connects to the ethos of groups like Save the Light. They teach that protecting history is an active job. If your kids expose a potential artifact, practice “Look, Don’t Take.” Here’s your action plan:
- Document In Place: Take clear photos with a ruler for scale. Note the location (a landmark plus GPS from your phone).
- Do Not Disturb: Moving items erases their context. A timber’s position tells its story.
- Report It: Send your photos and notes to your local historical society. Or search for the “Volunteer in Parks” portal on the NPS website.
It’s a program I’ve contributed to myself. It feels far more significant than adding another piece of sea glass to a jar. You’re helping preserve a fragile, non-renewable record.
Make your day count for history by reporting what you find.
From Beach Digging to Metal Detecting
Answer Capsule: When the research, documentation, and thrill of discovery click, the natural next step is a detector. This isn’t about expensive gear—it’s about extending the hunt. Start with a simple, sand-friendly pinpointer or a used starter machine. It lets kids graduate from finding what they can see to discovering what’s hidden. And it reinforces the core ethics of the hobby.
The skills you’ve practiced are the bedrock of successful metal detecting with kids at the beach. My oldest graduated from sand sifting to a used pinpointer I got for $40. His first solo “beach hunt” find? A 1965 quarter that bought us all ice cream. The look on his face wasn’t about the money. It was the magic of the signal. He’d learned to “listen” to a site.
If your crew is ready, start with a sand-friendly pinpointer or a used, simple detector like a Garrett ACE series. The goal is to extend the archaeology role-play. This is also where you introduce the non-negotiable ethics: always get permission, know your local laws, and fill every hole you dig.
This progression turns a day at the beach into a potential lifelong connection to history. It’s the natural next chapter for a junior archaeologist who’s learned to ask, “What story is hidden here?”
Your Best Find is the Story You Uncover
Answer Capsule: The real success of your beach archaeology day isn’t a jar of shells. It’s the practiced habit of curiosity. The “trophy” is the hypothesis in the field journal, the photo of your grid, the story you craft. It’s the moment “I’m bored” turns into “What if…?”
I’ve pulled silver coins and old rings from the ground. But the artifacts I remember most sparked a story we had to piece together. That thick, green glass my kids found years ago? We never identified it for sure. But the debate—was it from a Victorian soda bottle or a ship’s lantern?—lasted all summer. That’s the gold.
This is what resources like Historic England get right. The objective isn’t memorizing dates. It’s developing a chronological understanding and learning to ask critical questions. You’re not handing your kids a history lesson. You’re giving them the tools to be history detectives.
So when you pack up, don’t just look at what you’re carrying. Listen to what your crew is talking about. That chatter is the win. You’re not just making sandcastles. You’re building a connection to the past that, trust me, won’t wash away with the tide. Enjoy your next adventure in metal detecting with kids at the beach.
Share your beach archaeologist story with us. What mystery did your crew solve?

My name is Paul and I am the founder of Detector For Metal, a dedicated resource for metal detecting enthusiasts seeking to uncover historical treasures and connect with the past using the latest technology. As a stay-at-home dad and family man, I’ve found metal detecting to be the perfect hobby that combines family adventure with historical learnings for the whole family.
As a father, I’m deeply committed to passing on this hobby to the next generation of detectorists, starting with my own children. I share advice on everything from metal detecting with kids to exploring the top 10 metal detecting sites you never thought about. My methodical approach to the hobby goes beyond the thrill of discovery—it’s about creating family traditions while preserving history and sharing the stories of those who came before us.