Table of Contents
Hey there. If you’re reading this, you just felt that electric jolt—the one that comes from holding a piece of history you pulled from the ground. I know the feeling. This guide to metal detecting Civil War relics isn’t a dry lecture. I want to be the knowledgeable friend saying, “Whoa, that’s amazing. Now let’s do right by it.”
We’re building a bridge. It connects the “treasure hunter” buzz to the intimidating academic manual. Every tip here is grounded in real field time (and my own mistakes). The downloadable Relic Discovery Log is your practical tool to make ethical stewardship simple. Let’s honor the past, one responsible find at a time. For anyone starting this journey, understanding the right metal detector settings for relic hunting is a crucial first step.
What’s the First Rule After Unearthing a Relic?

Your first instinct with a Civil War relic is almost always wrong. I mean that powerful urge to rub the dirt off or run it under water. I’ve been there.
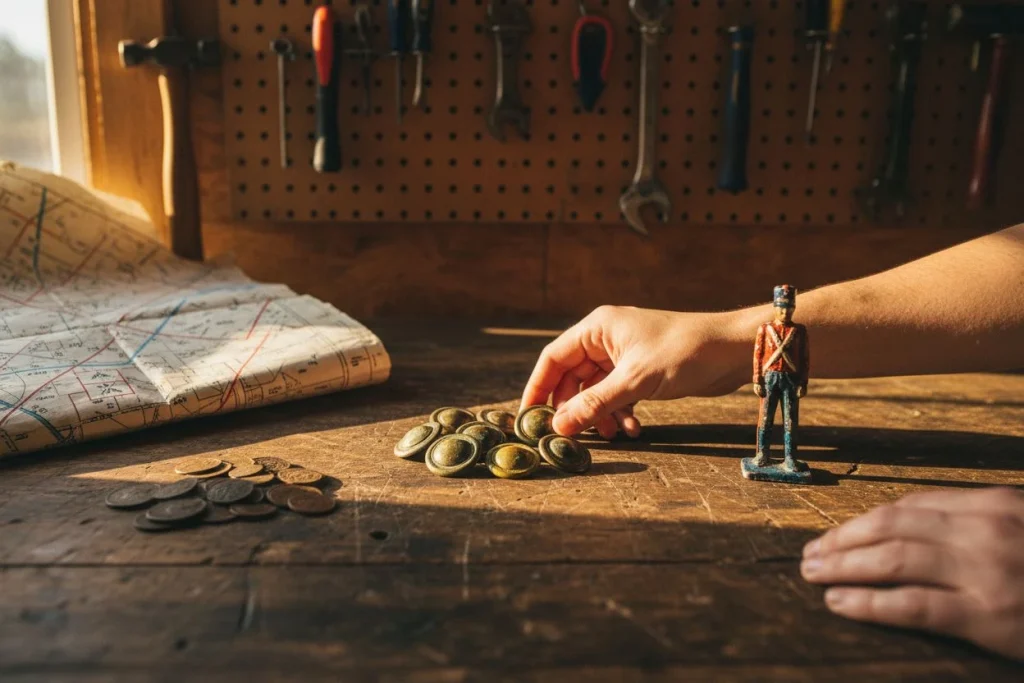
My first major find was a Spencer .56-56 cartridge at a known picket post. The brass was green and crusted. My buddy Tom said, “Just give it a quick scrub with a wire brush to see it better.” My hand went to my pack. But something made me wait. Thank god I listened.
I later learned a wire brush would have shredded that fragile brass. It could have destroyed microscopic residue of powder or paper. That residue tells a deeper story.
Here’s the hard truth. The moment you pull an artifact up, the clock starts ticking on its preservation. Your skin oils alone can speed up corrosion on metal. Guides like the one from the Missouri Historic Costume and Textile Collection note this.
So let’s agree. The urge to clean is powerful and natural. It comes from excitement. I get it. Now, let me promise you this. Preserving its full historical value is way more satisfying than making it shiny. You preserve every scratch, patina, and bit of soil. Next, we’ll walk through what to do instead.
Why Permissions Matter More Than Your Detector
Your duty starts at the signal, not after washing. An object’s true value isn’t just what it is. It’s the story of where it was found and what was with it. This context—its provenance—transforms a collectible into a historical document. Lose that, and you’ve erased the history you sought.
I learned this on a homestead hunt years ago. My detector screamed over a broad target. Eight inches down, I pulled out a U.S. belt plate—a fantastic find. But my field log made it come alive. I’d noted it was two feet from three dropped .58 cal bullets and a harmonica reed.

That simple cluster told a story. A Union soldier was taking a moment’s rest and adjusting his gear. The plate alone was a trophy. The plate with its context was a tiny, poignant window into a human moment. That’s the power of provenance.
This is why sources like the National Park Service emphasize leaving artifacts in situ. Location is data. Since we’re (ethically) removing them, we must record that data ourselves.
Here’s what to capture before bagging your find:
- Precise Location: GPS coordinates from your phone.
- Depth & Soil: Note the depth and soil type (wet clay, sandy loam).
- The Immediate Context: Was it alone? Surrounded by camp lead? Sketch the relative position of other finds.
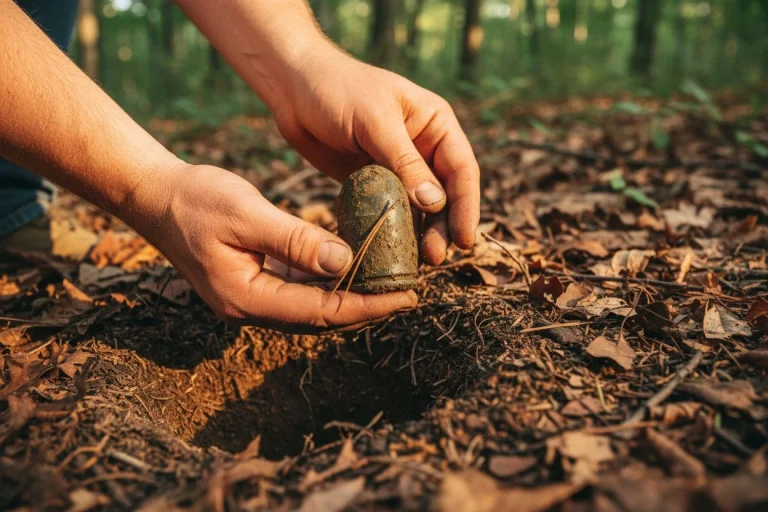
- Photos: Take a picture of the find in the hole before you remove it. This is your most important photo.
It sounds like a lot, but it becomes second nature. To make it simple, I made a “Relic Discovery Log” you can download. It turns ethical stewardship from a vague idea into a five-minute checklist. The greatest find is the story you preserve.
How to Identify Your Mystery Metal Detecting Find

You’ve documented it and resisted the scrub. Now comes the detective work—figuring out what you’re holding. This is where the real fun begins for a history nerd like me. The goal is to understand its story, not just name it. Here’s my process for identifying finds from metal detecting Civil War relics.
Common Metal Detecting Finds and Their Clues
Most Civil War-era finds fall into common categories. If yours matches one, you’re well on your way:
- Bullets: The classic 3-ring .58 caliber Minie ball is most common. Look for others like the long, skinny Sharps carbine bullet.
- Buttons: Union Infantry buttons have an eagle over a shield with an “I”. A Confederate “block A” button is a rarer, exciting find.
- Buckles: Rectangular brass belt buckles (US or CS) are iconic. Don’t forget trouser buckles.
- Miscellaneous: Canteen spouts, harmonica reeds, and carved lead gaming pieces.
As noted at detectorpower.com, remember you’re often finding fragments. You might find a broken buckle tongue or just a button face. Don’t get discouraged.
Researching Your Find Online and Offline
If your find isn’t instantly recognizable, hit the books. My shelf has well-worn copies of references like “Civil War Relics of the Western Campaigns.” Online, I use reputable forums like Findmall’s Civil War Relics section. Post clear photos there. The collective knowledge is astounding.
Your most important tool after your detector is your camera. Before asking for help, take clear, scale photos against a plain sheet of paper. Get shots from the front, back, side, and any markings. Put a penny in the frame for scale. This is non-negotiable.
When to Contact a Local Historian or Expert
Sometimes research hits a wall. Or you find something truly unusual. That’s when you escalate. Contact experts if an item has unique markings or significant local historical value.
Your first stop should be a local museum or historical society for the area where you found it. They often have historians who can provide context.
For direct authentication, services like the Civil War Antiques Preservation Society are a great resource. As highlighted in metaldetector.com’s authentication guide, their staff can do expert consultations via email. The key? Send those excellent, detailed photos you already took. Clear pictures can get you a reliable ID without shipping a fragile find.
This process turns a mystery into a named piece of history. Knowing you’re holding a specific button from a specific regiment? That feeling never gets old.
Why Iron Relics Need Minimal Cleaning
Here’s the frustrating truth about iron relics. Digging them up saves them from one death sentence only to hand them another. In the ground, they decay slowly. Exposed to air and moisture, a rapid, destructive process called “metal cancer” can begin. Your job isn’t to make it look new, but to stop this active decay. For iron, stabilization is preservation.
That dull, flaky, powdery black oxide? That’s the “cancer.” It happens when centuries of trapped moisture in the pitted metal reacts with oxygen. As detailed in guides on excavated artillery, well-meaning but harmful old methods can accelerate destruction. For example, slathering a relic in thick marine varnish can actually seal that moisture in. It accelerates destruction from the inside out.

This is why sources like Kellyco warn against aggressive wire wheels on iron. You’re not cleaning it; you’re stripping the original surface and driving corrosive particles deeper. Similarly, the Missouri preservation guide gives a crucial tip. Never store these metals in a humid basement or attic. The wild swings in temperature and moisture there are a nightmare.
My rule is stabilize first, restore never (unless you’re a pro). For a fragile iron buckle, this means a gentle dry brush to remove loose soil. Then, a long, slow dry-out in a stable, low-humidity room. A living space closet is good, not a garage. After it’s fully dry—this can take weeks—a careful application of conservation-grade wax can provide a barrier.
Yes, advanced methods like electrolysis exist. They’re fantastic for pulling chlorides out of iron. But for a significant find, I’d only recommend it after extensive research or a consultation with a professional. For your first major iron relic, the best step is often the simplest: pause. Assess. Remember that doing less now often means having more to appreciate later. This is a core lesson in the art of metal detecting Civil War relics.
Meta Description: Uncover the critical first steps to stabilize a fragile Civil War iron relic, why “metal cancer” destroys them, and why gentle conservation beats aggressive cleaning every time.
Safe Cleaning Techniques for Brass, Copper, and Lead
For bullets, buttons, and buckles, gentle cleaning is about stabilizing and revealing detail, not making it look new. Each metal needs a different approach. The core rule is: be patient, be mild. If a surface is fragile or you’re unsure, stop and ask an expert.
Cleaning Stable Relics Like Lead and Pewter
Thankfully, the lead in Minié balls and pewter in utensils are often very stable. Aggressive cleaning isn’t needed and can damage the authenticating patina. My method is simple. Use a soft-bristled toothbrush (I keep cheap ones in my kit). Gently scrub under a slow stream of distilled water to remove clay. The goal is to clean, not polish. Dry it thoroughly with a soft cloth and let it sit in a dry room for a day. Always wash your hands after handling lead.
Handling Delicate Brass Buttons and Copper Coins
A light green patina (verdigris) on a belt plate is part of its history. If you must clean a light coat, try a paste of baking soda and water applied with your fingertip. Rinse immediately.
For heavy crust that obscures all detail, the guide at metaldetectingshop.com suggests a very brief soak in mild 5% lemon juice. I’m talking 5-10 minutes, max. This is critical: immediately neutralize the acid by rinsing in a bath of baking soda and water. Then, rinse with clean distilled water and dry completely. If you see even a fleck of original gilding, STOP. You need a pro.
The Best Way to Clean Gold and Silver Finds
This is the easiest part. As metaldetectingshop.com notes, gold often needs only soapy water. The same goes for silver coins. A drop of mild dish soap in distilled water and a gentle pass with a soft-bristle brush is all you should do. Pat dry with a microfiber cloth. Any further “cleaning” risks scratches and destroys value. For the right tools, I have a guide to essential preservation tools that won’t harm your finds.
The Ethical Pause: When to Report a Site from Metal Detecting Civil War Relics

Ethical detecting isn’t just about how you dig. It’s knowing when to stop digging. When a find suggests a significant, undisturbed historical context, the responsible action is to contact professionals. A concentrated scatter of artifacts means you should preserve the archaeological story.
This moment separates the collector from the steward. You’re swinging over a field. Suddenly your detector won’t stop. In a three-foot square, you pull a Confederate “block I” button, then another, and another. You find five total, plus a carved bone brush handle and some round balls. It doesn’t feel random anymore. It feels like a jacket disintegrated right there. Your heart races. Do you keep going?
You should stop.
As National Park Service guidelines emphasize, report a concentration of artifacts. The ethical critique from sources like Emerging Civil War centers on destroyed context. Once you remove items from their precise relationship to each other, you’ve erased the data that tells the story.
My rule is simple. If you uncover a concentrated scatter, your job changes. Don’t dig another target. This includes multiple equipment pieces and personal items. The same applies for something clearly unique, like an officer’s inscribed sword hilt.
Take wide-angle and close-up photos of the area without moving anything else. Note your GPS coordinates. Then, contact your state’s archaeological office or a local historical society. I once reported a button cluster to our county commission. They later did a small survey that found a temporary cavalry camp not on any map. I got to be part of the discovery, not just the extraction. That’s the highest reward. It’s a core principle of metal detecting Civil War relics responsibly.
How to Store Relics for Long-Term Preservation
The worst thing is tossing a relic in a junk drawer or garage box. Preservation is about stabilizing its environment. The goal isn’t a museum vault, but a stable spot in your home. You need a place where temperature and humidity don’t swing wildly. You’re the curator of a small, personal museum.
Forget the attic, basement, or garden shed. The guide from the Missouri Historic Costume and Textile Collection is clear. These spaces have extreme fluctuations. They speed up corrosion and cause cracks. Your living room, office, or a closet is much better. A simple display cabinet buffers relics from dust and hand oils.
For storage, skip the cigar box and tissue paper. Invest in acid-free tissue paper and archival storage boxes. You can find these online. For individual items like buttons, use archival plastic flips (coin collectors use these). The point is to create a neutral, stable microclimate.
I learned the humidity lesson the hard way. A beautiful US belt plate spent a summer in my garage. The humidity spiked, and a faint new bloom of verdigris appeared. I caught it in time, but it was a wake-up call. Now, my display case is in my home office, away from vents. It’s not perfect, but it’s stable.
Your job is to be a steward. Proper storage protects your find and preserves a fragment of history. Get the right materials, find a stable spot, and you’ve done your part to pass it on. It’s the final, crucial step in the process of metal detecting Civil War relics.
Your Role as a History Steward
True stewardship means honoring the artifact’s story more than your ownership. It’s the choice to document, preserve, and share a piece of history. You ensure its journey continues long after your detector’s signal fades. You become the link between the past and the future.
I keep my first identified three-ringer in a simple acid-free box. But the real prize is the filled-out page in my Relic Discovery Log next to it. It has the GPS coordinates, the sketch, and a note about melted lead nearby. My kids asked about it the other day. I showed them not just the bullet, but the log. “This is where a soldier camped,” I said, pointing to the map. “And this is how we remember.” That’s stewardship. It teaches the next generation that the object is just the starting point.
This whole process transforms you from a finder into a curator.
- Get permission.
- Document everything in situ.
- Practice minimal intervention with cleaning.
- Seek professional consultation for significant finds.
- Provide proper long-term care.
You’re not just taking history out of the ground. You’re preserving its context and ensuring its survival. If you’re planning your next hunt, don’t forget your metal detecting bag and essential gear to keep everything organized and safe.
Your most important tool isn’t your detector; it’s your mindset. [Download our free Relic Discovery Log PDF here] to start your journey right. Connect with a local club (they’re full of folks who’ve walked this path). You are now the temporary caretaker of a story that’s waited 160 years to be told. Do right by it. This is the true reward of metal detecting Civil War relics.

My name is Paul and I am the founder of Detector For Metal, a dedicated resource for metal detecting enthusiasts seeking to uncover historical treasures and connect with the past using the latest technology. As a stay-at-home dad and family man, I’ve found metal detecting to be the perfect hobby that combines family adventure with historical learnings for the whole family.
As a father, I’m deeply committed to passing on this hobby to the next generation of detectorists, starting with my own children. I share advice on everything from metal detecting with kids to exploring the top 10 metal detecting sites you never thought about. My methodical approach to the hobby goes beyond the thrill of discovery—it’s about creating family traditions while preserving history and sharing the stories of those who came before us.