Table of Contents
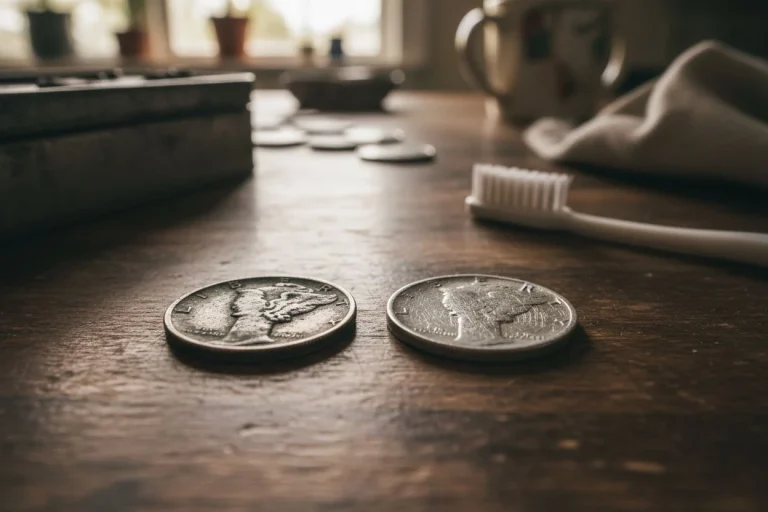
Let me tell you about the time I turned a $30 coin into 30 cents with a $2 toothbrush. We were at my kitchen table, surrounded by the week’s finds from an old swimming hole near Auburn. It was mostly clad dimes and a few wheat pennies. The usual. Then I pulled out a 1920 Mercury dime. It was dark, almost black. A crusty green layer clung to Lady Liberty’s face. “That’s a shame,” Tom said. “It’d be a beauty if you could clean it up.” So, I tried. Gently, I thought.
I used a soft toothbrush, a little warm water, and a dab of mild soap. I worked for twenty minutes. The green grime came off. It revealed a dull, lifeless coin. It looked scrubbed. It was covered in a million tiny scratches I couldn’t see with my naked eye. I’d turned a coin with a story into a sad, shiny disc. A century of history was written on its surface. I later showed it to a dealer at a coin show. He took one look under his loupe and said, “Cleaned. Worth face value.” The original, dark coin? He estimated it would have been a $20-$30 coin in that “ugly” state. I’d polished 90% of its value away with a $2 toothbrush.
That dime was my tuition. I paid in regret to learn the most important rule in numismatics. Every expert shouts it from the rooftops. Every beginner (like I was) ignores it: Do. Not. Clean. Your. Coins.
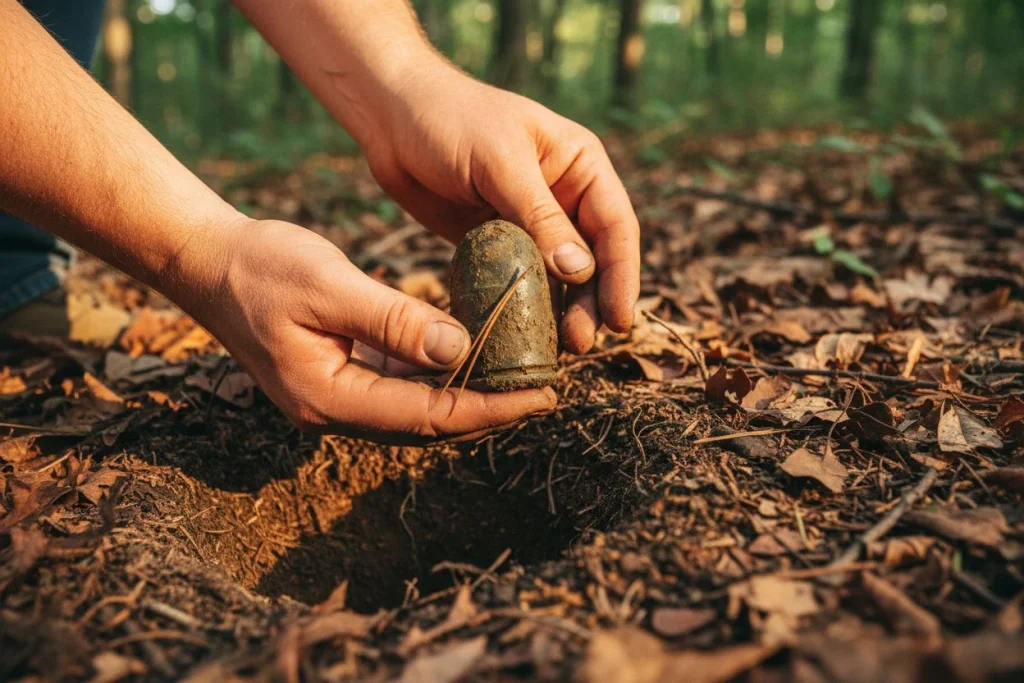
But wait—you just dug up a crusty old wheat penny or a green-encrusted Indian Head. It’s dirty. Surely cleaning old coins is just basic care, right? That’s the trap. What we call “dirt” is often the very thing that gives a coin its character, authenticity, and cash value. Today, we’re not talking about how to clean old coins. We’re talking about how to preserve them. In the world of detecting and collecting, preservation is everything. Cleaning is almost always destruction. If you want to know what a real collection of finds looks like, from modern clad to silver treasures, I detail my journey. Check out my article on Coin Hunting Success: From Modern Clad to Silver Treasures.
Why Cleaning Old Coins Destroys Their Value and History
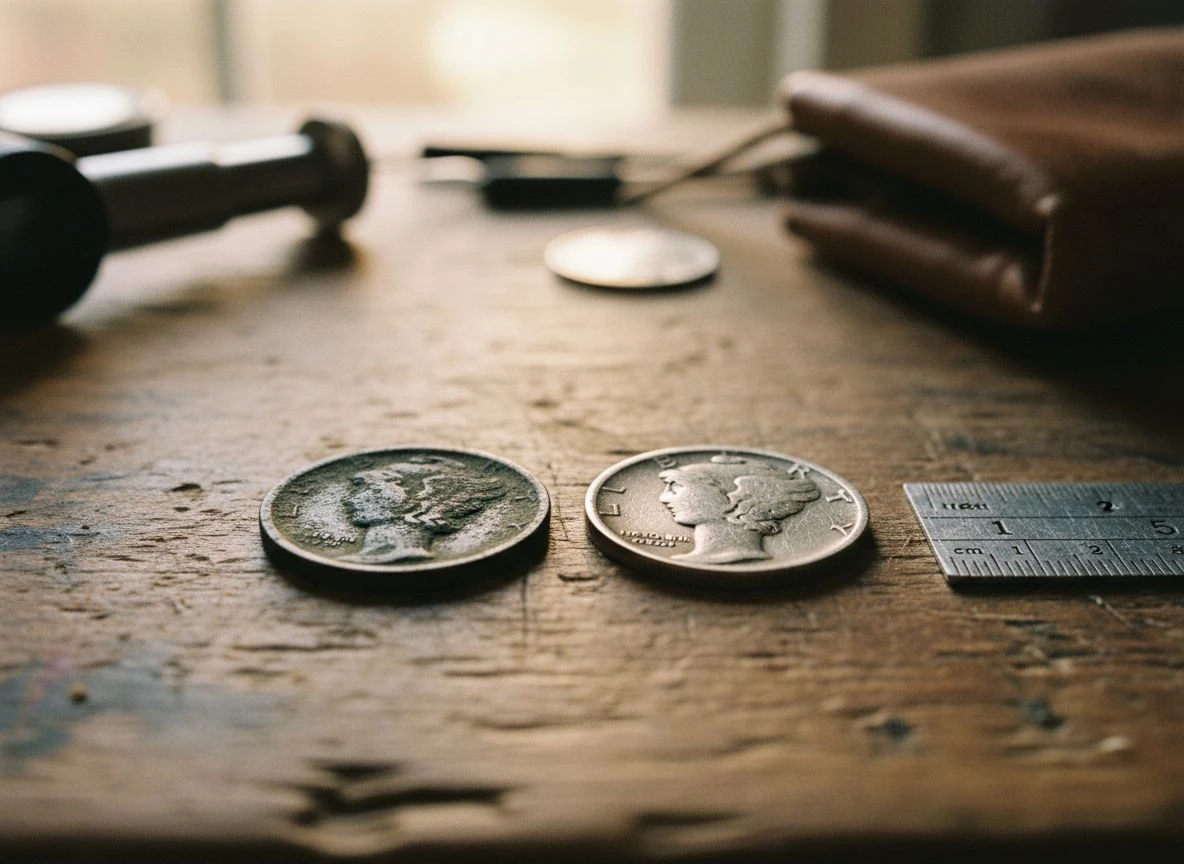
Let’s get microscopic for a second. When a silver coin sits in the ground for decades, it doesn’t just get dirty. It changes chemically. The sulfur in the soil reacts with the silver. It forms silver sulfide, a stable compound. This creates that beautiful, often rainbow-hued layer called a patina. On copper, it’s the iconic green verdigris. This isn’t grime. It’s a historical record. It’s proof of age and authenticity.
Professional graders at services like PCGS or NGC can spot an amateur cleaning job instantly under magnification. They look for “hairlines.” These are microscopic scratches from cloths or brushes. They also look for the telltale “dipped” look from chemicals. That’s when the original luster is gone. It leaves a flat, lifeless surface. A cleaned coin won’t get a numerical grade like MS-63. It gets a details grade: “Genuine – Cleaned.” That label can crush value. As the experts at JM Bullion put it, cleaning “almost always decreases value,” It can turn a potential $1,500 rarity into a $300 also-ran.
The brutal truth is this. That original surface is a one-time deal from the mint. Collectors call it the “skin.” Once it’s scrubbed off, it’s gone forever. You can’t re-apply history. Understanding the true monetary potential of your finds is key. I break this down in my guide, Can You Make Money with a Metal Detector? (How I do it.)
Which Methods for Cleaning Old Coins Should You Avoid?
If my story didn’t scare you straight, this list will. These are things I’ve heard people try. Every single one is a one-way ticket to devaluing your find. Consider this your numismatic “Do Not Touch” list. This is especially true when cleaning old coins.
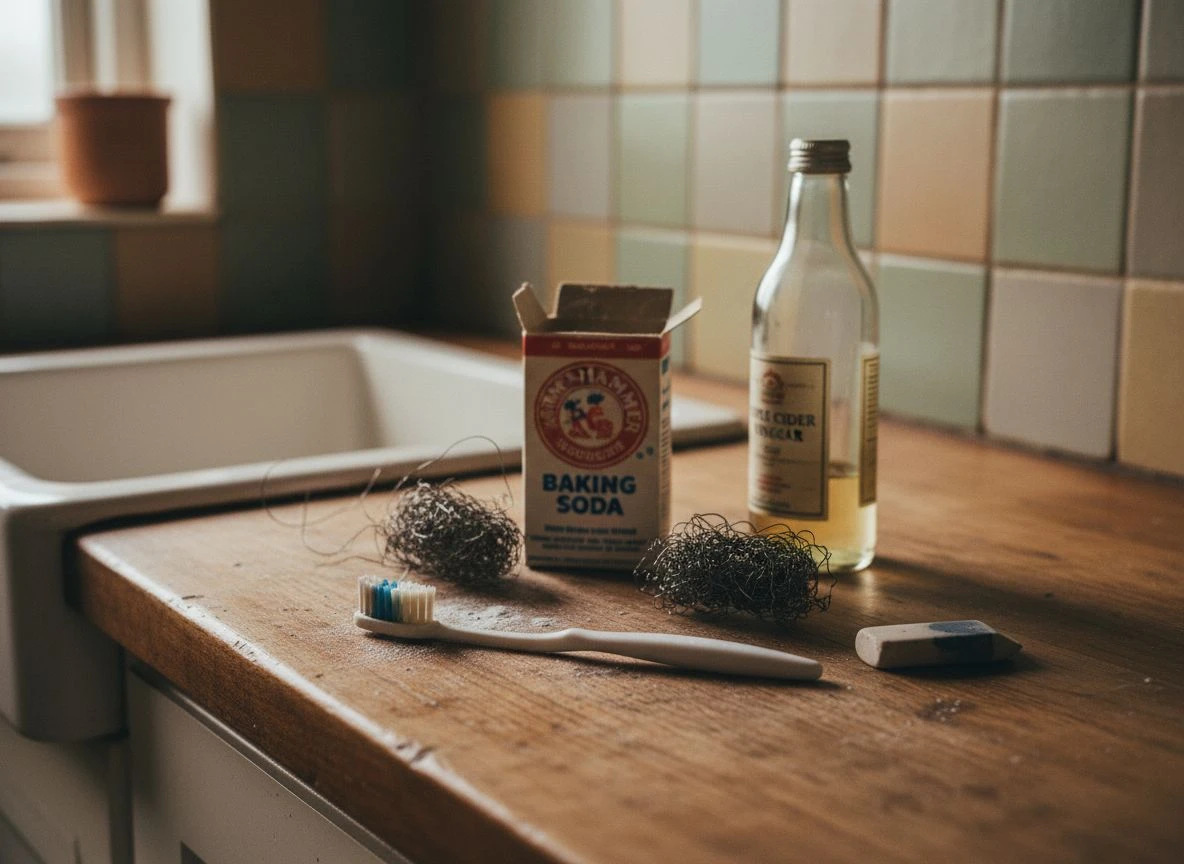
- Toothpaste & Baking Soda: They’re abrasive. They’re designed to scrub plaque off teeth. They’ll scrub the detail off your coin. It leaves a cloudy, scratched finish.
- Vinegar, Lemon Juice, or Coke: They’re acidic. They will eat away at the metal. This causes pitting and etching. It looks worse under a loupe. The sugar in Coke leaves a nasty residue, too.
- Commercial Silver/Copper Polish: These contain harsh chemicals. They have abrasives for pots and pans, not coins. Schulman B.V. in Amsterdam notes these can cause “color differences and dull patches” These patches permanently mar the surface.
- Steel Wool, Scouring Pads, or Erasers: These are essentially sandpaper. They will carve deep grooves into the soft metal. I’ve seen people try a pencil eraser on a wheat penny. It leaves a telltale, shiny, damaged spot.
- Your Fingers (Bare): The oils and acids on your skin can start a corrosive reaction. This is especially true for copper and silver. It leaves permanent fingerprints. They etch into the coin over time.
My rule of thumb is simple. If it’s in your kitchen or bathroom cabinet, it doesn’t belong near a collectible coin. The process is fraught with risk.
How to Safely Preserve Your Dug Coins
Okay, you’ve listened. You’re not going to scrub. But you’re holding a coin caked in mud or hard-packed soil. What’s the plan? Your goal isn’t to make it look new. Your goal is to stabilize it and prevent future damage. Here’s my field-to-display process for cleaning old coins the right way.
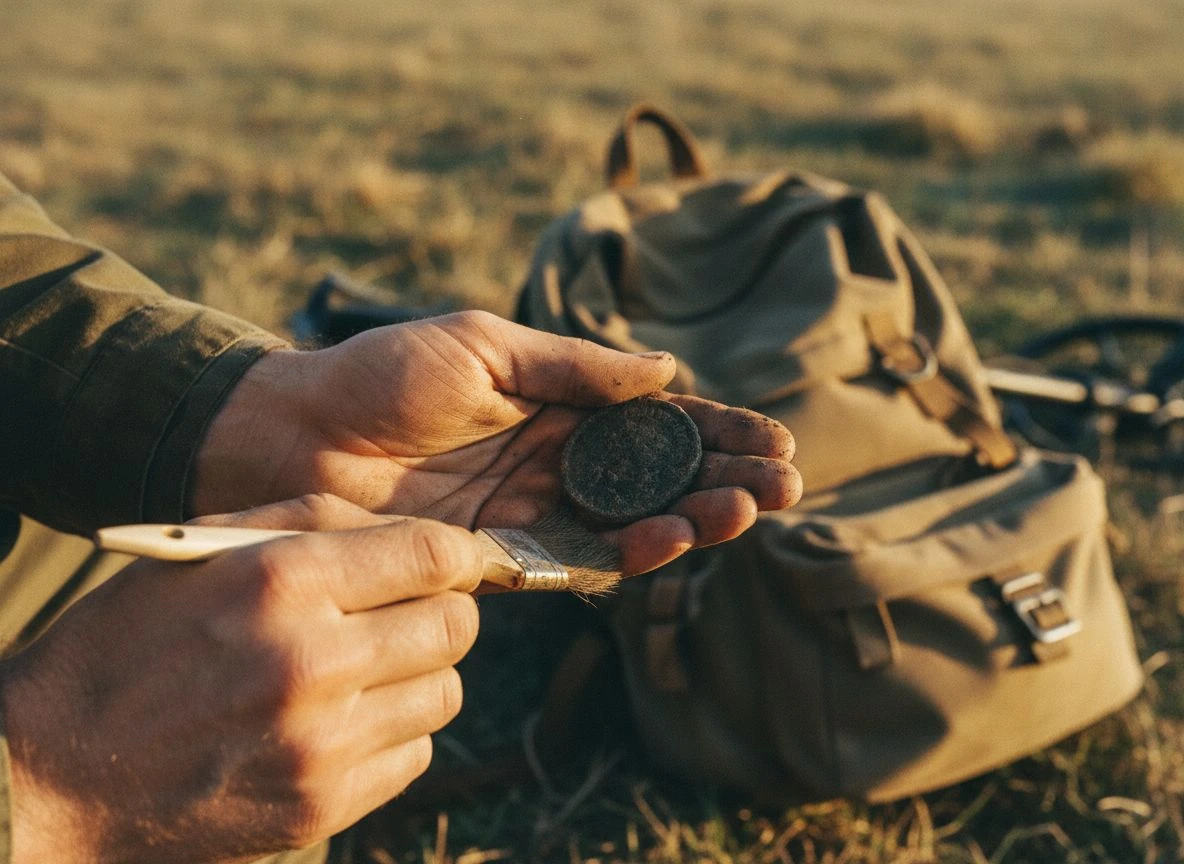
Step 1: The Gentle Field Clean. If it’s just loose, wet dirt, use a soft-bristled brush. A clean paintbrush works. Use distilled water. Gently dislodge the mud. Why distilled? Tap water has minerals. They can leave deposits as the coin dries. Pat it dry immediately with a soft, lint-free cloth. Microfiber works. Don’t rub. Blot.
Step 2: The “Do Nothing” Assessment. For 99% of your finds, this is the final step. Let the coin air-dry completely. Then examine it. Is that discoloration patina or active corrosion? Patina is stable and uniform. Active corrosion is flaky, powdery, or crusty green on copper. It’s destructive and will spread. If it’s just patina or stable toning—congratulations! You’re done. Move to storage.
Step 3: Handling for the Long Haul. From now on, handle the coin by its edges only. I keep a pair of cheap cotton gloves in my kit for this. As preservation guides emphasize, skin contact is a major enemy. Your goal is to leave no trace of yourself on the artifact. For a complete guide on the right way to handle coins from the moment you dig them, check out my dedicated article on How To Handle Coins (Coin Care).
When Is Professional Coin Conservation Needed?
There is a huge difference between cleaning and professional conservation. Conservation is done by experts. They work at places like PCGS’s Restoration Service or NGC’s Conservation service. They have proprietary chemicals and sterile environments. They use stereo microscopes. They address specific, active threats.
When might you consider this? The main culprit is PVC damage. If you find an old coin stored for years in a cheap plastic flip, it might have a sticky film. This is PVC residue. It’s actively acidic. It will eat into the coin. A professional conservator can safely halt this damage. The other scenario is a truly high-value coin. Think key-date silver with thick, obscuring crust. Even then, the pro’s goal is to remove the harmful gunk. They preserve the original surface underneath. It’s brain surgery, not a bath.
For most of our detector finds, the cost exceeds the coin’s value. We find common-date wheat pennies, Mercury dimes, and Indian Heads. For those, preservation through proper storage is your best investment. It beats risky cleaning old coins yourself.
Best Practices for Long-Term Coin Storage
Preservation is 1% not-cleaning and 99% proper storage. This is how you protect your finds for your kids or for future sale. Here’s my system, born from more mistakes than I care to admit.
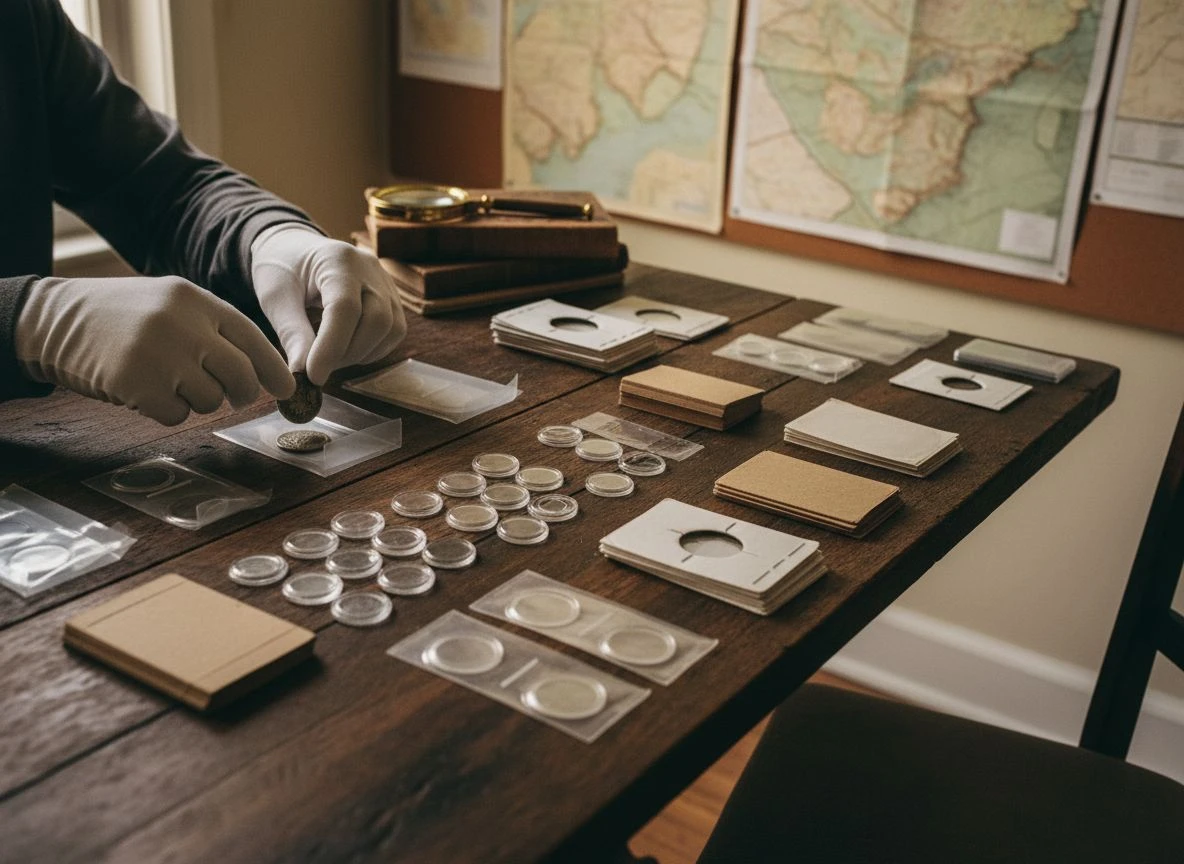
- The Right Holders: Avoid any plastic that smells like a new shower curtain. That’s PVC. Go for inert materials:
- Mylar Flips: These are clear, non-PVC plastic pockets. They go into 2×2 cardboard holders. They’re the standard for a reason.
- Archival Cardboard 2x2s: Acid-free cardboard holders where you staple the coin in. They’re simple, cheap, and effective.
- Acrylic or Air-Tight Capsules: For your absolute favorite finds. They’re rigid and fully seal the coin.
- The Right Environment: Don’t store your collection in the attic or the basement. A closet in a living area is perfect. You want stable, room-temperature conditions. Keep humidity under 50%. If you’re in a humid area, toss a few silica gel packets in the storage box.
- The Right Container: Place your stored coins in a sturdy, non-reactive box. I use archival-quality plastic bins. The goal is to keep them in the dark. Keep them at a stable temperature. Keep them away from pollutants.
Following these storage principles eliminates the perceived need to clean. A properly stored coin will stay exactly as you found it for generations. For a complete guide on preserving your collection, check out Coin Storage for Beginners. This is the safest endgame for cleaning old coins—not cleaning them at all.
That 1920 Mercury dime sits in my “lesson learned” tray. It isn’t worth much to anyone else. But it’s priceless to me as a reminder. Metal detecting connects us to the past. We pull a coin from the ground. It hasn’t seen sunlight since the day someone lost it. Maybe a kid bought candy with it in 1925. Our job isn’t to make it look like it was minted yesterday. Our job is to be the caretaker of that story. We must preserve the very marks that prove it’s real.
So, next time you’re tempted to make an old coin “shiny,” remember Tom’s voice in my kitchen. Remember my expensive lesson. Put down the toothbrush. Pick up a Mylar flip. Let history be. It’s more beautiful that way. True cleaning old coins means preserving their story. If you’re just starting out, read my guide on How to Choose Your First Metal Detector.

My name is Paul and I am the founder of Detector For Metal, a dedicated resource for metal detecting enthusiasts seeking to uncover historical treasures and connect with the past using the latest technology. As a stay-at-home dad and family man, I’ve found metal detecting to be the perfect hobby that combines family adventure with historical learnings for the whole family.
As a father, I’m deeply committed to passing on this hobby to the next generation of detectorists, starting with my own children. I share advice on everything from metal detecting with kids to exploring the top 10 metal detecting sites you never thought about. My methodical approach to the hobby goes beyond the thrill of discovery—it’s about creating family traditions while preserving history and sharing the stories of those who came before us.