Table of Contents
Answer Capsule: To identify a worn silver coin, first check the edge. If it’s solid silver with no copper stripe, it’s the real deal. Gently brush off the dirt and look for any design left. The year 1916 is your big clue. See a winged cap? That’s a Mercury dime (1916-1945). See a classical head with “LIBERTY” on a headband? That’s a Barber dime or quarter (1892-1916).
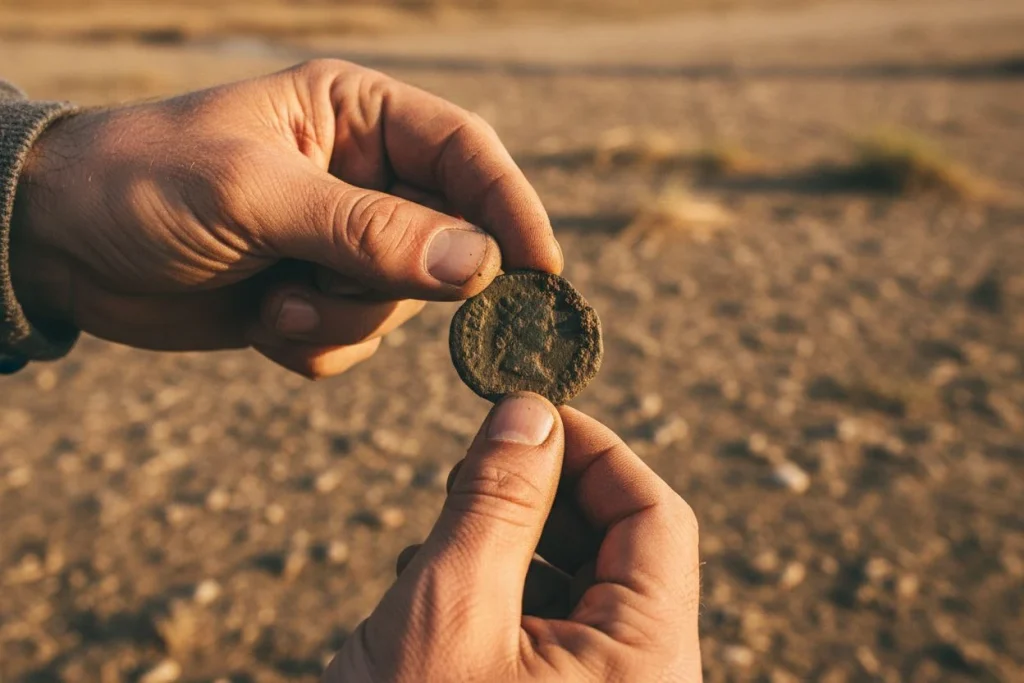
You just dug up a dark, worn silver disc. The date is long gone. Is it a common Rosie or a rare key-date Mercury? Here’s how to figure it out with old coins identification before you even pack up. This skill is the cornerstone of responsible and successful treasure hunting.
I’ll never forget my first Mercury dime. It came out of the mud near an old swimming hole. It was so black I almost threw it in my junk pouch. A soft rub with my thumb showed a tiny, winged cap. That’s the “Mercury” design. It’s actually Liberty in a winged cap, but we all call them Mercs. That 1944 dime was only worth about $3. But the thrill of identifying it correctly? That was priceless.
If your coin is from around 1916, you’re holding history. That year was huge. It marked the end of the Barber coinage. It also saw the debut of the Mercury dime and Standing Liberty quarter. Telling them apart when they’re worn smooth is a classic detectorist puzzle.
I get it. The excitement of a silver signal can turn to frustration fast. This happens when you can’t see the date or design. Most guides aren’t written for coins that have spent 100 years in the ground. This one is.
This guide is my practical, step-by-step “field triage” system. We’ll start with the 60-second field check (and what you should never do). Then, I’ll show you how to be a slick coin decoder. You’ll learn to identify Barber vs. Mercury coins even when the date is gone. I’ll give you a visual cheat sheet for the most common finds. Finally, I’ll walk you through what to do if you suspect a key date. Let’s start digging into the details.
Master the 60-Second Coin Triage in the Field
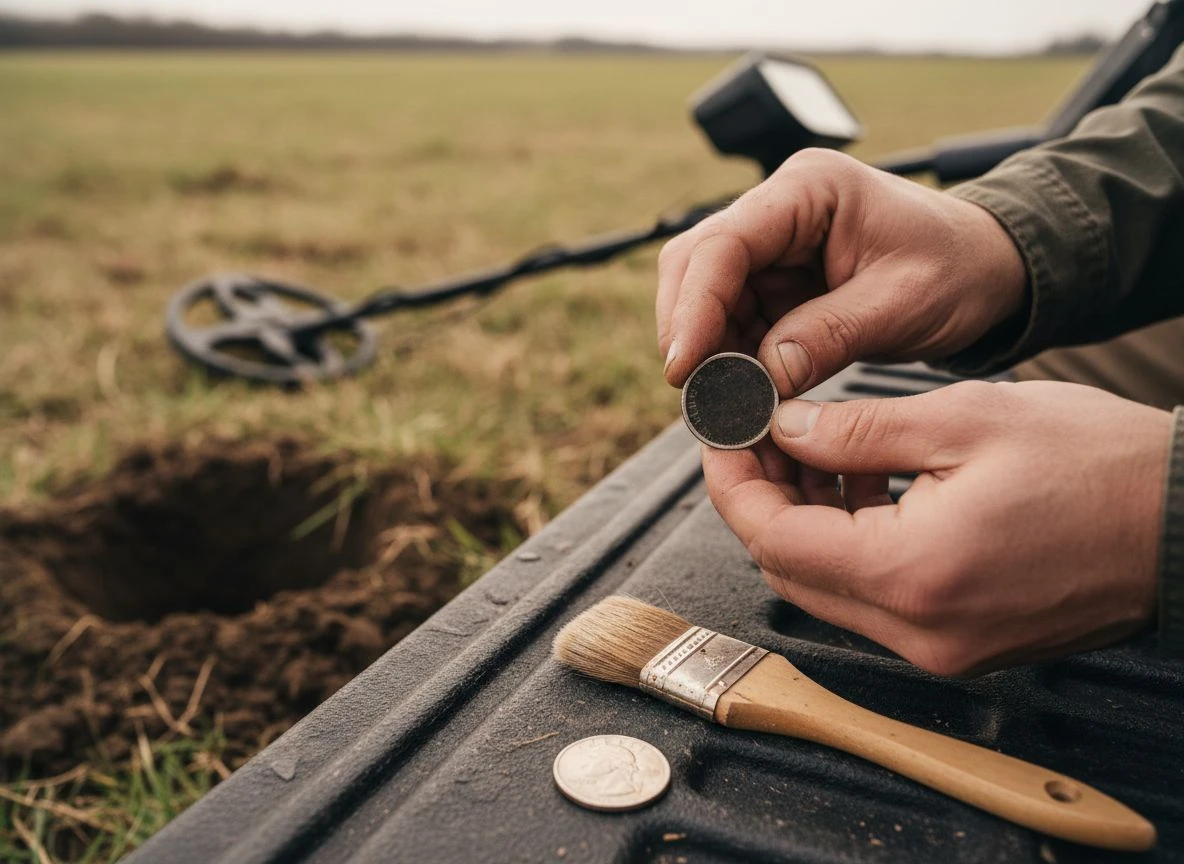
Answer Capsule: In the field, your only job is to confirm it’s silver and avoid damaging it. Check the rim for a solid silver edge with no copper stripe. Gently brush dirt away with a soft brush. Note its size. Never scrub, soak, or use chemicals on-site. Aggressive cleaning can turn a $100 coin into a $10 piece of metal in seconds.
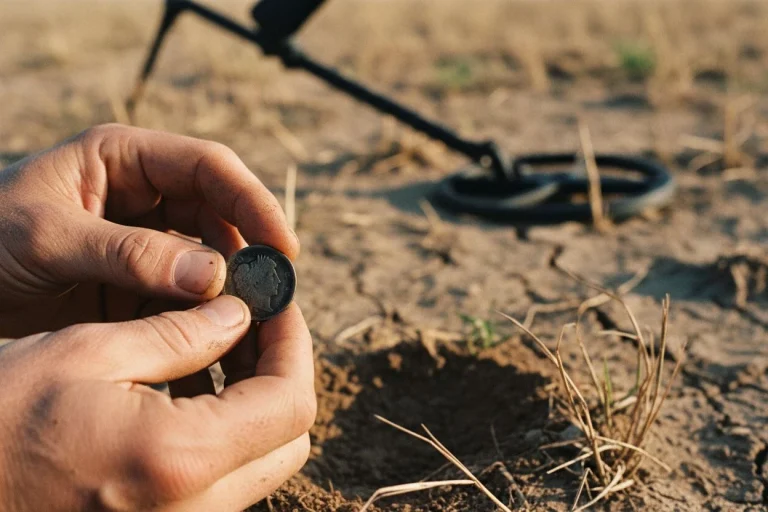
I almost made my most expensive mistake with a wire brush. Early on, I pulled a dark, featureless silver disc from a farm field. I got frustrated. I grabbed a brush from my truck to “help it along.” As I was about to scrub, my buddy Tom grabbed my wrist. “Stop. That’s a Barber dime, you maniac.” Under the caked dirt was the faintest outline of Liberty’s profile. My “helping” would have scraped it into oblivion.
That moment taught me the first rule of field triage: do no harm. Your goal isn’t full identification on the spot. It’s to safely confirm you have silver. You must preserve every bit of detail for proper cleaning at home.
Here’s your 60-second drill, right after the beep:
- Feel the Edge. Run your thumb along the coin’s rim. A solid, uniform silver color means 90% silver. That’s any dime, quarter, or half dollar minted in 1964 or earlier. If you see a distinct copper-brown stripe, it’s modern clad. This is your fastest, most reliable field test.
- Look for Ghosts. Use a soft-bristled brush to lightly whisk away loose soil. A cheap paintbrush works great. Look for any hint of a design, lettering, or a date. Angle it in the sunlight. Don’t dig at the surface.
- Check the Size. Compare it to a modern coin in your pocket. A worn silver dime will be the same diameter as a Roosevelt dime (about 17.9mm). This rules out larger denominations.
- NEVER Scrub or Chemically Clean. This is so important. No water, no baking soda pastes, no metal tools. Aggressive cleaning permanently strips a coin’s natural patina and surface detail. It destroys both its history and its numismatic value.
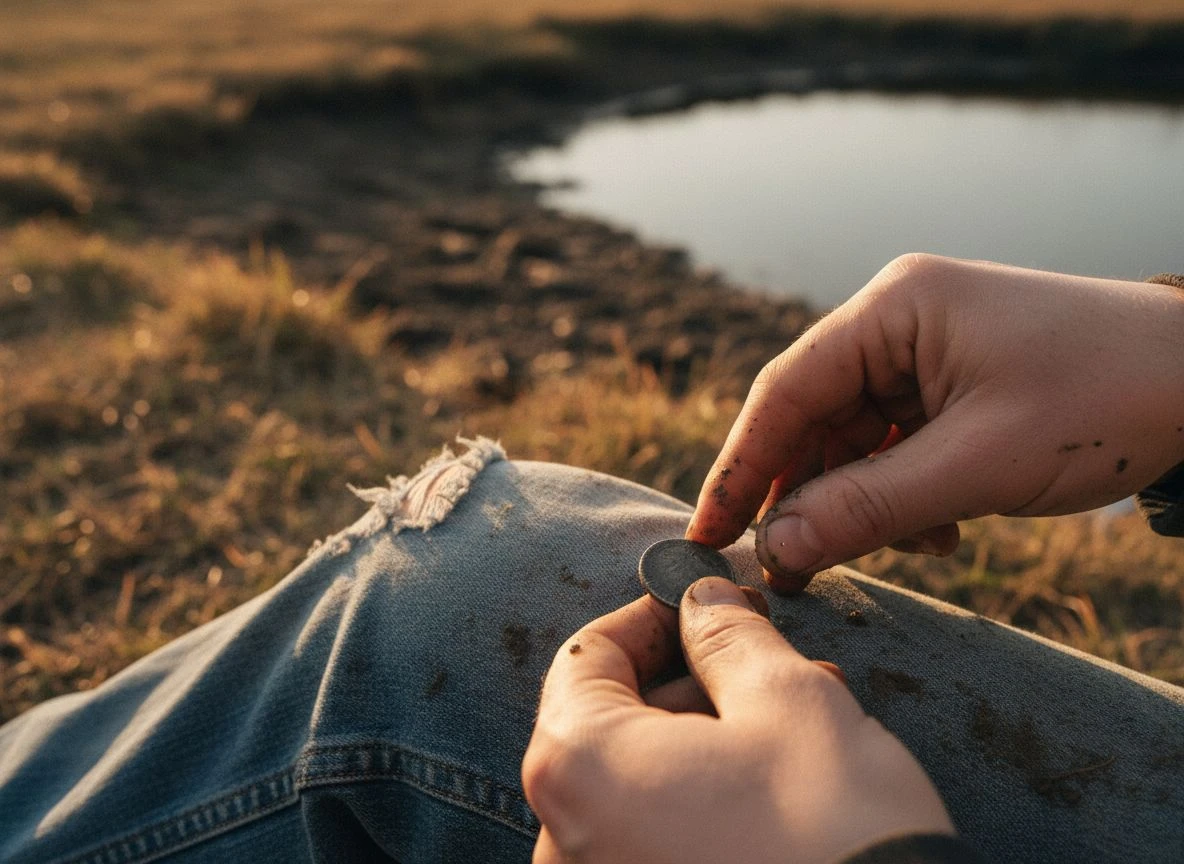
If, after this gentle look, the coin is still a smooth, dark disc—a “slick”—don’t worry. That’s where the real detective work begins.
Mastering Old Coins Identification When Dates Are Gone
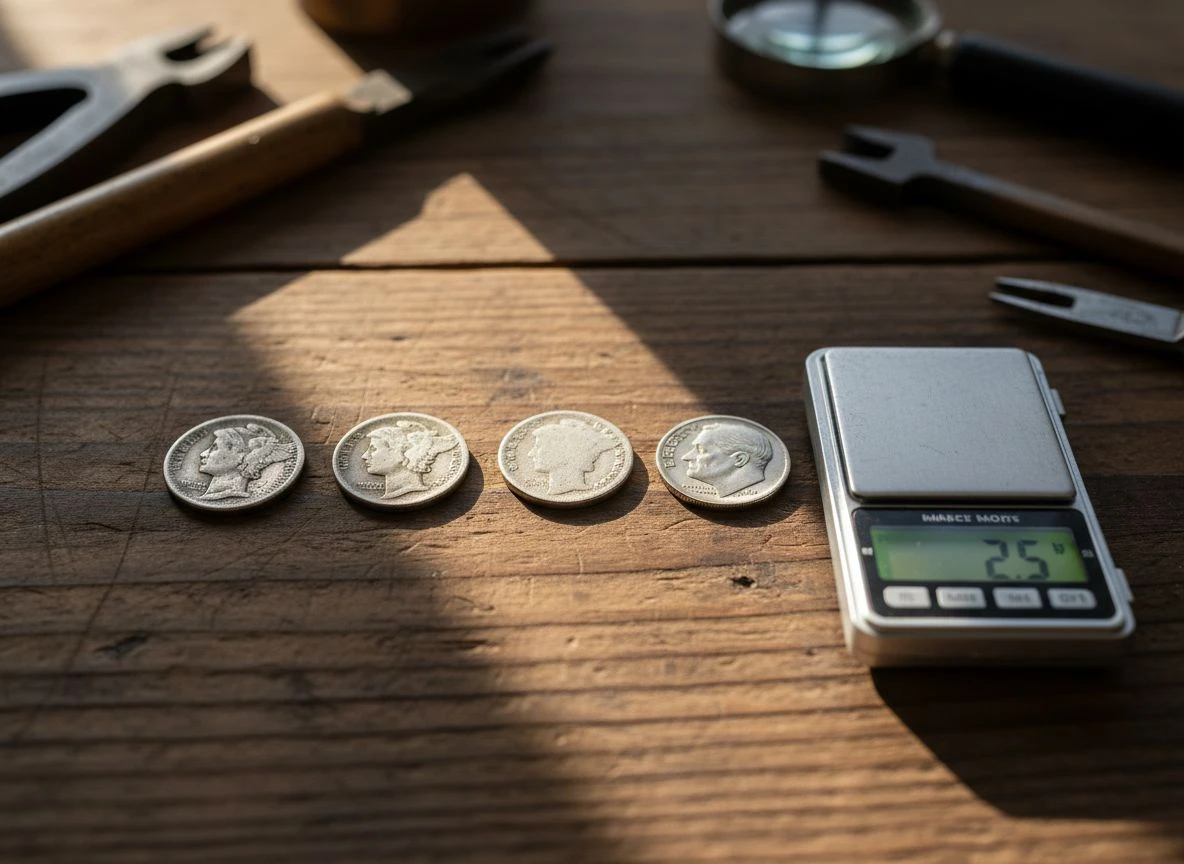
Answer Capsule: Identify a slick silver dime by confirming its size (~17.9mm) and weight (2.5g for silver). Use a precise scale to tell silver (2.5g) from clad (2.27g). Then, examine it under bright light for “ghost” design elements. A faint winged cap means it’s a Mercury (1916-1945). Any trace of a classical head or headband points to a Barber (1892-1916).
It happens to all of us. You’ve confirmed the coin is silver. It’s the size of a dime. But it’s as smooth as a river stone. Don’t toss it in the “mystery” jar yet. This is where detective work gets fun. My most satisfying Barber dime came out of an old farmstead looking like a tiny, worn-out washer. The trick is to stop looking for a date. Instead, start interrogating what’s left.
Here’s your decision tree for a slick, silver-colored disc that’s roughly 18mm across (dime-sized):
1. Get Tactile with Weight.
This is your most reliable tool when visuals fail. A 90% silver dime weighs 2.5 grams. A modern clad Roosevelt dime weighs 2.27 grams. That 0.23-gram difference is subtle. But it’s measurable on a cheap digital pocket scale. If it feels surprisingly heavy for its size, you’re holding silver.
2. Hunt for Design Ghosts.
Under a bright LED light, slowly tilt the coin. Look for the faintest raised outlines. These are the remnants of the original design. This is where knowing the chronology is key. If you see the slightest suggestion of a winged cap, it’s a Mercury dime (1916-1945). If you can make out a classical head profile or even a few letters like “LIB” from the headband, it’s a Barber dime (1892-1916). If it’s completely featureless, it could be a worn Seated Liberty (1837-1891) or a Barber that’s given up all its secrets.
3. Consult the Slick Suspects Table.
| Coin Type (Dime) | Years | Key “Ghost” Feature | Weight (g) |
|---|---|---|---|
| Mercury | 1916-1945 | Faint outline of winged cap | 2.5 |
| Barber | 1892-1916 | Trace of head with headband (“LIBERTY”) | 2.5 |
| Seated Liberty | 1837-1891 | Possible faint stars or seated figure | 2.5 |
| Clad Roosevelt | 1965-Present | (Not silver) Copper edge stripe visible | 2.27 |
The weight confirms it’s silver and old. The ghost feature, no matter how faint, tells you which century you’re holding. I identified that slick farmstead find as a Barber. In just the right light, I could see a whisper of Liberty’s nose and brow. It’s a small victory. But solving that puzzle is a huge part of why I love hunting older sites.
A Visual Guide to Old Coins Identification
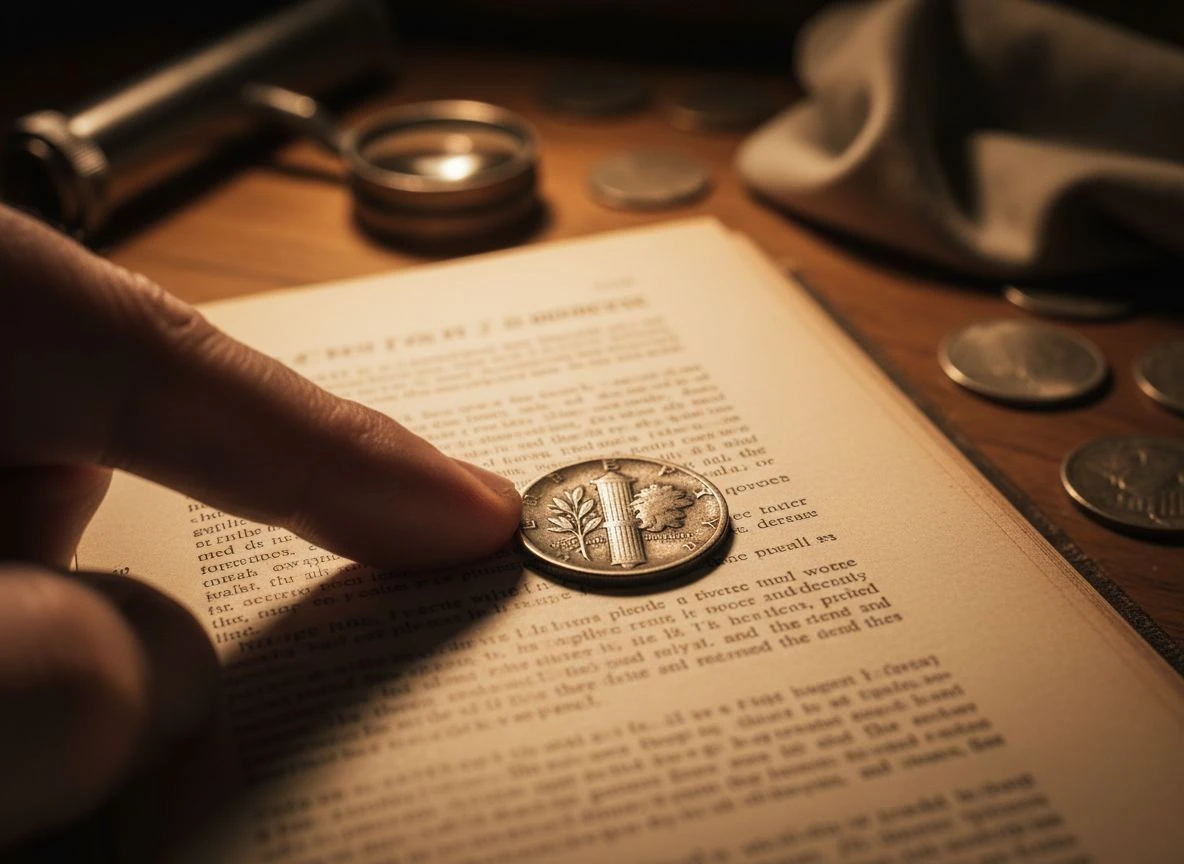
Answer Capsule: When a date is worn, flip the coin. The reverse (tails side) often has bolder, simpler designs. They survive wear better than Liberty’s faded profile. Look for a fasces bundle (Mercury) or a wreath (Barber) on dimes. For larger coins, the figure’s posture on the reverse is your fastest clue.
Here’s a counterintuitive truth I’ve learned from hundreds of worn finds: the back of the coin is often easier to identify than the front. The reverses (tails sides) had simpler, bolder designs. They hold up in the ground. Let’s break down the most common silver finds side-by-side.
Distinguishing Winged Cap from Headband on Dimes
If your silver disc is ~18mm, you’ve got a dime. The obverse (heads) design tells you the era.
- Barber Dime (1892-1916): Liberty faces right. She’s wearing a classical cap with a headband inscribed “LIBERTY.” The profile is more severe than the Mercury’s. On the reverse, look for a simple wreath surrounding the words “ONE DIME.”
- Mercury Dime (1916-1945): Liberty faces left. She’s wearing a winged cap (not a helmet—a common mix-up). The reverse is the dead giveaway: a fasces (a bundle of rods with an axe) wrapped in an olive branch. This bold, central symbol often survives when all else is smooth.
Identify Quarters and Halves by Their Unique Posture
For these larger coins, the reverse design and the figure’s stance on the obverse are your best clues.
- Barber Quarter/Half (1892-1916): Same obverse as the dime—Liberty with headband. The reverse features a heraldic eagle. It often wears into a blurry blob.
- Standing Liberty Quarter (1916-1930): Liberty stands facing you, holding a shield. Key: The reverse eagle is in flight. It’s centered and often clearer than on worn Barbers.
- Walking Liberty Half Dollar (1916-1947): Liberty strides confidently toward the sunrise. This full-figure obverse is unique. The reverse shows a majestic perched eagle on a mountain crag. It’s a stunning, detailed image. Even faded, it’s unmistakable.
Here’s a quick-reference table to laminate or save to your phone:
| Coin Series | Key Dates | Obverse (Heads) Clue | Reverse (Tails) Clue | Silver? |
|---|---|---|---|---|
| Barber Dime | 1892-1916 | “LIBERTY” on headband | Simple wreath | 90% |
| Mercury Dime | 1916-1945 | Winged cap | Fasces & olive branch | 90% |
| Barber Quarter | 1892-1916 | “LIBERTY” on headband | Heraldic eagle | 90% |
| Standing Liberty Quarter | 1916-1930 | Standing figure with shield | Eagle in flight | 90% |
| Walking Liberty Half | 1916-1947 | Liberty striding | Eagle perched on crag | 90% |
Where Are Mint Marks Located on Coins?
Answer Capsule: Mint marks are small letters showing where a coin was made. On U.S. coins, they started in 1838. A missing mint mark usually means Philadelphia. For key coins like Mercury dimes, the mint mark’s location is specific. Check the reverse (tails) side below designs or near key features. A “D” (Denver) or “S” (San Francisco) can multiply a coin’s value exponentially.
I have a confession. For two weeks, I carried a 1916 Mercury dime in my “maybe interesting” pouch. I thought it was a common Philadelphia mint. I’d checked the obverse and squinted at the date. It wasn’t until I showed it to my buddy Mike that he flipped it over. He pointed a loupe just left of the fasces and said, “You know this is a ‘D,’ right?” My heart sank. I’d been holding a key-date coin worth thousands. I had no idea because I didn’t know where to look.
This tiny letter makes all the difference. As Source 3 notes, mint marks were formally introduced on U.S. coins in 1838. Philadelphia, the main mint, traditionally uses no mint mark. Coins from branch mints in Denver (D) and San Francisco (S) carry their mark. These often had smaller productions, creating rarities.
For the coins you’re most likely to dig, here’s exactly where to look:
Barber Dime/Quarter: On the reverse, below the wreath (dime) or below the eagle’s tail feathers (quarter).
Mercury Dime: On the reverse, to the left of the fasces (the bundle of sticks).
Standing Liberty Quarter: On the reverse, below the eagle in flight.
Buffalo Nickel: On the reverse, below the words “FIVE CENTS.”
Why does this matter? A 1916 Mercury dime from Philadelphia (no mint mark) is worth a few dollars. The 1916-D from Denver had a mintage of only 264,000. It’s worth a small fortune. Always do the mint mark hunt. It turns a good find into a great story.
Key Dates and Rarities to Look for in Coin Finds
Answer Capsule: Finding a common-date silver coin is a great day. Finding a key date is a memory that lasts for decades. These are the rare, low-mintage coins that make a detectorist’s heart skip a beat. My rule is simple: if you see one of these dates or mint marks in the field, stop everything. Your hunt is over, and preservation mode begins.
Let’s talk field excitement level. When my buddy Mike and I are out, a call of “Barber dime!” gets a nod. A call of “1916-D Mercury dime!” would cause a full-site freeze. That coin had a mintage of only 264,000 (Source 4). It’s the holy grail of U.S. silver finds. Its value isn’t in its grade—few dug ones are pretty. It’s in its extreme rarity.
Your shortlist of dream finds should include the 1916-D Mercury Dime, the 1909-S VDB Lincoln Cent, and the 1932-D Washington Quarter. These are the “big three” for a reason. They had tiny mintages from key transitional years.
Here’s the critical mindset shift for dug coins: rarity often overrides condition. A worn, pitted 1916-D Merc is still worth serious money. That’s why you must treat a potential key date with extreme care. Don’t just toss it in your pouch with the clad quarters. Gently brush off the dirt. Place it in a separate, soft container. A small plastic pill bottle with a cotton ball is perfect. Don’t clean it further.
Two more crucial notes for your field kit. First, 1964 is the magic year (Source 2, Source 4). It’s the last year for 90% silver in dimes, quarters, and halves. Every ’64 and earlier silver coin is a keeper. Second, know the obvious errors. The 1955 Doubled Die Lincoln Cent is the classic. The doubling on the date and motto is visible without magnification.
Fair warning: you’ll dig a thousand common coins for every one of these. But that’s the thrill. Keep a short key-date list in your detecting bag. When you see that faint “D” or “S” in the right spot, you’ll know. It’s time to switch from hunter to curator.
Use Field Photography and Apps for Coin ID
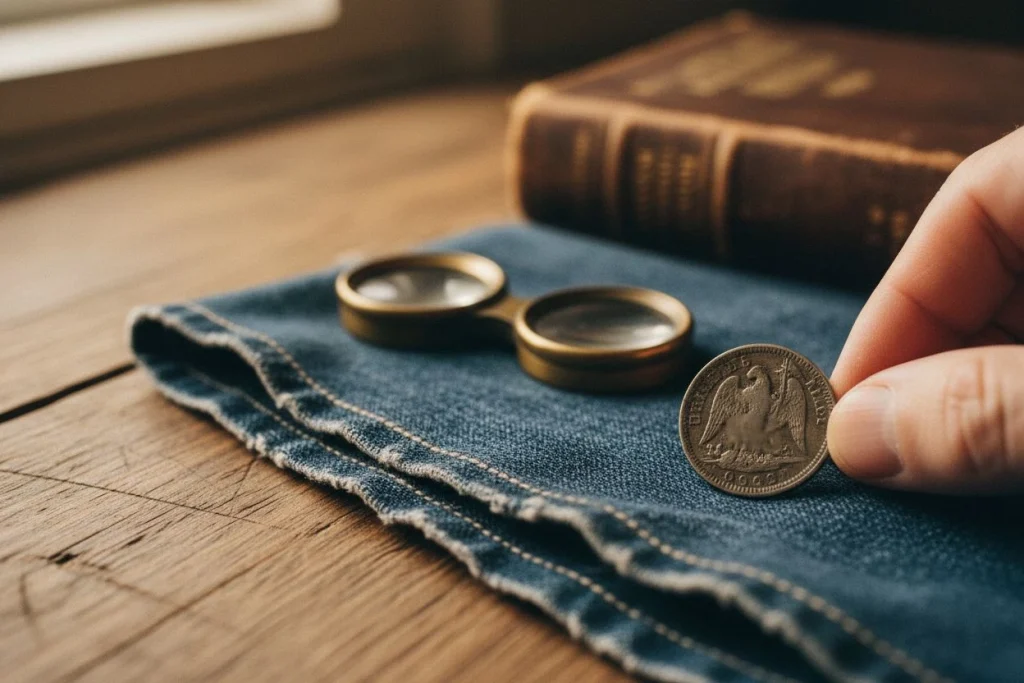
Answer Capsule: Your smartphone is your most powerful field tool after your detector. To get a fast, accurate ID from online communities, you need a clear photo. I’ve gotten IDs on completely slick coins in under 10 minutes. I follow a simple photo formula: use indirect light, take a macro shot for detail, and always include a scale reference like a modern penny.
That worn, featureless disc in your palm doesn’t have to be a mystery until you get home. The key is knowing how to ask for help. You do it by taking a photo that gives experts what they need.
First, lighting is everything. Direct sun creates harsh glare that washes out detail. Find a patch of open shade or turn your body to block the sun. Second, get close. Use your phone’s macro mode (usually symbolized by a little flower) to fill the frame with the coin. Tap the screen on the coin’s surface to focus. Third, always include scale. Place the coin next to a ruler or a common modern coin like a Lincoln cent. This instantly tells helpers its size.
Apps like Coinoscope or PCGS CoinFacts can be brilliant references. But in the field with dirty, worn coins, their AI often fails. I use them more for verification after I have a hunch.
For a real-time answer, I’ll snap my photos and upload them to a dedicated forum like the Friendly Metal Detecting Forum. Title your post with the basics: “Worn silver coin, dime-sized, found in Central CA.” Post your best obverse and reverse shots with scale. The collective eye there is astonishingly fast. I’ve had a coin ID’d as a heavily worn Seated Liberty dime while I was still brushing dirt off my knees. This technique bridges the gap between field curiosity and at-home research perfectly. It is a cornerstone of modern old coins identification.
Your Coin Find as a Piece of Historical Puzzle

Answer Capsule: Identifying your coin is the start, not the end. A dug Barber or Mercury dime is rarely worth a fortune. As our sources note, most are “Fine” grade at best. Its real value is as a timestamp for your site. Finding a Barber dime (1892-1916) versus a Mercury dime (1916-1945) can date the activity layer you’re hunting. Use that clue. Was it a picnic grove in the 1910s? A swimming hole in the 1930s? That date is your prompt to hit the historical maps and newspapers again.
This is where the hobby transforms. It goes from simple treasure hunting into historical detective work. The coin’s identity is the first, crucial piece of evidence. My core belief, after all these years, remains this: We’re not just digging up coins; we’re uncovering stories. Your job is to start reading.

My name is Paul and I am the founder of Detector For Metal, a dedicated resource for metal detecting enthusiasts seeking to uncover historical treasures and connect with the past using the latest technology. As a stay-at-home dad and family man, I’ve found metal detecting to be the perfect hobby that combines family adventure with historical learnings for the whole family.
As a father, I’m deeply committed to passing on this hobby to the next generation of detectorists, starting with my own children. I share advice on everything from metal detecting with kids to exploring the top 10 metal detecting sites you never thought about. My methodical approach to the hobby goes beyond the thrill of discovery—it’s about creating family traditions while preserving history and sharing the stories of those who came before us.