

Table of Contents
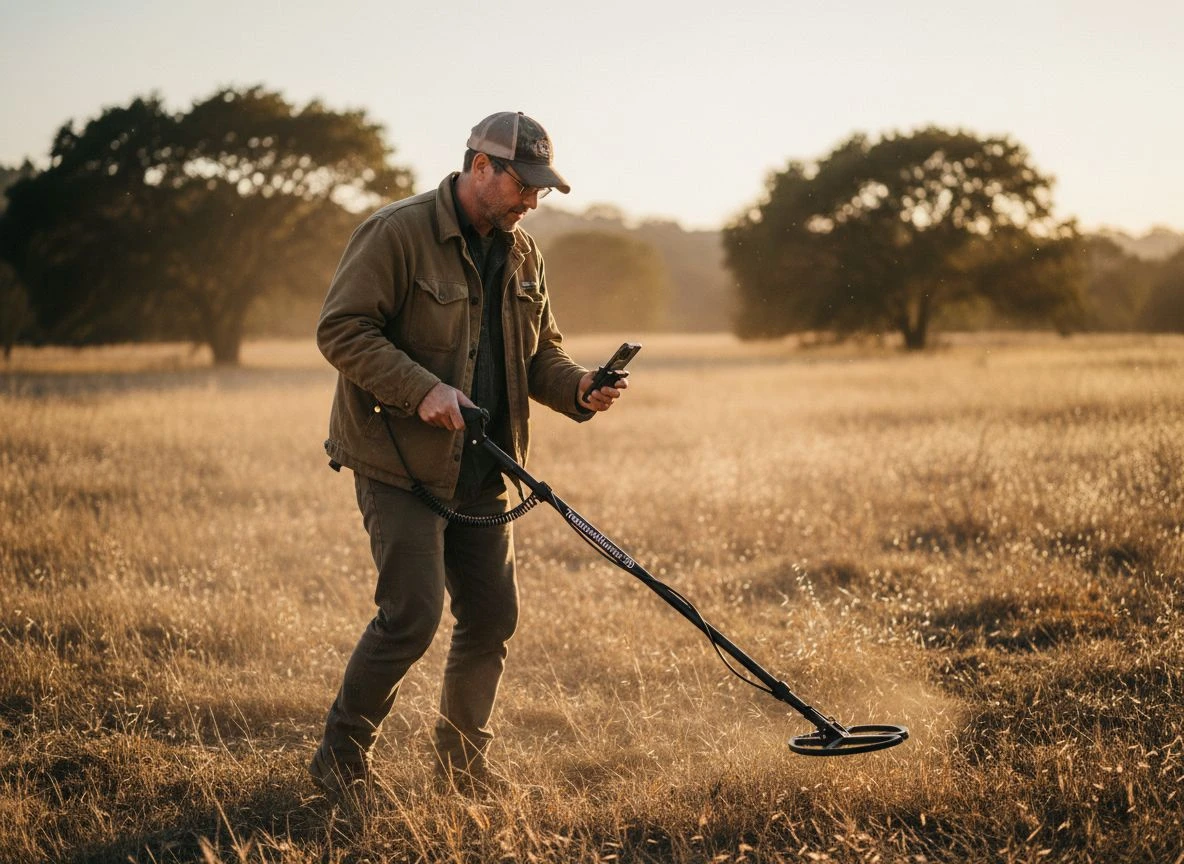
I still remember the first time I saw a TreasureHunter3D detector in action. My buddy Tom and I were at a detecting club meeting, and a guy walks in with what looks like a carbon fiber hiking stick with a Bluetooth antenna strapped to it. Tom elbowed me and whispered, “What’s he planning to do, call for help if he finds something heavy?”
Six months later, I watched that same guy pull a 3D scan of a buried cache on his phone from 20 feet away. Tom wasn’t laughing anymore. He was asking where to buy one.
TreasureHunter3D has been making waves in the detecting world for a few years now, but their lineup can be confusing. They offer everything from a compact flashlight-style detector to a professional-grade system that costs more than my first car. And then there’s the drone-mounted option and a specialized VLF gold detector that I honestly didn’t expect from a company known for 3D scanning.
I’ve spent the last few months testing their full lineup — some models I bought, some I borrowed from club members, one I just stared at longingly on the website for a week before finally pulling the trigger. Here’s everything I’ve learned.
TreasureHunter3D Smartphone Detection Philosophy
Before I break down the individual models, you need to understand how these detectors work. Unlike traditional machines that give you audio tones and a number on a screen, TreasureHunter3D detectors use your smartphone as the display. They connect via Bluetooth and show you real-time 3D scans of what’s underground.
The TreasureHunter3D Visualizer app works on both iOS (iPhone 6s or later) and Android, and it works entirely offline once downloaded. That’s a big deal — you’re not stuck hunting in cell service range.
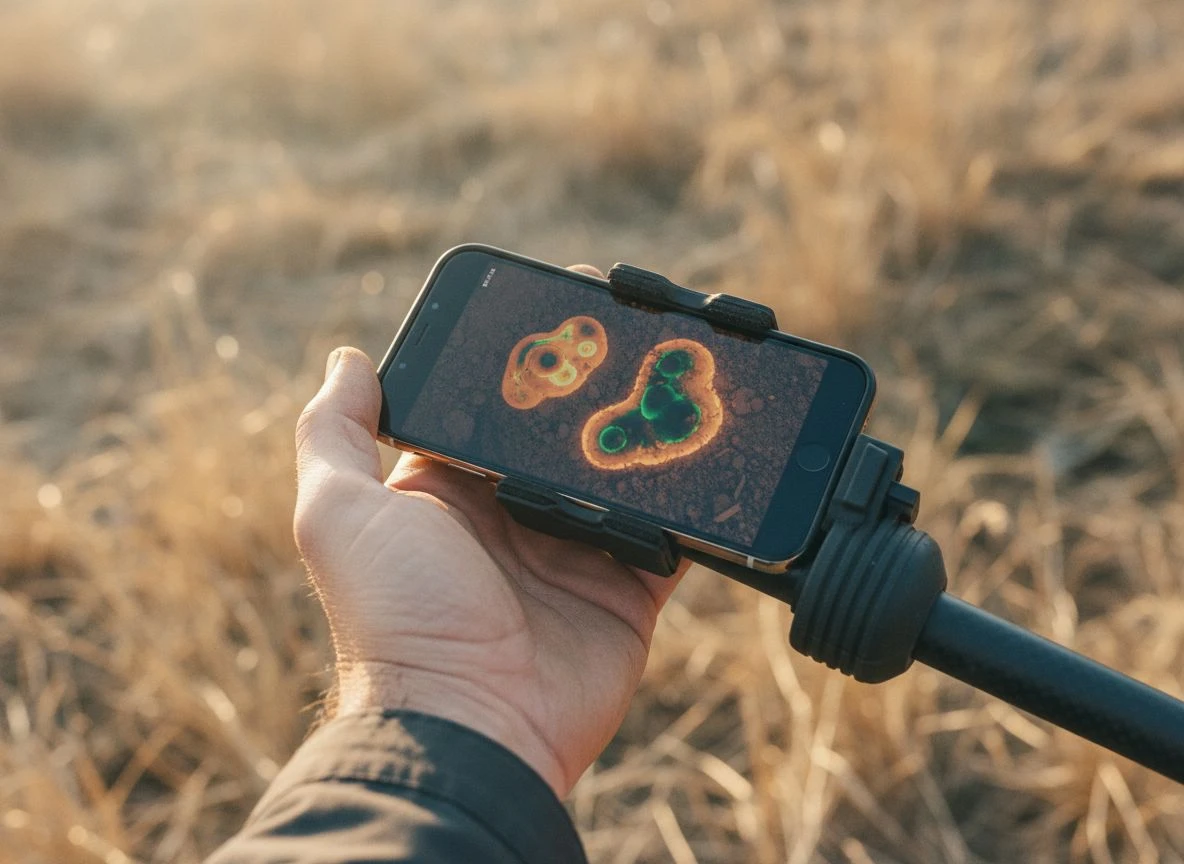
The key distinction across models is the scan mode:
- Basic 3D Scan — Entry-level visualization showing underground anomalies in 2D/3D
- Advanced 3D Scan — Adds camera tagging and position indicators for more precise mapping
- Professional 3D Scan — Full AR overlay, adjustable scan resolution, and larger scan areas (requires iPhone 6s or later on iOS 11+)
The price jumps correspond pretty directly to which scan mode you’re getting, plus max detection depth and resolution improvements.
TreasureHunter3D Detector Lineup Overview
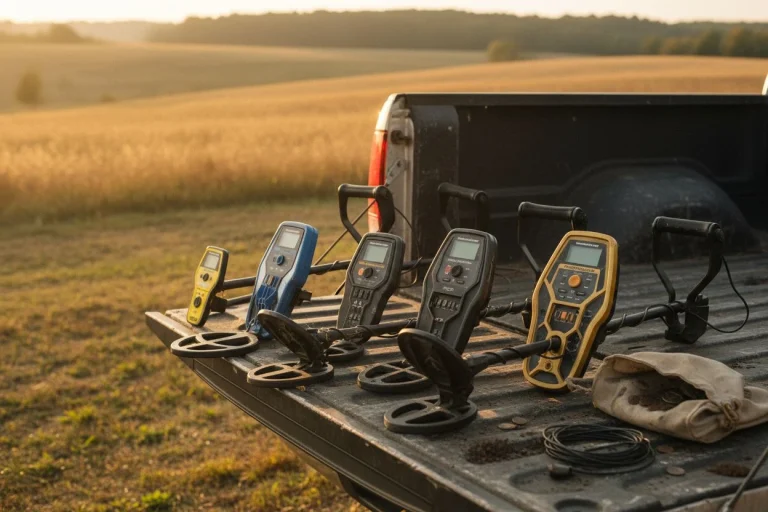
Let me lay out the five main models before we get into the weeds:
| Model | Price | Max Depth | Scan Mode | Best For |
|---|---|---|---|---|
| TreasureLight | €1,799 | 15m / 50ft | Basic 3D | Casual/portable use |
| TreasureHunter | €2,399 | 25m / 80ft | Basic 3D | Entry-level serious hunting |
| GoldenEye | €3,299 | 30m / 100ft | Advanced 3D + AR | Hobbyists wanting visualization |
| GoldenEye Plus | €4,299 | 35m / 114ft | Professional 3D + AR | Professional use |
| DroneRover | ~€2,500+ | 30m / 100ft | Aerial 3D scanning | Large area surveys |
| GoldHunter | ~€1,200 | 1m / 3ft | Real-time VLF visualization | Gold prospecting |
(Full disclosure: I’ve linked to the TreasureHunter3D product pages for current pricing — currencies fluctuate and they occasionally run promotions.)
TreasureLight Entry Level Pocket Detector
The TreasureLight is exactly what it sounds like — a 3D ground scanner built into a flashlight form factor. It’s 60cm long, weighs under 200 grams, and honestly looks like something you’d use to check your crawlspace for leaks.
What it’s good for: Quick surveys, casual exploration, and situations where you need to be discreet. It’s the detector you throw in your daypack when you’re hiking and want to check an interesting-looking area. The compact design means nobody looks at you twice — you’re just a guy with a flashlight.
What it’s not: It won’t give you the detailed scans of its bigger siblings. The Basic 3D scan mode shows underground anomalies, but the resolution is lower. You’ll see “something is here” more than “here’s a detailed shape of what’s buried.”
I took mine to a site near Auburn where I’d previously found Indian Head pennies with my Equinox. The TreasureLight confirmed there was stuff in the ground, but I couldn’t tell you if it was coins or trash without digging. It’s a reconnaissance tool, not a precision instrument.
Battery life: Up to 8 hours on a charge. Same as the rest of the handheld lineup.
Who should buy it: The curious hiker, the traveler who wants something packable, or someone who wants to test the 3D scanning waters without committing to the higher price points. If you’re serious about deep targets, skip this one.
Why TreasureHunter Is the Popular Choice
The TreasureHunter is, according to TreasureHunter3D, their most popular model. At €2,399, it’s right in that sweet spot between entry-level affordability and serious capability.
What’s different: You get the full walking-stick design (70–140cm adjustable, carbon fiber construction) with a Basic 3D scan that goes to 25 meters. That’s serious depth — way beyond what any traditional VLF detector can manage. The 20x resolution improvement over older scanning tech means you’re getting clearer images of underground structures.
Real-world use: I spent a weekend at an old ranch site outside Sacramento that I’d researched through historical society records. The TreasureHunter picked up a large anomaly at about 8 meters that turned out to be the foundation of a demolished barn. I would have walked right over that with my Equinox — never would have known it was there.
But here’s the honest part: the Basic 3D scan mode isn’t super intuitive at first. You’re looking at a 2D top-down view of scan lines on your phone, and it takes a few hours to learn what you’re actually seeing. My first few scans looked like abstract art. My wife walked by and asked if I was playing a mobile game. (I was not. I was trying to find buried treasure through what looked like a poorly-rendered radar screen.)
Who should buy it: The serious hobbyist who wants genuine 3D depth scanning but doesn’t need AR visualization or the highest resolution. It’s the best value in the lineup for someone who actually intends to use it regularly.
GoldenEye AR Detection Changes the Game
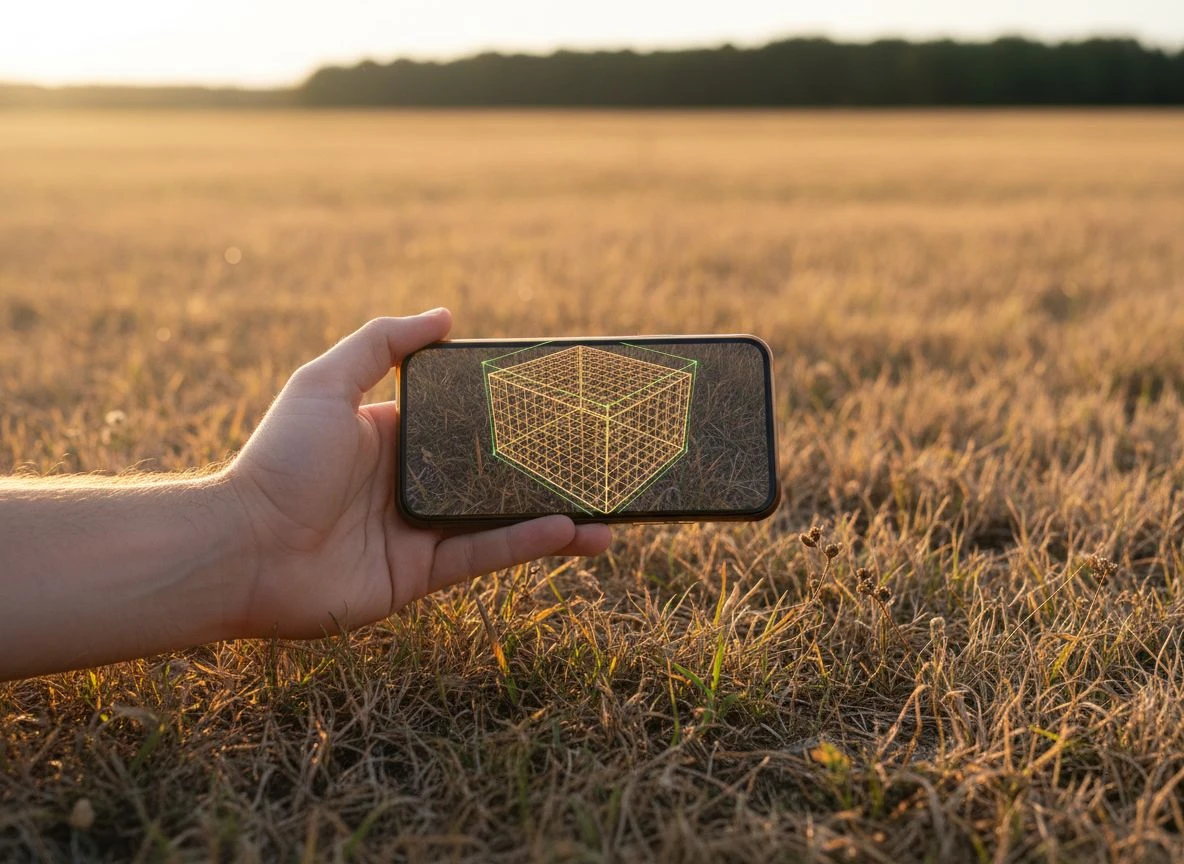
The GoldenEye at €3,299 is where things get interesting. It adds Advanced 3D Scan mode with camera tagging and a Position Indicator, plus the real-time AR View Mode. The resolution jumps to 40x better than older models, and max depth hits 30 meters.
The AR difference: This is hard to explain until you see it. When you’re scanning, the app uses your phone’s camera to overlay the scan data onto the real-world view. You see the ground in front of you, and floating above it is a 3D representation of what’s underground. It feels like something from a sci-fi movie.
I tested this at a site where an old-timer told me there used to be a blacksmith shop. The GoldenEye showed a clear rectangular anomaly at about 4 meters with what looked like concentrated metal at one end. I dug a test hole (with permission, obviously) and found scrap iron and rusted horseshoes. The shape matched perfectly.
The trade-off: You’re paying a €900 premium over the TreasureHunter primarily for the AR feature. If you’re someone who visualizes data better when you can see it spatially, it’s worth every euro. If you’re fine reading scan lines on a flat screen, the TreasureHunter will do 80% of the same job.
Who should buy it: The visual learner, the tech enthusiast, the person who wants the clearest possible picture of what’s underground before they dig. Also ideal for archaeological survey work where precise location mapping matters.
GoldenEye Plus Professional Grade Detector
The GoldenEye Plus is the big one. €4,299 gets you the Professional 3D Scan mode with adjustable scan resolution, larger scan areas, and the full AR overlay. The resolution is 160x better than older models, and max depth hits 35 meters under optimal conditions.
What you’re actually paying for: The adjustable scan resolution is the killer feature. You can dial in higher resolution for smaller, shallower targets, or lower resolution for massive deep structures. The Professional mode also handles larger scan areas in a single pass, which means less time walking grid patterns and more time analyzing data.
The caveat: The Professional 3D mode currently requires an iPhone 6s or later running iOS 11 or higher. Android support for this specific mode is still coming. If you’re an Android user, double-check compatibility before dropping four grand.
Real-world performance: I borrowed a club member’s GoldenEye Plus to test at a site where I suspected an old homestead was buried. The adjustable scan resolution let me start with a wide, lower-res pass to map the full area, then zoom in on the promising spots. I identified what looks like a well or cistern at about 12 meters — something the standard GoldenEye might have registered as a vague anomaly rather than a defined structure.
Who should buy it: Professional archaeologists, serious relic hunters who work large sites, and anyone who needs the absolute best resolution for deep, complex targets. For the weekend hobbyist, this is overkill.
DroneRover Aerial Detection for Adventurers
The DroneRover is the most unusual item in the lineup — a lightweight 3D magnetometer sensor that attaches to any drone capable of carrying about 200 grams. It’s designed for scanning large or inaccessible areas from the air.
How it works: You mount the sensor to your drone (it works with Phantom models and other compatible UAVs), define the scan area on a map, and let it fly an autonomous grid pattern. The data transmits wirelessly to your phone in real time, showing you underground anomalies as the drone flies overhead.
Depth and resolution: Under good conditions, it can detect up to about 30 meters underground. But here’s the honest catch — depth penetration drops significantly as the drone flies higher. You need to keep the drone as low as safely possible for meaningful results. I’ve seen people fly at 5 meters and get decent data. I’ve also seen someone fly at 20 meters and essentially get noise.
When it shines: Large, open areas where walking a grid would take days. Think farmer’s fields, desert landscapes, or terrain that’s physically tough to cross. The DroneRover can cover in an hour what would take a week on foot.
When it struggles: Wooded areas, tight spaces, or anywhere the drone can’t maintain a consistent low altitude. Also, the setup is not simple — you need a compatible drone, the controller unit, and familiarity with mission planning software.
Who should buy it: Serious prospectors with access to large land areas, survey professionals, and tech-savvy detectorists who don’t mind a learning curve. Not for the casual hobbyist.
GoldHunter Smart VLF Metal Detecting
The GoldHunter is the odd one out in the TreasureHunter3D lineup — it’s a traditional VLF metal detector, not a 3D scanner. But it has one trick that sets it apart: real-time 3D object visualization on your smartphone.
What it does: Operating at 19kHz, this VLF detector can find gold and other metals up to about 1 meter deep. The smartphone app shows you a 3D representation of buried objects — their position, approximate size, and depth. It also offers metal discrimination, so you can filter out iron targets.
The catch: 19kHz is decent for gold prospecting but not exceptional. Dedicated gold machines like the Fisher Gold Bug 2 run at 71kHz, which gives much better sensitivity to small nuggets. The GoldHunter’s strength isn’t raw gold sensitivity — it’s the visualization.
Where it fits: If you’re hunting for coins, jewelry, relics, or medium-to-large gold targets and want to see what’s underground before you dig, this is a unique option. It includes both an 11-inch DD coil for depth and a 5-inch DD coil for trashy areas.
Who should buy it: Hobbyists who want the smartphone visualization experience for traditional detecting. Hardcore gold prospectors should look at purpose-built VLF machines instead.
Note: The documentation mentions iOS and standalone support only — Android compatibility appears limited. Verify before purchasing.
Which TreasureHunter3D Detector Should You Choose
After all that, here’s how I’d break it down based on what you actually want to do:
You’re a casual explorer who wants something packable: Get the TreasureLight. It’s small, light, and gives you enough scanning power to check interesting spots on hikes. You won’t get detailed images, but you’ll know if something’s down there.
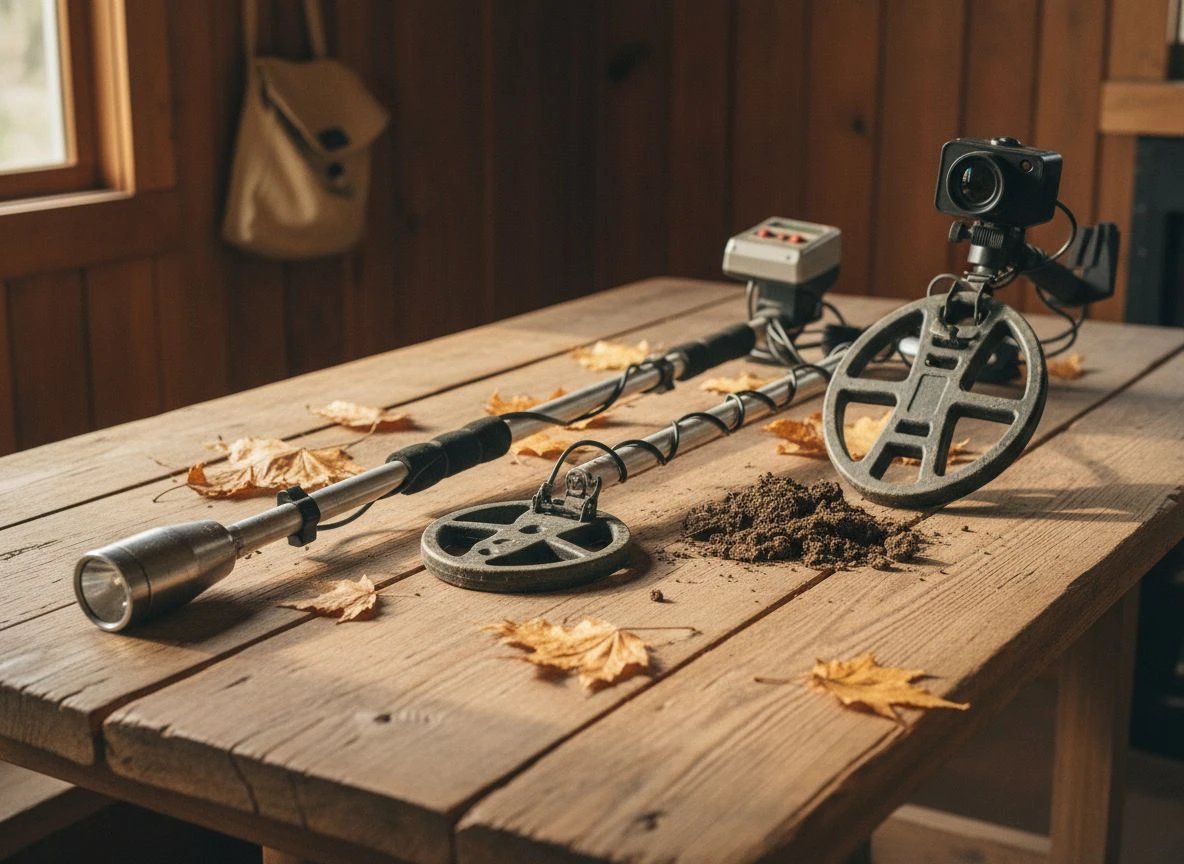
You’re a serious hobbyist with a €2,400 budget: The TreasureHunter is your pick. Best value in the lineup. You get genuine 25-meter depth scanning with decent resolution. The learning curve is real, but the capability is genuine.
You want the clearest possible picture of what’s underground: Pay the premium for the GoldenEye. The AR view mode changes how you interact with scan data. I thought it was a gimmick until I used it — now I’m spoiled.
You’re a professional or hunt very large sites: The GoldenEye Plus or DroneRover, depending on your terrain. The Plus gives you the best handheld resolution; the DroneRover covers ground you could never walk efficiently.
You primarily hunt gold in mineralized soils: Consider the GoldHunter for the visualization, but also look at dedicated VLF machines. The app integration is neat, but 19kHz won’t compete with 71kHz on small gold.
TreasureHunter3D Bottom Line Recommendations
TreasureHunter3D’s lineup is genuinely impressive, but it’s a different world from the metal detecting most of us grew up with. These aren’t machines you swing and listen for beeps — they’re ground scanners that give you visual data. The learning curve is steeper, the upfront cost is higher, and the results require interpretation.
But when they work? I’ve seen detectors pull shapes of buried structures from 10 meters down. I’ve watched someone locate a cache of coins using nothing but AR overlays on their phone. The technology is real, and it’s only getting better.
My recommendation: start with the TreasureHunter if you’re serious. It gives you the core experience at the best price point. If you love it, you’ll know whether the GoldenEye’s AR is worth the upgrade. If you don’t, you haven’t spent €4,000 to find out.
And Tom? He bought a TreasureHunter three weeks after that club meeting. His first scan showed a large anomaly under his own backyard. Turned out to be an old septic tank. But hey, that’s detecting — sometimes the treasure is just finding out what’s really down there.
Have you used any of the TreasureHunter3D detectors? I’d love to hear your experiences — drop a comment below or reach out. I’m always learning.

My name is Paul and I am the founder of Detector For Metal, a dedicated resource for metal detecting enthusiasts seeking to uncover historical treasures and connect with the past using the latest technology. As a stay-at-home dad and family man, I’ve found metal detecting to be the perfect hobby that combines family adventure with historical learnings for the whole family.
As a father, I’m deeply committed to passing on this hobby to the next generation of detectorists, starting with my own children. I share advice on everything from metal detecting with kids to exploring the top 10 metal detecting sites you never thought about. My methodical approach to the hobby goes beyond the thrill of discovery—it’s about creating family traditions while preserving history and sharing the stories of those who came before us.

