Table of Contents

If your best finds live in a shoebox under the bed, you’re not preserving history. You’re just collecting clutter. I faced that truth five years in. The act of documenting metal detecting finds felt like extra work. My “collection” was in a big IKEA box in the garage. It was labeled “Cool Stuff.” Inside was a jumble of buckles, buttons, and worn coins. It was a physical diary of every hunt.
One day, my daughter pulled it out. She held up a tarnished brass button. She asked, “What’s this one’s story, Dad?”
I could tell her about the 1903 Barber dime from the old swimming hole. I could describe the cavalry button from the camp near the river. But for every item I could place, there was another I couldn’t. A generic flat button. Some mismatched suspender clips. A corroded wheat cent with no site info. I’d forgotten to use my flips. I was hoarding objects, not curating stories. I wasn’t documenting my metal detecting finds properly.
That moment changed everything. I had a pile of relics, not a legacy. This guide is about fixing that. We’ll move from just collecting to actively curating. We’ll cover sorting with purpose. We’ll discuss archival preservation and digital backup. We’ll explore how to share your finds in ways that matter. Let’s turn that pile into a story worth keeping.
A Curator’s Method for Documenting Metal Detecting Finds
Curation is selective storytelling. That’s the key mental shift. You’re not cataloging every single thing you dug up. You’re choosing the artifacts that tell the best story. Together, they form a narrative about a place and its people. It turns a pile of relics into history.
Start with the “clumping” method. Dump all your finds from one site onto a big table. Sort them into broad piles: coins, personal items (buttons, jewelry), military relics, and period-specific trash. Your first job is to look for the story between the piles. Does one category dominate? A site with mostly flat buttons and thimbles whispers “domestic life.” A site with musket balls shouts “military activity.”

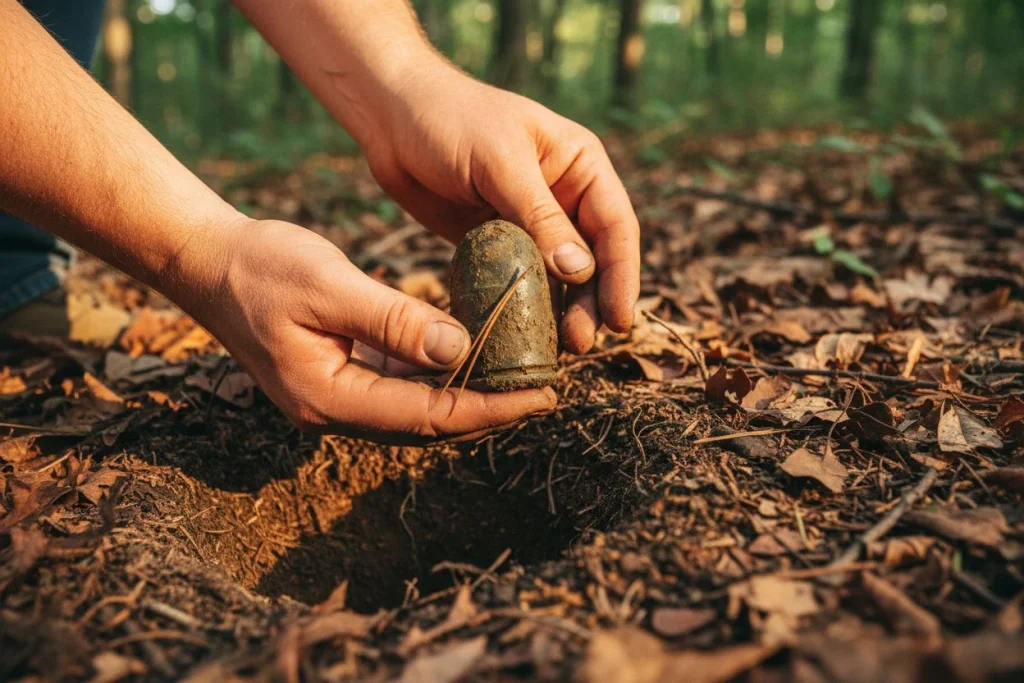
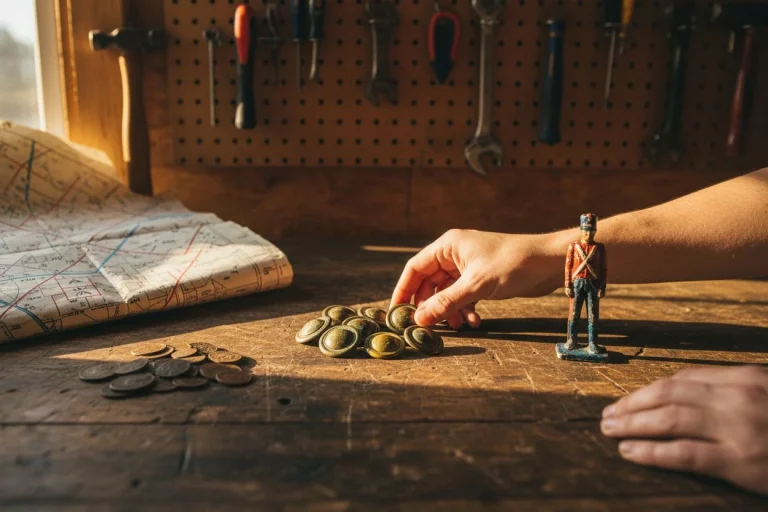
For each item, ask one question. “Does this object tell a unique part of this site’s story?” A common 1920s wheat cent might not make the cut if you have ten. But a single, battered 1870s toy soldier? That’s a keeper. I found one in a field old maps showed as empty. Alone, it was neat. Then I checked a Sanborn fire insurance map. I found a schoolhouse stood there in the 1880s.
Suddenly, the soldier was a poignant story—a child’s lost treasure. The research framed the artifact. This all starts with knowing what you have. My guide on how to identify old coins is the first step. It turns an unknown disc of metal into a dated piece of history. You can then place it in context.
You’re building a cast of characters for your site’s story. Be ruthless. A curator’s power lies in what they choose to leave out.
The Fundamentals of Preservation and Storage
Your most important job isn’t just finding history. It’s keeping it safe for the next person. Proper preservation stops the clock on decay. You need the right materials and environment. This prevents the damage my old IKEA box caused. This is a core part of documenting metal detecting finds.
The goal is simple: isolate your finds from what destroys them. The enemies are moisture, acids, pests, and light. Here’s the detectorist’s basics.
Preserving Paper, Fabric, and Leather Finds
Fragile finds need gentle care. These include old letters, photos, fabric scraps, or leather. Never laminate anything. It’s irreversible and traps damaging chemicals. Use acid-free and lignin-free folders or clear polyester sleeves. Look for “archival” or “museum-quality” labels. These won’t leach acids. Those acids make paper yellow or leather crack. For delicate cloth, sandwich it between acid-free tissue paper. Store it in a flat box.
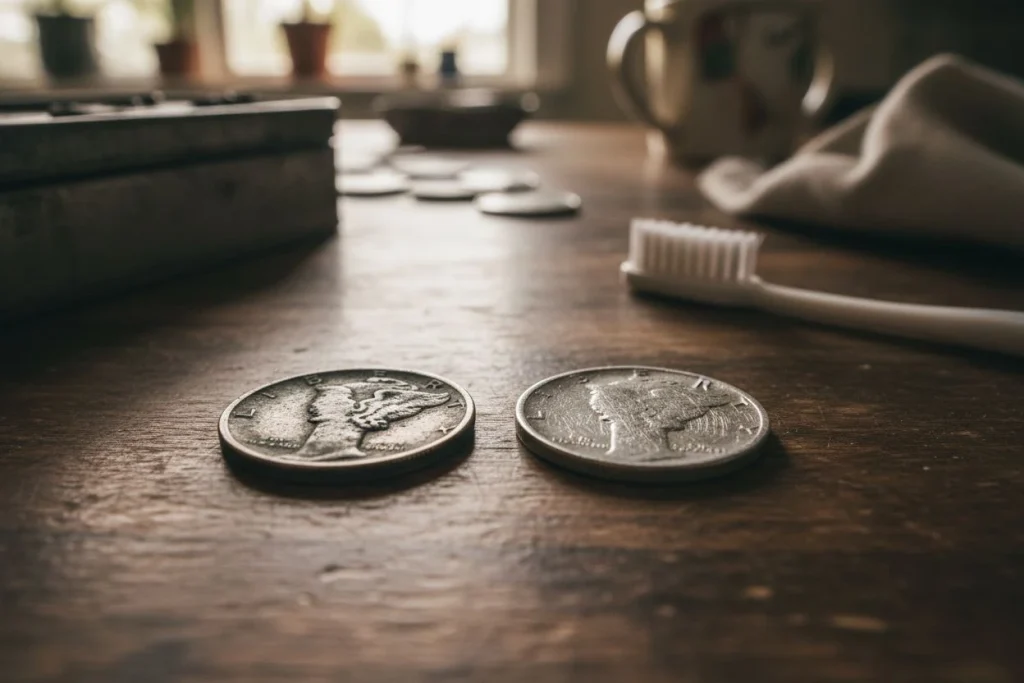
How to Properly Store Metal Relics and Coins

This is where most of us need to adjust. First, the cardinal rule: do not clean your coins. As I detail in my guide on why cleaning old coins destroys value, it’s often the worst thing you can do. For storage, the enemies are moisture and corrosive acids. These acids come from some plastics and wood. Store individual items in inert plastic flips. These should be made from Mylar or polyethylene. For bigger relics like buckles, wrap them in acid-free, unbuffered tissue paper. Use plastic-free containers like acid-free cardboard boxes. Avoid PVC-based plastics at all costs. They off-gas and cause “weeping” corrosion.
Creating the Ideal Home Archive Environment
Where you store your collection matters as much as how. Attics, basements, and garages are terrible. They swing between extreme temperatures and high humidity. This invites mold and speeds up corrosion. Pests love them too. You want a stable, interior closet. It should be cool (below 75°F), dry, and dark. Consistency is key.
Archival Starter Kit Checklist:
- Acid-free document boxes (for paper/books)
- Acid-free tissue paper (for wrapping metals/textiles)
- Polyester sleeve or Mylar coin flips
- Archival-quality photo albums
- #2 pencil or pigment-based pen for labeling
- A simple hygrometer/thermometer to monitor your closet
Start here. You don’t need a museum’s worth of supplies. You just need the right ones. For more on building a research-backed collection, see my guide on how to research old properties for detecting.
Digitizing Your Collection: A Modern Archive
A digital archive isn’t just a backup. It makes your curated collection searchable, shareable, and durable. The goal is to turn physical objects into accessible data. This is where documenting metal detecting finds becomes a powerful modern practice.
First, systemize your files. Use a consistent naming convention. I use the “Who-What-When-Where” format: Edgerton_1883SeatedDime_OldFairgrounds_2025-04-15.jpg. That tells me everything at a glance. The “where” is critical. It ties directly to the site research. Research like those Sanborn fire insurance maps gave the find its context.

Next, protect those files with the “3-2-1 Backup Rule.” Keep one copy on your computer. Keep a second on an external drive. Keep a third off-site, like in a cloud service. Hard drives fail. Clouds can have issues. Using both is the only safe bet.
For digitizing, match the tool to the artifact. A flatbed scanner is best for flat items. These include documents, maps, or coins. Use a clean, non-reflective surface. For 3D relics like a belt buckle, use your phone’s camera. Use a simple neutral background. Capture multiple angles. Make sure your metadata includes location notes. Those notes tell the real story. Metadata is the file’s embedded info.
How Do You Write a Find’s Provenance Story?

This step turns your organized collection into a meaningful legacy. A “finding aid” is just a one-page guide. It’s like a museum placard for a shoebox. It lets anyone understand the significance. They won’t need you there to explain. Your kids, grandkids, or a local historian can pick it up.
This is where curation becomes storytelling. The power is in the connections. A coin isn’t just a coin. It’s evidence of commerce at a specific site. A button supports the story of who was there.
I made a simple binder for my kids. It had finds from an old swimming hole. It had photos of the relics. It had a copy of the 1922 Sanborn map. It had a paragraph I wrote called, “A Day at the 1920s Swimming Hole.” Suddenly, a corroded nickel and a harmonica reed became pieces of a tangible past. The key is to label every item with a card. The card should describe the object and its historical context.
Your finding aid can be this simple:
- Collection Title: The Old Fairgrounds Finds
- Date Range of Artifacts: 1898-1941
- Location Found: Southeast corner of Main & 5th, per 1910 map
- Historical Context: Site of the county fair until 1942. Items reflect concessions, rides, and personal losses.
- Item List: 1901 Indian Head cent, brass roller coaster token, 3 suspender clips, etc.
Writing this lifts a find from a cool object to a historical document. You squeeze your research into a narrative. It’s the same principle I used researching a Civil War camp. There, connecting a single button to troop movements told a deeper story. Your paragraph is the thread. It ties the physical evidence to the people before you. This deep research is what transforms a simple hunt, much like the process in my guide on finding ghost towns with a metal detector.
Choosing Private Platforms to Share Your Collection
Think about your ideal audience first. Are you preserving stories for your grandkids? Or sharing technical details with fellow detectorists? Private sharing is about intentional curation. You control the narrative, the pace, and the platform. You create a lasting gallery, not a fleeting feed.
Securely Sharing Finds With Family Members
For family, the goal is legacy, not likes. I make annual photo books through a service like Shutterfly. I put in the year’s best finds, site maps, and the short stories behind them. It’s a real heirloom. For live updates, a shared, organized album on Google Photos works great. I’ll add a newly conserved button. My caption isn’t just “Look!” It’s the full context. “Brass uniform button, circa 1880s, found at the old stagecoach stop. Likely from a driver’s coat.” Some friends use a private Substack newsletter for extended family. They send a quarterly “dig report.” These are all curated experiences.
Sharing Your Research With Fellow Detectivists
For your detecting buddies or club, skip Facebook’s algorithm. I share deeper dives on a password-protected page on my blog. There, I can post high-res photos, overlay maps, and full research citations. Dedicated forum threads are another great tool. Use them for focused discussion on a specific site. Avoid the chaotic general boards. For my local club, I often build a digital slideshow presentation. This is the antidote to random social media posts. It’s purposeful, detailed, and adds real value. Even video can be part of this. Share directly via unlisted YouTube links to a select few.
Planning Your Detecting Legacy and Archive
Let’s talk about the part we usually avoid. What happens to your curated stories and data when you’re not around? A true archive must outlive its creator. The goal is to make sure your years of work don’t become a digital locked box. You don’t want them deleted in a server cleanup.
The first step is practical maintenance. I check my file readability once a year. I plan to migrate everything to a new storage medium every five years. This avoids tech obsolescence. But that’s just upkeep. The legacy plan is about access. Start by making a simple “Read Me” text file. Put it in your main archive folder. Include clear instructions on your folder structure. Explain file formats and naming conventions. Then, share the access details. Use a password manager to securely share logins. Share them for cloud storage or blogs with a trusted family member. Have the explicit conversation. Name a “digital executor” in your will. Do this just like you would for physical stuff. Finally, consider a donation plan. A local historical society might want your well-documented collection. These steps turn a personal project into a permanent resource. They secure the work of documenting metal detecting finds.
Curate Your Next Find For Future Generations
True legacy isn’t measured in Likes. It’s the preserved story that outlives the social media feed. The journey we’ve walked through is how you change. You stop being a hoarder of cool stuff. You start being a historian of your own adventures. You build a bridge between a lost object and its story. You make it meaningful for others.
Your next find deserves more than a dusty shoebox. It deserves more than a quick social media post. It deserves a documented place in a narrative you control. That’s the real treasure. The process of documenting metal detecting finds builds that legacy.
Start building that legacy this weekend. Join my newsletter below. I’ll send you my simple Curator’s Checklist and Finding Aid template. It’s the exact one I use. It’ll help you get your first box of finds organized and storied. It’s the best way I know to pass this passion on. I think about this every time I head out detecting with my kids.

My name is Paul and I am the founder of Detector For Metal, a dedicated resource for metal detecting enthusiasts seeking to uncover historical treasures and connect with the past using the latest technology. As a stay-at-home dad and family man, I’ve found metal detecting to be the perfect hobby that combines family adventure with historical learnings for the whole family.
As a father, I’m deeply committed to passing on this hobby to the next generation of detectorists, starting with my own children. I share advice on everything from metal detecting with kids to exploring the top 10 metal detecting sites you never thought about. My methodical approach to the hobby goes beyond the thrill of discovery—it’s about creating family traditions while preserving history and sharing the stories of those who came before us.