Table of Contents
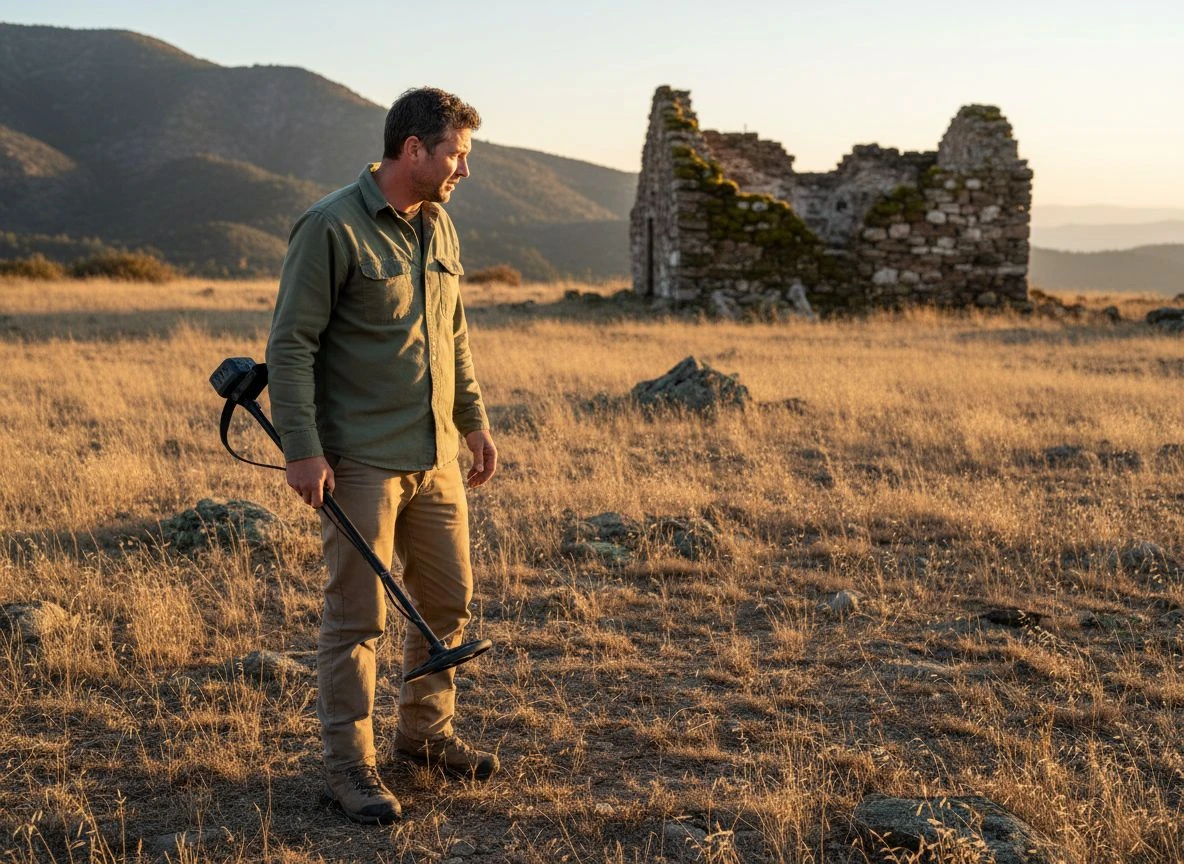
I remember my first serious gold prospecting trip like it was yesterday. My buddy Tom had convinced me to drive four hours into the Sierra Nevada foothills to a spot he’d found on an old mining claim map. “This is where the Mother Lode runs,” he said, pointing at a crumbling stone wall. “There’s got to be gold here.”
Six hours later, we’d dug twenty holes, filled two pockets with “hot rocks,” and had exactly one tiny flake to show for it — which I promptly lost trying to transfer it to a vial. Tom looked at me and said, “Well, that’s gold prospecting.”
He wasn’t wrong. But here’s the thing: that was over a decade ago, and the technology — and my approach — has changed dramatically since then. Modern gold detectors have come a long way. Some 2025 models boost detection depth by up to 40% compared to older ones, according to testing done by metaldetectorspro.com. But depth alone won’t find you gold. You need the right technique, the right coil, and a healthy respect for what you’re actually listening to.
Let me walk you through what I’ve learned from years of chasing yellow metal — from tiny flakes to buried veins — and how modern technology changes the game.
Choosing Between VLF and PI for Gold
If you’re serious about gold prospecting, you need to understand the fundamental split in detector technology. It’s not about brand loyalty — it’s about matching the tool to the target.
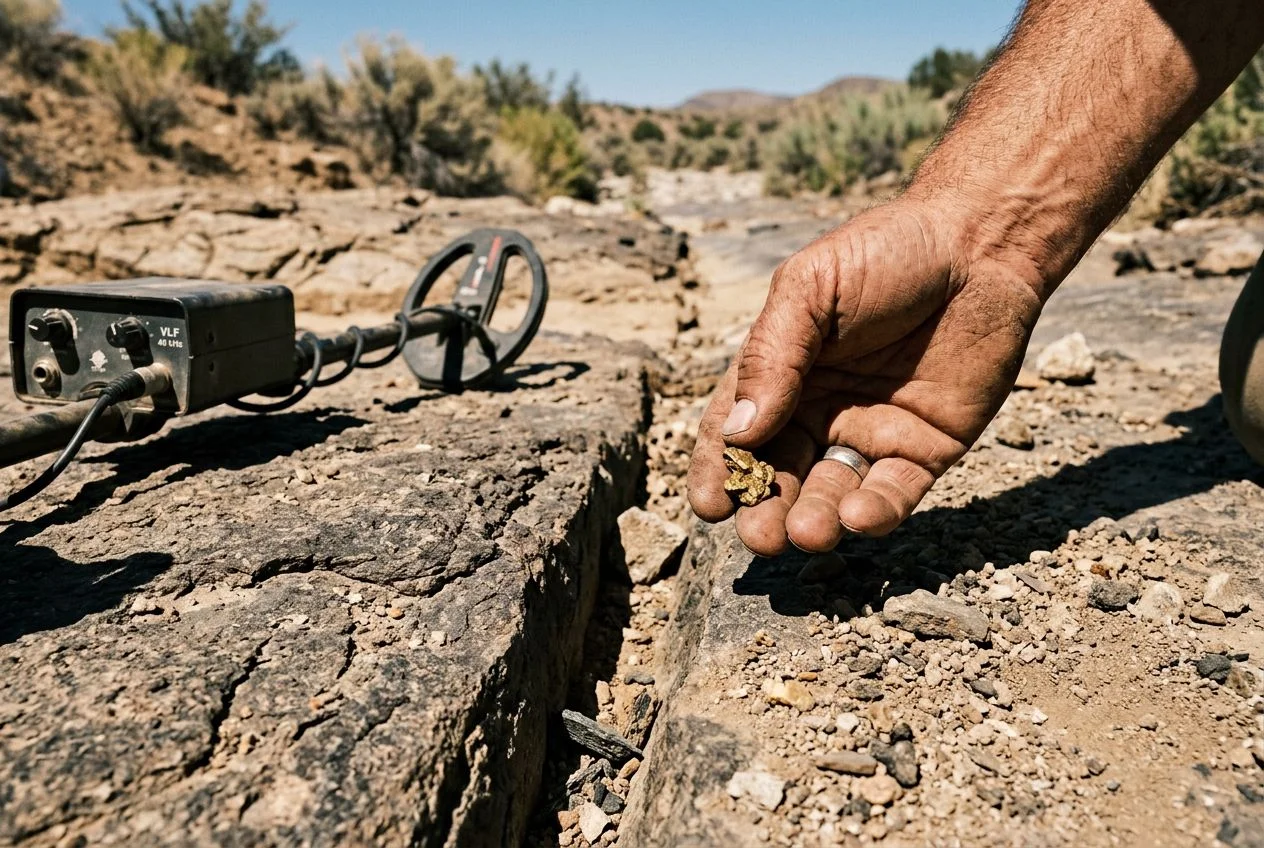
Very Low Frequency (VLF) detectors excel at finding small gold nuggets in relatively benign soil. They operate at higher frequencies — we’re talking 20 kHz and above — which makes them incredibly sensitive to tiny pieces of gold. The Fisher Gold Bug 2, for instance, runs at a blistering 71 kHz. That makes it one of the most sensitive gold detectors ever made for small targets. I’ve used mine to pull sub-gram nuggets from creek beds that other detectors simply walked over.
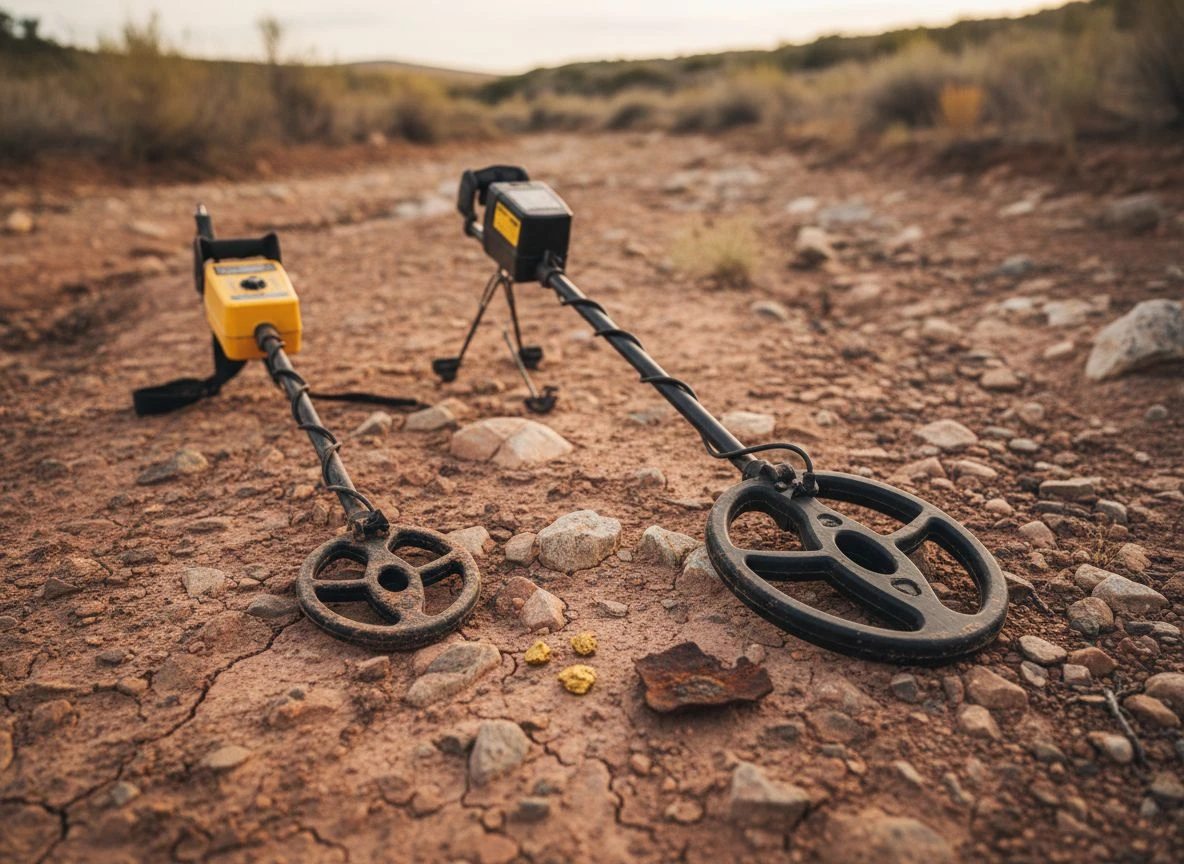
Pulse Induction (PI) detectors, on the other hand, are the heavy hitters. They’re favored by professionals because they punch through mineralized soil like it’s not even there. The downside? They’re less sensitive to tiny gold, and they don’t offer the same target discrimination. But when you’re hunting in heavily mineralized ground — which is exactly where gold tends to hide — a PI machine like the Minelab GPX 6000 can be the difference between a productive day and a frustrating one.
Modern detectors with advanced digital target ID and ground balancing can increase success rates by 30 to 50% compared to general-purpose detectors, according to industry research. That’s not just marketing speak — I’ve seen it play out in the field.
Why Detector Frequency Matters for Gold
Here’s something that took me way too long to learn: gold doesn’t conduct electricity the way other metals do. It gives off a weak, often inconsistent signal that can sit frustratingly close to the iron range on your detector’s display. That’s why dedicated gold detectors run at much higher frequencies than coin-shooting machines.
For VLF detectors, you want at least 20 kHz for gold prospecting. The best dedicated gold detectors push well past that — 45 kHz, 61 kHz, even 71 kHz. For example, the Nokta Makro Gold Kruzer operates at 61 kHz. That lets it detect small gold at significant depths while still offering enough discrimination to cut down on digging every nail within range.
But here’s the tradeoff: higher frequencies don’t penetrate as deep. That’s where multi-frequency machines come in. The Minelab Equinox 800 with its Multi-IQ technology can adapt to both soil conditions and target types at the same time. That gives you a good balance of sensitivity and depth. I’ve used mine in gold mode more times than I can count, and while it’s not as specialized as a dedicated gold detector, it’s versatile enough to handle everything from tiny flakes to deeper targets.
Best Coil Shapes and Sizes for Gold Hunting
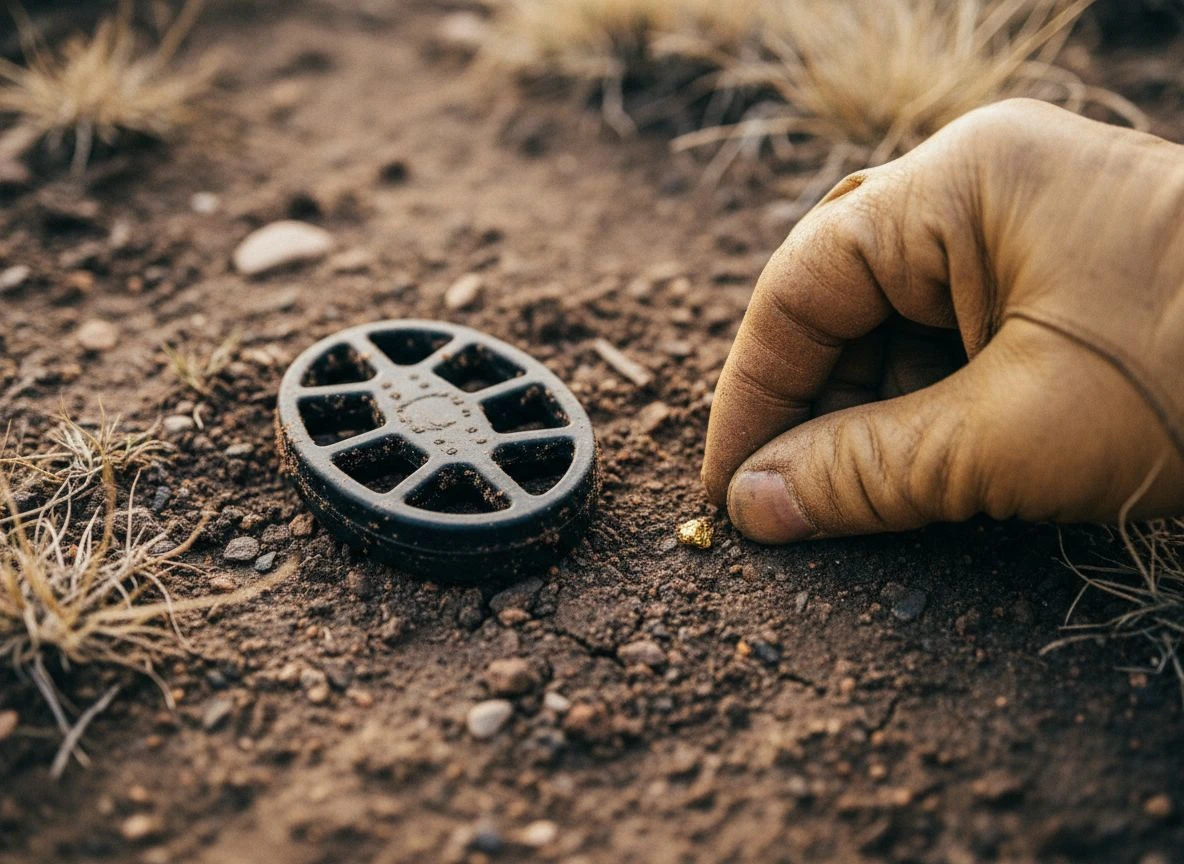
I’ll admit it — I spent my first few years of prospecting using whatever coil came with the detector. Big mistake.
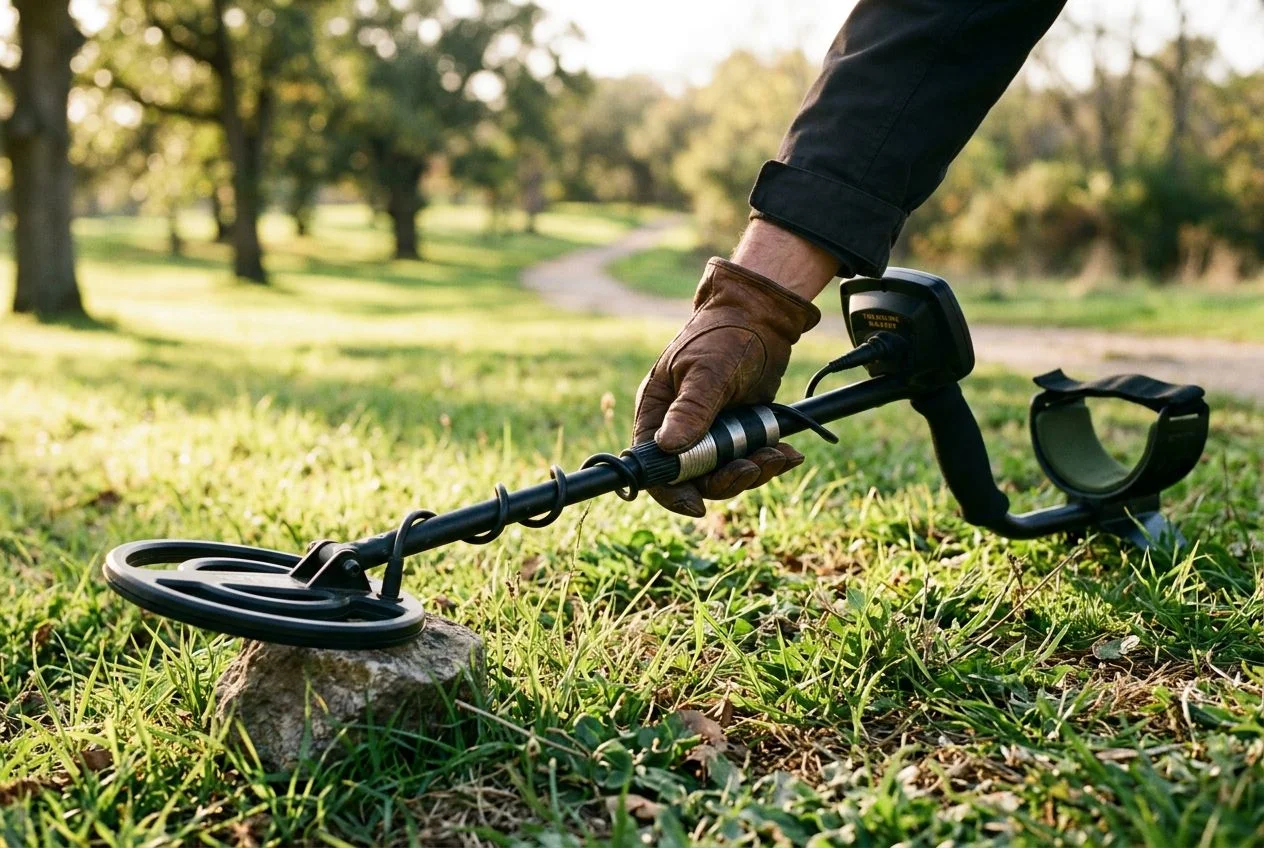
The coil is arguably more important than the detector itself when you’re hunting gold. Here’s why: gold is often found in highly mineralized ground, and a larger coil creates more ground interference. A smaller DD (Double D) coil — something in the 5–6 inch range — gives you a tighter detection field. It also gives you better target separation and way less ground interference.
I learned this the hard way after spending an entire morning digging hot rocks while a friend with a Gold Monster 1000 and its 5-inch coil pulled three small nuggets from the same patch of ground I’d just covered. A different coil strategy can literally double your success rate in mineralized soil.
For serious prospecting in challenging ground, a small DD coil is non-negotiable. You sacrifice some depth, but you gain the ability to actually hear the gold through the noise.
How Does Ground Balancing Improve Gold Finds?
If there’s one skill that separates successful gold prospectors from everyone else, it’s ground balancing. And I do mean manual ground balancing.
Most detectors have automatic ground balance, and for coin shooting or relic hunting, that’s usually fine. But for gold prospecting — especially in heavily mineralized ground — automatic modes can actually work against you. They can treat small gold targets as part of the background mineralization and filter them out. You’re basically filtering out exactly what you’re looking for.
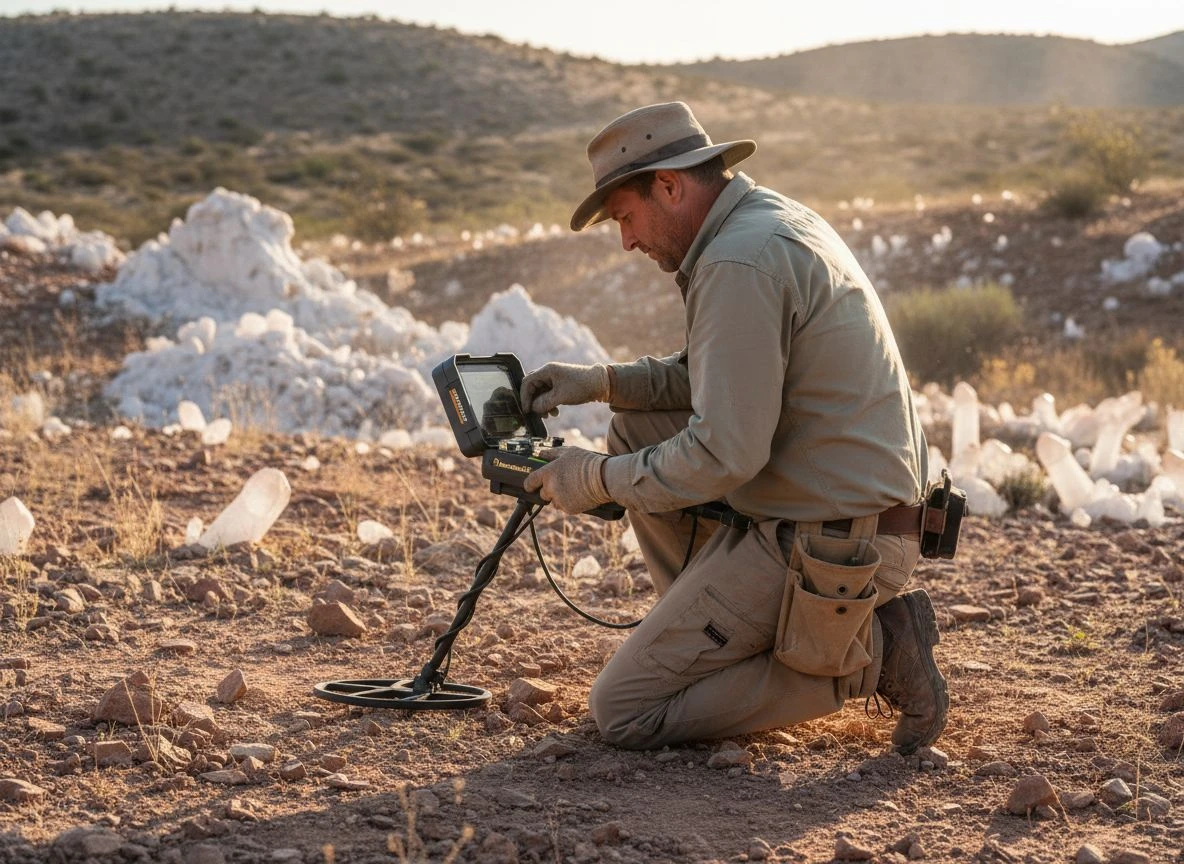
Modern gold detectors typically offer adjustable sensitivity and discrimination settings for specific environments — wet sand, rocky terrain, forested areas — as noted in a recent guide on modern prospecting equipment. But you still need to know how to use those settings.
Here’s my process: I start with manual ground balance, find a clean patch of ground, set the balance, then recheck it every time I move to a different area. Ground conditions can change in a matter of feet, and if you don’t adjust, you’ll miss targets.
Researching Old Maps to Find Gold Veins
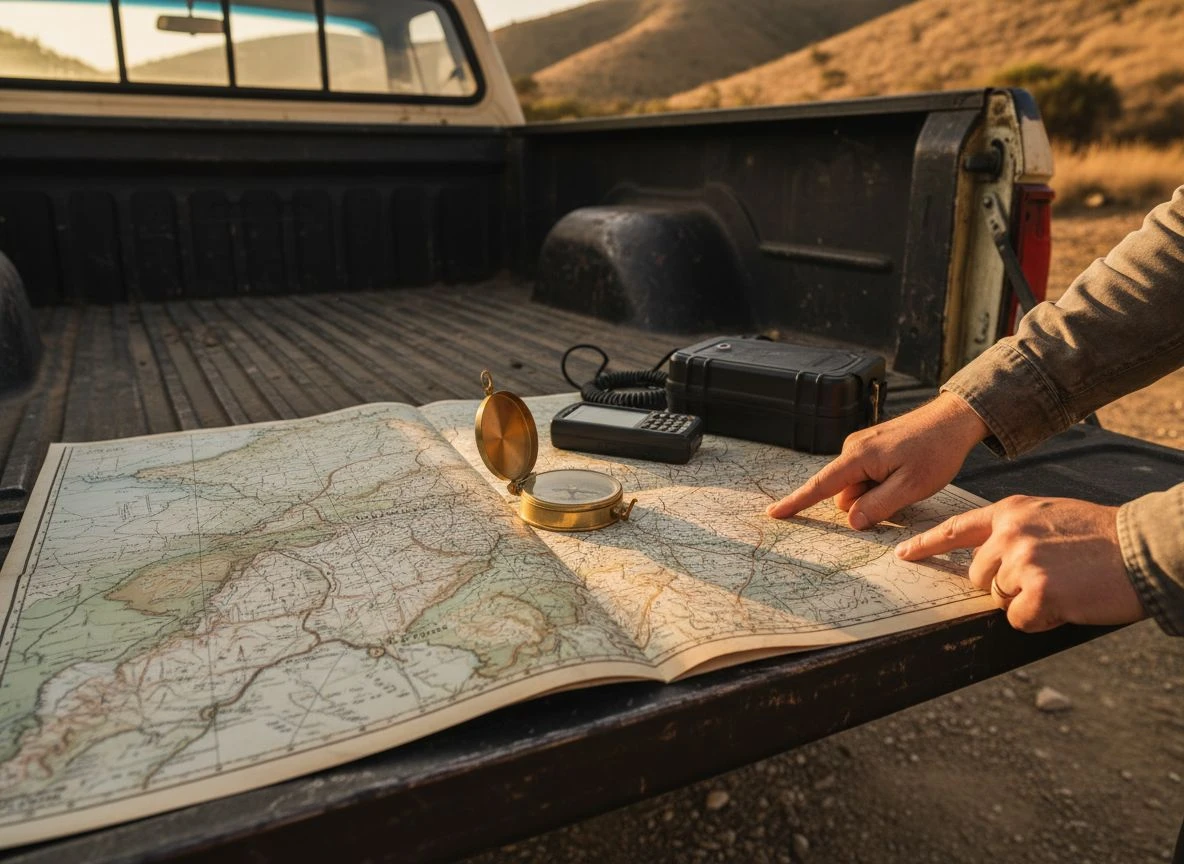
Here’s where my detecting philosophy kicks in. Finding individual nuggets is exciting, but finding a buried vein — that’s the real prize. And to find veins, you need more than a good detector. You need geology.
The folks at OKM Detectors put it perfectly: “Read geology before technology.” Understanding where gold forms — quartz lodes, fault lines, black sand concentrations — tells you where to swing your coil. I’ve spent countless hours poring over geological maps of California’s gold country. I cross-reference them with historical mining claims. And I can tell you: research pays off way more than any detector upgrade ever could.
Advanced tools like Ground-Penetrating Radar (GPR) can map subsurface features and identify mineralized zones where gold is likely deposited. And products like the GoldHunter with its real-time 3D visualization take the guesswork out of interpreting signals — though you still need to know what you’re looking at.
Essential Gear Every Gold Prospector Needs
I’m not going to tell you that you need to spend $8,000 on a detector to find gold. That’s nonsense. But I will say that the right tool for the right job matters.
For beginners serious about prospecting, the Fisher Gold Bug 2 is still one of the best values out there. Its 71 kHz operating frequency gives you unmatched sensitivity to small gold, and at 2.9 pounds, you can swing it all day.
For those who want versatility — the ability to hunt coins and relics and gold — the Minelab Equinox 800 is hard to beat. Its gold mode turns a solid all-around machine into a capable prospecting tool.
And if you’re serious about scanning large areas for vein systems, the DroneRover system lets you survey hundreds of acres from the air with 3D sensing. That’s a game-changer for covering ground that would take weeks to walk.
Honest Truths About Gold Detecting
Gold prospecting is not the same as coin shooting. It’s harder, more frustrating, and more physically demanding. The failure rate is higher. I’ve gone on trips where I came home with nothing but sore shoulders and a bag of hot rocks.
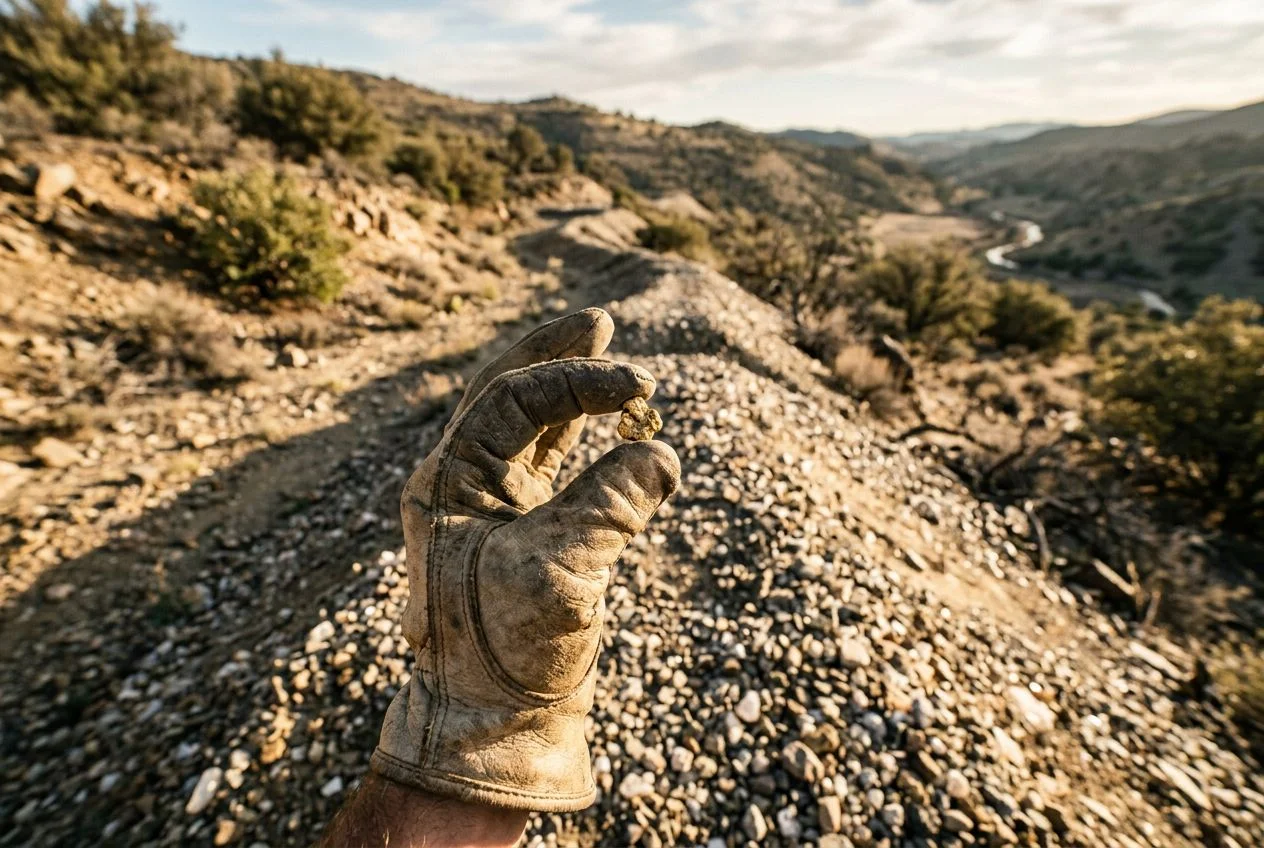
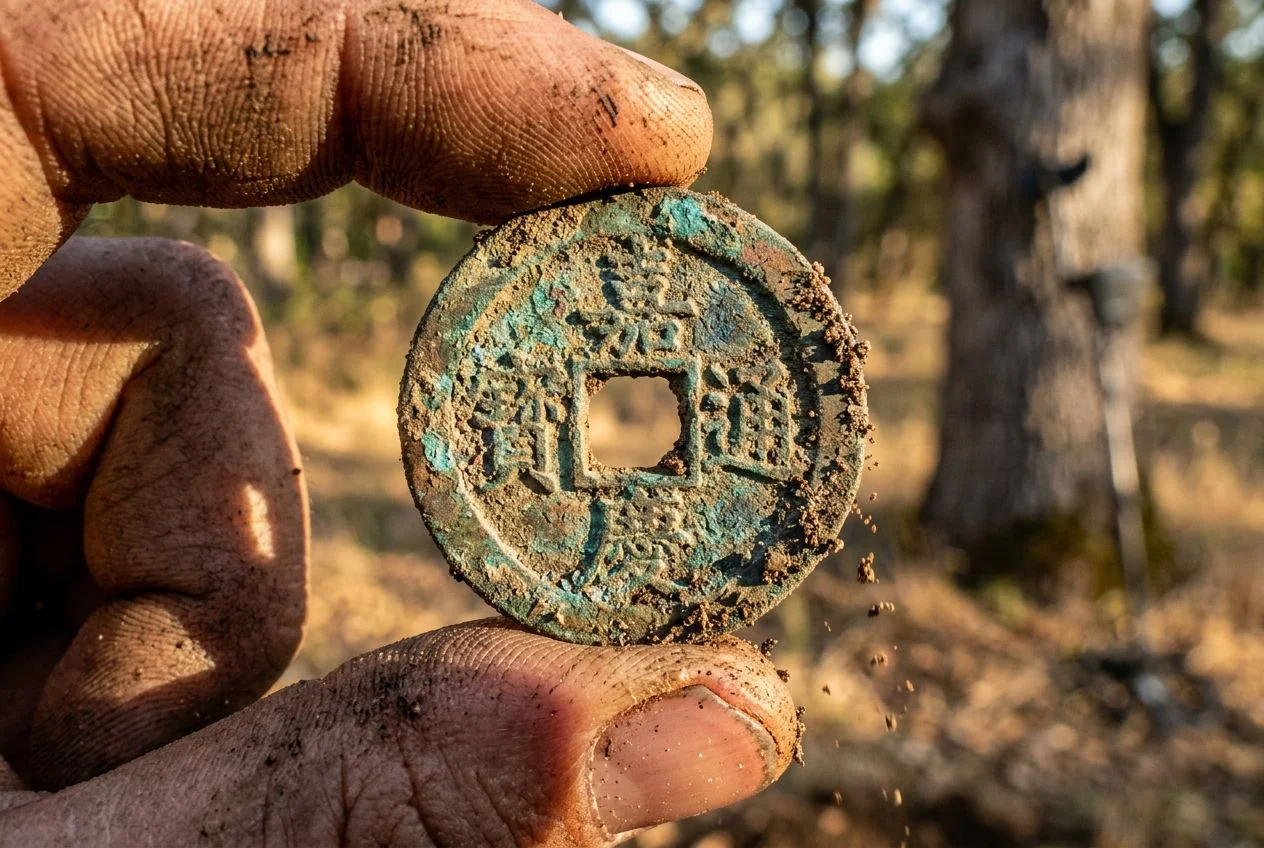
But here’s what keeps me going: every once in a while, you pull something out of the ground that makes it all worth it. A nugget that someone hasn’t seen in a hundred years. A vein that tells you there’s more where that came from.
And every time I go back to those Sierra foothills — or the deserts of Arizona, or the creeks of Northern California — I’m a little better at reading the ground, a little better at interpreting the signals, and a little closer to the next big find.

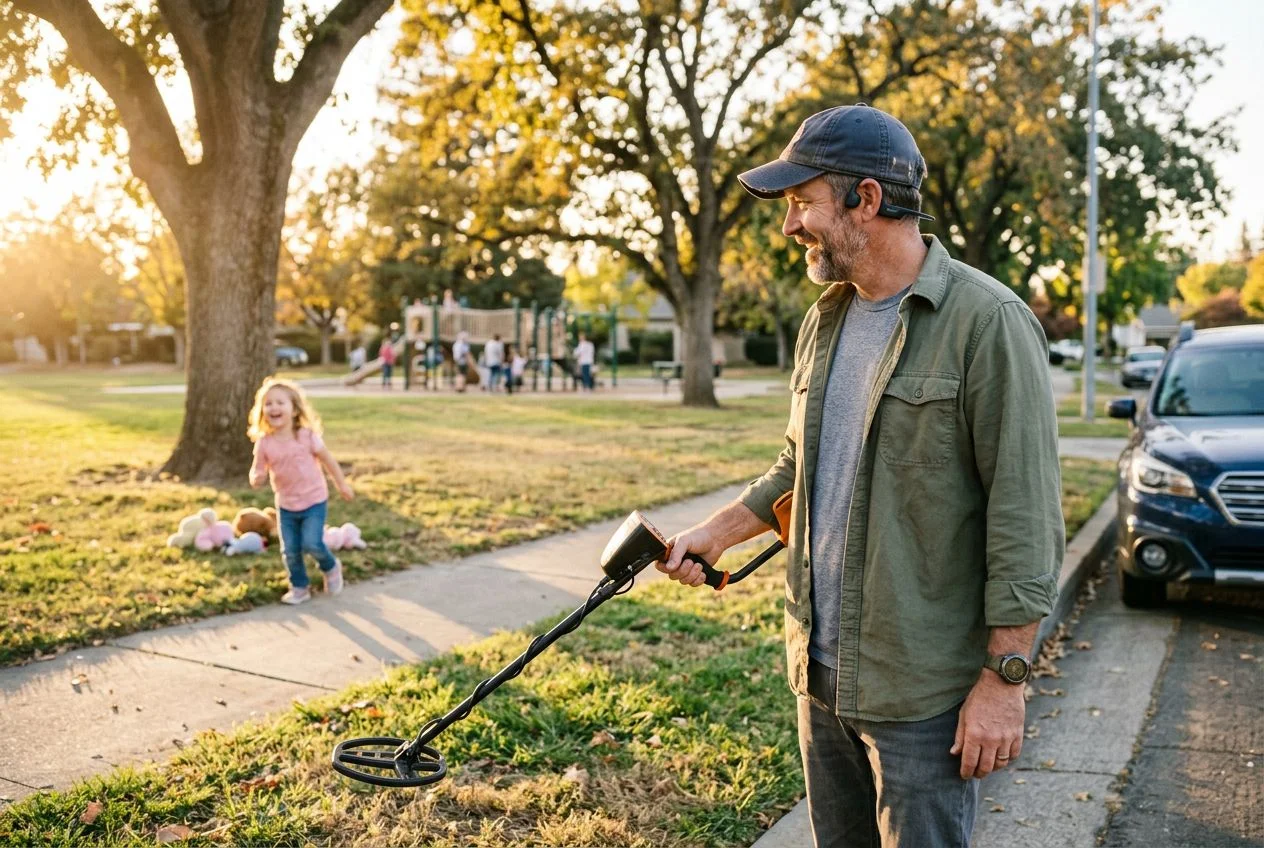
My name is Paul and I am the founder of Detector For Metal, a dedicated resource for metal detecting enthusiasts seeking to uncover historical treasures and connect with the past using the latest technology. As a stay-at-home dad and family man, I’ve found metal detecting to be the perfect hobby that combines family adventure with historical learnings for the whole family.
As a father, I’m deeply committed to passing on this hobby to the next generation of detectorists, starting with my own children. I share advice on everything from metal detecting with kids to exploring the top 10 metal detecting sites you never thought about. My methodical approach to the hobby goes beyond the thrill of discovery—it’s about creating family traditions while preserving history and sharing the stories of those who came before us.