Table of contents
- What Pioneer Trail Relics Look Like in the Ground
- Which Wagon Parts Actually Survive Buried
- Hand-Forged vs. Factory-Made Dating Clues
- Common Pioneer Trail Relics and Their Imposters
- Skeins vs. Pipe Sections
- Linchpins vs. Hitch Pins
- Hub Bands vs. Barrel Bands
- Wagon Tires vs. Hay Rake Wheels
- Reading Maker Marks and Patent Dates on Dug Iron
- Where Pioneer Trail Relics Hide
- Preserving Dug Iron Before Rust Destroys It
- Frequently Asked Questions About Wagon Hardware
The short answer: look for hand-forged iron with irregular tool marks, forge-welded seams, and no standardized threading — then cross-reference the part’s shape against period wagon diagrams. Emigrant-era hardware (1840s–1860s) was blacksmith-made and slightly asymmetrical. Post-1880s farm equipment was machine-stamped and uniform.
The single most reliable diagnostic is how the iron was worked. Hand-forged pieces show hammer marks, uneven thickness, and scarf welds. That’s where the smith folded hot iron back onto itself. Appraisily’s wagon wheel dating guide nails this distinction. Hand-forged bolts have square, slightly irregular heads. Machine-made hex nuts didn’t appear until after the Civil War. If you’re holding a strap with perfectly uniform edges and consistent thickness, you’re almost certainly looking at post-1880s farm scrap, not emigrant hardware.
Once you’ve confirmed hand-forging, match the shape against known wagon components. Farm Collector’s construction guide diagrams the running gear. That includes skeins (the iron sleeves that protected wooden axle ends), reach plates (the long iron straps connecting front and rear axles), and hound irons (the braces holding the tongue). A tapered, socket-like iron tube is a skein. A flat strap with bolt holes at both ends is likely a reach plate section. Texas Wagon Works’ parts catalog helps with obscure pieces like singletree clips and stay chain hooks.
Dating gets trickier. Patent dates stamped into reach plates or hub bands are gold. Wheels That Won The West notes that makers like Studebaker began stamping numerals and patent dates by the 1870s. No stamp? The NPS wagon history confirms Murphy and Studebaker wagons dominated the emigrant era. Their hardware was overwhelmingly blacksmith-made.
What Pioneer Trail Relics Look Like in the Ground
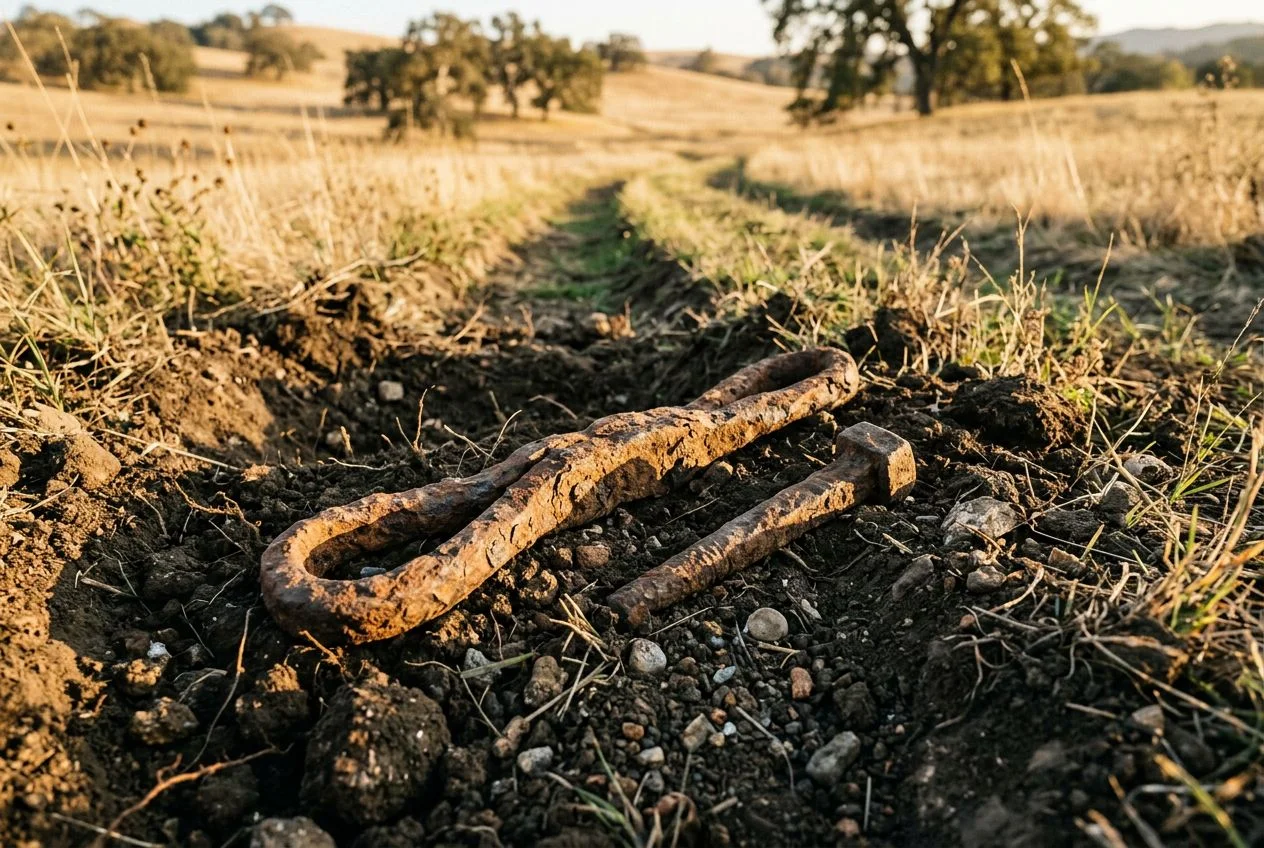
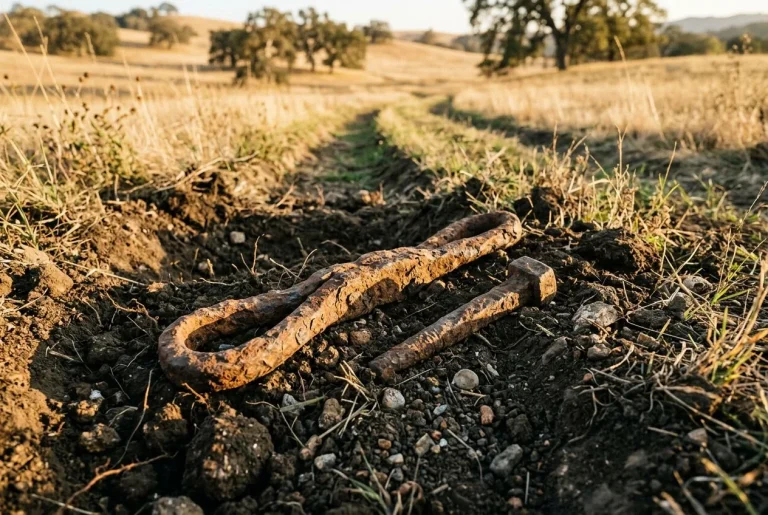
Emigrant wagon hardware is the hand-forged iron skeleton left behind when a wooden wagon rots away. That means skeins, reach plates, linchpins, hub bands, tire sections, and hound irons made by blacksmiths between the 1840s and 1860s. If it’s machine-stamped, uniformly thick, or has standardized threading, it’s not emigrant hardware.
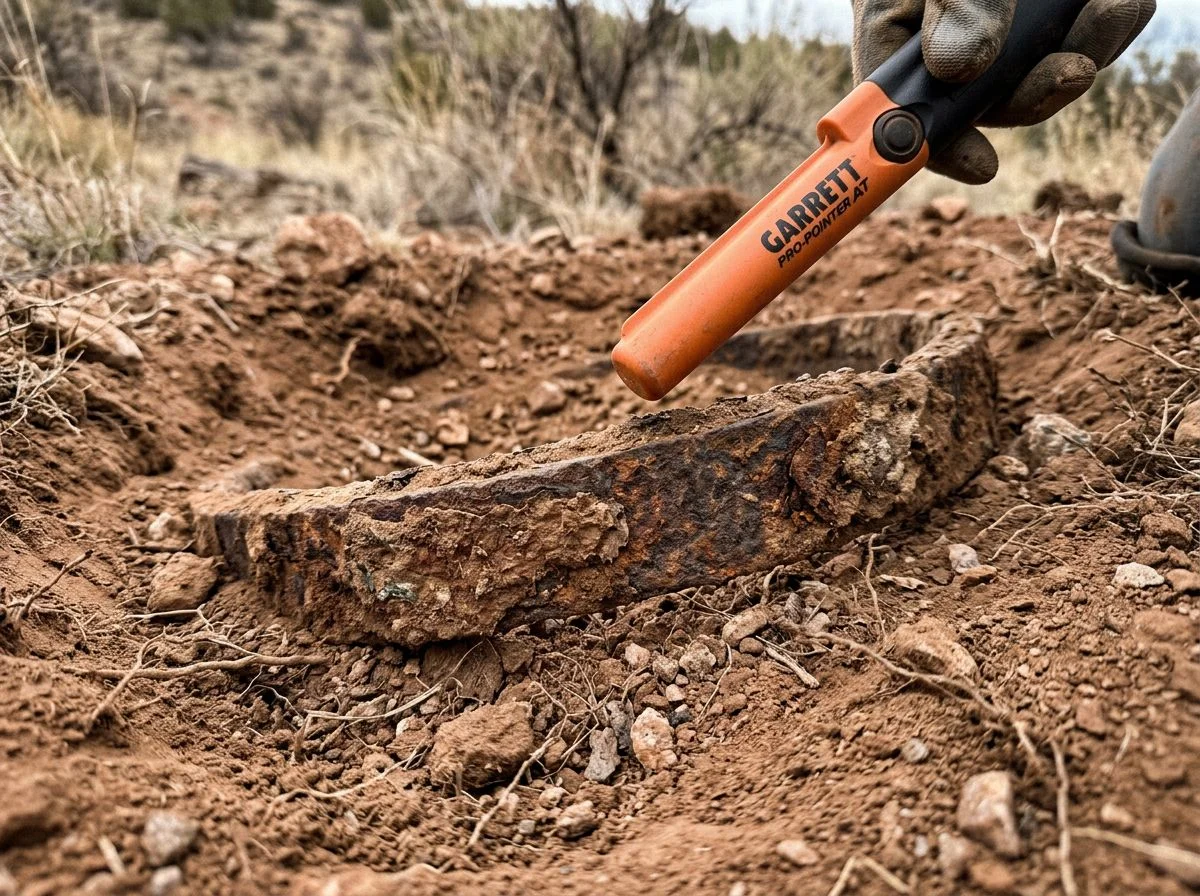
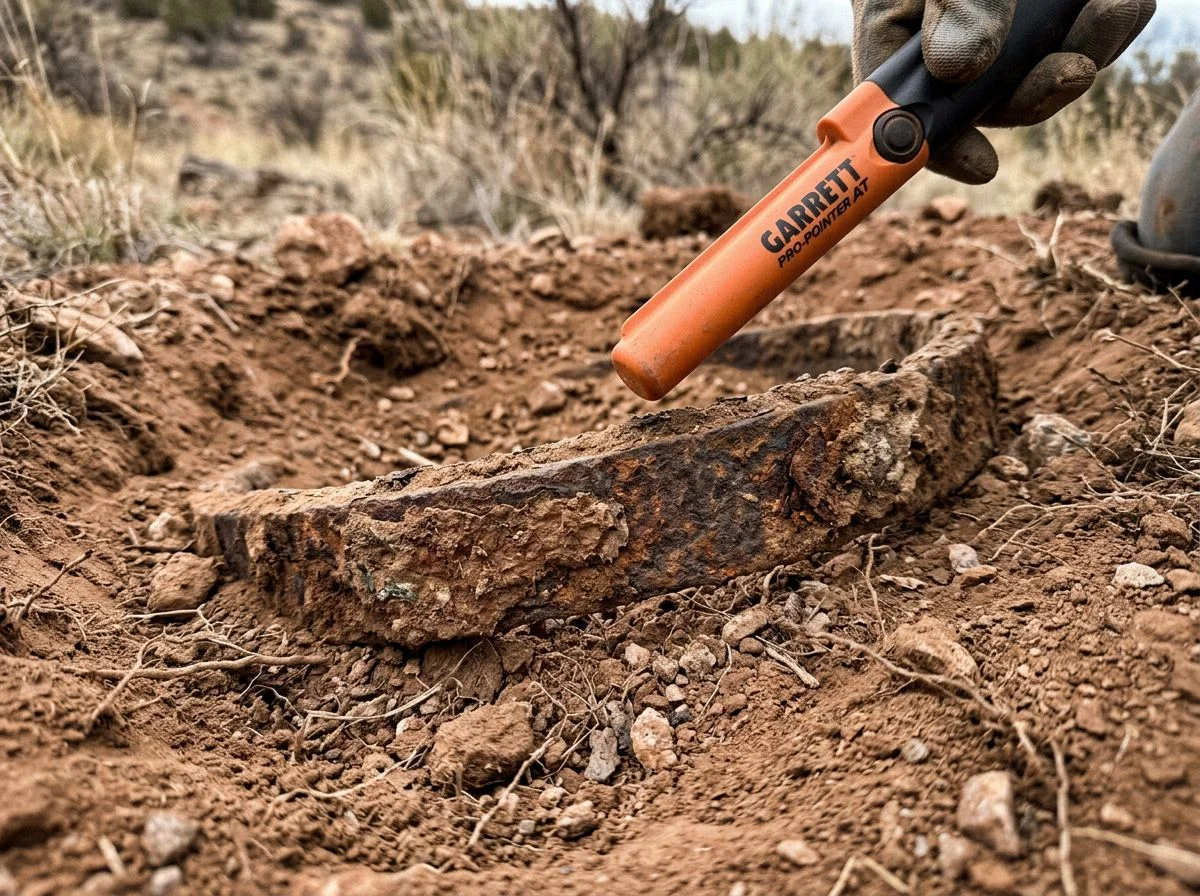
Here’s the scenario that separates a good relic hunt from a frustrating one. You’re swinging along a mapped 1850s trail segment in the Sacramento Valley when your detector locks onto a booming iron signal. Fourteen inches down, you pull out a corroded strap of iron, pitted and flaking. Wagon hardware? Maybe. Or a busted plow share from 1938. The difference matters. One tells a story about westward migration. The other is farm scrap. And most detectorists, myself included on my first few trail hunts, can’t tell them apart.
The problem is that nobody’s written the field guide for the person holding that corroded relic in their hand. Search “emigrant wagon hardware identification” and you’ll get NPS pages on Studebaker and Murphy wagons, wagon wheel dating guides from Appraisily, and scattered Reddit threads where someone posts a photo and gets five conflicting answers. The Farm Collector construction guide is excellent. But it assumes you’re looking at an intact wagon, not a rusted fragment in the dirt.
What’s missing is the bridge between field identification and historical dating. That’s exactly what you need when you’re standing in a field with muddy hands and a piece of iron that could be 170 years old or 70. That’s what this article closes.
Which Wagon Parts Actually Survive Buried
The iron skeleton is what you’ll find. That means skeins, linchpins, reach plates, doubletree irons, hub bands, tire sections, stay chains, and hound irons. Wood rots completely within decades. Hand-forged iron can last 170 years in the right soil. Learn these eight shapes and you’ll recognize wagon hardware instantly.
The wooden wagon is gone. After 150 years in the ground, the oak hounds, hickory axles, and pine box boards have composted back into soil. What remains is the hardware — the iron components that held everything together. Farm Collector’s wagon construction guide diagrams how these parts fit into the running gear. Once you know the shapes, field identification gets much easier.
Here’s what actually survives:
- Skeins — tapered iron sleeves that protected wooden axle ends. They look like thick-walled cones, usually 6–10 inches long, often found in pairs near old trail ruts.
- Linchpins — small iron pins that locked wheels onto axles. Easy to mistake for modern hitch pins, but hand-forged ones have irregular heads and no spring clip.
- Reach plates — long iron straps connecting the front and rear axles. You’ll typically find broken sections with bolt holes at both ends.
- Doubletree irons — the pivot hardware where horse teams hitched. Heavy, with a central hole for the main pin.
- Hub bands — iron rings that wrapped wooden wheel hubs to prevent splitting. They come out of the ground as curved, flat bands.
- Tire sections — wide, flat iron straps from the wheel rim. Usually found in broken arcs, occasionally with nail holes.
- Stay chains — heavy-link chains that supported the wagon tongue. Links are hand-forged, slightly irregular, and often fused with rust.
- Hound irons — braces that held the tongue assembly to the front axle.
I learned this the hard way. Three years ago, I dug a heavy iron ring from a mapped emigrant campsite near the Yuba River. It was about three inches across, flattened on one side, with a small loop on the opposite edge. I had no idea what it was. Wagon wheel part? Harness fitting? I carried it around for two weeks before Texas Wagon Works’ parts catalog gave me the answer. It was a singletree clip, the fitting that attached a single horse’s harness to the wagon tongue. The flattened side matched the singletree’s cross-section perfectly.
That’s the thing about wagon relic hunting. The parts are obscure because nobody’s looking at them in context anymore. But once you learn the shapes, every iron signal becomes a puzzle you can actually solve.
Hand-Forged vs. Factory-Made Dating Clues
Here’s the single most reliable dating clue you’ll ever get from a corroded piece of iron. If it was shaped by a blacksmith’s hammer, it predates roughly 1880. If it was cut, pressed, or threaded by a machine, it doesn’t. That one observation narrows your relic’s age window to within about 30 years — before you’ve cleaned a single speck of rust off it.
The transition from blacksmith-forged to factory-pressed wagon hardware happened rapidly between 1850 and 1880. Before that window, every skein, linchpin, and reach plate was shaped by hand at a forge. After it, mass production took over and standardized everything. For a detectorist holding an unidentified iron relic, that’s a gift. The manufacturing method alone gives you a rough dating window before you even know what the part is.
So what are you actually looking for? On hand-forged pieces, you’ll see forge-weld scarf seams. Those are the diagonal joints where a blacksmith heated two iron bars and hammered them together. The metal won’t be uniform. You’ll spot hammer marks, slight waves in the surface, and irregular thickness that varies along the length of the piece. A blacksmith worked by eye and feel, not by micrometer. The Appraisily wagon wheel dating guide calls these out explicitly. Hand-forged bolts versus machine-made hex nuts are one of the first diagnostic tests for antique wheels.
Factory-made hardware, by contrast, looks almost boring. Uniform thickness along the entire piece. Clean, machine-cut threads that spiral with mathematical precision. Hex nuts — standardized, interchangeable, and identical to the one before it. If you’re holding a wagon part with a perfectly regular hex nut, you’re holding something made after the Civil War, and probably well after.
I learned this the hard way on a trail segment near Auburn. I found what I was sure was a linchpin — tapered, corroded, the right general shape. Then I noticed the threads. Perfectly even, machine-cut. A blacksmith in 1852 didn’t cut threads like that. It was a tractor pin from the 1940s. The shape fooled me. The manufacturing method ratted it out.
Common Pioneer Trail Relics and Their Imposters
Most “wagon parts” dug from the ground are actually farm implement scrap. The difference comes down to four diagnostic comparisons: skeins vs. pipe sections, linchpins vs. hitch pins, hub bands vs. barrel bands, and wagon tires vs. hay rake wheels. Learn these, and you’ll stop mislabeling tractor scrap as pioneer relics.
Skeins vs. Pipe Sections
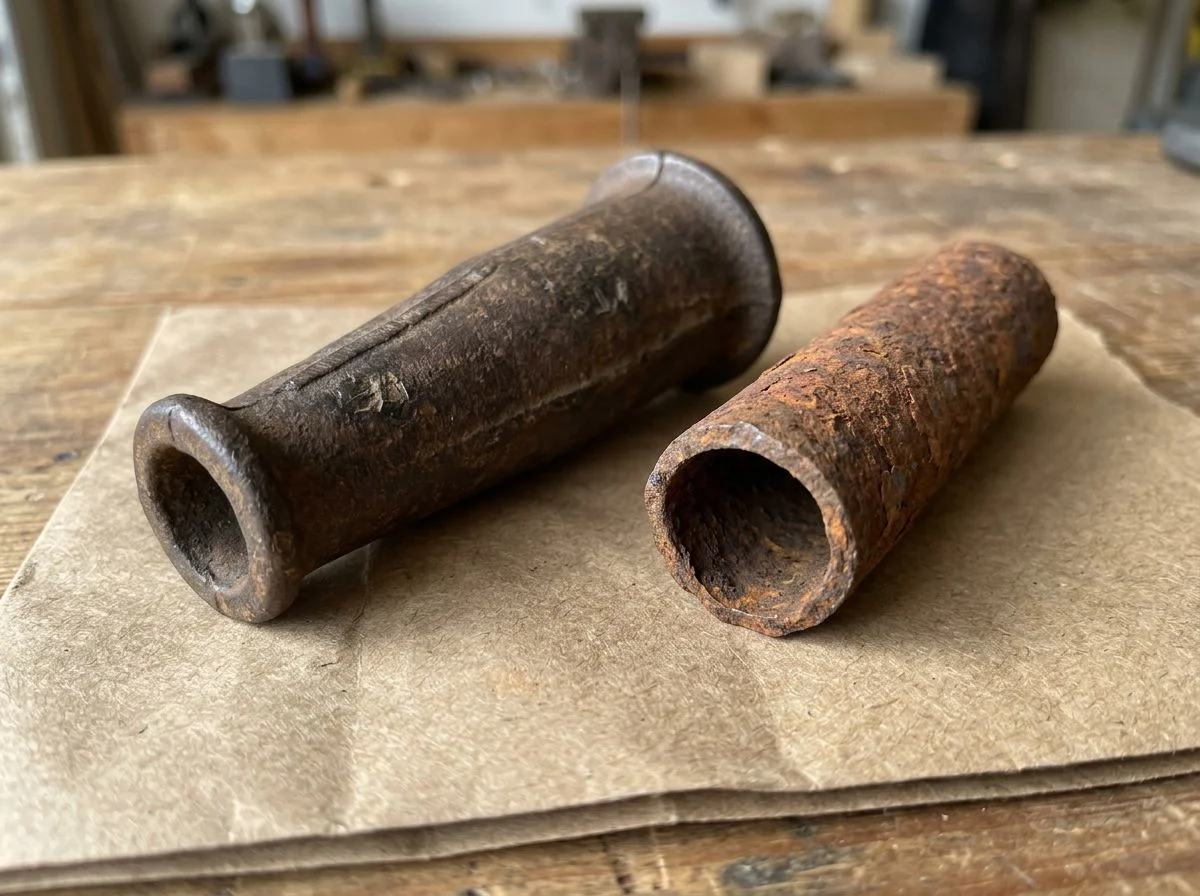
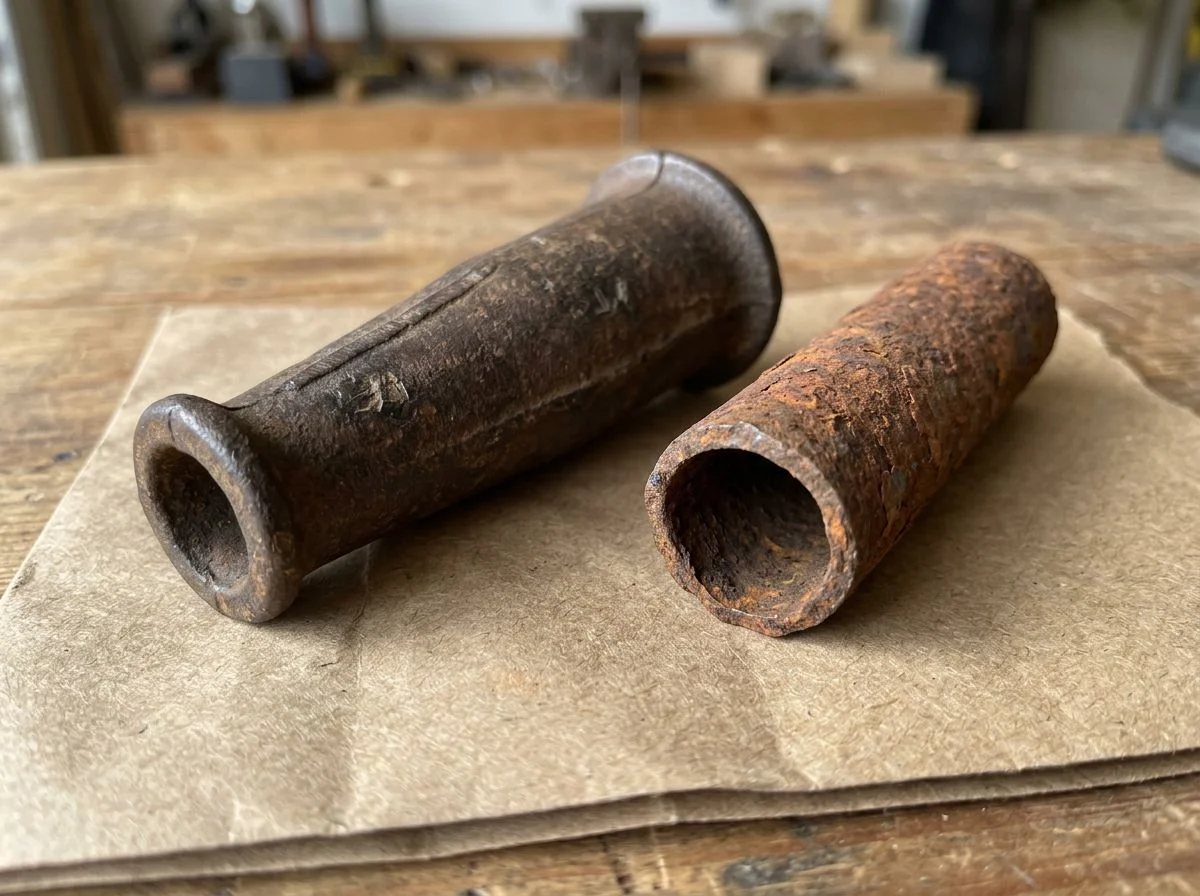
A wagon skein is a tapered iron sleeve that slipped over the wooden axle end to prevent wear. Dug skeins are thick-walled cones, typically 6–10 inches long, with a pronounced taper from a wide mouth to a narrow tip. The inside surface will show a smooth, polished wear pattern where the axle rotated against it.
Pipe sections, by contrast, are uniform diameter along their entire length. No taper. Wall thickness stays consistent. If you’re holding a straight-sided iron tube, you’re holding plumbing or structural scrap — not wagon hardware. I’ve dug both from the same field. The difference is obvious once you’ve seen a real skein.
Linchpins vs. Hitch Pins
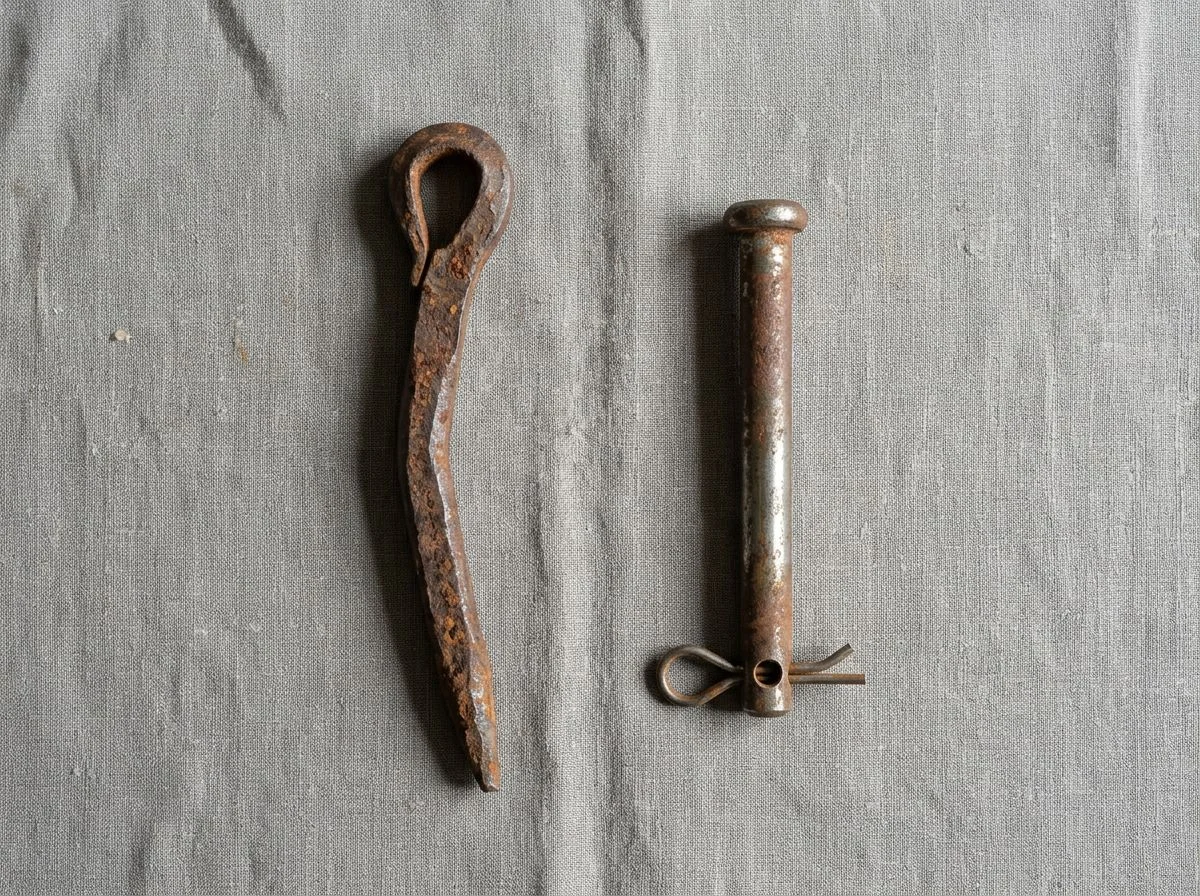
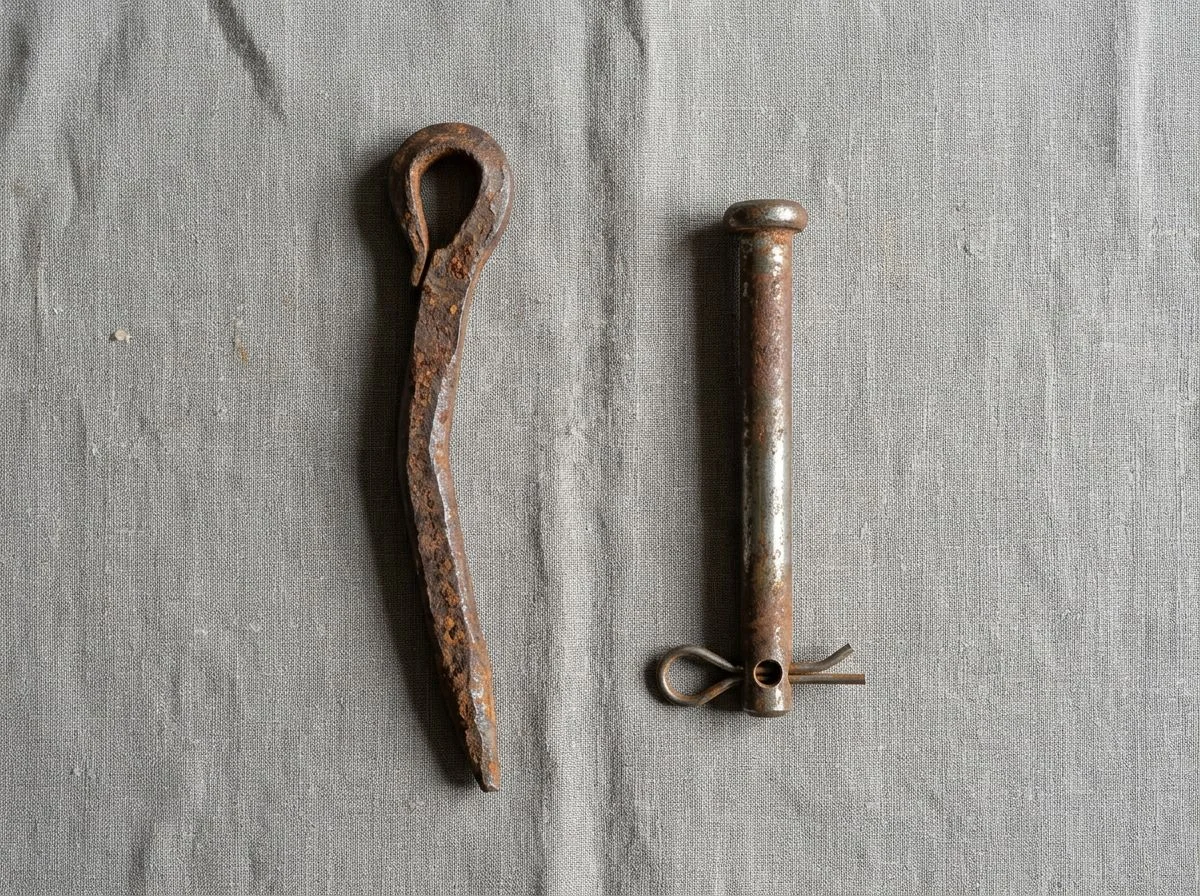
Hand-forged linchpins locked the wheel onto the axle. They’re small — usually 3–5 inches — with an irregular, hammer-shaped head and a slight bend or hook at the tip. The head won’t be perfectly round or symmetrical. A blacksmith shaped each one individually.
Modern hitch pins have spring clips, machined heads, and uniform shafts. If you see a perfectly cylindrical pin with a wire retainer clip, it’s from a tractor or trailer, not an emigrant wagon. The hand-forged irregularity is your tell.
Hub Bands vs. Barrel Bands
Hub bands wrapped the wooden wheel hub to prevent splitting. Dug examples come out as curved, flat iron straps — usually 1.5–2.5 inches wide, with a slight arc matching the hub’s circumference. The ends may show rivet holes or forge-welded seams.
Barrel bands are narrower and more sharply curved, often with a crimped or folded edge where they were cinched tight. A wagon hub band has a gentler arc. A barrel band wraps a smaller diameter circle. Compare the curve radius against a known hub size before calling it wagon hardware.
Wagon Tires vs. Hay Rake Wheels
This is the impostor that trips up even experienced detectorists. A Reddit user on r/metaldetecting posted a “wagon wheel rim” found in the woods. The thread quickly identified it as a hay rake wheel, a much lighter farm implement part. The confusion is common. Both come out of the ground as curved iron arcs with nail holes.
The diagnostic difference is width and weight. Wagon tires are wide and heavy — typically 1.5–2.5 inches across, with substantial thickness to support a loaded wagon. Hay rake wheels are narrower and lighter, often under 1 inch wide. They only had to support the rake mechanism itself. The Appraisily wagon wheel guide reinforces this. Genuine wagon tires show forge-welded scarf seams and irregular thickness.
Reading Maker Marks and Patent Dates on Dug Iron
Maker marks and patent dates turn anonymous iron into a dated artifact. They appear most often on reach plates, skeins, and rub irons — the heavy stress points where manufacturers stamped their identity. Clean carefully, read patiently, and a partial date can shrink a site’s age window to a few years.
The most legible stamps survive where the metal was thickest and the stress was highest. Reach plates — the long iron straps connecting the front and rear axles — were prime real estate for maker names. They were visible and large. Skeins and rub irons took the wear, but their mass protected deep-struck marks from complete corrosion.
Cleaning is where most people ruin their chance at a date. Do not take a wire wheel to it. Start with a soft brass brush and gentle picking at the corrosion with a dental tool. The goal is to reveal the stamped surface, not strip to bare metal. I’ve found that soaking in distilled water for a few days loosens the crust enough that stamps emerge from under the rust without destroying the shallow impressions. Electrolysis works, but it’s overkill for this stage. And if you’re too aggressive, you’ll erase exactly what you’re trying to read.
Patent dates are the real prize. A manufacturer stamped “PAT. JUNE 12, 1877” on a reach plate because they wanted competitors to know it. For you, that date means the wagon was built after June 1877 — and usually within five to ten years of it. Patent stamps fell out of favor as designs changed. Last spring I dug a reach plate near a mapped trail crossing south of Red Bluff. Half the stamp was gone, but “PAT. AUG. 18—” survived, then a “9” at the end. That single digit narrowed the site to wagons built between 1880 and 1889. It became a three-year window once I cross-referenced the Wheels That Won The West guide to metal part markings. Not bad for a chunk of rust I almost tossed in the scrap bucket.
Some makers stamped numerals and dates on multiple components. The Appraisily wagon wheel dating guide confirms this was common practice for patent-protected hub designs. If you find one marked part, check every other iron from the same hole. The same stamp often appears on the skeins.
Where Pioneer Trail Relics Hide
Wagon hardware concentrates at river crossings, steep grades, and campsites — not evenly along the trail. Focus your detecting on the places where wagons broke down, got stuck, or stopped for repairs. You’ll dig far more iron there than you will swinging the open stretches between them.
Here’s the difference between hunting a trail segment and hunting a campsite. They produce completely different types of finds.
Trail segments — the long, relatively flat stretches between landmarks — are where hardware was lost in transit. A linchpin worked loose and dropped into the dust. A stay chain snapped and got kicked to the side. A skein cracked on a rocky stretch and the wagon limped forward, shedding parts as it went. These finds tend to be isolated and random. You might walk a quarter mile and get one good signal, then nothing for another half hour. The iron you do find is often smaller — linchpins, chain links, singletree clips. Things that fell off unnoticed and were never worth stopping for.
Campsites are where hardware was discarded during repairs. A wagon pulled in for the night with a cracked hub band. The emigrant pried it off, threw it aside, and fitted a spare. A broken reach plate got unbolted and abandoned. These sites produce clusters of heavy iron — skeins, tire sections, hub bands, doubletree irons — often within a few feet of each other. When you hit a campsite, you’ll know it. The signals come fast and the iron is big.
River crossings and steep grades are the sweet spot. At a crossing, wagons got bogged, wheels broke under the strain, and emigrants lightened loads by throwing anything nonessential overboard. At a steep grade, they locked wheels, snapped reaches, and burned out skeins. Farm Collector’s wagon construction guide explains the running gear stresses that made these failure points so common — and why the iron piles up there. The National Oregon/California Trail Center notes that crossings and descents were the most dangerous parts of the journey. That’s exactly why they left the most behind.
The takeaway: don’t hunt the trail evenly. Hunt the choke points. Find the crossing, the steep pitch, the spring where wagons camped — and work those areas hard. That’s where the hardware is.
Preserving Dug Iron Before Rust Destroys It
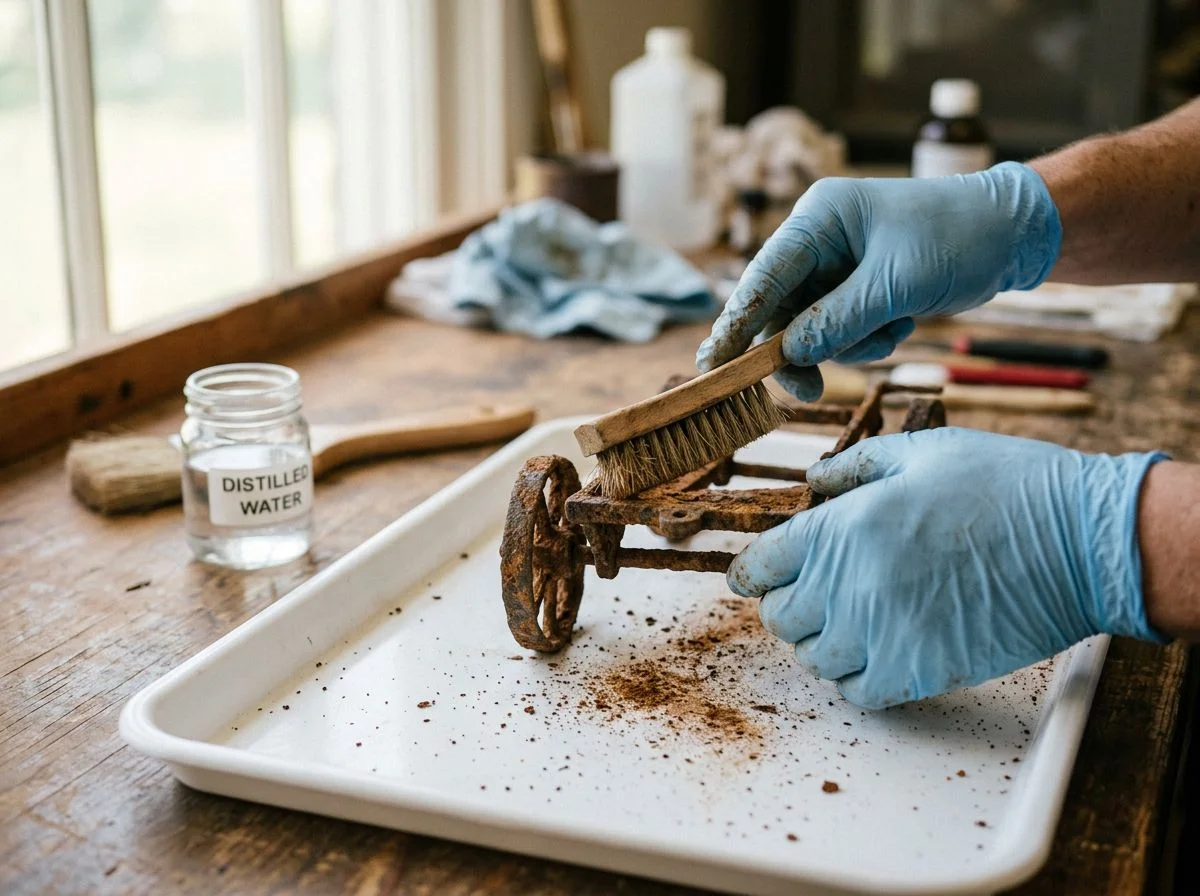
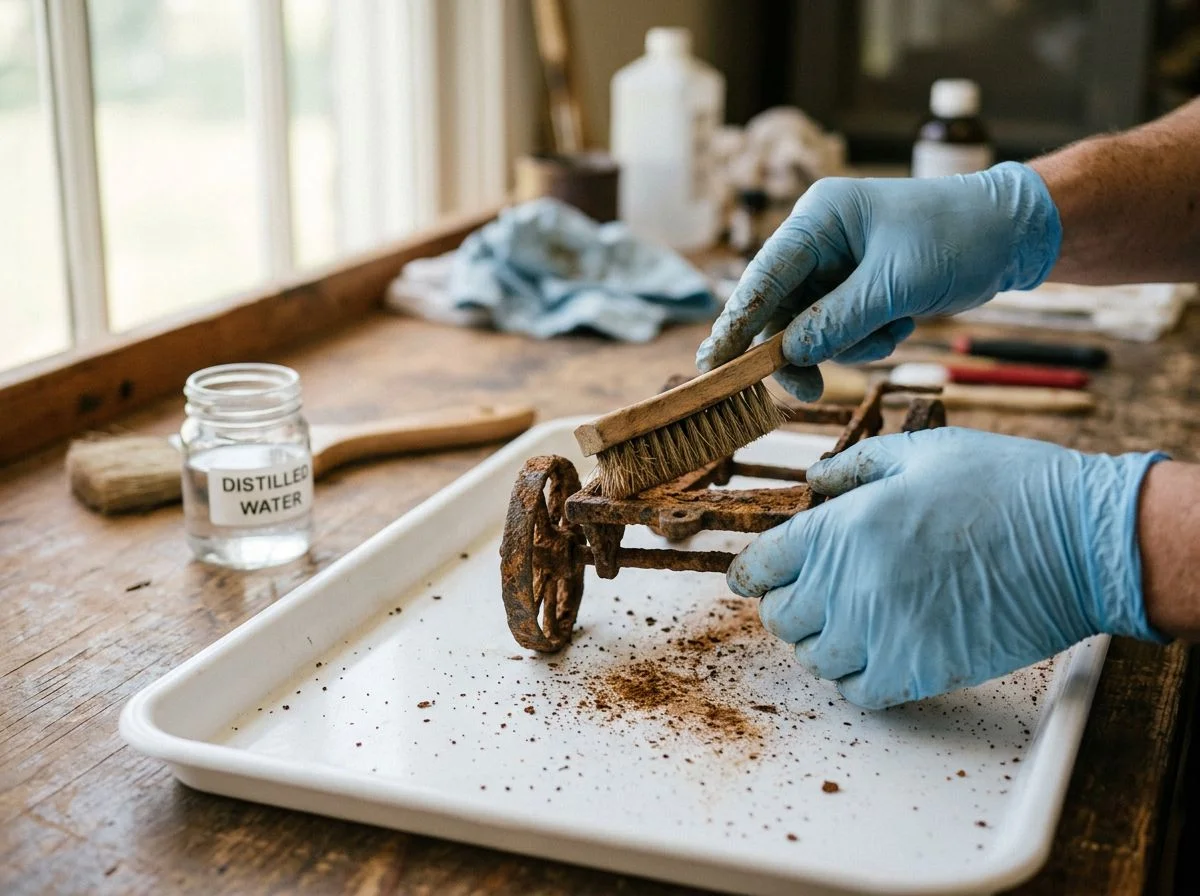
The moment you pull heavily corroded wagon iron from the ground, the clock starts. Untreated, that relic can crumble to orange dust within months. The fix is a four-step process: distilled water soaking, electrolysis, tannic acid treatment, and a final microcrystalline wax seal.
Here’s the thing nobody tells you when you’re standing in a field holding a dug reach plate: the air is now your enemy. That iron has spent 150 years reaching equilibrium with the soil around it. Pull it out, and the chlorides embedded in the corrosion layer react with oxygen and moisture. The result is what conservators call “iron cancer.” It’s a rapid, flaking deterioration that can turn a solid relic into a pile of rust scale before the next detecting season. I’ve watched it happen to a wagon skein I dug near Cache Creek. I left it on a garage shelf for six months. By spring, it was half the weight and shedding orange flakes every time I touched it.
Start with a distilled water soak. Tap water introduces new minerals. Distilled pulls the old chlorides out. Change the water every few days until it stops turning brown — usually two to four weeks for heavy iron.
If the piece is solid enough, electrolysis removes the remaining crust. You’ll need a battery charger, a plastic tub, washing soda, and a sacrificial steel anode. Keep it gentle — low amperage, check it daily. You’re cleaning, not stripping.
Then comes tannic acid. It converts any remaining rust into a stable, dark ferric tannate. Brush it on, let it work, and the surface turns that deep, even black you see on properly conserved iron.
Finally, seal everything with microcrystalline wax. Renaissance Wax is the standard. It locks out moisture and oxygen without the sticky, yellowing film you get from polyurethane. Your relic stays stable for decades — which is exactly what it deserves after waiting 150 years for you to find it.
Frequently Asked Questions About Wagon Hardware
The questions I get most often boil down to three things: “Is this actually wagon hardware?”, “How old is it?”, and “How do I keep it from falling apart?” Here are straight answers based on what I’ve dug, broken, and learned the hard way.
“Is this a linchpin or just a random bolt?” Look for a flat, wedge-shaped head and a hole near the tip for a cotter pin. Hand-forged linchpins taper unevenly and show hammer marks. A machine-made bolt from the 1900s has uniform threads and a hexagonal head. The Farm Collector wagon construction guide shows how these parts fit the axle assembly. That helps when you’re staring at a corroded mystery.
“How can I tell if it’s hand-forged or factory-made?” Hand-forged iron has irregular surfaces, slight twists, and forge-weld seams where the blacksmith folded the metal. Factory-made hardware from the late 1800s onward has clean, consistent edges and often carries patent dates or maker stamps. The Appraisily dating guide breaks down these manufacturing clues in detail.
“What’s the most common mistake people make?” Assuming every piece of buried iron near a trail is wagon hardware. Most of it isn’t. It’s farm scrap, logging equipment, or 20th-century automotive parts. The NPS wagon history page helps you understand what actual emigrant wagons looked like. That narrows down what their hardware should look like.
“Should I clean it before asking for an ID?” No. Post photos of the relic exactly as dug, with a coin or ruler for scale. Cleaning first destroys the surface clues that help with identification.

My name is Paul and I am the founder of Detector For Metal, a dedicated resource for metal detecting enthusiasts seeking to uncover historical treasures and connect with the past using the latest technology. As a stay-at-home dad and family man, I’ve found metal detecting to be the perfect hobby that combines family adventure with historical learnings for the whole family.
As a father, I’m deeply committed to passing on this hobby to the next generation of detectorists, starting with my own children. I share advice on everything from metal detecting with kids to exploring the top 10 metal detecting sites you never thought about. My methodical approach to the hobby goes beyond the thrill of discovery—it’s about creating family traditions while preserving history and sharing the stories of those who came before us.