Table of contents
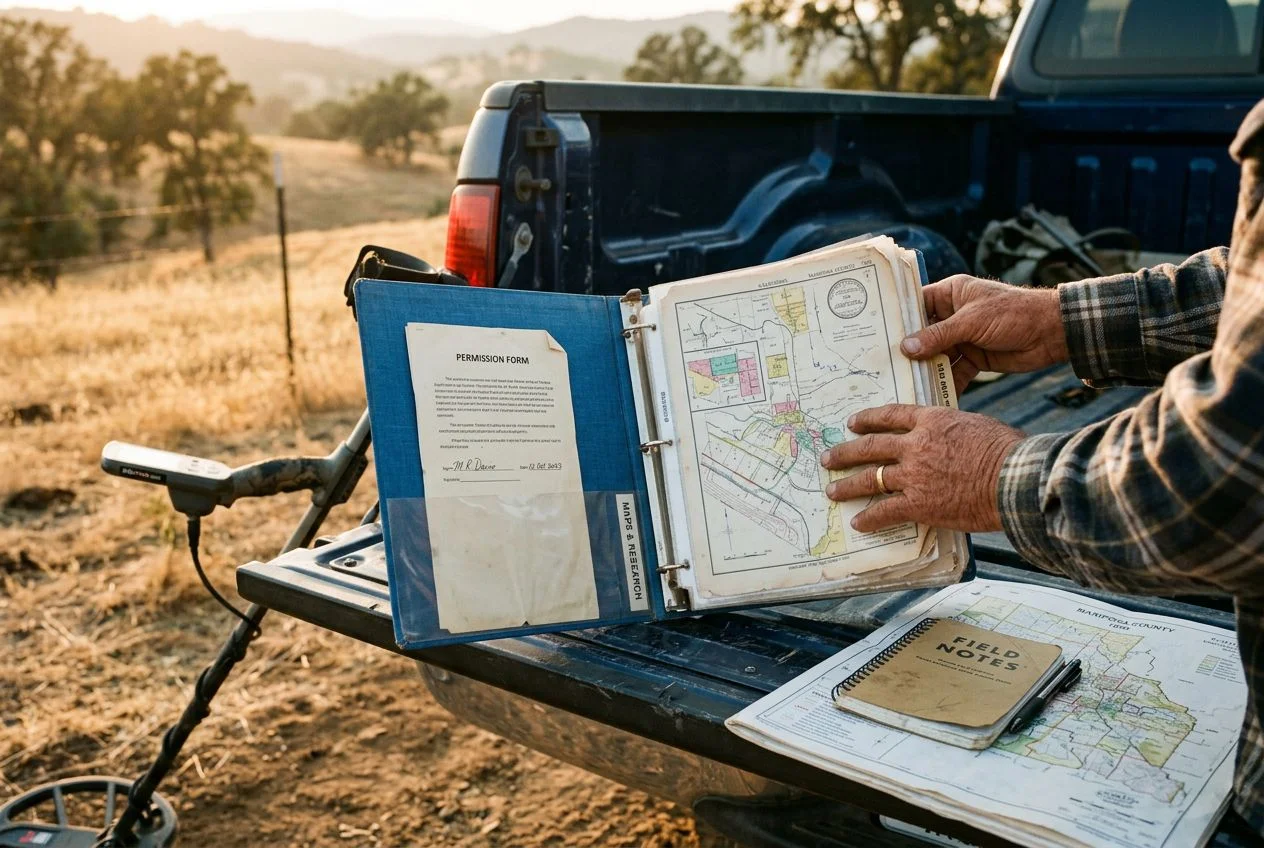
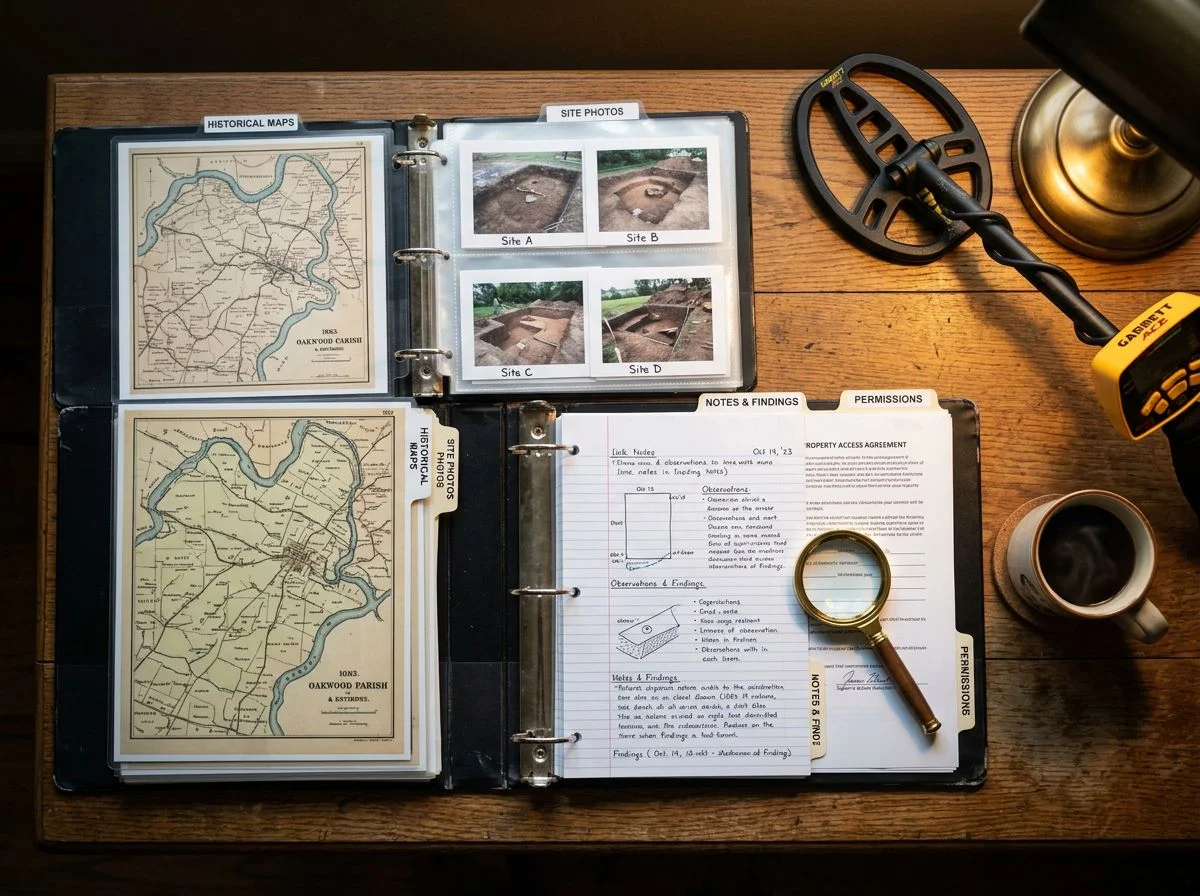
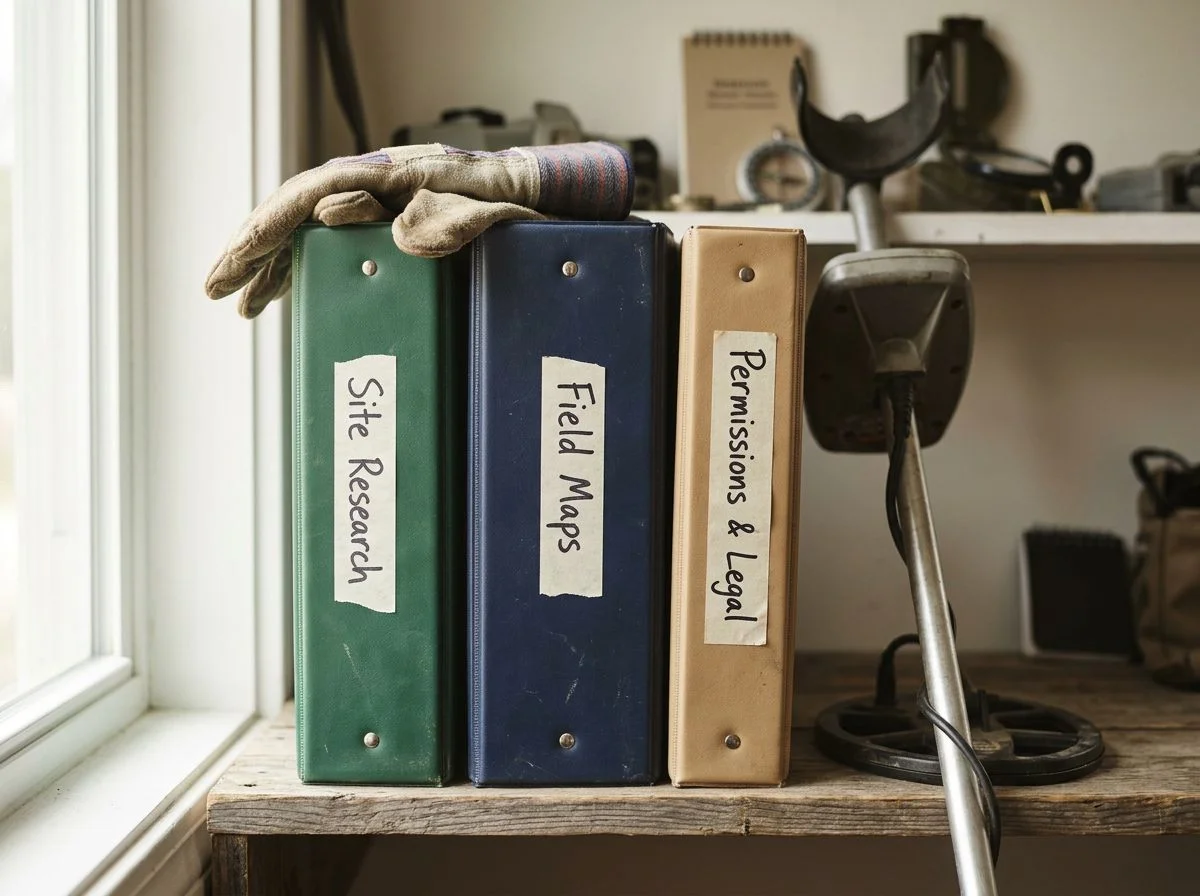
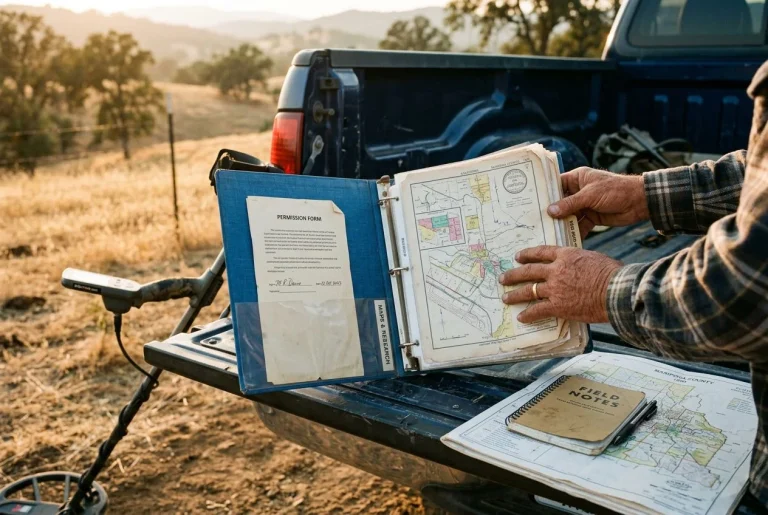
A field research binder is a physical, three-ring system. It holds printed maps, signed permission forms, and site notes. You can access critical information without cell service or battery life. Build it once, keep it in the truck. You’ll never stand in a field wondering which parcel you’re actually allowed to hunt.
Start with three tabbed sections: Permissions, Maps, and Leads. The permissions section holds every signed agreement, organized by county. The National Council for Metal Detecting strongly recommends written permission forms rather than verbal agreements. Landowners can forget conversations. Written proof protects you from trespassing claims. Keep the original signed copy in the binder and a photo on your phone as backup.
Your maps section should include printed Sanborn fire insurance sheets and USGS topographic overlays for each active site. Mark property boundaries directly on the printouts using county GIS parcel data. Write the landowner’s name and phone number in the margin. A forum member on metaldetectingforum.com uses back-to-school sales to stock up on binders and folders for under five bucks. Same system, same logic.
The leads section is for sites you haven’t secured yet. Print internet research leads so you can reference them when talking to locals. Note who you’ve contacted and when. SweepTrack Pro’s permission guide recommends including specific permitted activities, duration dates, and signatures from both parties on every form. Those details matter if a landowner ever questions what you’re doing out there.
Update the binder after every hunt. Pull the used maps, file new permissions, and move dead leads to the back. It takes five minutes. It keeps the system from becoming a paper graveyard.
Why Your Memory Fails You
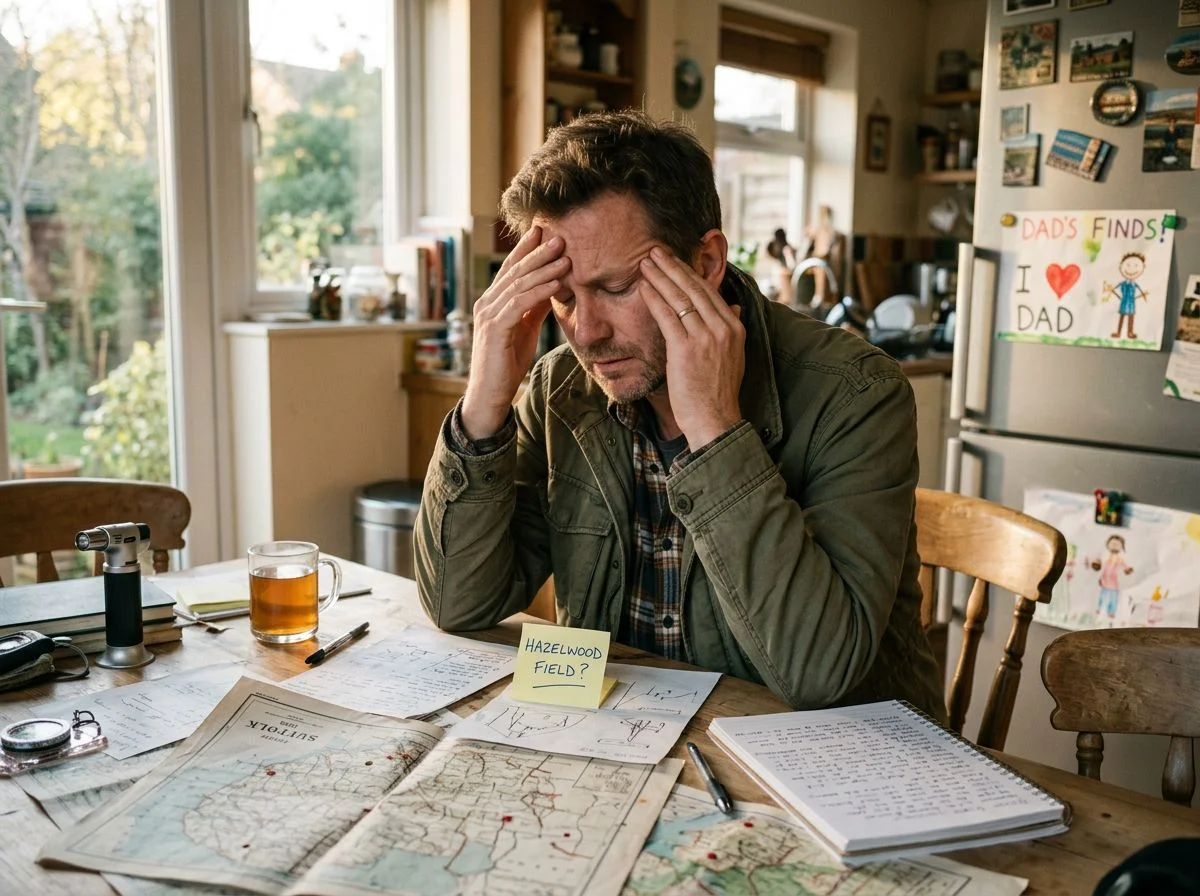
Your memory is unreliable, especially in the field. Research shows the average person forgets roughly 50% of new information within an hour if it isn’t written down. Field conditions like heat, fatigue, and distraction make that number even worse. If you’re relying on your brain to recall map details, property boundaries, or permission specifics while you’re swinging a detector, you’re setting yourself up to miss finds. Or worse, trespass without realizing it.
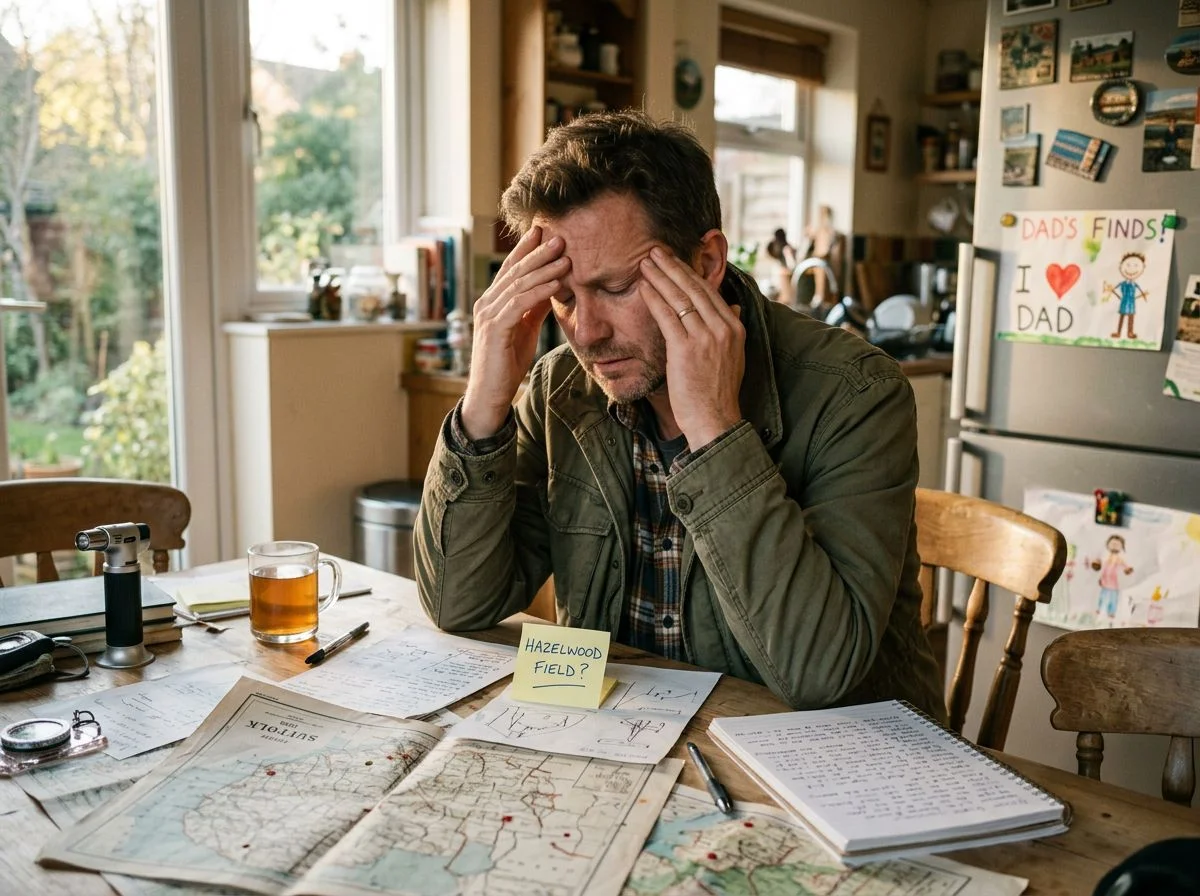
I learned this the hard way. Last spring, I spent a full evening researching an old stagecoach stop outside Placerville. I pulled the 1908 Sanborn sheet, cross-referenced it against a modern USGS topo, and marked the exact footprint of the original hotel where travelers would have gathered. The next morning, I drove 45 minutes to the site, parked the truck, grabbed my detector, and swung for about ten minutes before I realized the one map I actually needed was still sitting on my kitchen table next to a cold cup of coffee.
I stood there in a cow pasture holding a $900 machine and a useless phone with no signal. I felt like an idiot. I knew the general area, sure. But the precise coordinates of that hotel foundation? The property line I wasn’t supposed to cross? Gone. I ended up hunting blind and finding nothing but fence wire and a modern quarter.
That was the day I stopped treating my research like a pile of browser tabs and started treating it like a system. The binder I’m about to show you exists because of that morning. If you’ve ever driven to a site and realized you left the crucial detail at home, you already know why this matters. If you haven’t yet — trust me, you will.
What Goes in a Metal Detecting Research Binder?
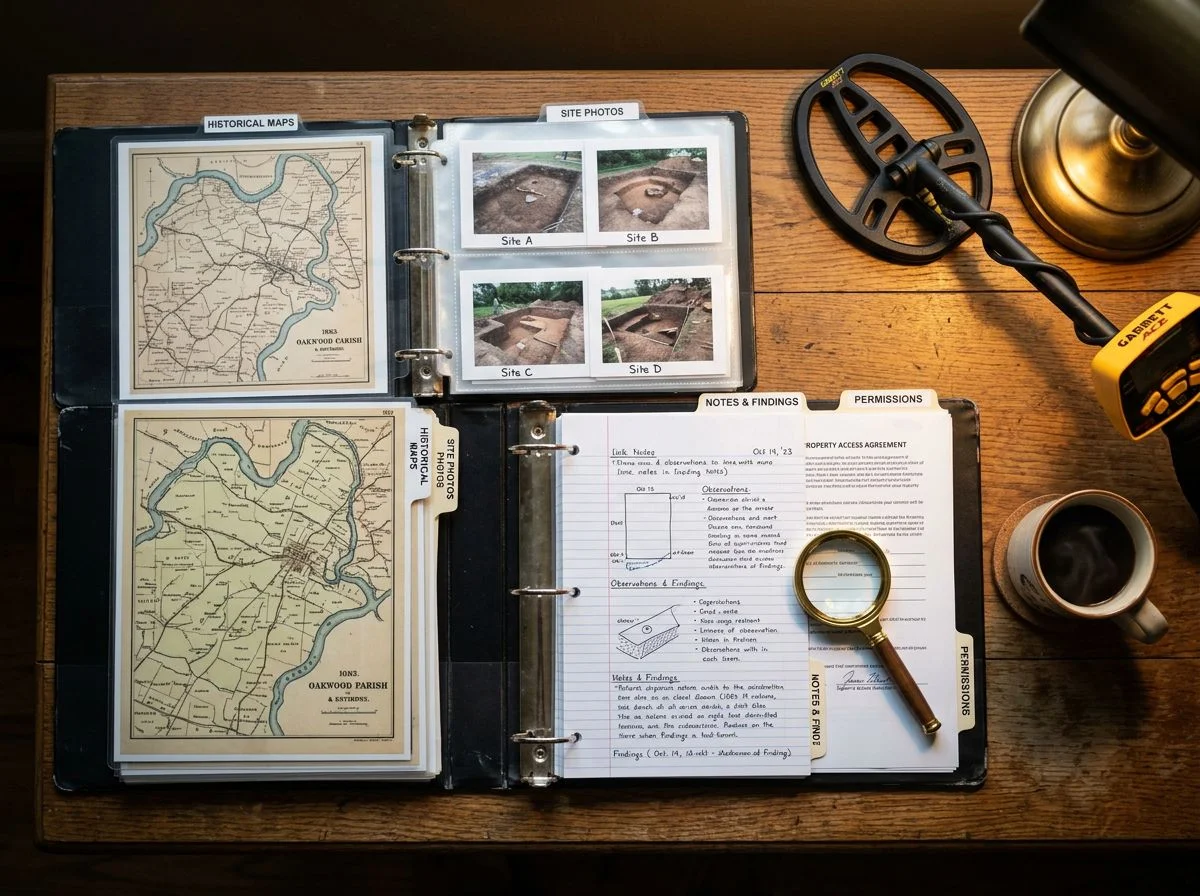
A field research binder is a physical, three-ring system. It holds printed maps, signed permission forms, and site notes. You can access critical information without cell service or battery life. Build it once, keep it in the truck. You’ll never stand in a field wondering which parcel you’re actually allowed to hunt.
The concept isn’t complicated, but the payoff is immediate. Digital tools are great until they aren’t. And in rural detecting spots, “aren’t” happens fast. No signal. Dead battery. Sun glare making your screen unreadable. A phone that decides to restart itself right when you need the parcel map. Paper doesn’t care about any of that. It works in the rain, in the dust, and after you drop it in the dirt.
A forum member on metaldetectingforum.com — a detectorist from Southern Oklahoma who goes by BBsGal — keeps three physical folders in her truck at all times. One holds signed permission forms for properties she can already hunt. One holds leads where she still needs to identify and contact the landowner. The third holds research requiring more historical digging. When she finds a promising site online, she prints it out and files it in the appropriate folder. That way she can reference it in the field — or hand it to a local who might know something about the property. That’s the system working exactly as intended.
The cost barrier is basically nonexistent. BBsGal reports using back-to-school sales to stock up on folders and 3-ring binders for under $5 total. That’s less than a fast-food lunch. And it buys you a research system that will outlast your current phone.
The binder also forces a discipline that digital bookmarks don’t. When you have to physically print, punch holes, and file something, you actually read it. You notice the property line that cuts through the old homestead. You remember the landowner’s name. The act of organizing becomes part of the research itself. And that’s the part your phone will never replicate.
The Three-Section Binder System
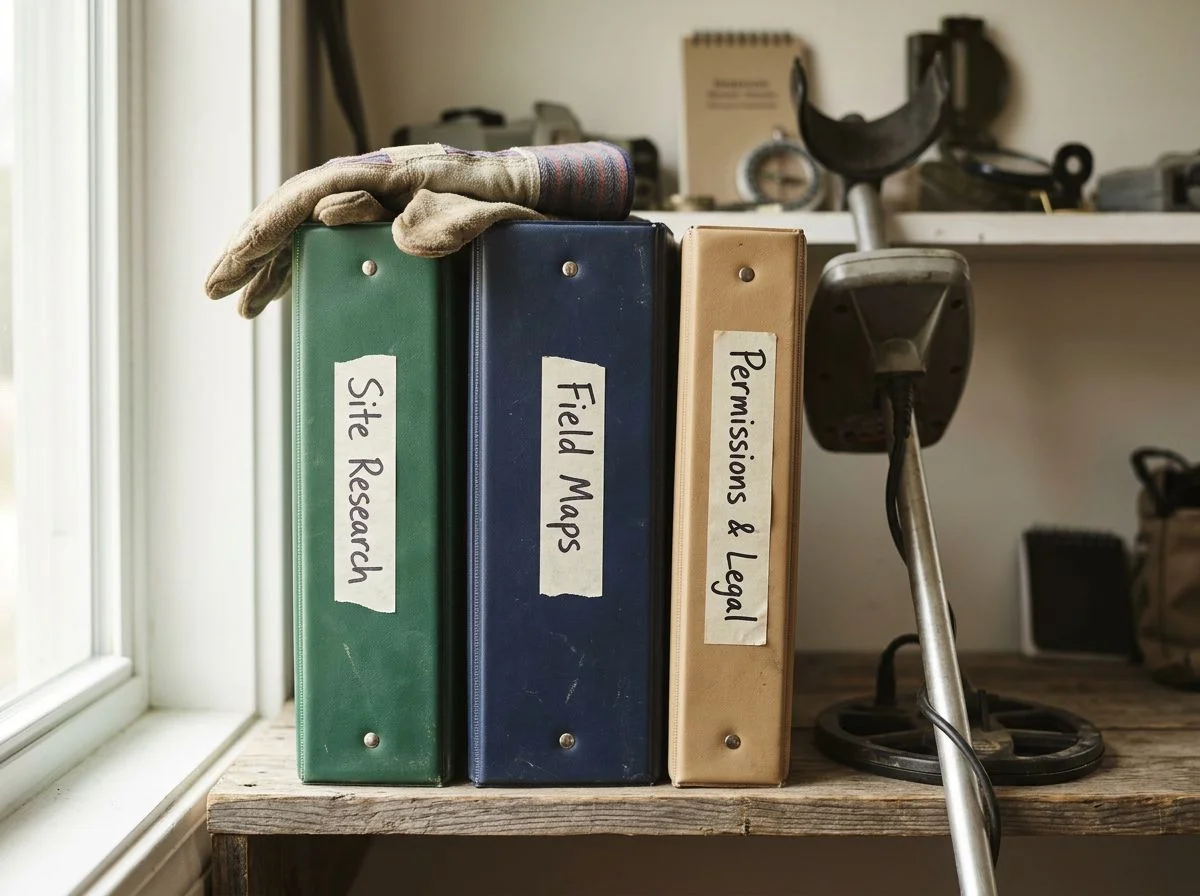
The binder works because it mirrors how seasoned detectorists actually think. Three sections — Granted, Pending, and Research — map directly to the permission cycle you’ll run for every site. Once you see it, you’ll wonder why you ever did it any other way.
My own system started as a single manila folder stuffed with printouts. That worked fine until the day I lost a signed permission slip for a 40-acre ranch property outside Loomis. The landowner had been hesitant to sign in the first place. He’d had a bad experience with a detectorist who left open holes in his pasture. When I showed up the following weekend without the paperwork, he was polite but firm: no slip, no detecting. I spent the drive home kicking myself. That folder got retired that night.
The three-section structure solves this permanently. Section One: Granted. This holds signed permission forms for properties you can hunt right now. The moment a landowner signs, the form goes here — in a clear plastic sleeve so it survives rain and dirt. This is your green light. If it’s not in this section, you’re not swinging on that land. The NCMD strongly recommends written agreements for exactly this reason. Verbal permission gets forgotten. A signed form in a plastic sleeve holds up in any conversation.
Section Two: Pending. These are sites where you’ve identified the property, done the map work, and know exactly who to ask — but you haven’t secured the yes yet. The parcel map, landowner contact info, and any notes from prior conversations live here. When you’re driving through an area, you can pull this section and make door-knock stops without scrambling. The Sahuarita, Arizona permit guidelines are a good reminder that some permissions are formal processes with expiration dates. Track those here too.
Section Three: Research. This is the deep pile. Leads from old maps, newspaper clippings, LiDAR screenshots, and half-baked hunches that need more digging before they’re ready for the Pending section. When you find a promising site in a 1938 aerial photo, it goes here until you’ve cross-referenced property lines and identified the owner. Then it graduates to Pending. Then — with a signature — to Granted. The cycle works because each section has a clear job. Nothing gets lost in the shuffle.
What Belongs in Each Site Packet Sleeve
A well-built site packet includes five core elements: a signed permission form, a property map, a historical map overlay, a rules and restrictions sheet, and a contact log. Each gets its own plastic sleeve. Together, they tell the complete story of a site — who owns it, what’s there, where you can swing, and what happened every time you visited.
The permission form goes in front. Always. This is the signed agreement that says you’re legally allowed to be on that land. The NCMD strongly recommends a written Search Agreement Form for exactly this reason. Verbal permission fades. A signature in a sleeve doesn’t. I learned this the hard way after losing a slip for a ranch property outside Loomis. The landowner had been hesitant to sign. When I showed up without the paperwork, he turned me away. The form now lives in a clear sleeve where rain, dirt, and my own forgetfulness can’t touch it.
Next comes the property map. A current parcel map showing boundaries, access points, and the landowner’s name. I print these from county GIS systems. LuckyFind recommends identifying parcel owners before you ever knock on a door. The map keeps you honest about where the property lines actually run. You don’t accidentally wander onto the neighbor’s land.
Behind that, the historical map overlay. This is the 1912 Sanborn sheet or the 1930s aerial photo showing where the old hotel or homestead actually stood. USGS topoView and HistoricAerials make these easy to pull. Comparing them against the modern parcel map tells you exactly where to focus your first few hours of swinging.
The rules and restrictions sheet is where I note anything specific: “No detecting near the stock pond,” “Gate must stay closed at all times,” “Landowner wants a call before each visit.” Strutt & Parker’s guidance for landowners emphasizes that agreements should specify rules about gates, livestock, and hole reinstatement. So I mirror those expectations on paper.
Finally, the contact log. Every conversation, every visit, every find reported back to the landowner. It’s the difference between a one-time yes and a relationship that lasts for years.
Here’s the thing I didn’t expect: the packet itself becomes a permission tool. Last spring, I sat down with a farmer outside Wheatland to ask about detecting an old stagecoach stop on his property. He was skeptical. He’d heard stories about detectorists leaving holes in pastures. I opened my binder and walked him through the packet for a neighboring site. Signed form. Parcel map. Historical overlay showing the old hotel footprint. Contact log with dates and notes. He flipped through the sleeves, nodded, and said, “Well, you’re more organized than my accountant.” He signed the form right there at the kitchen table.
Printing Maps That Survive Field Use
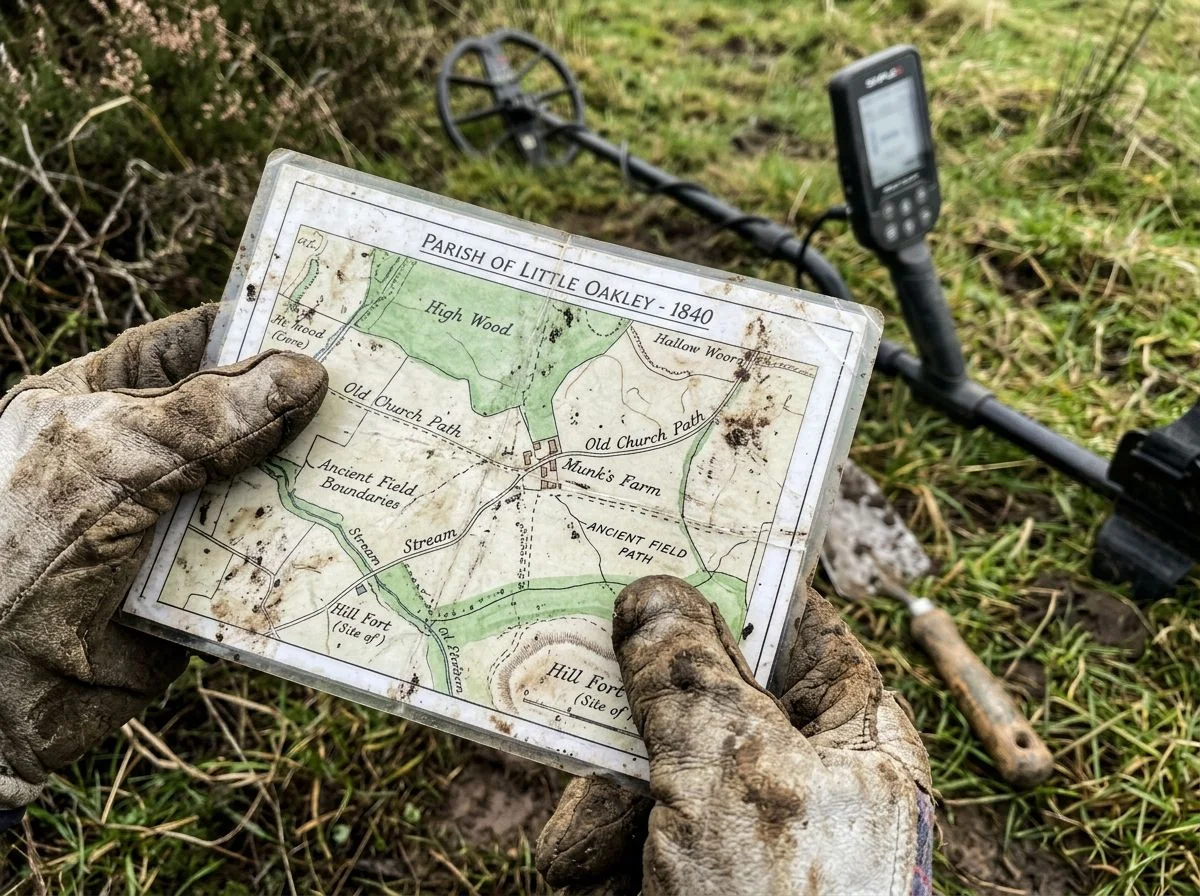
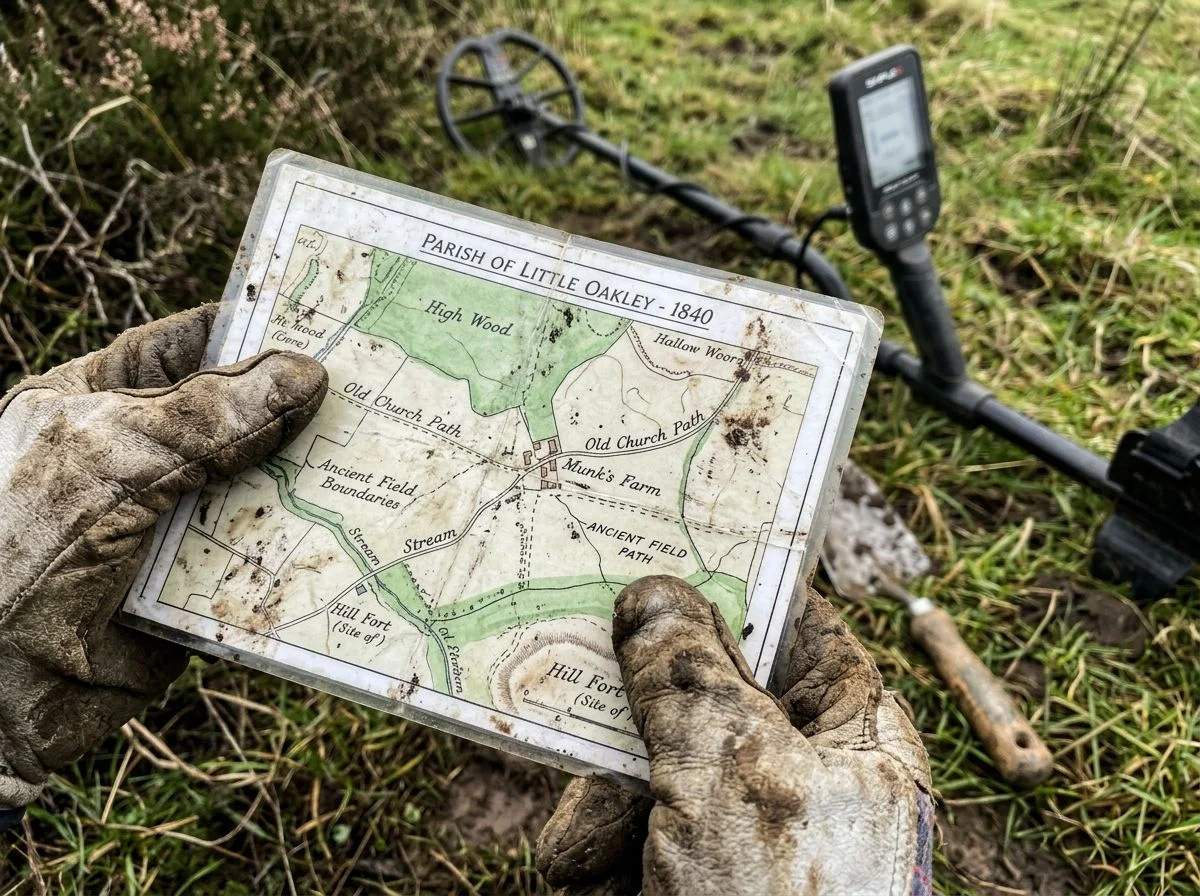
You need four free mapping resources and a printing method that won’t disintegrate the first time it rains. Pull your historical overlays from USGS topoView, the Library of Congress Sanborn collection, the David Rumsey Map Collection, and HistoricAerials. Then print them at 11×17 and laminate them at FedEx for under $3 each. That’s the whole system. It’s saved me more times than I can count.
Here’s the thing about maps in the field: they get wet, they get folded wrong, they get shoved under a seat next to a half-empty water bottle. Standard printer paper lasts about twenty minutes in real detecting conditions. I learned this the hard way after a light drizzle turned my carefully annotated 1912 Sanborn sheet into gray pulp somewhere outside Placerville. Now I print everything at 11×17 and run it through the laminator at FedEx. It costs me about $2.80 per map. Those things survive mud, rain, and my own carelessness. Laminated maps also take grease pencil notes beautifully. I can mark finds directly on the map as I work and wipe it clean for the next hunt.
As for where to get the maps themselves, start with USGS topoView for historical topographic maps dating back to the late 1800s. These show old roads, schoolhouses, and structures that have long since vanished from modern maps. The Library of Congress Sanborn collection is next. Those fire insurance maps show individual building footprints in remarkable detail. That’s gold when you’re trying to pinpoint where an old hotel or saloon actually stood. The David Rumsey Map Collection rounds out the historical side with everything from county atlases to railroad surveys. And when I need aerial photography to see what a site looked like from above, HistoricAerials has imagery going back to the 1930s.
One tip: don’t print every map you find. Print the one or two that actually answer your question for that specific site. The Sanborn sheet showing the hotel footprint. The topo showing the old road alignment. Everything else stays digital until you need it. Your binder fills up fast. A bloated binder is just a fancy pile of paper.
Permission Forms and the Legal Paper Trail
A signed permission form is your proof that you belong on that land. In most places, it’s the only thing standing between you and a trespassing charge. Carry it every time. Log every visit. Understand that written agreements protect both you and the landowner.
Here’s the thing I wish every beginner understood: verbal permission is a handshake. Handshakes don’t hold up when a sheriff’s deputy pulls into the driveway. Last spring, I was detecting a cattle pasture outside Lincoln when a Placer County deputy rolled up, lights off but clearly curious. “You know whose land you’re on?” he asked. I pulled the signed form from my binder — dated, with the landowner’s name, parcel number, and a map of the permitted area — and handed it over. He glanced at it, nodded, and said, “Have a good day.” Thirty seconds. That’s what a piece of paper does.
The legal reality is even more important if you detect in the UK. According to the National Council for Metal Detecting, in England, Wales, and Northern Ireland, the landowner legally owns all non-treasure items found on their land unless otherwise agreed. That means without a written agreement specifying what happens to finds, you could dig a 17th-century buckle and have zero legal claim to it. A written agreement settles that before your coil ever touches the ground. The NCMD’s Search Agreement Form exists precisely because verbal arrangements fall apart. Memories fade. Landowners change their minds. “I thought we agreed” doesn’t hold up.
For US detectorists, the stakes are different but just as real. A permission letter template should include the date, both names, the property address, specific permitted activities, the duration of access, and signatures from both parties. Note that permission can be revoked at any time. That clause protects the landowner. It actually makes them more likely to sign, because it gives them an easy out if things go sideways.
Keep a contact log in the same sleeve as the form. Every visit, jot down the date, time in, time out, and anything notable. Finds. Conversations with the landowner. Gates left open or closed. If a dispute ever arises, that log is your second witness. It’s boring paperwork until it isn’t.
Digital Tools That Support Your Research Binder
Your binder handles the static stuff — maps, permissions, logs. But when you’re standing in a field trying to figure out exactly where the property line cuts through, a phone app saves you twenty minutes of squinting at a laminated map and guessing. The trick is using digital tools for real-time answers. Then write those answers down where they’ll survive.
LandGlide is the one I actually use. It integrates with your phone’s GPS to display real-time property lines and parcel attributes, including landowner names and addresses. That means I can walk a fence line and know the second I’m about to cross onto the neighbor’s forty acres. According to relic hunters Heath Jones and Scott Duncan, hosts of the History Seekers show, LandGlide is an essential tool for identifying property owners on-site and making sure you don’t wander into neighboring land while working wooded areas. I’ll admit it: I use LandGlide on my phone to check property lines in real time. But I still write the results down in my binder. Old habits die hard. And honestly, I’ve been burned by dead batteries enough times to know better than to trust a glowing screen.
For deeper research, LiminArc offers a digital platform with over 10,000 georeferenced historical maps and GPS field mode that tracks your position and logs finds offline. It’s overkill for a casual Saturday hunt. But if you’re working a large permission with multiple historical layers, it’s genuinely useful. Just remember: the app is a tool, not a filing system. Whatever it tells you, write it down.

My name is Paul and I am the founder of Detector For Metal, a dedicated resource for metal detecting enthusiasts seeking to uncover historical treasures and connect with the past using the latest technology. As a stay-at-home dad and family man, I’ve found metal detecting to be the perfect hobby that combines family adventure with historical learnings for the whole family.
As a father, I’m deeply committed to passing on this hobby to the next generation of detectorists, starting with my own children. I share advice on everything from metal detecting with kids to exploring the top 10 metal detecting sites you never thought about. My methodical approach to the hobby goes beyond the thrill of discovery—it’s about creating family traditions while preserving history and sharing the stories of those who came before us.