Table of Contents
Here’s the short answer: metal detecting on the beach in California isn’t just “beach detecting.” It’s a specialized, high-stakes game. You’re playing on a dynamic, mineralized board that eats generic advice for breakfast. To win, you have to ditch your inland habits. You need a coast-specific playbook. It must focus on multi-frequency tech, managing black sand, and nailing the tidal timing.

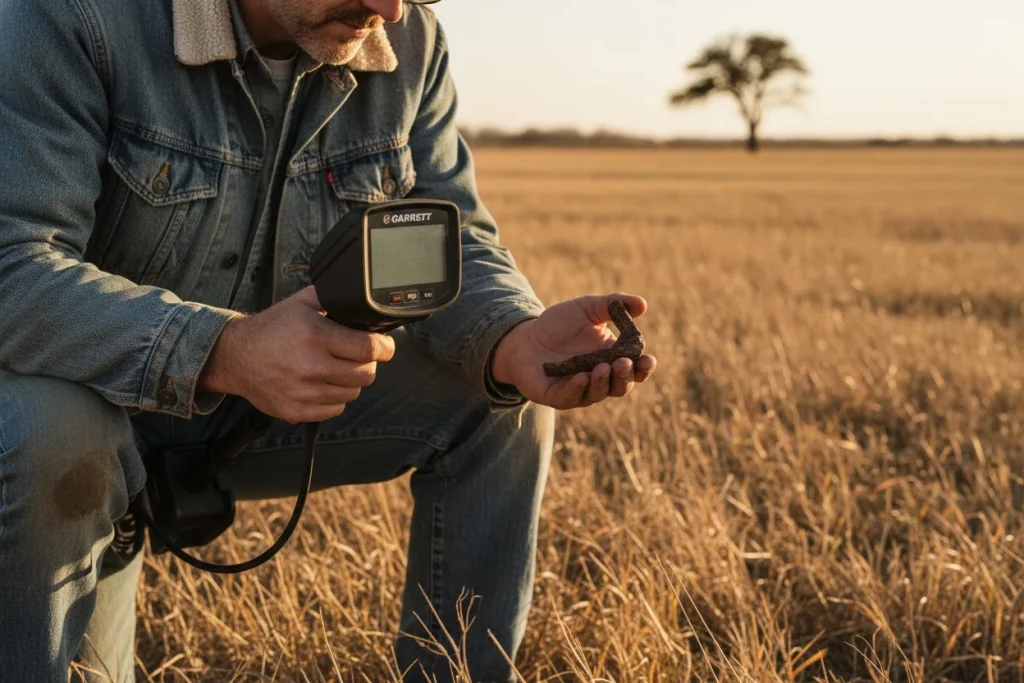
I learned this the hard way on an early hunt at Stinson Beach. My Garrett AT Pro was a trusty workhorse for parks. The moment I stepped onto the damp sand, it screamed like a banshee. The chatter of false signals was relentless. I spent two hours digging bits of iron-rich sand. I was convinced I was uncovering a lost shipwreck. My scoop came up empty every time. The saltwater and concentrated minerals had overwhelmed my machine’s single-frequency brain. I packed up frustrated, but also fascinated. This wasn’t a failure. It was a lesson. The California coast is a different animal.
As a veteran on the Friendly Metal Detecting Forum put it, these beaches “acclimate to their own norms.” What works in Florida or on a dry lakebed won’t work here. The rules change. The environment is different. The saltwater itself is a key player. It breaks down metals over time, often making them easier to detect. But it also creates a conductive soup. This demands specialized ground balance to see through.
Most generic guides miss this. They’ll tell you to get a waterproof detector and hunt at low tide. That’s like being told to bring a spoon to a gold mine. This guide is different. It’s based on years of trial, error, and research from Monterey to San Diego. This is a California-specific playbook. We’ll cover the non-negotiable gear that actually works. We’ll explain the science of decoding our notorious black sand. We’ll detail the advanced timing strategies that use coastal erosion. And we’ll review the local ethics you must know. Let’s get started.
Essential Gear for California Beach Detecting
The right gear for California’s wet sand isn’t just waterproof. It’s built to think in multiple frequencies at once. This cancels out mineral noise. Bring anything less, and you’re just listening to the beach chatter. You need a simultaneous multi-frequency detector. You need a serious scoop. And you need a strict post-hunt cleaning ritual.
I learned this lesson with my buddy Mike. He is a fantastic inland hunter. He showed up at Half Moon Bay with a top-tier, single-frequency machine—a beast in parks. He spent the next four hours listening to it scream. It sounded like a teakettle on every scoop of damp sand. He’d get a beautiful, repeatable signal. He would dig and find… black sand. Every time. He spent the day muttering into the surf, defeated by the very ground he was trying to hunt. The salt and minerals had rendered his advanced detector nearly useless. That’s the non-negotiable starting point.
Why You Need a Multi-Frequency Metal Detector
Forget the old PI vs. VLF debate for the surf line. The modern answer is simultaneous multi-frequency (MF). A machine like the Minelab Equinox 900 or Minelab Manticore transmits multiple frequencies at once. Why does this matter? One frequency gets confused by the conductive salt. The others cut through. The processor cancels out the ground noise. It actually hears the target. This is why experts say for ocean beaches, simultaneous multi-frequency technology is essential to maintain stability in wet salt sand.
My go-to is the Equinox 900 for its brute-force stability. The XP DEUS II is a brilliant lightweight option for long days. The Manticore’s target ID is spookily accurate. This tech isn’t a luxury here. It’s the price of admission.

Choosing the Right Sand Scoop for Leverage
A flimsy sand scoop is an exercise in frustration. You need a long-handled, stainless steel scoop. The long handle lets you dig without bending double in the surf. Stainless won’t rust into oblivion after a month of salt baths. A sturdy scoop is how you test a target quickly. You need to beat the next wave filling your hole.
A Simple Saltwater Corrosion Prevention Routine
Saltwater is a corrosive devil. Rinsing your equipment thoroughly with fresh water after every single hunt is a commandment, not a suggestion. Pay special attention to the coil cover. Sand and salt get trapped underneath. They grind away at the coil. I use a cheap spray bottle filled with fresh water for a field rinse before the drive home. Then I do a more thorough soak in the laundry sink. It adds five minutes to your day. It adds years to your gear’s life.
Before your next coastal hunt, do a quick check. Is your detector a true multi-frequency? Is your scoop up to the task? Is your rinse kit ready? If not, you’re already behind.
Pro Strategies for Metal Detecting on the Beach
Mastering the art of metal detecting on the beach requires more than good timing. You need a battle plan for the sand itself. Black sand and powerful surf create a chaotic environment. Your success hinges on a systematic search pattern and sharp audio skills. This separates the hopeful from the productive.
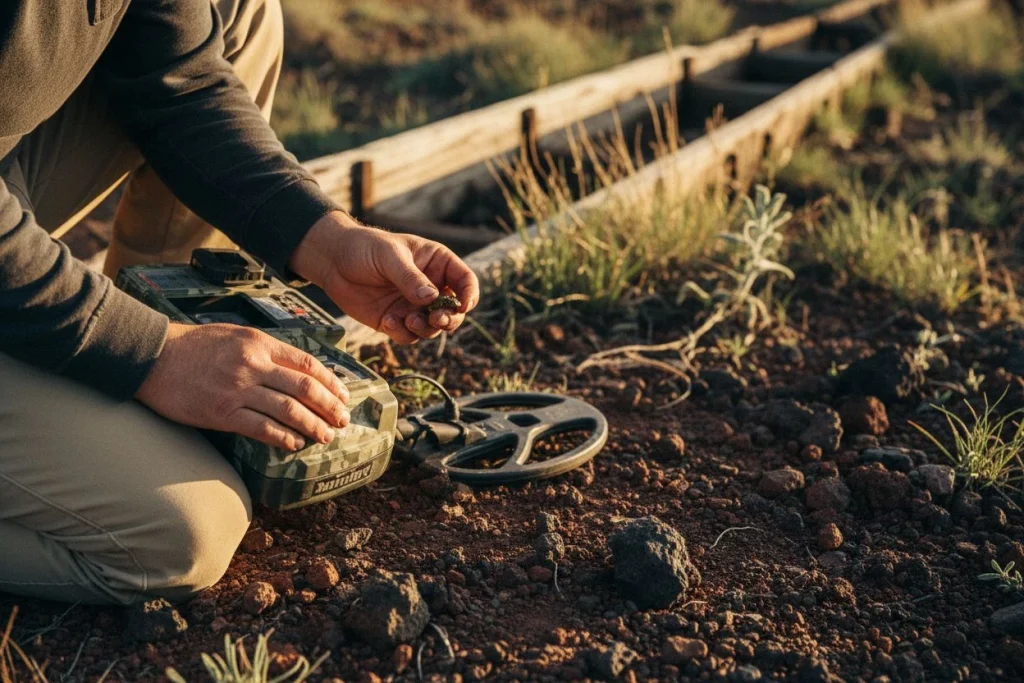
Let me explain the science. Those dark, heavy streaks are essentially fine particles of iron ore. Your detector sees this dense, conductive mass. It interprets it as a giant, shallow target. This causes the constant chattering or “falsing.” It drives hunters back to the dry sand. The fix is to manually tell your detector, “This is the ground; ignore it.” That’s ground balancing.
On most detectors, you do this with the “pump” method. Find a patch of clean, mineralized wet sand with no metal. Hold your coil steady about an inch above it. Pump it up and down smoothly while pressing the ground balance button. The machine samples the ground response. It sets a baseline. For turbulent spots like the water’s edge, using your machine’s automatic Tracking mode is often the wiser move. It continuously adjusts for you. Before any of this, your very first step on any beach should be a Noise Cancel. This tunes out ambient interference from power lines or other detectors. It gives you a clean slate.
Once balanced, you need the right settings to find the good stuff. Generic “beach” modes can work. But for the small, low-conductivity gold jewelry we often hunt, you need to get specific. Gold rings and chains often resonate best in a higher frequency range, typically between 20-40 kHz. If your multi-frequency machine has a dedicated “Gold” or “Low Conductor” beach mode, it’s likely emphasizing these frequencies. In a mode like the Manticore’s “Beach Low Conductors,” you’re optimizing the detector’s brain. It prioritizes those faint, desirable signals over the roar of the mineralized ground. It’s the difference between hearing the whole orchestra and picking out a single violin.
Perfect Your Timing with Tides and Storm Swells
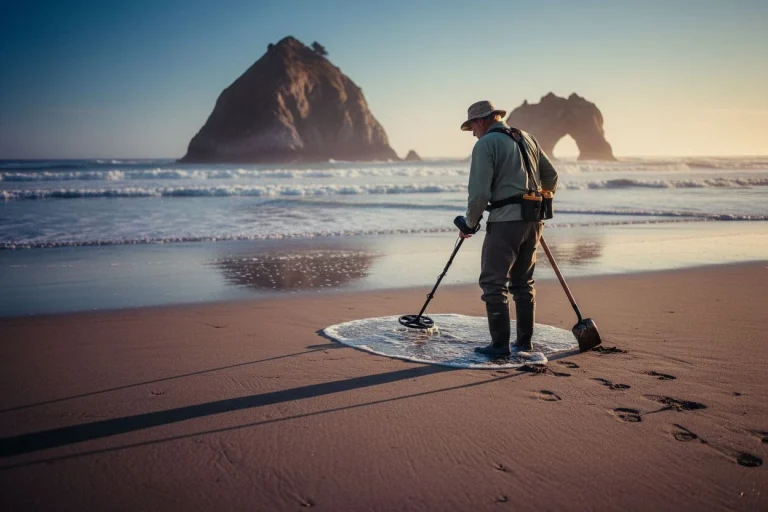
The short answer: Productive saltwater hunting is 90% timing. Forget random visits. The best finds happen when you hunt the low tide window. More crucially, you need to hunt after a storm cycle. You need powerful swells hitting during an elevated high tide. This combination sculpts the beach. It creates a vertical “cut” in the sand. This exposes long-buried treasures.
My most planned—and rewarding—hunt happened at Monterey’s Carmel River State Beach after a December storm. I’d watched the swell models for a week. A direct, 15-foot westerly swell was forecast. It would hit right as the high tide peaked at 5.8 feet. I was there at dawn, two hours before low tide.

The beach was transformed. Where a gentle slope once was, the surf had carved a near-vertical, three-foot wall of sand. It ran for hundreds of yards. In the next four hours, I worked the base of that fresh cut. I pulled out six silver coins. The oldest was a 1923 Mercury dime. I found four wheat pennies and a heavy man’s 14k gold class ring from the 1970s. That’s the power of perfect timing.
Reading Basic Tide Charts for Detecting
Start with the fundamental pulse: the tide. The classic advice is the “two-hour rule”. Hunt two hours before and after low tide. This is your foundation. It gives you maximum access to the wet sand and low-tide zone. This is where targets settle. But this alone just gets you modern drops. For the old stuff, you need erosion.
How Storm Erosion Reveals New Targets
This is the advanced calculus. A king tide alone doesn’t guarantee a good hunt. As seasoned hunters on the Friendly Metal Detecting Forum note, California beaches “acclimate to their own norms.” Normal surf just moves sand around.
Real, productive erosion requires a specific formula. You need Elevated High Tide (5.5 ft. or higher) + Powerful, Direct Swells.
The high tide lifts the attack point of the waves higher up the beach. The powerful swells provide the hydraulic force. They carry away massive amounts of sand. When these two forces coincide, that’s when the magic happens. Monitor swell forecasts (I use SurfLine) and tide charts together.
Finding and Working a Productive Beach Cut
After the right storm, the beach will tell you where to hunt. Walk the beach and look for the “cut.” This is a steep, vertical face in the sand. Often layers or shelves are visible. The wave action has literally sliced a profile through the beach. It exposes older, deeper layers.
Your primary target is the base of this cut. Also target any “scallops” or depressions along its length. Coins and rings buried for 50 years tumble out of that exposed face. They settle right at the foot of the cliff. Grid this area methodically. My Monterey silver came from a dense cluster at the base of the tallest cut. That’s not luck. It’s physics. It’s showing up when the beach gives you a rare, open window into its past.
Professional Search Patterns and Target Recovery
Here’s the truth. Finding good targets on a busy beach isn’t about luck. It’s about process. You must search systematically. You must listen intently. You must make smart split-second decisions about what to dig. Mastering this triage turns a hopeful stroll into a productive hunt.
Mastering the Tight Grid Search Technique
Forget the aimless “lawnmower” pattern most beginners use. On a dynamic beach, you must be surgical. I work in a strict grid pattern. I mark a mental start point. I hunt in straight, overlapping lines parallel to the water. I make each pass about 75% of my coil’s width. This ensures every inch gets covered twice from different angles. It’s the only way to be sure. You can’t miss faint signals nestled between waves of black sand. As noted in advanced guides, this systematic gridding is non-negotiable for thorough coverage.

Advanced Audio Tips for Beach Detecting
Your ears are your best tool. Always use headphones. They block the wind and wave noise. They let you hear the faint, broken whispers of deep or small targets. This is critical. Hearing those faint signals over ambient noise is a major advantage. On my Minelab, I often switch to VCO (Variable Controlled Oscillator) Audio. This setting makes the target pitch increase. It gets higher as you get closer and as the target’s conductivity increases. A faint, high-tone whisper at the edge of your swing? Does it solidify into a high, clean tone as you center the coil? That’s often a deep, good target. It’s a brilliant way to distinguish deep jewelry from shallower trash.
Target ID Ranges for California Beach Gold
Finally, you must learn your machine’s language. While numbers jump around in wet salt sand, they give a crucial clue. On most multi-frequency machines, the sweet spot for modern gold rings and pendants often falls in that 20 to 60 Target ID range. A solid, repeatable signal in this zone gets my immediate attention. This is especially true if it has a mid-to-high tone. It’s not a guarantee—this is the prime zone where gold jewelry often resonates—but I’ve pulled plenty of silver and platinum outside it. Never ignore a perfect audio signal. Don’t ignore it just because the number is a bit high or low.
Your homework for the next hunt: Pick a 20×20 foot square in the wet sand. Practice just these three elements. Grid meticulously. Focus entirely on the audio through your headphones. Note the TID of every target you dig. This deliberate practice builds the muscle memory that finds gold.
Understanding California Beach Detecting Laws
Here’s the non-negotiable rule: Metal detecting is generally prohibited in California State Parks. For city or county beaches, the rules are a wildly varying patchwork. Some require a permit. Some ban it entirely. A few are openly welcoming. Knowing the law isn’t just about avoiding a fine. It’s about protecting access for all of us.
I learned this lesson secondhand through my buddy, Mike. He was working the wet sand at a popular state beach up north. He thought he was in the clear below the tide line. A park ranger approached. He didn’t come with a ticket, but with a firm, polite education. The ranger explained the blanket prohibition. It bans “disturbing natural resources.” This includes digging in any sand within park boundaries. Mike packed up, embarrassed but grateful it was just a warning. That conversation saved us both future headaches.
This is the ethical hill I’ll die on: always verify jurisdiction and rules. Your hunt starts long before you swing the coil. It starts with a phone call or website visit. Contact the specific city or county parks department. For example, some L.A. County beaches allow detecting with a free permit. Others, like many in Monterey, prohibit it. They aim to protect archaeological resources. This due diligence is what separates responsible detectorists. It distinguishes them from the ones who get entire beaches closed to the hobby. Our privilege to hunt depends on our collective respect for the rules. For more on this, see our guide on metal detecting laws and ethics.
California Beach Detecting Frequently Asked Questions
Here are quick, straight-to-the-point answers to the most common questions I get. For the deep-dive explanations, circle back to the full sections above.
Q: Can I use my inland machine on the wet sand?
A: Briefly, no. I learned this the hard way. Single-frequency machines (most standard VLF detectors) go absolutely haywire in wet salt sand. The high mineralization makes them chatter with false signals nonstop. You need a simultaneous multi-frequency detector. It must be designed to cancel out that salt interference. We covered this in the Non-Negotiable Gear section.
Q: What’s the single best time to hunt?
A: After a significant swell event. It must coincide with a high high-tide. This combination causes the most dramatic erosion. It scours away layers of sand. The prime moment is during the following low tide. This is when the newly cut beach face is fully revealed. This is the advanced timing strategy in Timing is Everything.
Q: Is black sand always a problem?
A: Yes, the magnetite-rich black sand on CA beaches is a constant challenge. It masks targets and creates false signals. But modern multi-frequency tech and precise ground balancing manage it effectively. You must actively ground balance when you see those dark streaks. We explain this technique in Decoding California’s Black Sand. For another great resource, check out our guide to handling mineralized ground.
Planning Your First Hunt on a California Beach
The core truth is this: consistent success on California’s coast isn’t about your detector’s price tag. It’s about understanding the unique, moving puzzle of the beach itself. You must master the tides, the swells, the black sand, and the rules that govern the sand. Master that environment, and your gear becomes a precise tool. It stops being a noisy liability.
This all clicked for me last fall. I was watching my kid swing my backup machine in the wet sand at a local beach. He used the simple timing and gridding techniques we’ve talked about. He got a clean, repeating signal. A few scoops later, he pulled up a modern sterling silver ring. The value was negligible. But his face—pure, unfiltered joy at the process working—was the real treasure. That’s the payoff. It’s applying knowledge. That knowledge turns random swings into confident recovery.
So, take these pillars and put them to work. You need the right multi-frequency gear. You need a respect for the rules. You need an understanding of tides and erosion. And you need a strategy for the minerals. Your best finds are waiting in that next low-tide window. Successful metal detecting on the beach is a skill you build, not just luck you find. Ready to get your gear sorted? Start with our guide to choosing your first metal detector.
Now, I’d love to hear from you. What’s your best California beach find? Share your story in the comments below. Let’s see what the community has pulled from the sand.

My name is Paul and I am the founder of Detector For Metal, a dedicated resource for metal detecting enthusiasts seeking to uncover historical treasures and connect with the past using the latest technology. As a stay-at-home dad and family man, I’ve found metal detecting to be the perfect hobby that combines family adventure with historical learnings for the whole family.
As a father, I’m deeply committed to passing on this hobby to the next generation of detectorists, starting with my own children. I share advice on everything from metal detecting with kids to exploring the top 10 metal detecting sites you never thought about. My methodical approach to the hobby goes beyond the thrill of discovery—it’s about creating family traditions while preserving history and sharing the stories of those who came before us.