Table of Contents
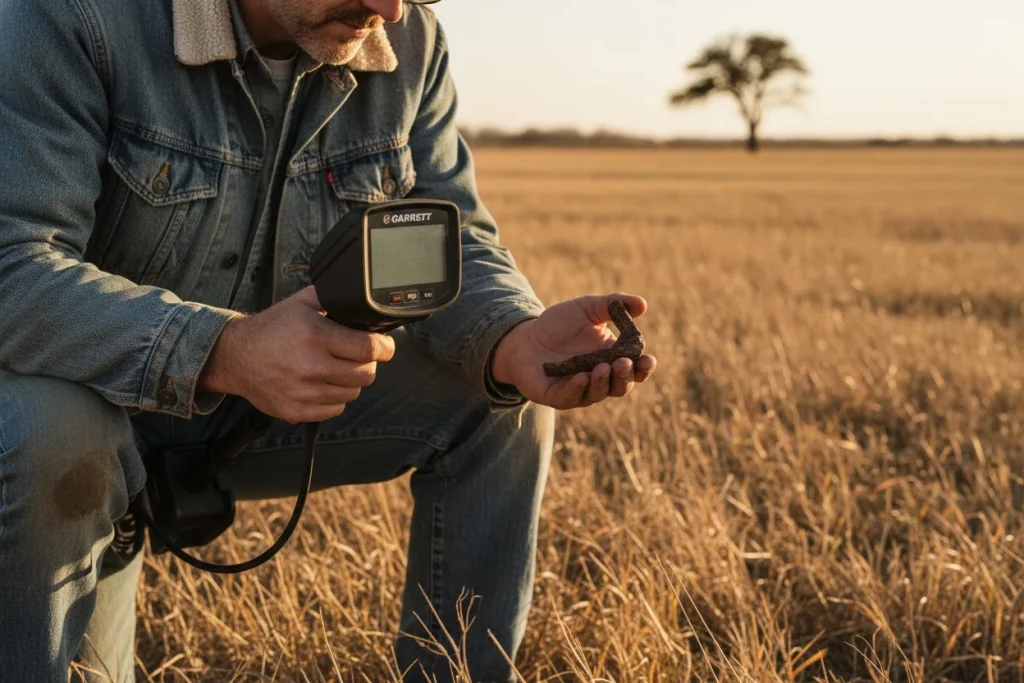
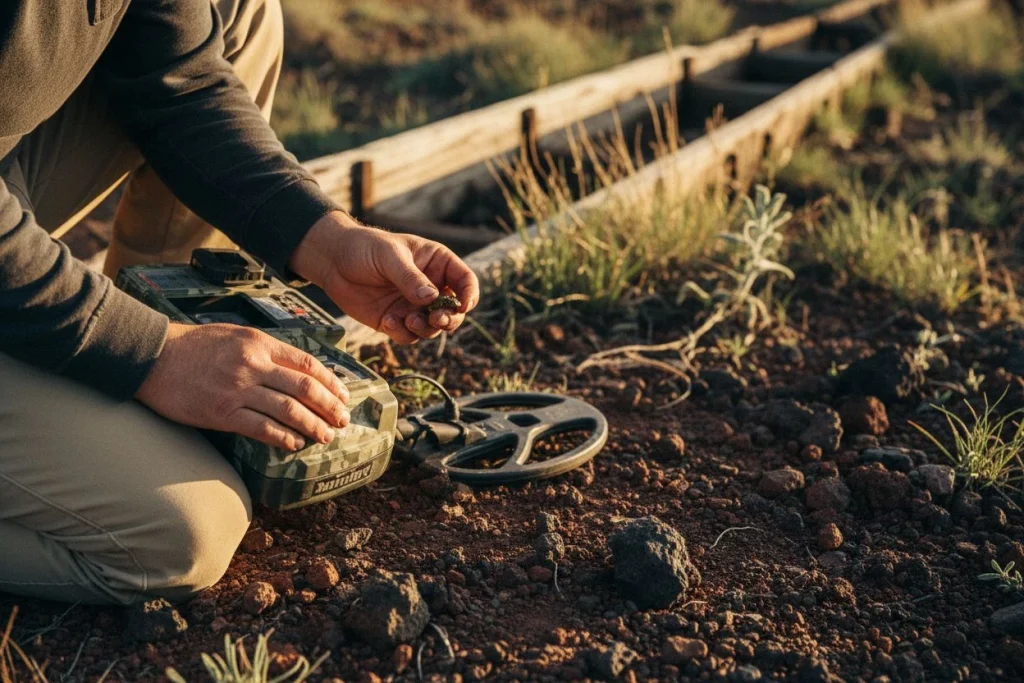
If you think the Minelab Vanquish 540 is just for the beach, you’re missing out. Your best finds are probably buried under a hundred years of nails and bottle caps in the city park down the street. This guide shares the best Minelab Vanquish 540 tips to change your approach. We’ll master settings for that layered chaos. We’ll turn a frustrating buzz of iron into a clear path to the good stuff.
I learned this lesson the hard way at McKinley Park here in Sacramento. My first hunt there with the Vanquish was a symphony of low grunts. I dug rusty square nails, modern screw caps, and pieces of what might have been a lawnmower. After two hours without a single clean high tone, I almost gave up. I thought the park was hunted out. I was wrong. I just didn’t know how to listen yet.
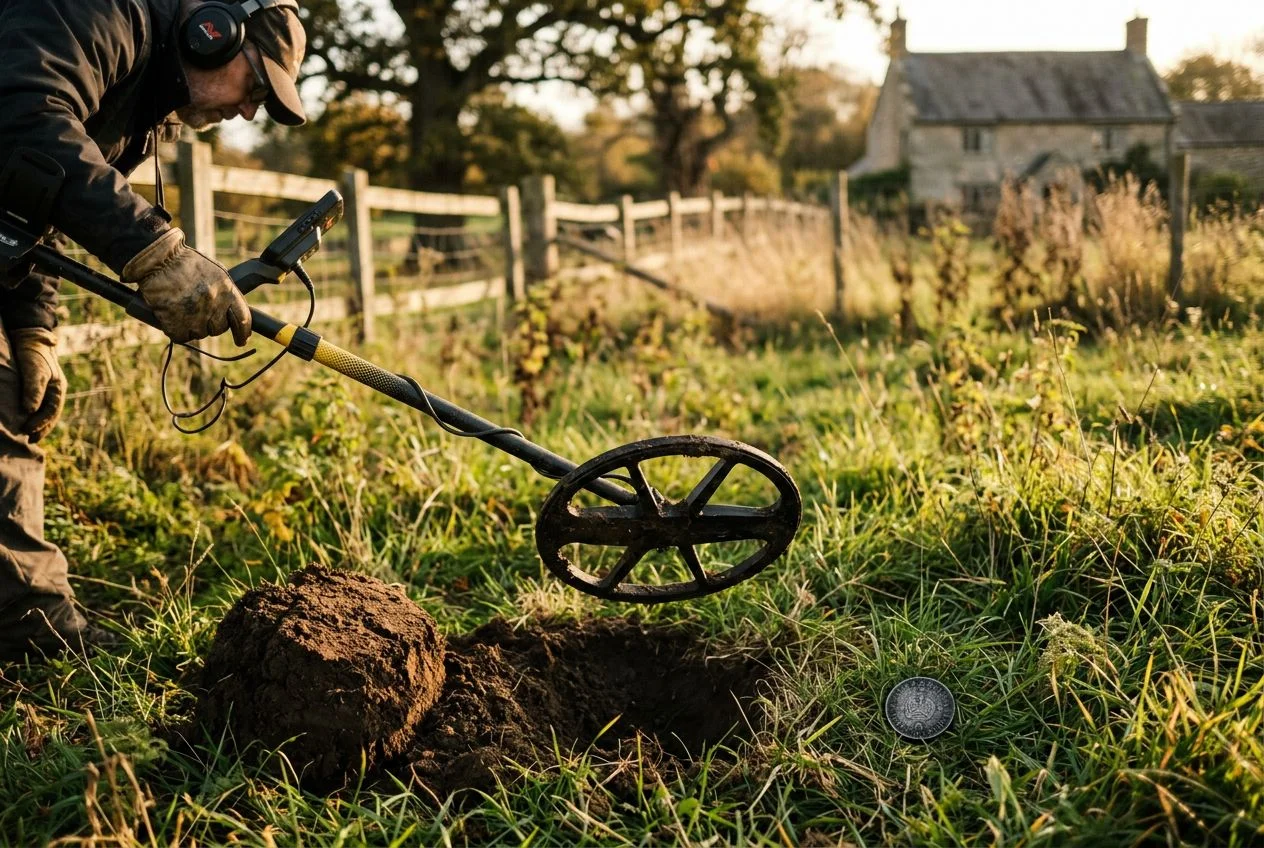
The beach is easy. The ground is consistent. Targets are often recent. Your main worry is saltwater. An urban park is a different beast. It’s a compressed timeline of a community’s history. A 1920s wheat penny can sit inches from a 1970s pull-tab and a modern screw cap. All are wrapped in a nest of rusting iron. It’s overwhelming. Most detectorists either avoid these spots or leave frustrated.
But here’s the truth that kept me going: that iron isn’t just trash. It’s a shield. It’s what has protected the older coins and relics from every person who’s swung a coil there over the last 50 years. A review from UK Detectorist nailed it. It pointed out the Vanquish 540’s strength for “cherry-picking” modern coinage in parks. The trick is learning to extend that skill back through the decades, right into the iron.
This guide is about making that shift. We’re trading waves for nails. I’ll walk you through the three core skills you need. Master these Minelab Vanquish 540 tips to turn your detector into an urban park specialist. You’ll learn Iron Bias to make sense of the chaos. You’ll manage urban EMI to keep your machine quiet. And you’ll do low-impact recovery to keep our parks green and our hobby welcome. Let’s dig in.
Is Your Local Park Hiding More Than You Think?

What’s harder to find? A dime in wet sand, or a Mercury dime wrapped in a nest of square nails? The Mercury dime wins every time. Here’s why.
The beach is like a detectorist’s laboratory. It’s consistent. The ground is damp. Targets are often singular and recent. Your local park is a chaotic archaeological dig squeezed into a few acres of public lawn.
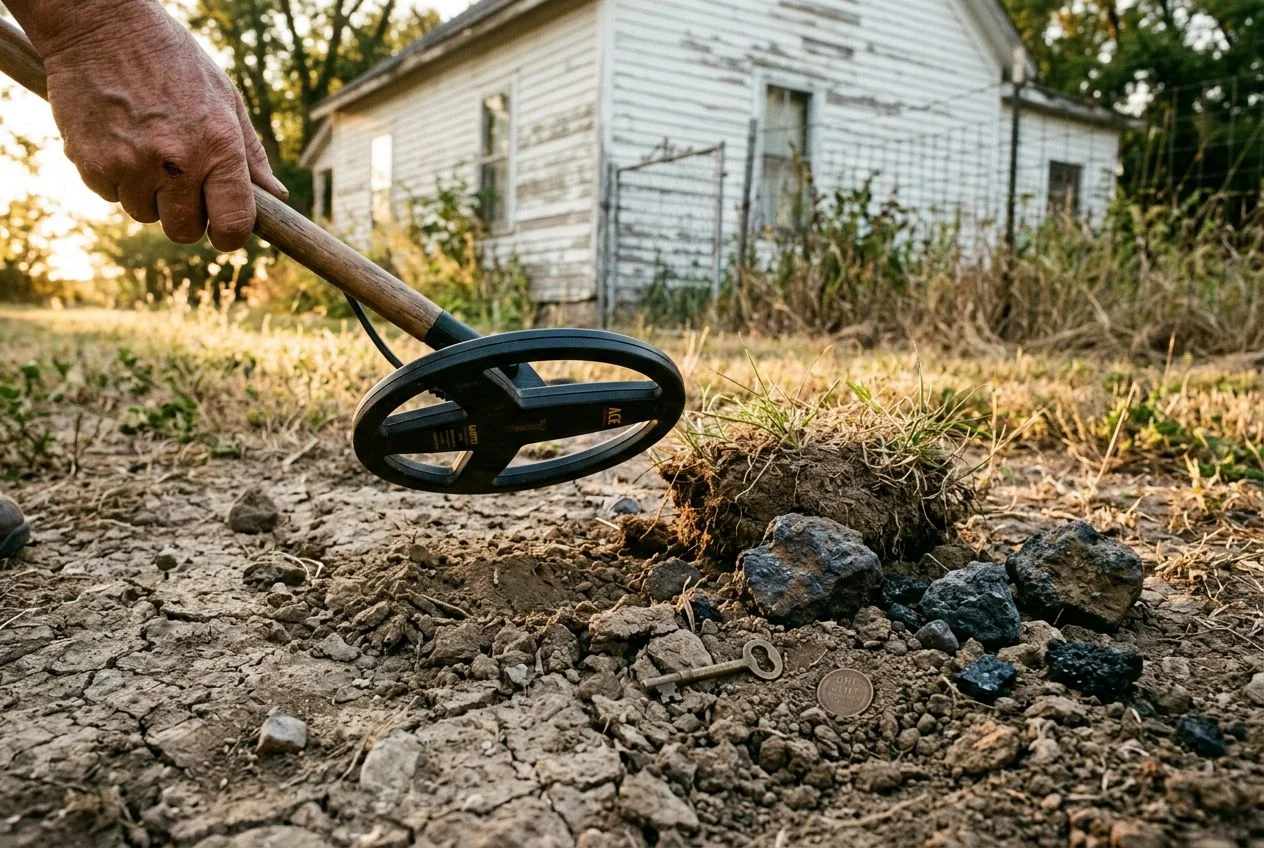
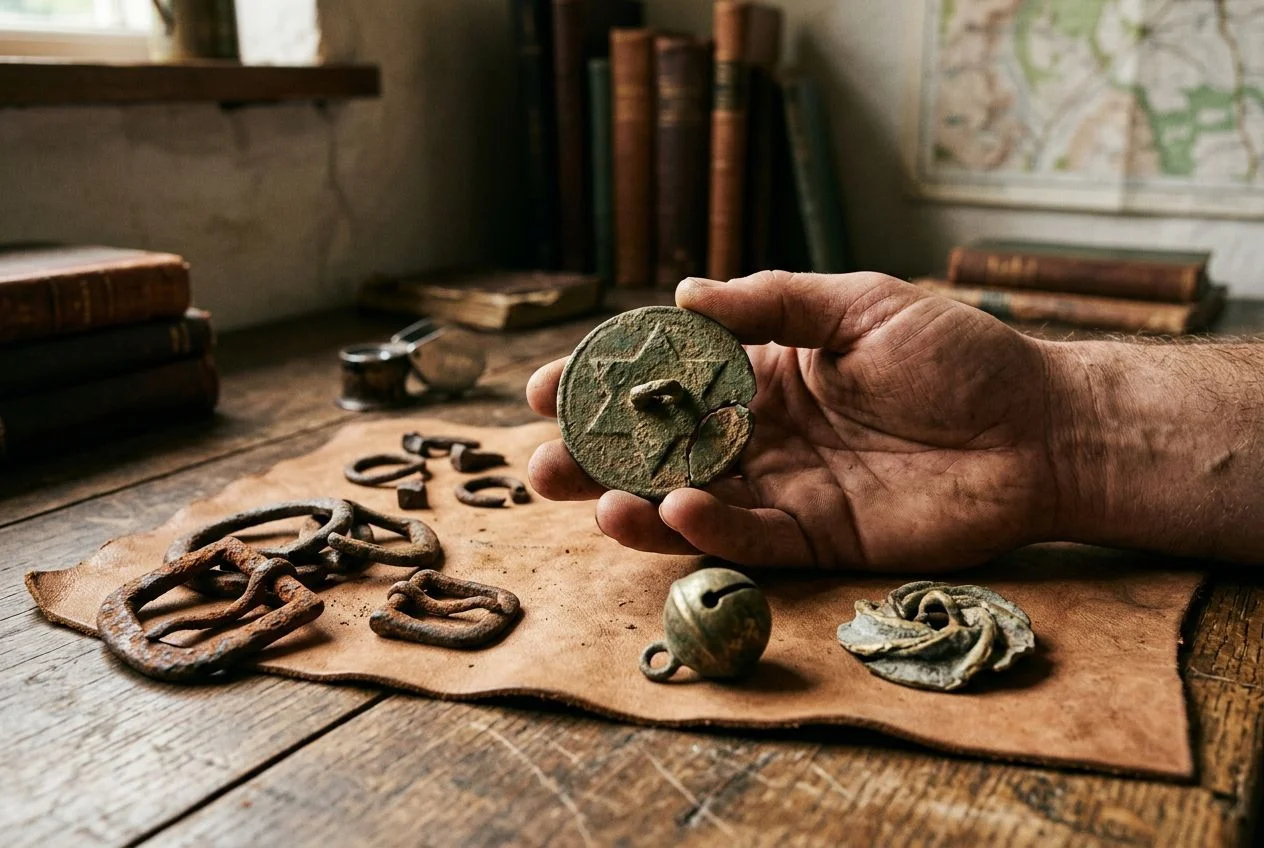
At the beach, you battle salt and maybe some black sand. In an urban park, you face what I call “urban stratification.” The top few inches are a layer of modern trash. This includes aluminum pull-tabs, zinc pennies, foil wrappers, and screw caps. Dig a little deeper, and you hit the historical iron layer. Here lie hand-forged square nails, rusted can slaw, and pieces of old farm equipment. This iron isn’t scattered. It’s often concentrated in dense nests around old fence lines, burnt-out foundations, or popular spots from a century ago.
This layered chaos creates a perfect storm for your detector. Modern trash masks deeper targets. Dense iron falsifies signals, making everything sound like a low grunt. That’s why your first hunt in a new park can be so discouraging. You’re not in a target-poor environment. You’re in a signal-saturated one. This is the exact scenario highlighted in our Vanquish 540 field review. Its performance in “heavily iron-laden” sites becomes critical.
Add in unpredictable electromagnetic interference (EMI). This comes from underground wiring, traffic lights, or Wi-Fi. You have a completely different beast than the open beach. But here’s the perspective shift: that iron shield is what protected the good stuff. While everyone else got frustrated and left, the older coins and relics stayed buried. They were waiting for someone to learn the new rules. This isn’t just a problem—it’s a solvable puzzle.
Minelab Vanquish 540 Tips: Master Your Vanquish 540 for Park Metal Detecting
Here’s the short version. The Vanquish 540 doesn’t just have better technology for iron. It has a different kind of technology. Multi-IQ processes the ground like a seasoned local listens to a busy room. The Iron Bias control lets you decide how aggressively to ignore the chaotic chatter. Mastering this combo turns a park full of iron ghosts into a site with clear, findable signals.
Most detectors in this price range use a single frequency. Think of it like trying to have a conversation by pressing your ear against one wall of a noisy house. You’ll hear something. Making out the words is tough. In iron-laden ground, that single frequency gets overwhelmed by the constant, broad signal of rust. It masks the sharper signal of a coin.
How Multi-IQ Technology Handles Iron Trash
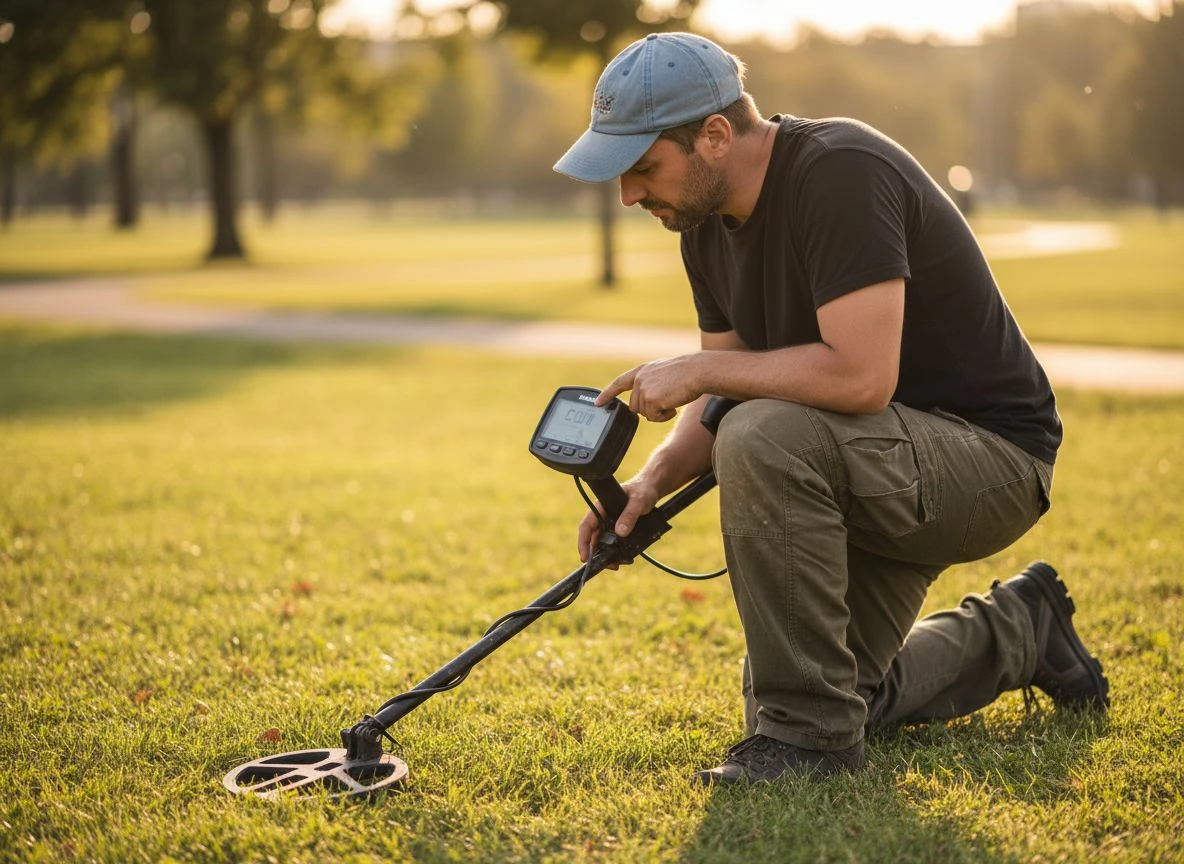
Multi-IQ is Minelab’s simultaneous multi-frequency tech. My analogy? It’s like having a conversation in that noisy room. Now you can hear the person across from you, the guy by the snack table, and the faint whisper from the corner—all at once. Your brain automatically focuses on the voice you choose. The Vanquish 540 sends and analyzes multiple frequencies at the same time. In iron trash, this helps separate the messy signal of “iron + coin” into its parts. It gives the processor a chance to spot the good target hiding in the ferrous clutter. It’s the main reason this detector can work where simpler machines fail.
What Is Iron Bias and How to Adjust It
Now, here’s the critical knob for urban parks: Iron Bias. Most guides just say “try High or Low.” That misses the point. Iron Bias doesn’t make iron disappear. It tells the processor how aggressively to label a messy, mixed signal as “probably iron.”
The default is High. As Joan Allen’s review notes, this setting is great for classifying complex iron (like bent nails). The machine can then reject them cleanly. It creates a quieter, more stable hunt. Use this when the iron is large and scattered. It’s for when you want to cherry-pick obvious non-ferrous targets.
You switch to Low Iron Bias when the iron is dense and old. Think nail beds around an old foundation. Here, the processor is less quick to call an iffy signal “iron.” This can “unmask” non-ferrous targets sitting in that ferrous nest. The trade-off is highlighted by Serious Detecting. You’ll hear more iron. Some iron might even sound a bit sweeter. But this setting can reveal a small copper token or a thin silver dime literally surrounded by square nails. You trade stability for maximum target revelation.
The choice isn’t permanent. I often start a hunt in a new park on High to get a lay of the land. When I hit a hotspot of constant iron signals, I long-press the All-Metal button (that’s the trick) to switch to Low. Then I grid that small area slowly. It’s the difference between listening to the whole room and then leaning in to catch one specific, whispered conversation. These are core Minelab Vanquish 540 tips.
Essential Vanquish 540 Settings for Park Hunts
Here’s your starting point for a trashy 1920s park. Power on. Select Coin mode. Set Iron Bias to High, Sensitivity to 6, and reject the first 15 segments on the Discrimination scale. This combo prioritizes stability. It lets the Multi-IQ processor work clearly through the iron clutter. It finds the non-ferrous whispers underneath.
Now, let’s build the why behind each of those clicks.
Choosing the Best Mode for Coins or Relics
For 90% of urban park hunts, Coin mode is your home. It’s the fastest, most responsive profile. That speed is critical for separating good targets from the buzzing iron and trash around them. I only switch to Relic mode if I’m in a known historical hotspot. An example is the foundation of an 1800s homestead within a park. I’m willing to dig more iron for the chance at flat buttons or early brass. Custom mode is for when you’ve truly learned your specific park’s “voice.” Save it for later.
Finding the Right Sensitivity for Stable Signals
This is the hardest setting for newcomers to accept. Higher sensitivity does not always mean more depth in a city park. In fact, cranking it up in EMI-heavy, iron-laden ground guarantees a chattering, unstable machine. It will mask good targets and give you a headache.
My detecting buddy Tom taught me this at an old, trash-packed fairground. I was running my sensitivity at a proud 8. I was bragging about my “depth.” I was getting nothing but chaotic blips. Tom looked over and shook his head. He said, “You’re listening to the static, not the station.” He had me drop mine down to 5. Within ten minutes, I got my first clear, repeatable high-tone signal of the day. I pulled a 1944 Wheat cent from a nest of rusted tent stakes. The UK Detectorist review nailed it. In heavy iron, a moderate sensitivity level creates a “calm machine”. That’s what you need.
Start at 6. If the machine is quiet and stable, nudge it up one point at a time. If it’s chattering, drop it down until it settles. If you’re near power lines or lights, do an auto-noise cancel and reduce sensitivity. Don’t try to muscle through the noise.
Using Discrimination to Filter Unwanted Targets
The Vanquish’s 25-segment scale is your best friend for ignoring modern junk. In a typical urban park, I immediately reject segments 1-15. This silences most iron (nails, can slaw) and low-conductive foil. Starting here removes about 80% of the frustrating noise. It lets you focus on the higher tones where coins and jewelry live. As you get more confident, you can experiment. Try “notching out” specific segments. Reject just segment 18 if you’re tired of digging zinc pennies.
Quick-Reference Starting Blueprint:
- Mode: Coin
- Iron Bias: High (switch to Low only in a dense nail bed when you’re ready to dig more iron)
- Sensitivity: 6
- Discrimination: Reject 1-15
This isn’t a magic wand. It’s a calibrated tool. It turns your Vanquish 540 from a chattering machine into a focused one. It’s ready to translate the chaotic history under your coil.
When to Use High or Low Iron Bias Settings
Here’s a simple rule. Start with Iron Bias High to quiet the chaos and find today’s coins. Switch to Iron Bias Low to hear the whispers and find yesterday’s history. It’s not a set-and-forget setting. It’s your most active tool for adapting to what’s under your coil.
Start Your Hunt with Iron Bias on High
- The ground is screaming. On your first sweep, if every other signal is a low iron grunt, stay in High. It aggressively classifies complex iron. This gives you a stable, quieter machine to pick out clear high-tones.
- You’re finding mostly modern trash. If your pouch is filling with pull-tabs and modern bottle caps, High is your best filter. It’s excellent for “cherry-picking” post-1960s coinage.
- You want a cleaner, faster hunt. High does the heavy audio filtering for you. It lets you move quickly and focus on solid, repeatable signals.
Switch to Low Iron Bias for Deep or Faint Signals
- You’ve cleaned the obvious surface iron. Once you’ve picked the low-hanging fruit, go deeper. Low reduces the processor’s aggressiveness. It helps unmask non-ferrous targets hiding within dense iron trash.
- You’re in a historically rich area (pre-1940s). Hunting an old fairground or picnic grove? Low can help recover older, thinner coins. Early Wheat cents or Indian Heads might be masked.
- You get a “choppy” high-tone among iron grunts. That broken, inconsistent high signal surrounded by iron groans is a classic sign. It often means a good target is in a nail bed. Flipping to Low can solidify that signal.
There’s a reason for this. As discussed by Vanquish owners, the Low setting prevents a phenomenon where stacked coins can be misidentified as iron. But it’s a trade-off. While it helps find good targets in iron, it also lets more iron through. You have to rely more on your ears to interpret the audio. It’s the judgment call that separates the coin shooter from the relic hunter.
Unlock Coins Buried in Iron with Slow Wiggle Technique
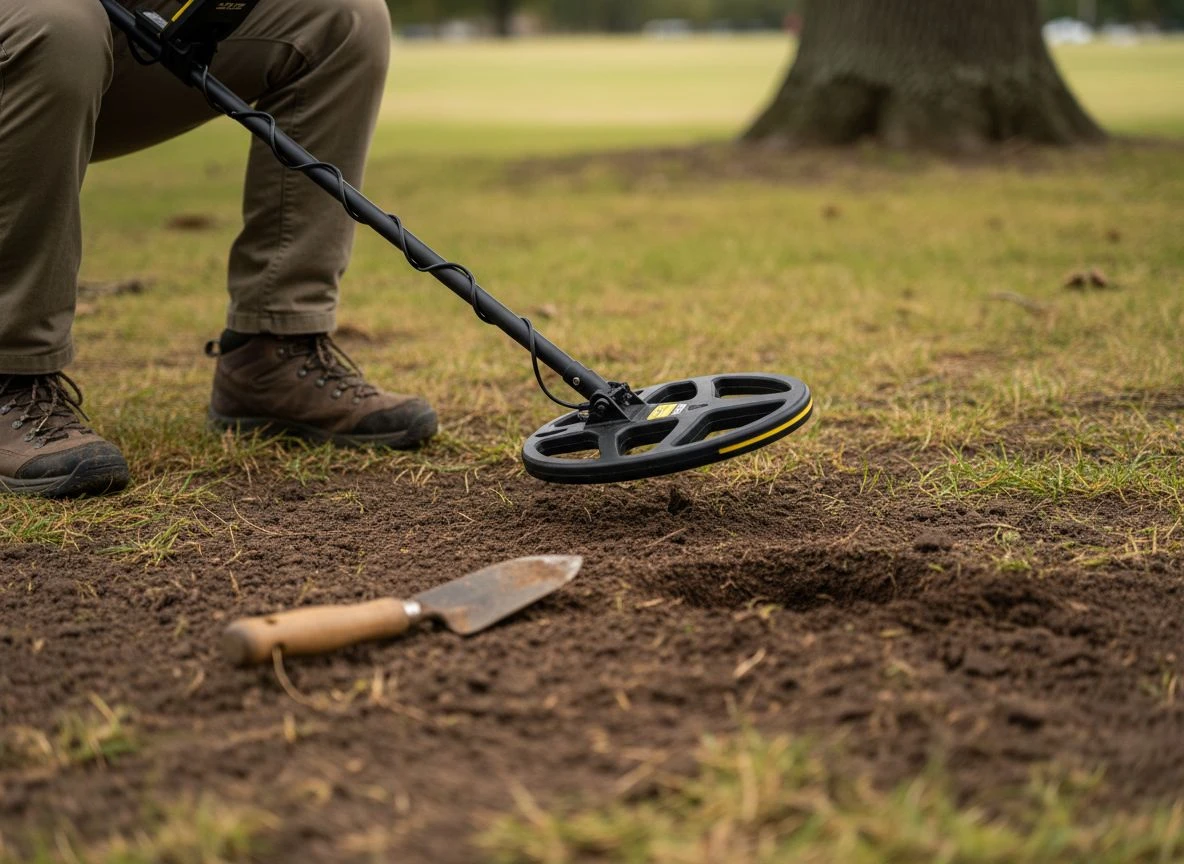
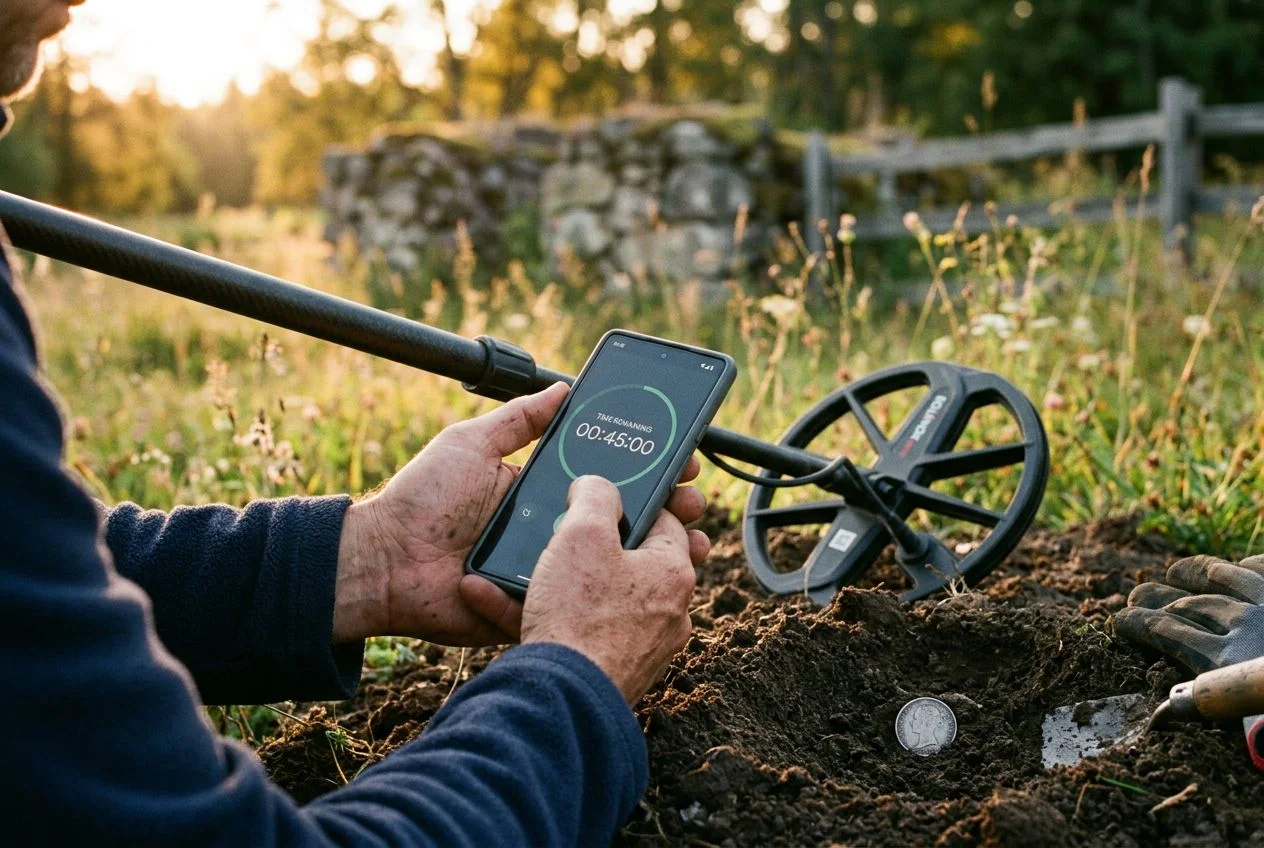
In a nail bed, slowing down is how you speed up. The Vanquish 540’s Multi-IQ processor needs time to analyze the complex signal soup under your coil. With the large V12 coil, a fast sweep in dense iron means you’re outrunning your machine’s brain. The secret is a deliberate, slow sweep. Follow it with the “wiggle” or “X” recovery method. This isolates good targets from the trash.
Here’s the drill. When you get a potential high-tone that’s broken or surrounded by iron grunts, don’t just pinpoint and dig. Hover your coil over the spot. Perform a slow, methodical wiggle: left-right, then front-back. Move just an inch or two each way. You’re letting the detector sample the target from multiple angles. As noted by experienced users, this “X” method is crucial for separation. The sweet spot is where the high-tone repeats cleanly and the VDI number stabilizes. That’s where you dig.
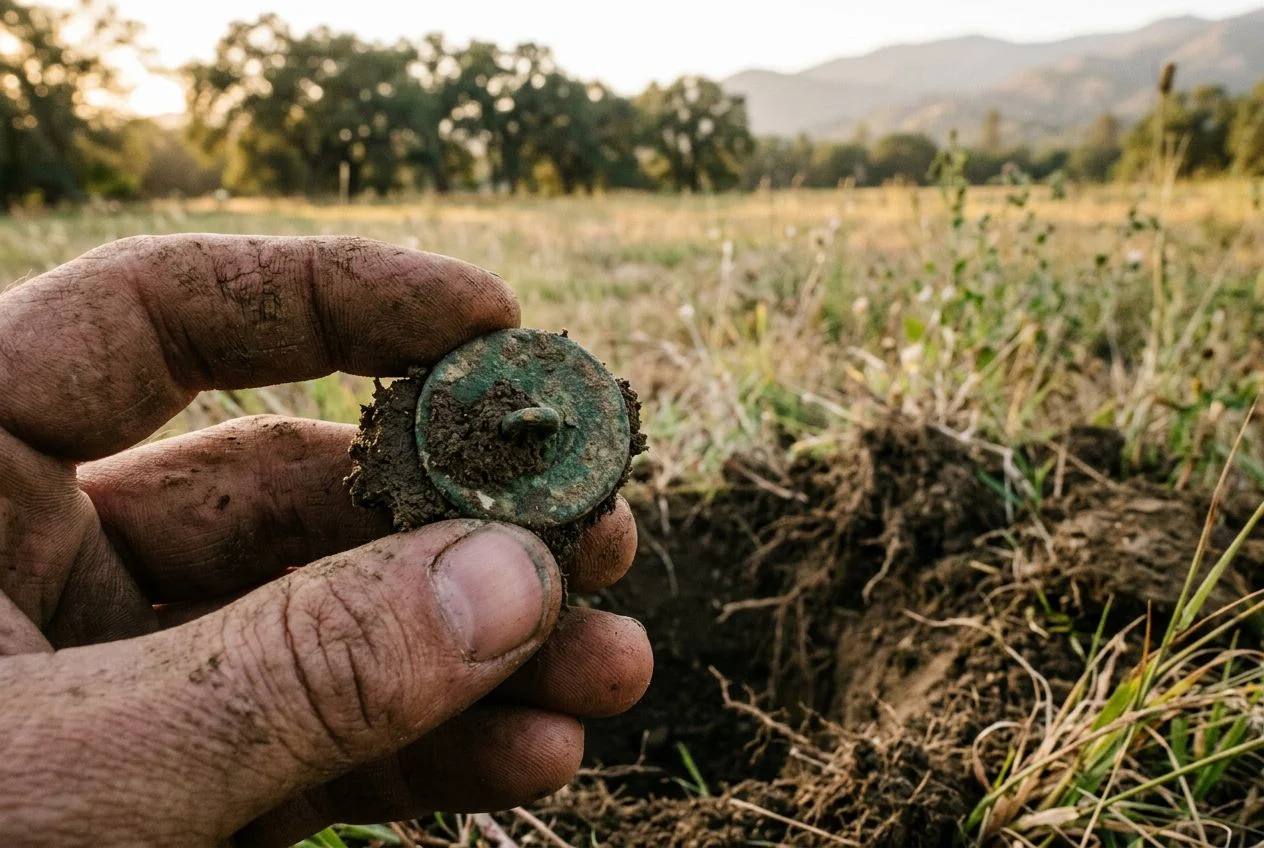
I learned this the hard way at an old park near an abandoned trolley stop. I was swinging at my normal beach pace. I heard nothing but chaos. Frustrated, I forced myself to slow to a crawl. On what felt like my hundredth pass over a squeaky, iron-infested signal, I did the wiggle. The high tone solidified into a crisp 17–18 VDI. Eight inches down, nestled between three square nails, was a worn Buffalo nickel. The target was there the whole time. My coil speed was just too fast for the processor to tell me.
This technique feels unnatural at first. We’re conditioned to cover ground. But in a park full of iron, the goal isn’t acreage—it’s extraction. A slow sweep finds the whispers; the slow wiggle confirms them. Master this, and you’ll start pulling keepers from spots everyone else has written off. It’s a top-tier piece of Minelab Vanquish 540 tips.
Urban Detecting Etiquette and EMI Solutions
Let’s get real. The ultimate urban test isn’t just finding targets. It’s doing it without drawing a crowd or making the parks department mad. This is where you master your environment and leave no trace. It’s about using the 540’s quick handling to be fast and quiet.
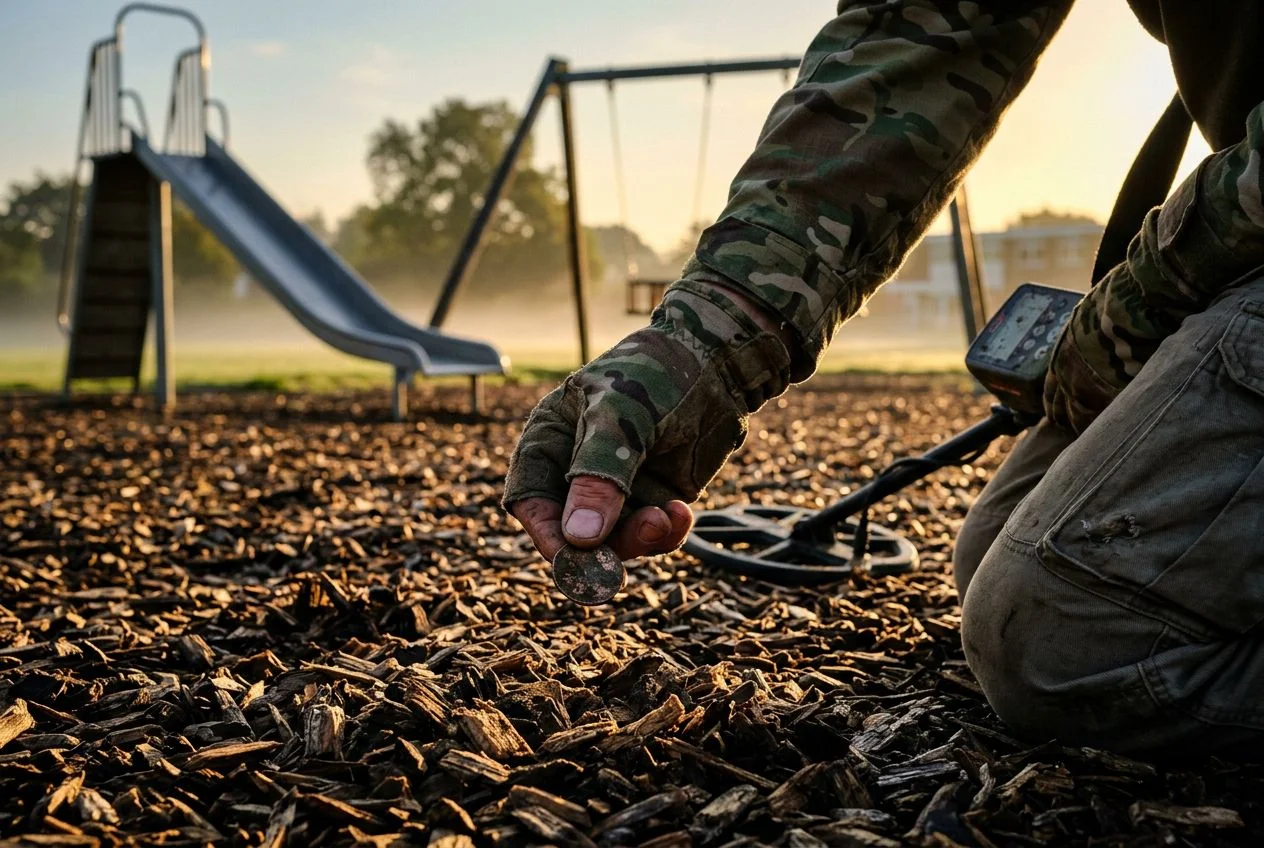
My biggest “urban stealth” win wasn’t a find—it was a compliment. I was recovering a dime near a playground at McKinley Park. A ranger on a golf cart rolled up. My heart sank. Instead of a lecture, he nodded at my plug. He said, “Wish everyone dug like that.” That perfect, invisible patch was better than any silver dollar. It meant I could keep hunting there.

Your first invisible tool is managing EMI. City parks buzz with interference from buried lines, LED lights, and Wi-Fi. As the team at Serious Detecting notes, the move isn’t to “muscle through” the chatter. It’s to adapt. Hit the auto-noise cancel button. If you’re still getting false signals near a light pole, don’t be proud. Lower your sensitivity by 1 or 2 notches. A stable machine at Sensitivity 6 that you can trust is infinitely better than a chattering one at 8.
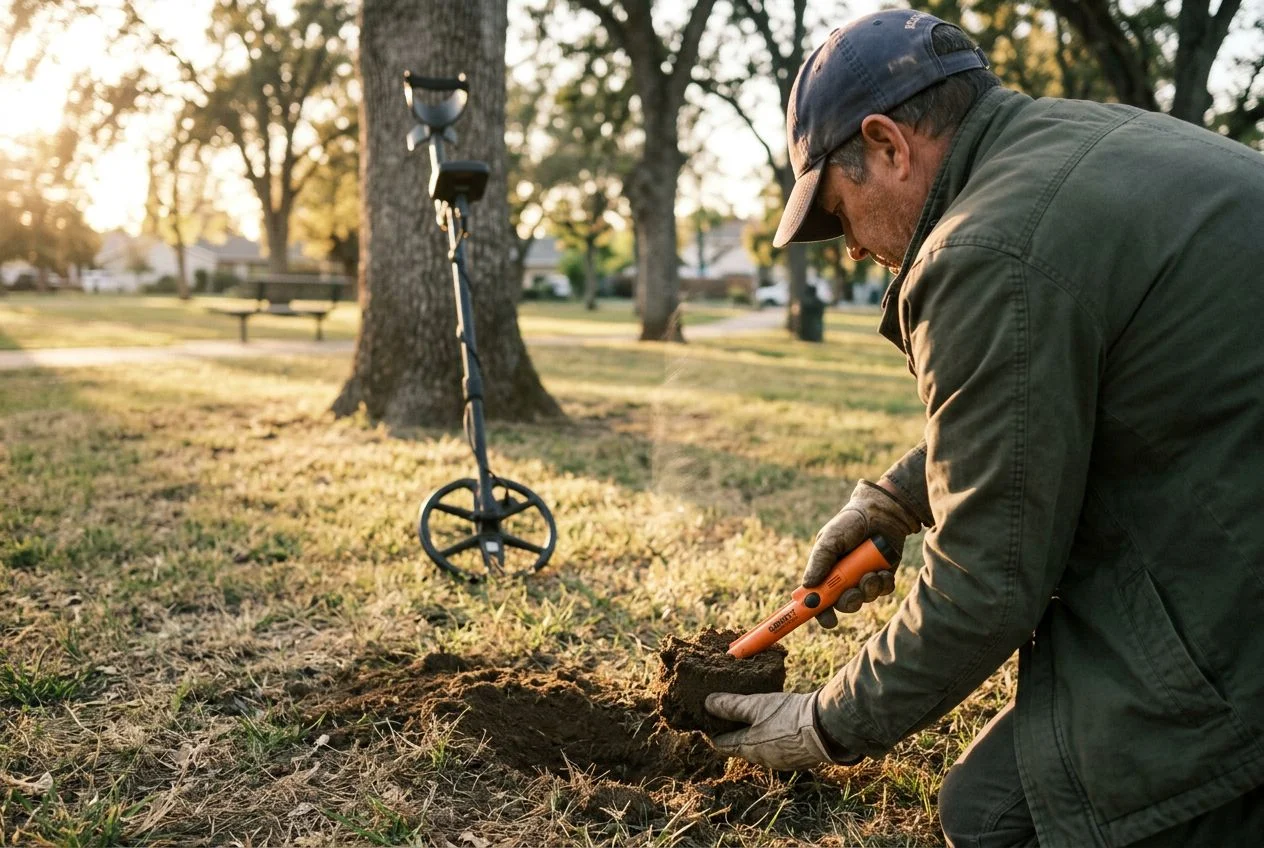
Your second tool is the three-cut plug. It’s non-negotiable.
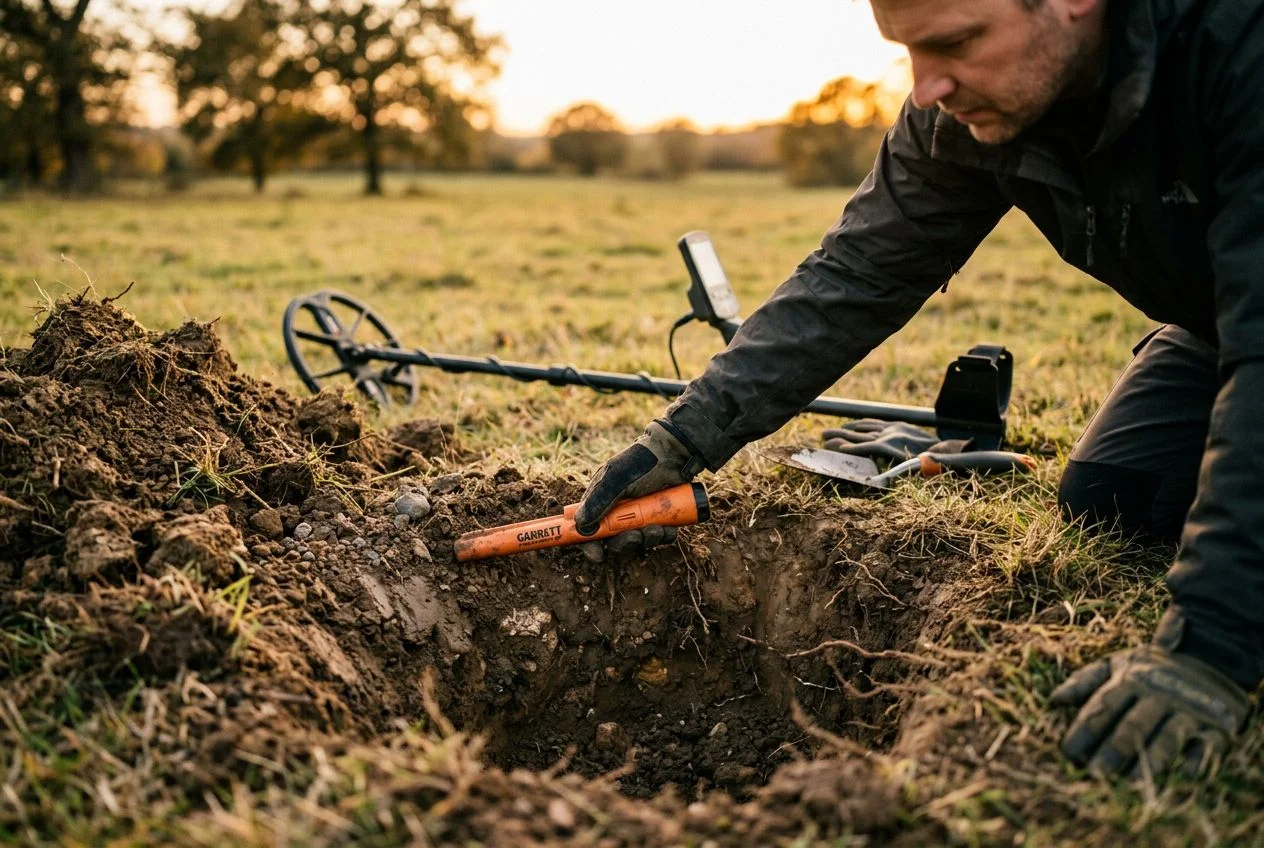
- Cut a horseshoe or flap. Use a sharp digger to cut a U-shape or a hinge, about 6-8 inches across.
- Peel back the sod. Dig your target from the hole beneath. Keep the grass and roots intact.
- Replace it all. Drop the target, drop the dirt, fold the sod back, and stomp it flat. A little water from your bottle helps it blend in instantly.
This is where the Vanquish 540 shines as an urban tool. It’s light. You can swing it for hours without getting sloppy from fatigue. Its recovery speed is fast. You can pinpoint, dig, and recover a target in under 60 seconds. That minimizes your footprint and the chance of someone asking questions. In a city park, speed isn’t just for coins per hour; it’s for discretion. You get in, get your signal, and get the ground back to perfect before anyone notices. That’s how you get invited back.
Key Minelab Vanquish 540 Tips to Take Control
The goal is to move from hearing a chaotic wall of noise to listening for the specific whispers that matter. The Minelab Vanquish 540 is called a “game-changer” for diverse environments. It is more than capable of being your translator for the complex language of urban ground. But remember: it’s a translator. Your brain, your research, and your patience are the ultimate tools.
This isn’t about swinging faster or buying more gear. It’s about a deliberate shift. You move from covering ground to extracting history. It’s the slow wiggle that isolates a Buffalo nickel from a nest of nails. It’s the three-cut plug that earns a nod from a park ranger instead of a ban. It’s knowing when to drop your Iron Bias to “Low” to hear a tiny copper signal begging to be heard. These practical Minelab Vanquish 540 tips make the difference.
The unique reward of urban detecting is pulling a tangible piece of history from right under the city’s skin. It’s a story lost between sidewalk cracks and playgrounds. Now it’s your turn.
Use our historical research guide to find a park with a past in your town. Then, take your Vanquish 540 and listen closely. For more practical advice, explore our guide on choosing the right beginner metal detector. When you pull your first keeper from the iron, I’d love to hear about it. Share your “beyond the beach” story with me. That’s where the real hunt gets good.

My name is Paul and I am the founder of Detector For Metal, a dedicated resource for metal detecting enthusiasts seeking to uncover historical treasures and connect with the past using the latest technology. As a stay-at-home dad and family man, I’ve found metal detecting to be the perfect hobby that combines family adventure with historical learnings for the whole family.
As a father, I’m deeply committed to passing on this hobby to the next generation of detectorists, starting with my own children. I share advice on everything from metal detecting with kids to exploring the top 10 metal detecting sites you never thought about. My methodical approach to the hobby goes beyond the thrill of discovery—it’s about creating family traditions while preserving history and sharing the stories of those who came before us.