Table of contents
- Universal Rules for Cleaning Metal Detector Finds
- Copper and Bronze Patina Preservation
- How Should I Preserve a Coins Patina?
- Silver Cleaning for Metal Detector Finds
- Iron and Steel Rust Never Sleeps
- The Triage Test for Dirty Finds
- A Kitchen Table Electrolysis Setup
- The Stirrup That Wasnt a Potato
- Critical Steps After Electrolysis
- Cleaning Soft Metals Like Lead and Pewter
- Gold Is the No-Clean Metal
- Can I Tumble Clad Coins from Metal Detecting?
- Preservation Coatings and Long-Term Storage
- When to Let a Pro Clean Your Find
- The Detectorist as Caretaker
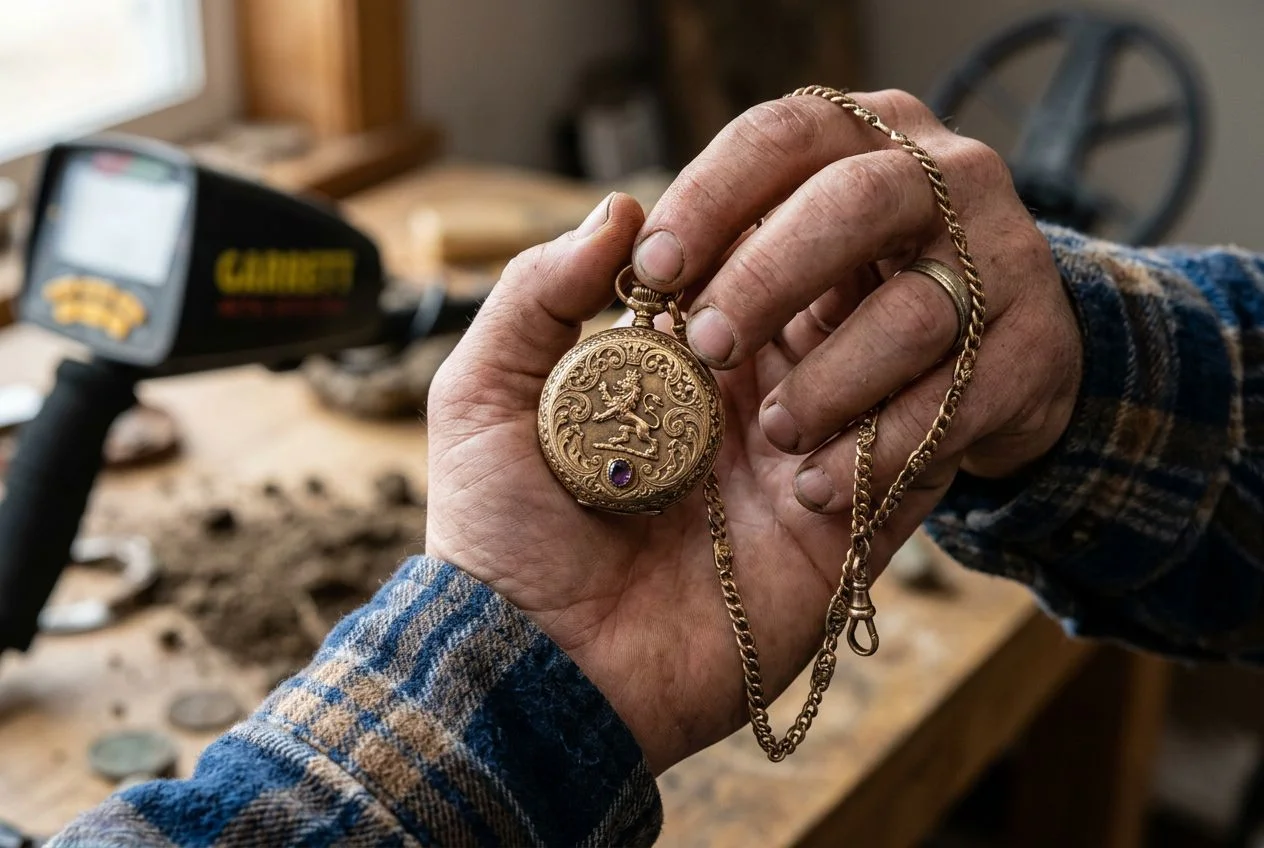
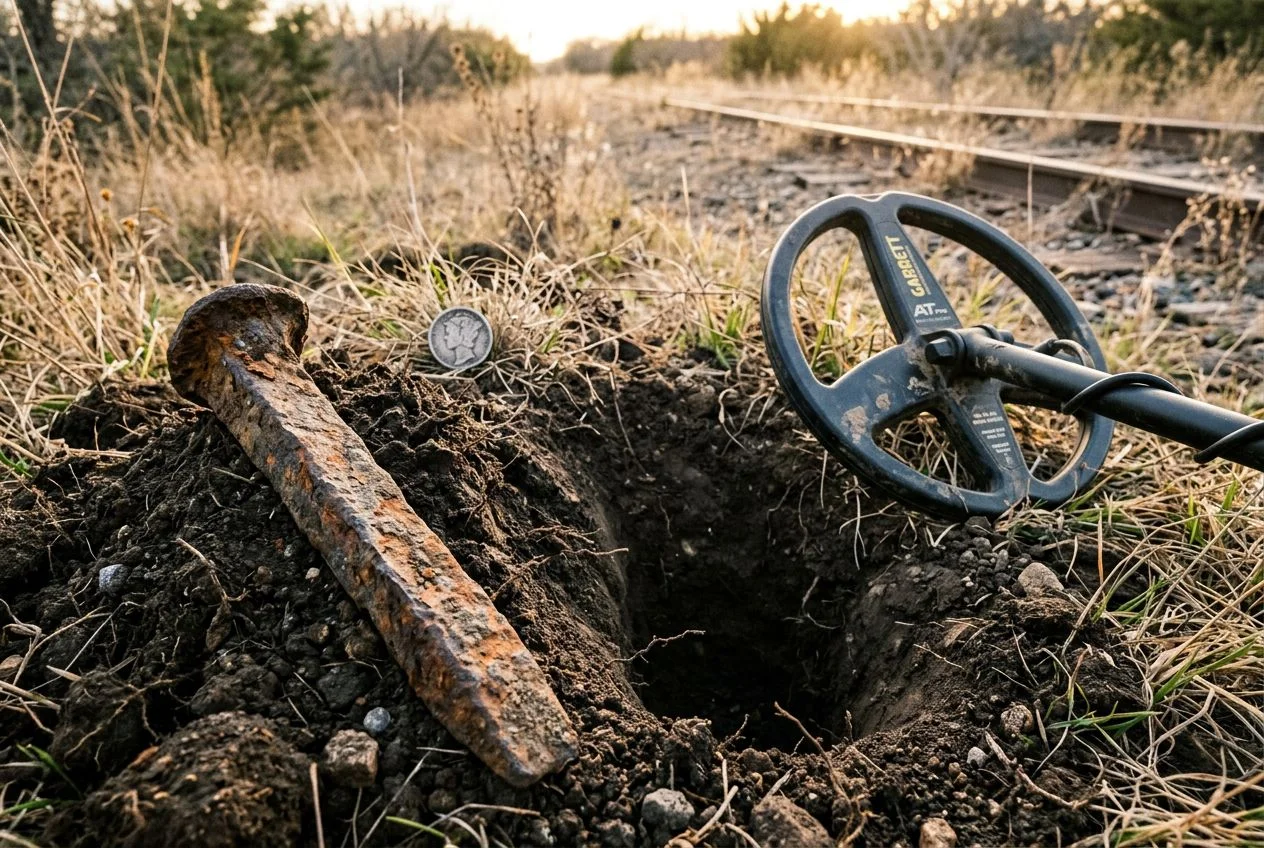
The moment a find comes out of the ground, you face a split-second decision that can preserve or destroy it. Bad cleaning can wipe out an estimated 70% of a coin’s numismatic value. The internet is crawling with “hacks” — baking soda paste, vinegar soaks, lemon juice. These will chemically strip a decades-old patina in minutes. The kitchen table is where finds either become display pieces or cautionary tales.
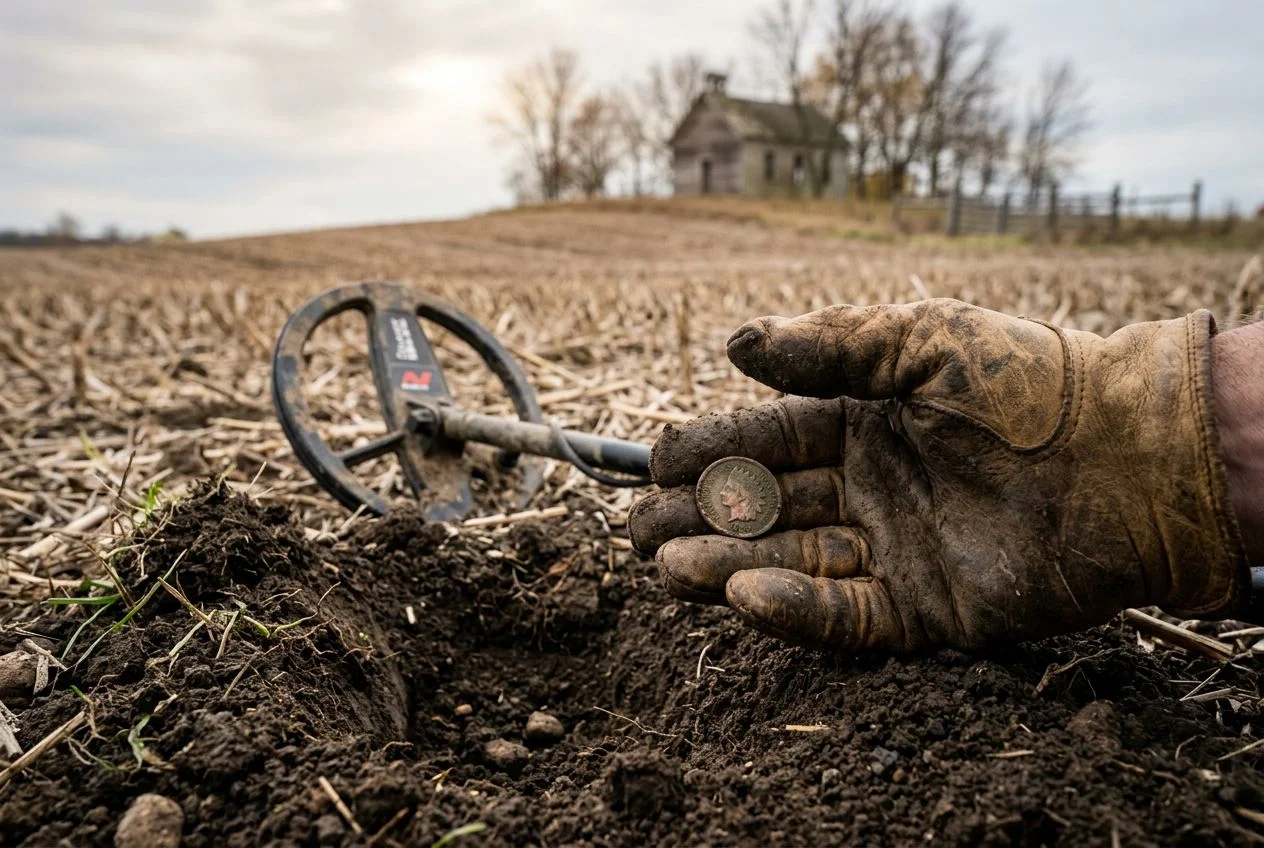
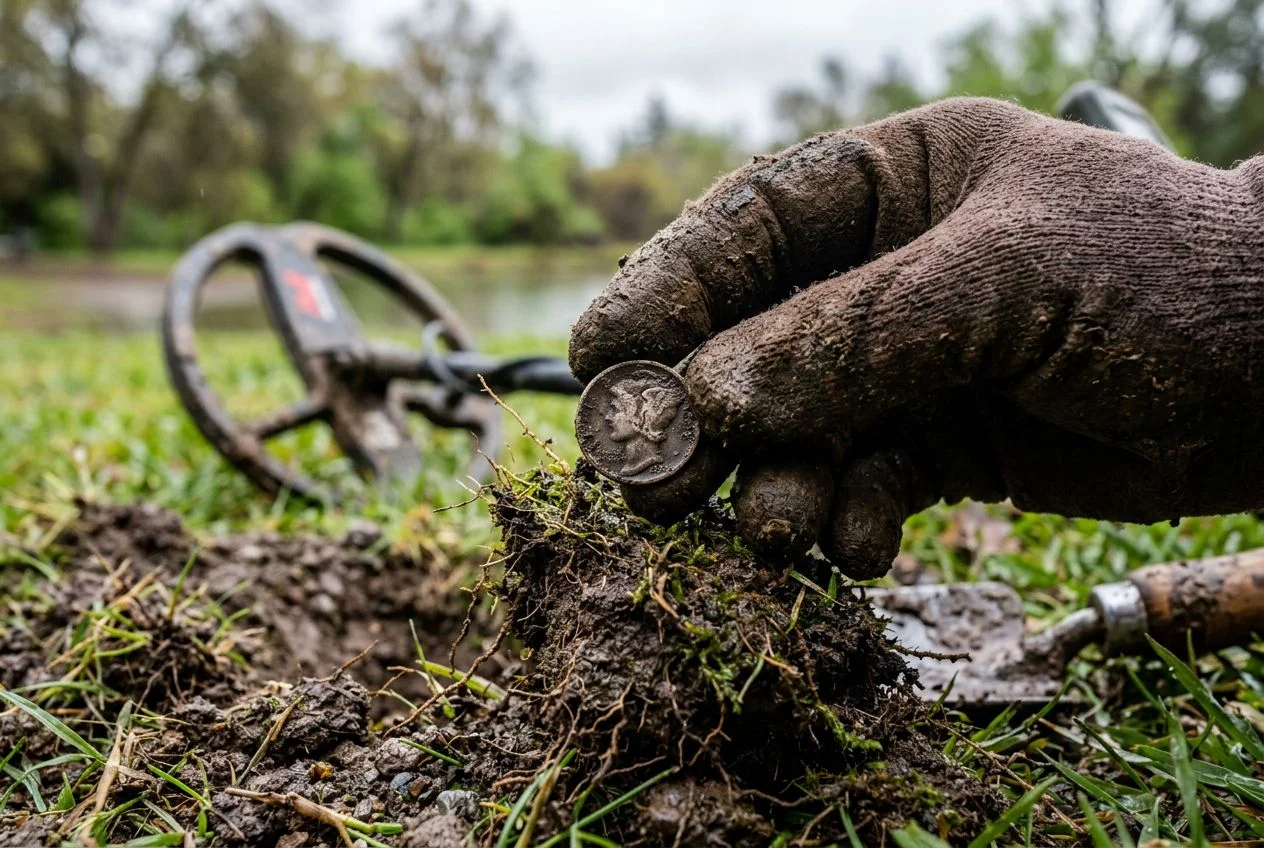
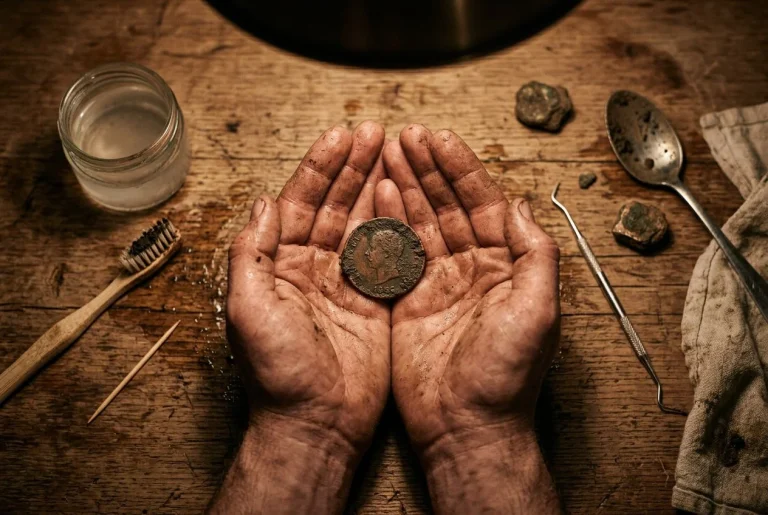
I learned this lesson with wet hands and a racing heart. I’d pulled an 1880s Indian Head penny from a swimming hole outside Sacramento. It was one of those old rope-swing spots where kids have been losing pocket change since the Grover Cleveland administration. The coin was still dripping, caked in black mud. I could just make out the faint outline of Liberty’s profile underneath. My thumb was already moving toward it. You know the impulse — just a quick rub to see the date. It’s almost impossible to resist. But I’d already ruined a perfectly good 1917 wheat cent that way the year before. I’d scratched the surface with grit I couldn’t even see. So I closed my fist around that dripping penny and walked it to the truck. I dropped it into a water bottle for the drive home. It took three days of distilled water soaks before I could safely read the date: 1887. No scratches. Full Liberty head detail. That coin sits in a flip in my display case now. I still remember the 30 seconds I almost ruined it.
That’s what this guide is about. Not generic “cleaning tips.” I’m talking about the specific, material-by-material decisions you make at your kitchen table after the hunt is over. The adrenaline has faded. The real work begins. The cleaning method that works beautifully on a silver quarter will destroy a copper Large Cent. The approach that’s fine for a modern clad dime will turn a 200-year-old pewter button into dust. We’ll walk through each metal type and the chemistry behind what’s happening to it. We’ll cover the conservative, stepwise approach that preserves the story your find is trying to tell.
Universal Rules for Cleaning Metal Detector Finds
Here’s the short answer: the cleaning you do in the first 48 hours after recovery determines whether you’ll have a display piece or a corroded lump for the next 50 years. Every material has its own protocol. But the universal rules are non-negotiable. They start the moment your target leaves the hole.
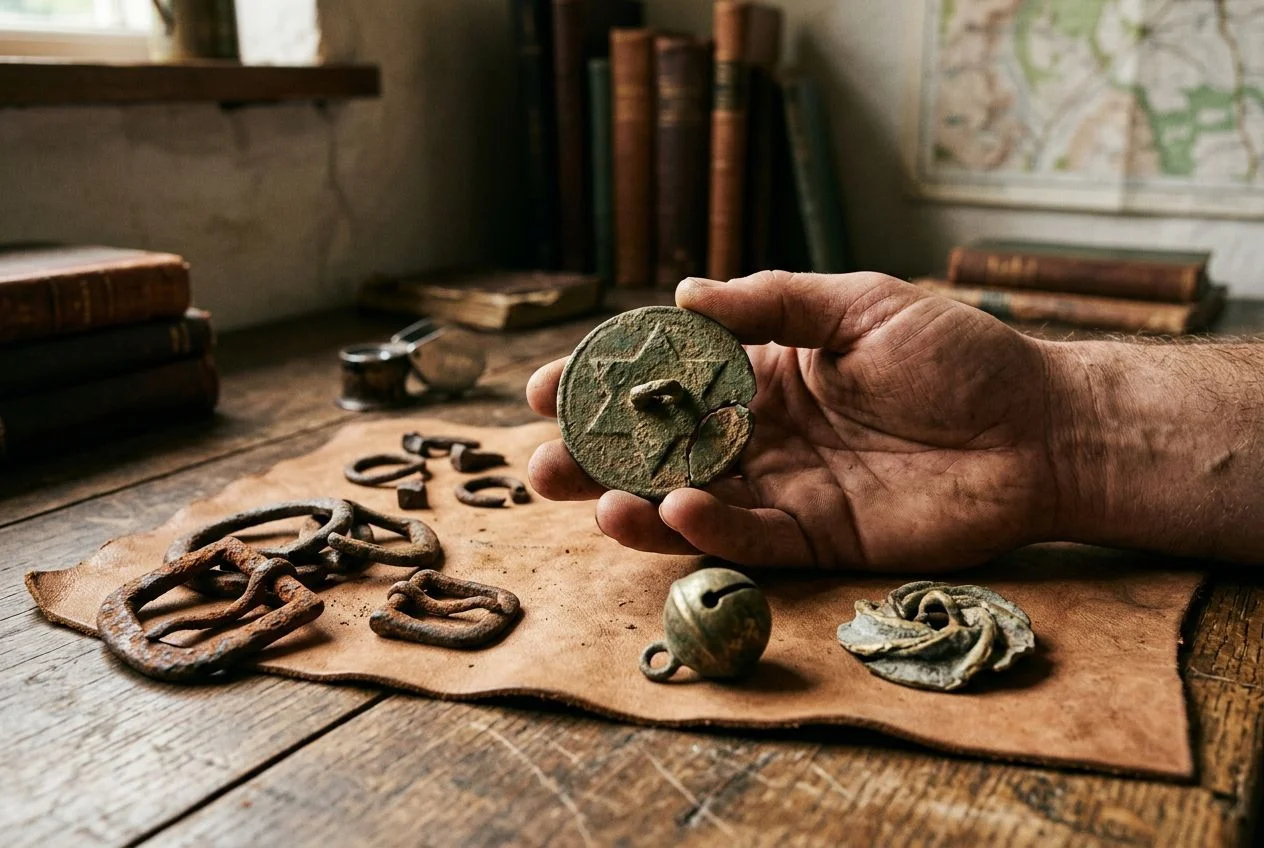
My detecting buddy Tom learned this one the hard way. We were hunting an old farmstead outside Woodland. The house is long gone, but the iron patch still screams on the detector. Tom pulled what he thought was just another crusty lump. He shrugged and dropped it into his finds pouch with the pull-tabs and shotgun shells. Three hours later, at his kitchen table, he realized it was an 18th-century pewter button. It had a clear regiment number on the face. Or it had been. The thing had dried out in his pouch and crumbled into four pieces before he could even get it under magnification. Pewter is unforgiving that way. The shift from wet soil to dry air can cause it to oxidize and disintegrate within hours. He’s still mad about it. I don’t blame him.
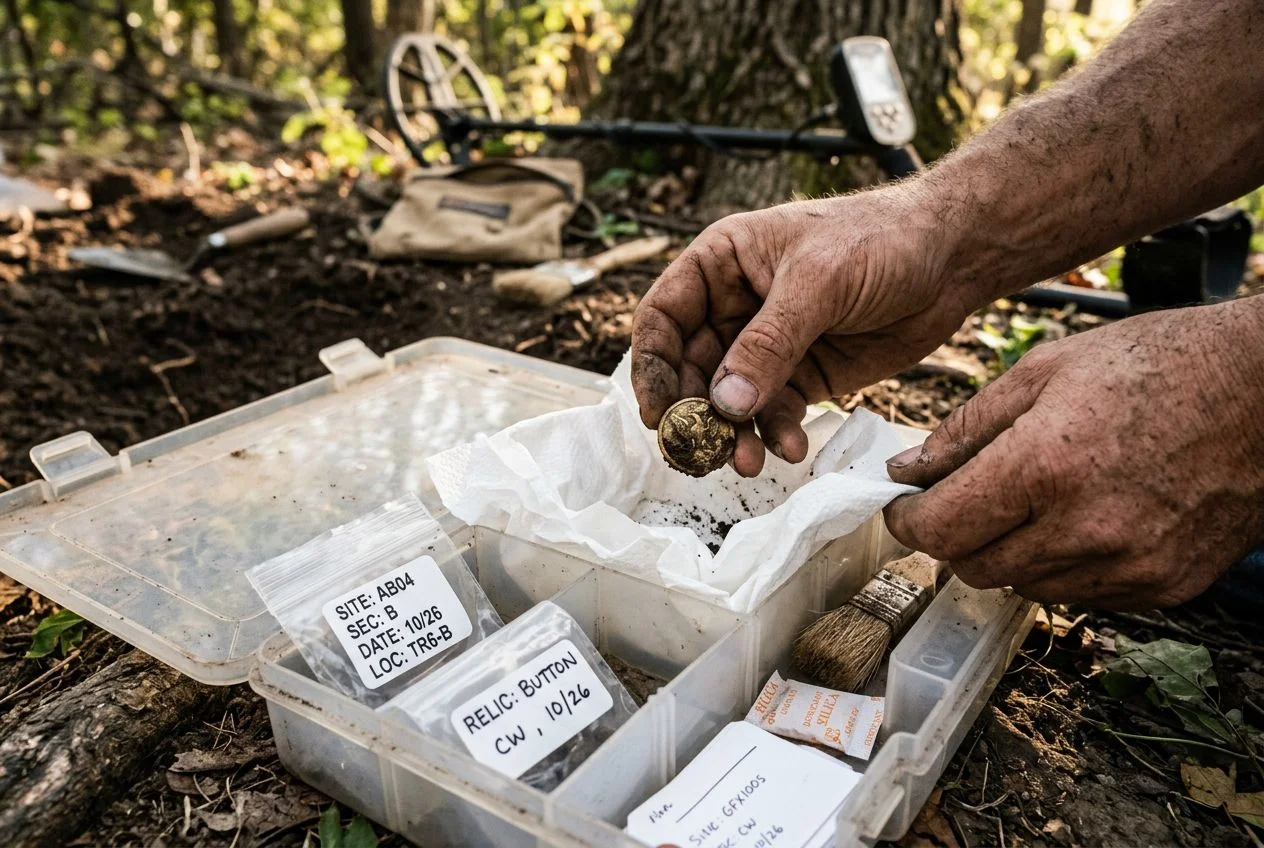
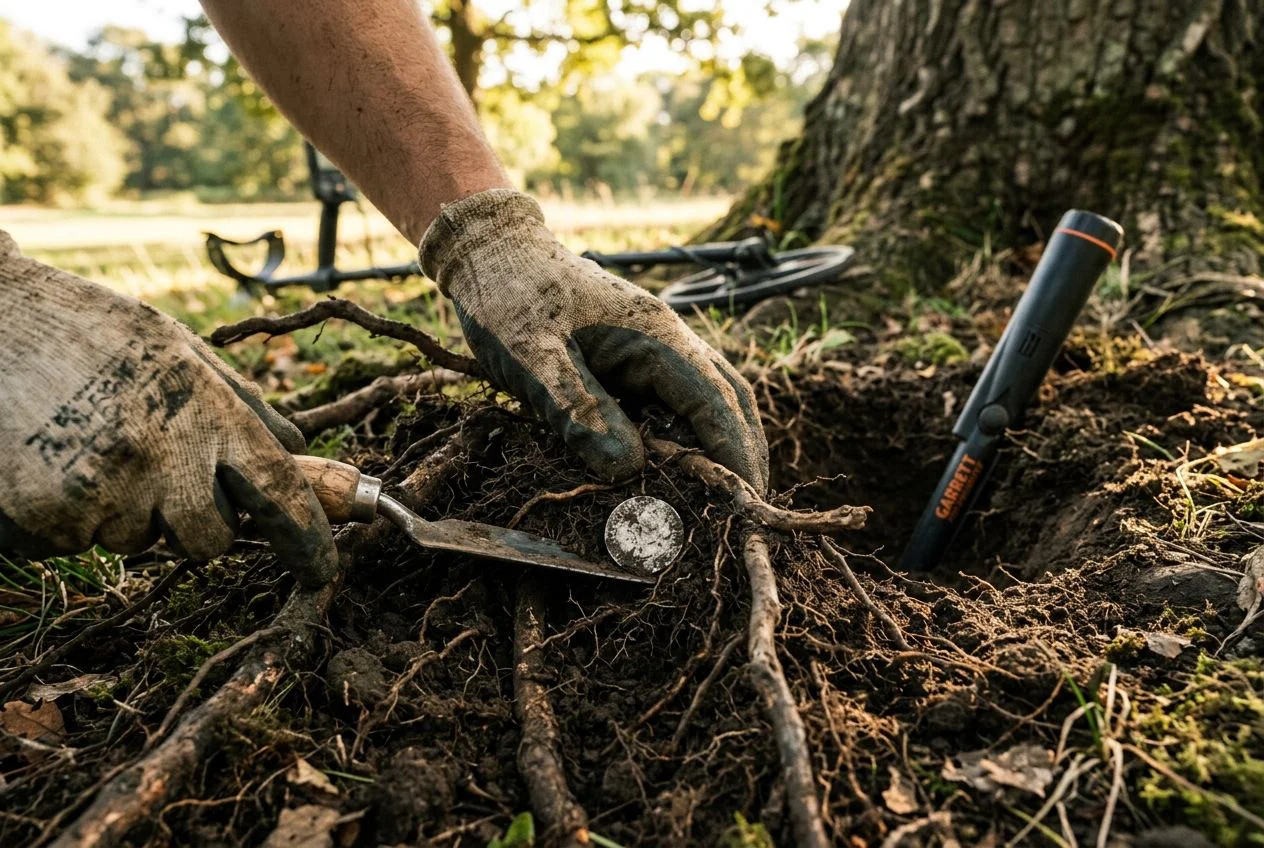
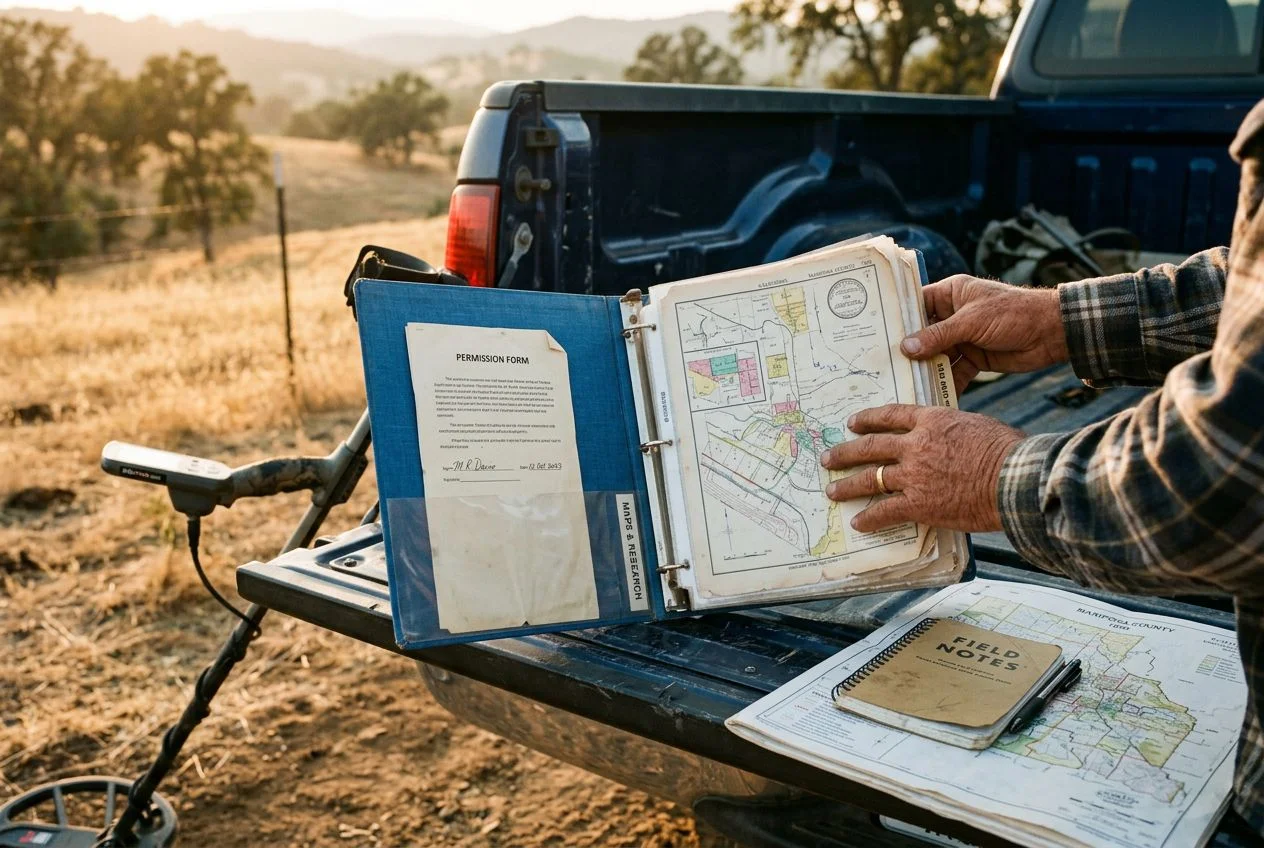
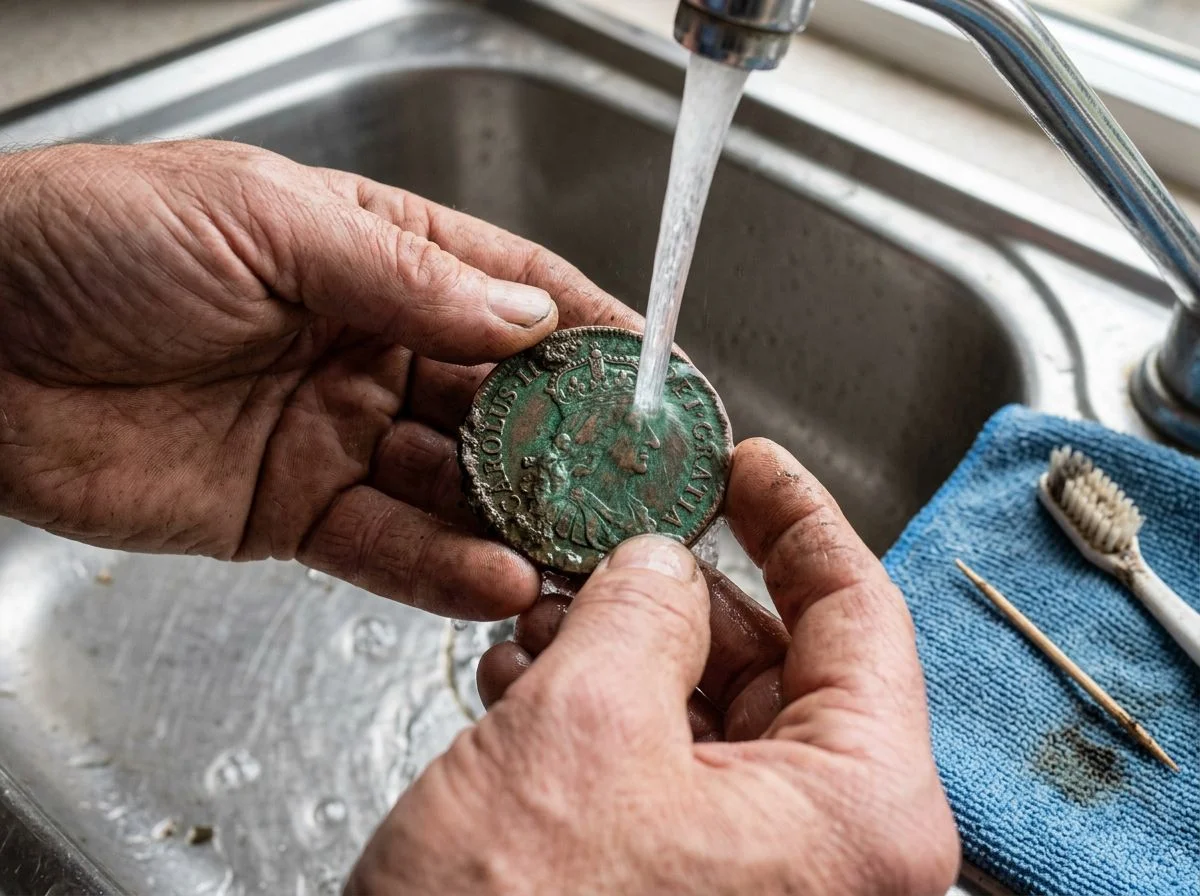
That’s why the first universal rule is field care. Don’t clean anything in the field — just contain it. Every find goes into its own container with a bit of the soil it came from. This is critical if it’s fragile or you can’t identify the metal yet. And before you even think about cleaning, record the date, GPS coordinates, and environmental conditions of the find. That data matters later. It helps you figure out why a copper coin from one site cleaned up beautifully while another turned to Swiss cheese.
The second rule is distilled water or nothing for initial soaks. I know it sounds fussy. Tap water contains chlorine. Chlorine accelerates something called bronze disease. This is cuprous chloride corrosion that will eat through a copper or bronze artifact from the inside out. You can’t see it happening at first. The find looks fine for a few weeks. Then one day there’s a bright green powdery spot. A month later, there’s a pit where the detail used to be. Distilled water costs about a dollar a gallon. It’s the cheapest insurance policy in this hobby.
The third rule is patience. I soak copper finds for days, not hours. The dirt didn’t accumulate overnight. It won’t release overnight either. Rushing the process is how you end up with scratched surfaces and stripped patinas. Good cleaning metal detector finds takes time.
Copper and Bronze Patina Preservation
Here’s the short answer: patina is not dirt — it’s a protective layer of copper carbonates and oxides that forms over decades in the ground. Strip it, and you expose raw metal to rapid deterioration. The protocol is a ladder of escalating intervention. You stop the moment the coin is legible, not the moment it looks shiny.
I learned this with a Large Cent that looked like a green hockey puck. Seriously — no detail, no date, just a lump of green corrosion the size of a half-dollar. My buddy Mike told me to toss it in the scrap bin. Instead, I dropped it in a cup of distilled water and left it on the windowsill. After 24 hours, I could see a faint outline. After 72 hours and gentle brushing with a soft wooden toothpick, I had a readable date: 1847. The patina was intact — dark green, even, beautiful. That coin is in my display case right now. It cost me nothing but patience.
How Should I Preserve a Coins Patina?
| Step | Method | When to Use | STOP If… |
|---|---|---|---|
| 1 | Dry brushing with a soft-bristle toothbrush | Loose dirt only; coin is already mostly clean | You see any scratching or the patina flaking |
| 2 | Distilled water soak (24–72 hours), gentle wooden toothpick | Heavy dirt or encrustation obscuring detail | The date is readable — do not continue |
| 3 | 0.5% citric acid solution, 5-minute supervised soak | Stubborn mineralization that water won’t touch | Patina lightens or you see pink copper — neutralize immediately in distilled water |
| 4 | Professional conservation | Anything beyond Step 3 | Never attempt mechanical cleaning (Dremel, wire brush, sandpaper) |
Step 3 is the danger zone. A weak citric acid solution — 0.5% to 1%, soaked for only a few minutes under close supervision — can loosen the last stubborn crust. But if you see the patina lightening or any hint of raw pink copper, you neutralize immediately. That pink means you’ve burned through the protective layer. The exposed metal will begin corroding rapidly, often worse than before you started.
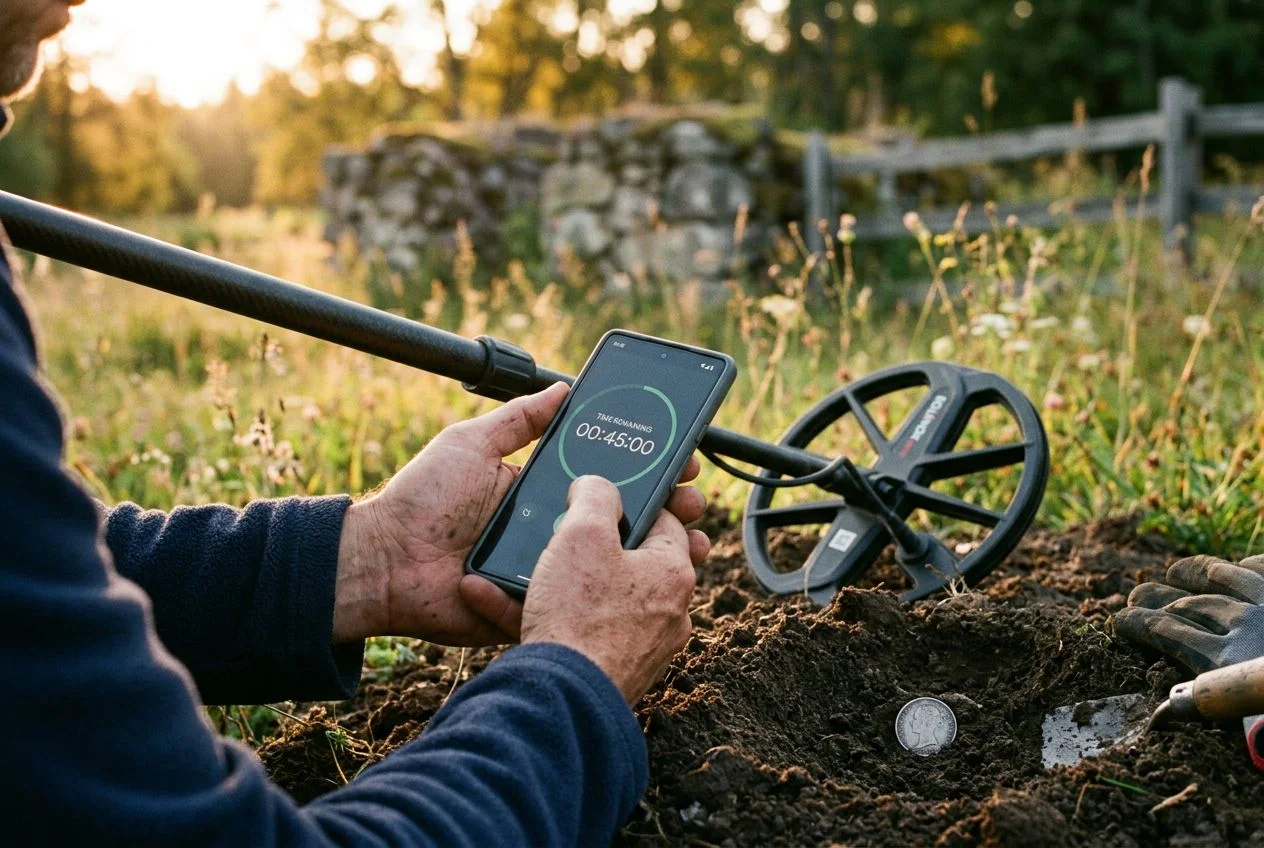
I’ve only used citric acid twice in ten years. Both times, I set a timer on my phone and stood over the cup like a hawk. The second time, I pulled the coin at four minutes. The patina started looking thin at the edge. Trust your eyes more than the clock.
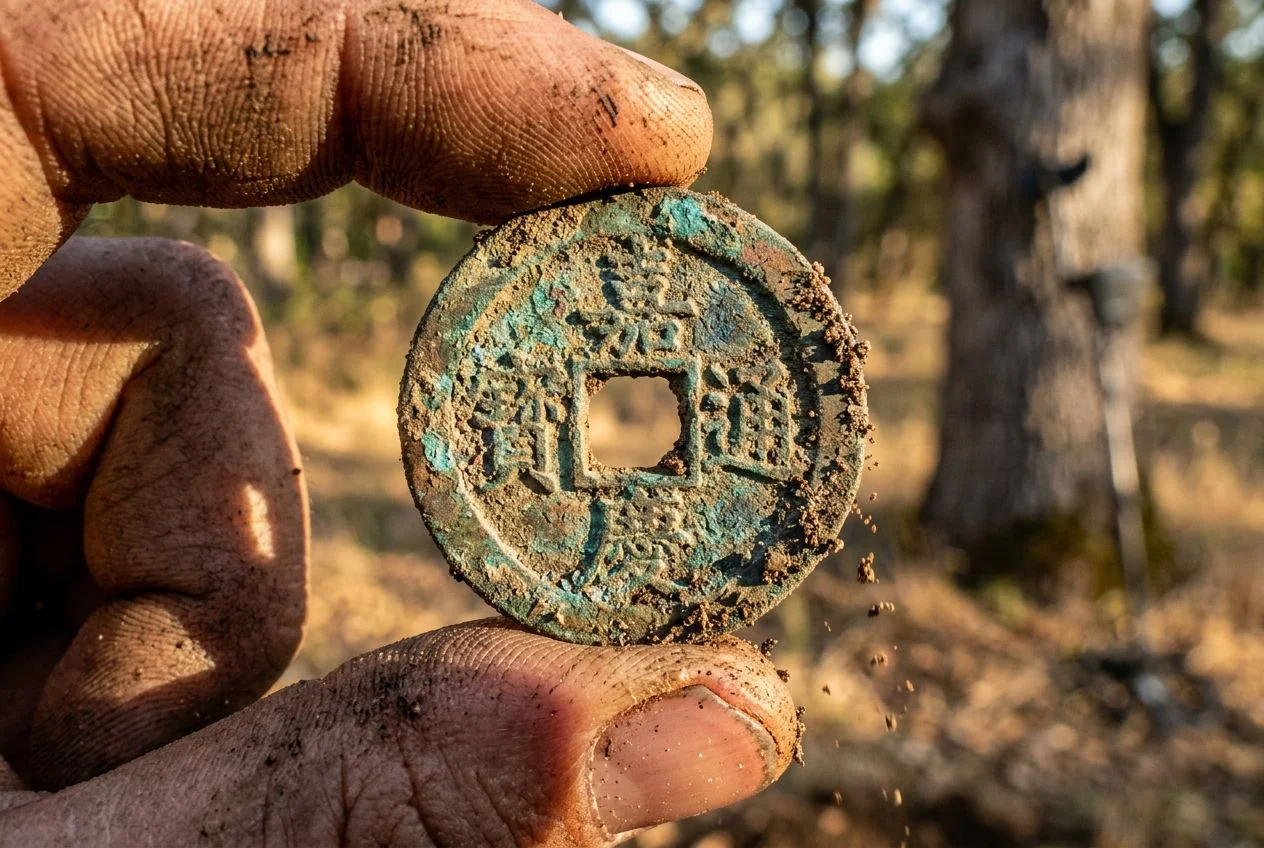
The chemical reality here is counterintuitive. That green or brown patina is your find’s best defense. It’s a stable corrosion product that seals the surface. Removing it doesn’t “restore” the coin — it dooms it. I’ve seen detectorists dunk a beautiful 1860s Indian Head in vinegar and pull out a shiny, ruined piece of copper with no detail left. Don’t be that person. The goal is legible, not shiny.
Silver Cleaning for Metal Detector Finds
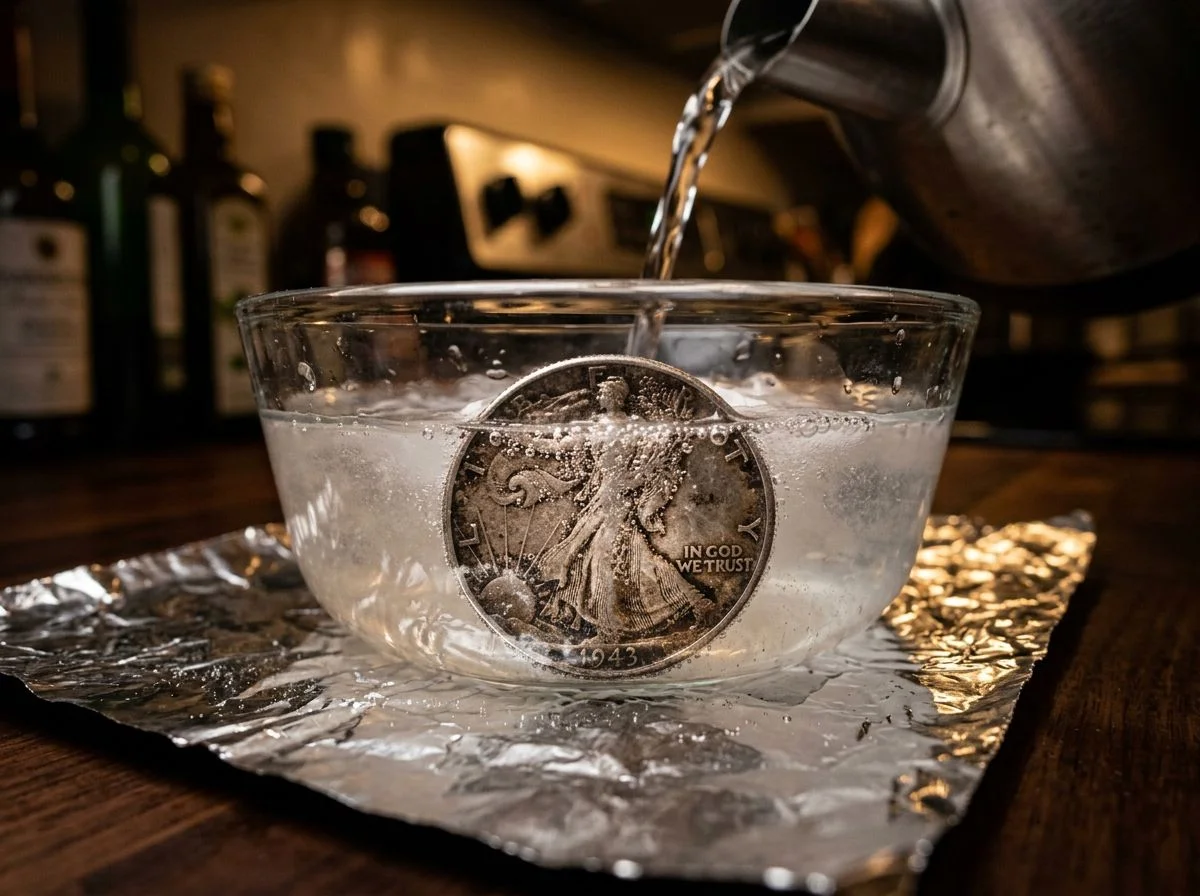
Here’s the short answer: silver is forgiving enough to handle mild chemical cleaning that would destroy copper. But it’s valuable enough that you should almost never use those methods on anything with numismatic potential. Silver tarnish — that dark gray or black layer — is silver sulfide, not corrosion. It sits on the surface. It doesn’t eat into the metal the way copper corrosion does. That’s why a quick dip in ammonia or white vinegar can dissolve tarnish and leave the coin gleaming. The same treatment on a copper Large Cent would strip the patina and expose raw, pink metal in under a minute.
But here’s where everyone gets it wrong: just because you can clean silver doesn’t mean you should.
Let me give you two examples from my own display case. First, a 1964 silver quarter I pulled from a Sacramento swimming hole. It was black, crusty, and worth about $5 in melt value. I gave it a brief ammonia soak — the Metal Detector Quest guide recommends this exact approach for gold and silver — followed by a gentle wipe with a soft cotton cloth. It came out bright and presentable. No harm done. That coin’s value is in its silver content, not its surface.
Now, the 1853 Seated Liberty half-dime I found near that forgotten train stop outside Auburn. Same metal — 90% silver. Completely different situation. That coin is worth maybe $40 to $80 depending on condition. Every microscopic scratch and every trace of original surface matters. I rinsed it in distilled water and left it alone. Would you sand down a piece of antique furniture to “clean” it? Same principle.
The chemical difference matters here. Silver sulfide dissolves readily in mild acids. That’s why Coca-Cola or white vinegar can work on silver. But those same acids are catastrophic on copper. They attack the metal itself, not just surface tarnish. If you’re ever unsure about a find’s composition, default to distilled water and patience. You can always clean more later. You can never un-clean a coin.
Iron and Steel Rust Never Sleeps
Here’s the short answer: iron needs electrolysis to stop active rust. But most iron finds aren’t worth the effort. The first decision is triage. If the item is a modern nail, a rusted washer, or an unidentifiable chunk, it goes in the scrap bucket. If it’s a relic with identifiable form — a tool, a stirrup, a musket barrel fragment — electrolysis is your only real path to stabilization. Chemical rust removers can help with surface rust on non-historical items. They won’t stop deep, active corrosion the way electrolysis will.
The Triage Test for Dirty Finds
Before you set up a single piece of equipment, ask yourself: can I identify what this was? A rusted square nail from an 1850s homestead site? That’s a keeper. Electrolysis will reveal the hand-forged taper and give you something displayable. A rusted blob that might have been a hinge or might have been a tractor part? Scrap bin. I’ve wasted entire weekends on “maybe” iron that turned out to be nothing. My detecting buddy Tom calls it “rust optimism.” He’s not wrong.
A Kitchen Table Electrolysis Setup
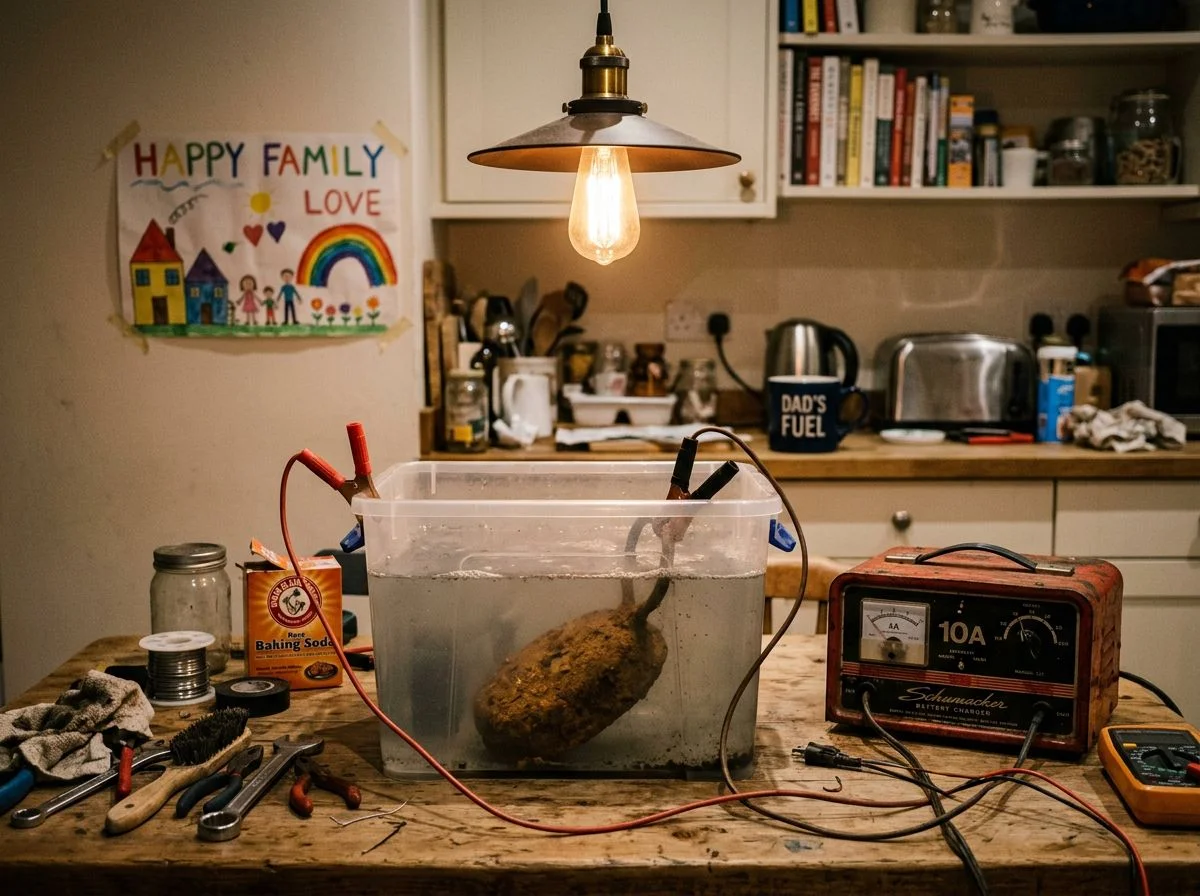
This sounds intimidating, but it’s genuinely simple. Here’s what you need:
- A plastic container (Tupperware, a bucket — nothing metal)
- Washing soda (sodium carbonate, sold as laundry booster — not baking soda)
- A sacrificial steel anode (a piece of rebar, an old file, or any scrap steel you don’t care about)
- A manual battery charger (the old-school kind with a needle gauge — automatic chargers won’t work because they need to sense battery voltage, and an electrolysis bath isn’t a battery) or a 9-volt battery for very small items
- Distilled water
Mix 1 tablespoon of washing soda per gallon of distilled water in your container. Fill it enough to submerge your relic. Attach the negative (black) clamp to your iron relic and the positive (red) clamp to your sacrificial steel anode. Both need to be in the solution. Do not let them touch each other — that’s a short circuit. Plug in the charger or connect the battery. Within seconds you’ll see tiny bubbles forming on the relic. That’s the reaction working. It’s converting rust (iron oxide) back toward metallic iron while the sacrificial anode takes the damage.
The Stirrup That Wasnt a Potato
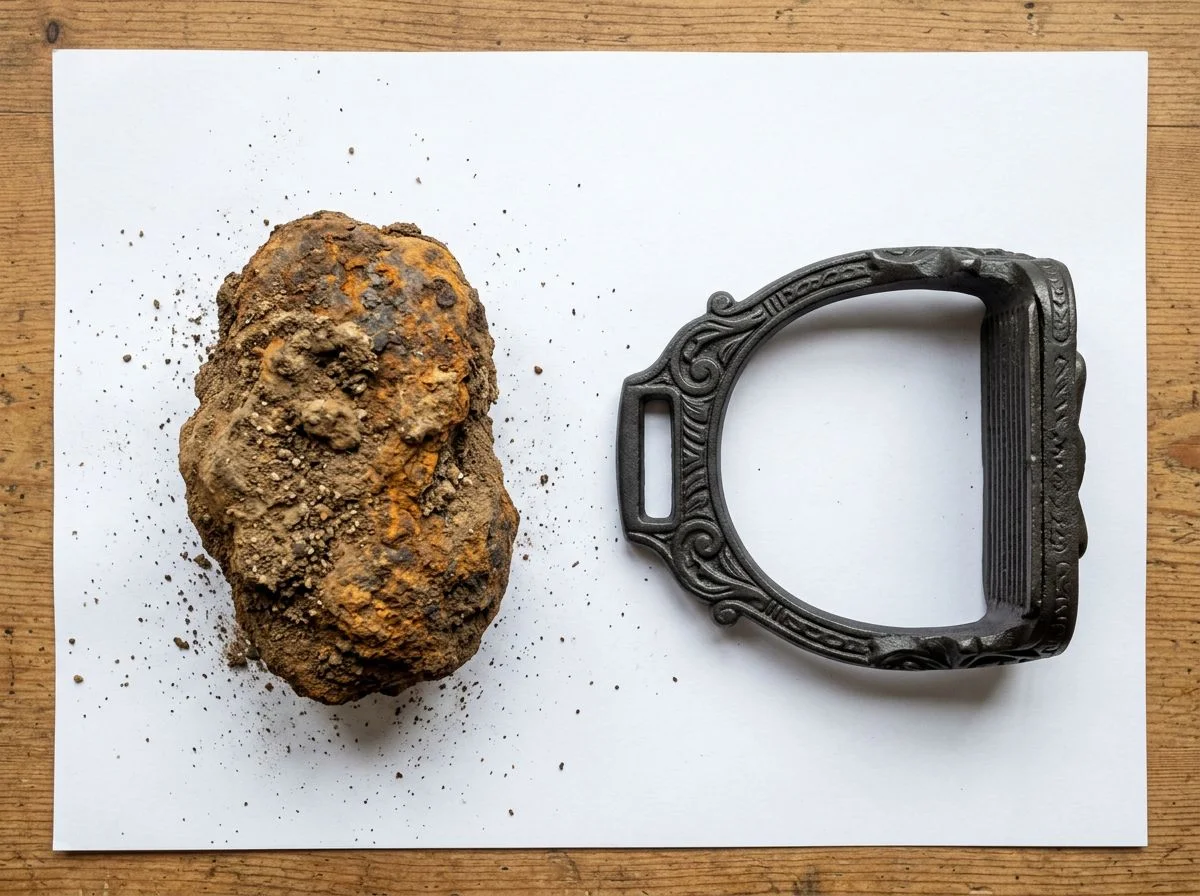
Three years ago, I dug what looked like a rust potato at a Civil War campsite near the Virginia border. I mean, it was comical — a lump of orange-brown corrosion the size of my fist, completely unidentifiable. Mike told me to toss it. Instead, I ran it through electrolysis for 48 hours. I changed the solution once when it turned the color of strong coffee.
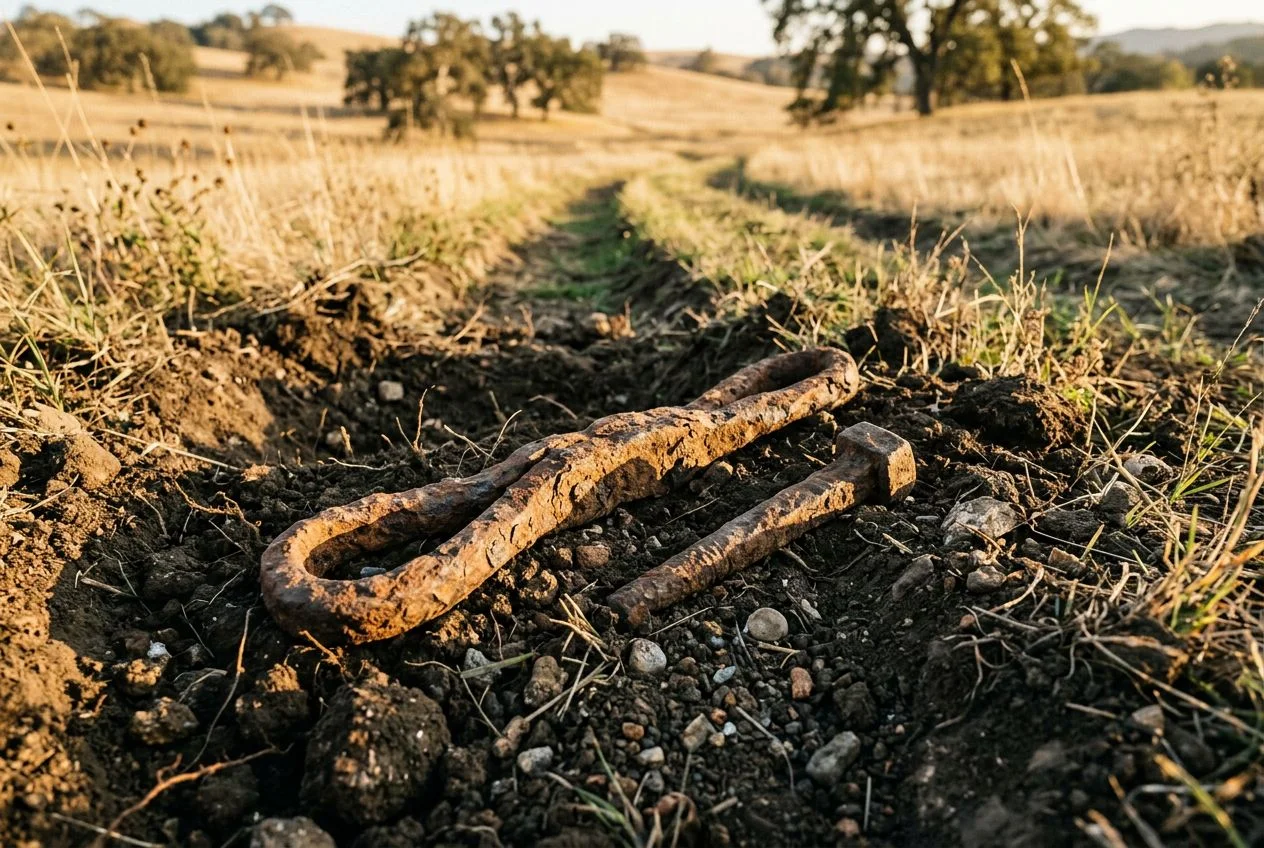
What emerged was a cavalry stirrup. It had the forge-welded seam where the blacksmith had joined the iron. It had the wear pattern on the tread from a soldier’s boot. It even had a faint maker’s stamp I hadn’t known was there. That stirrup is now stable, sealed, and one of my favorite finds. Without electrolysis, it would have continued rusting until it crumbled to dust.
Critical Steps After Electrolysis
This is where most people fail. You pull your relic out of the bath and admire it. You set it on a paper towel to dry. Within hours, flash rust forms on the bare metal surface. After electrolysis, you must seal the relic immediately. I use Renaissance Wax applied while the metal is still slightly warm from drying. It soaks into the porous surface and blocks oxygen. Skip this step, and you’ve just created fresh, active rust on a relic you spent days stabilizing.
Cleaning Soft Metals Like Lead and Pewter
Here’s the short answer: lead, pewter, and zinc are so soft that mechanical cleaning can destroy surface detail in seconds. Their corrosion chemistry is completely different from copper or silver. Lead forms a protective white patina you should preserve. Pewter scratches with almost anything. Zinc literally crumbles from the inside out if it gets damp.
I learned this lesson on a Civil War minie ball I pulled from an old training ground outside Sacramento. It came out of the ground coated in a chalky white layer — lead oxide, also called white lead patina. My first instinct was to scrub it off. Thank god I didn’t. That white crust is chemically stable and protective. It’s not like iron rust, which actively eats into the metal. The patina had been shielding that bullet for 150 years. A few seconds with a toothbrush would have stripped it down to raw, pitted lead underneath. I gave it a gentle rinse in distilled water and let it air dry completely. I left the patina exactly where it was. It’s still one of my favorite display pieces — a perfect white bullet with every casting seam intact.
Pewter is even more delicate. It’s a tin alloy, softer than copper. I’ve seen detectorists ruin perfectly good pewter buttons by hitting them with a brass brush. Even a fingernail can gouge the surface detail. If you find a pewter spoon handle or a colonial-era button, the protocol is simple. Distilled water soak. A wooden toothpick for stubborn dirt. Nothing else. No metal tools. No abrasive pads. No chemicals. The High Plains Prospectors guide emphasizes that improper handling during cleaning can destroy delicate historical details. Pewter is exhibit A.
Zinc has its own nightmare. It develops something called “zinc pest.” This is intergranular corrosion that causes the metal to swell, crack, and eventually disintegrate. Old jar lids, tokens, and toy soldiers are the usual victims. The only defense is keeping zinc finds bone-dry and sealed away from humidity. I keep my zinc tokens in individual coin flips with a desiccant packet. I never, ever soak them. Water accelerates the decay. If a zinc find is already cracking, there’s no reversing it. Just stabilize it by controlling the storage environment. Accept that some artifacts are racing against time.
Gold Is the No-Clean Metal
Here’s the short answer: gold is chemically noble. It doesn’t oxidize, tarnish, or react with most acids. Aggressive cleaning is never necessary and almost always a mistake. Warm soapy water, a soft cloth, and about two minutes of your time. That’s it. If only every find were this easy.
I pulled a men’s 14k wedding band from a local park about five years ago. It was eight inches down in bone-dry soil near an old picnic grove. Based on the style and hallmarks, it had been sitting there since the early 1990s. Thirty years underground. When I wiped the dirt off with my thumb at the kitchen table, it was already gleaming. A quick soak in warm water with a drop of dish soap and a gentle rub with a microfiber cloth. It looked like it had just come from a jeweler’s display case. My wife raised an eyebrow when I showed her. She’s learned that “look what I found” usually means something covered in crusty green oxidation. Not this time.
The science here is straightforward. Gold sits at the top of the nobility scale. It doesn’t give up electrons easily. It simply doesn’t corrode. No patina forms. No chemical reaction with groundwater. The dirt clinging to a gold ring is just dirt, not chemically bonded corrosion. It releases with nothing more aggressive than soap.
But here’s the warning that matters: gold is soft. On the Mohs hardness scale, it sits at just 2.5 to 3 — softer than a copper penny. A toothbrush, even a “soft” one, will leave micro-scratches on the surface. So will a paper towel. So will dried dirt rubbed under thumb pressure in the field. I’ve seen detectorists pull a gold ring from the ground and immediately rub it clean with their shirt. Congratulations — they just scuffed a piece of jewelry that had survived decades underground unscathed. Wait until you’re home. Use warm water, mild soap, and a soft cotton or microfiber cloth. Nothing else.
Can I Tumble Clad Coins from Metal Detecting?
Here’s the short answer: if you’re cleaning modern coins you plan to spend — post-1964 clad quarters, dimes, and those awful zinc pennies that dissolve in the ground — a rock tumbler is perfectly fine. If the coin has any collectible value whatsoever, keep it far away from anything that spins.
Hop onto r/metaldetecting on any given week and you’ll find the rock tumbler debate raging. The standard recipe gets shared constantly. A handful of clad coins, some aquarium gravel as media, enough water to cover everything, and a single drop of dish soap. Run it for an hour or two. Your crusty, dirt-caked quarters come out clean enough for the Coinstar machine to accept without jamming. YouTube is packed with tutorials showing the exact technique. Honestly, it works. I tumble my modern clad quarters for the Coinstar machine. I’d never put a wheat penny in there.
The distinction is dead simple. Modern clad coins — quarters and dimes minted after 1964, plus those copper-plated zinc pennies from 1982 onward — have zero numismatic value above face. They’re spending money, not collectibles. Tumbling them is purely practical. You’re making them presentable enough that a bank or Coinstar machine will take them. The wear from tumbling doesn’t matter because you’re depositing them, not selling them to a collector.
But here’s where people get sloppy. I’ve seen the same Reddit threads where someone asks “can I tumble these?” and posts a photo of Buffalo nickels and Indian Head pennies mixed in with their clad. No. Absolutely not. Pre-1965 silver coins, wheat pennies, and anything with a readable date before 1940 should never touch a tumbler. The abrasive action will strip surface detail. It will obliterate mint marks. It will destroy the natural patina that collectors value. You’d be turning a $20 silver quarter into a $4 piece of scrap silver in about 45 minutes.
Preservation Coatings and Long-Term Storage
Here’s the short answer: clean your find and dry it completely. Then seal it with a microcrystalline wax like Renaissance Wax. It’s pH-neutral, breathable, and reversible. You can remove it decades later without damaging the artifact underneath. Skip the polyurethane. Skip the lacquer. A $15 jar of Renaissance Wax will last you years and protect everything from iron relics to copper coins.
I learned this the hard way. About eight years ago, I pulled a gorgeous 1864 Indian Head penny from a farm field. It had a deep green patina, full Liberty detail on the headband, and a sharp date. Gorgeous coin. I wanted to protect it. I grabbed a can of spray lacquer from the garage and gave it a light coat. Fast forward three years. The lacquer had yellowed slightly. A tiny bubble had formed near the rim where moisture got trapped underneath. The copper started corroding inside that bubble while the rest of the coin looked fine. I spent an hour with acetone and a cotton swab trying to reverse the damage.
The chemistry here is straightforward. Microcrystalline wax forms a flexible, vapor-permeable barrier. It lets the metal breathe while blocking humidity and skin oils from handling. Polyurethane and lacquer coatings create a hard, impermeable shell. If even a microscopic amount of moisture gets trapped underneath during application — and it almost always does — you’ve just sealed corrosion inside a permanent plastic tomb. Worse, those coatings yellow with age. They can’t be removed without harsh solvents that may damage the patina.
My storage system isn’t fancy, but it works. My iron relics — axe heads, horse tack, andiron fragments — live in sealed plastic containers with silica gel packets. I save these from shoe boxes and electronics packaging. Humidity is the enemy of stabilized iron. Those little packets are free insurance. My copper coins go into acid-free paper envelopes, not PVC flips. This is critical and worth emphasizing. Those soft, flexible PVC coin flips that feel so convenient? They off-gas over time. The resulting hydrochloric acid reaction creates a greasy green corrosion on copper and bronze. Detectorists call it “green slime.” It will eat detail right off a coin’s surface over the course of a few years.
For display pieces, I use archival-quality Mylar flips or glass-front riker cases. I tuck a silica packet behind the cotton batting. Light exposure matters too. Direct sunlight will fade patinas faster than you’d believe. Store your display case away from windows. Proper cleaning metal detector finds means thinking about the next fifty years, not just the next five minutes.
When to Let a Pro Clean Your Find
Here’s the short answer: if your find is historically unique, has active bronze disease you can’t stop, is silver with a flaking surface, or is an iron relic held together by rust alone — stop what you’re doing and call a conservator. The most valuable tool in your kit is knowing when to use nothing at all.
I once tried to clean a thin silver coin with a toothpick. I watched a chunk of the rim flake off. That’s when I learned that “doing nothing” is sometimes the best conservation method. The coin was an 1853 half dime I’d pulled from a riverbank. It was paper-thin from decades of water wear. My gentle prodding with what I thought was the softest tool available was still enough to destroy it. I still have that coin in a flip, jagged edge and all, as a reminder.
So when do you actually put the tools down? I use a four-point decision framework. If any one of these applies, I’m on the phone or sending an email to someone who knows more than I do.
First, if the item is historically unique or identifiable to a specific person or event, stop. A Civil War ID tag with a soldier’s name. A ring with a full inscription. A badge with a unit number. These aren’t just artifacts. They’re historical documents. If you’re uncertain about an item’s true worth, seek professional help before you touch it.
Second, active bronze disease you can’t arrest. If you’ve done the distilled water soaks and the green powder keeps coming back, the cuprous chloride reaction is running deeper than surface-level. A conservator has access to benzotriazole treatments and controlled environments you can’t replicate at a kitchen table.
Third, silver with a fragile, flaking surface. That half dime taught me this one permanently. Silver can develop a brittle, crystalline structure in certain soil conditions. Any mechanical cleaning — even with a toothpick — will cause pieces to separate.
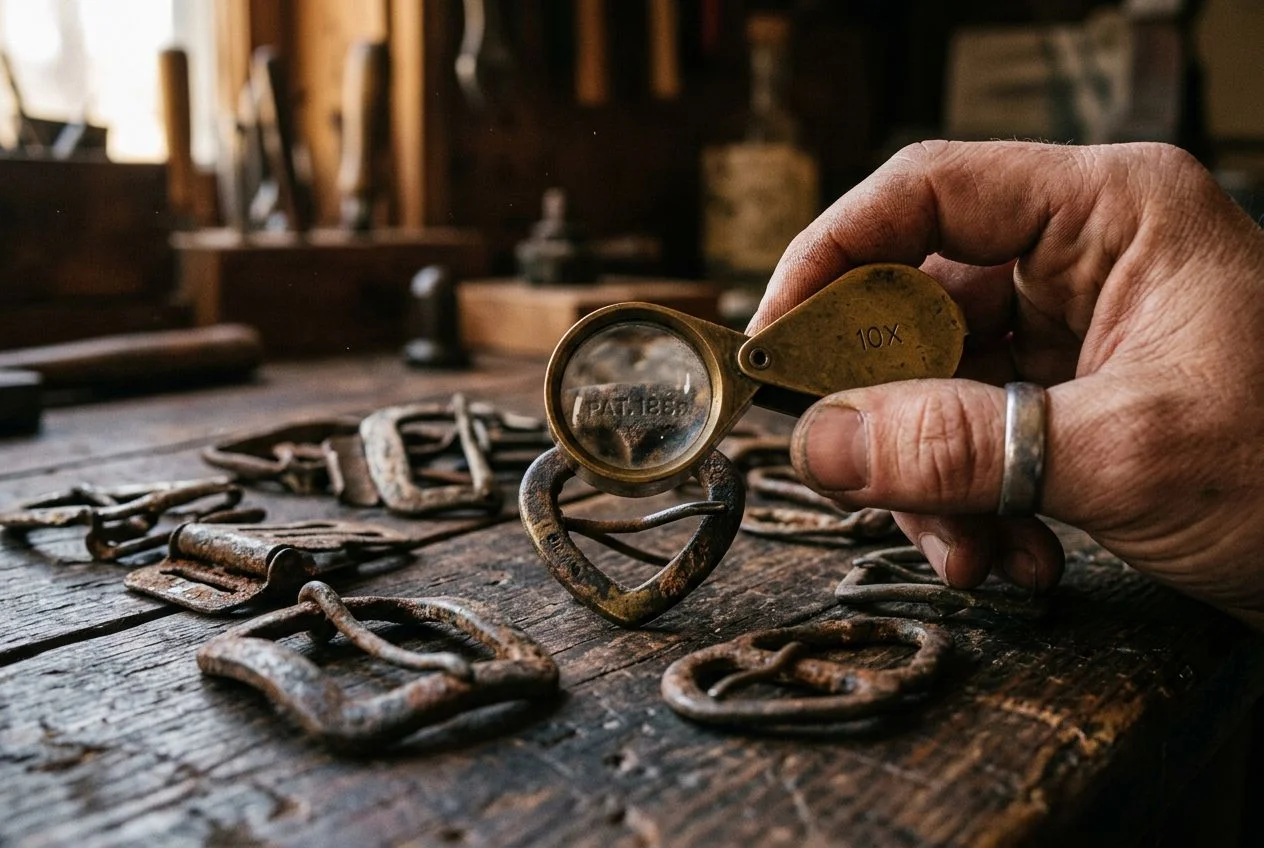
Fourth, iron relics where the rust is the only thing holding them together. I’ve pulled axe heads from farm fields that looked solid in the ground. They were essentially rust held in the shape of an axe. The High Plains Prospectors guide is clear: when the object’s structure depends on the corrosion itself, professional consolidation is the only safe path.
The Detectorist as Caretaker
Here’s the short answer: we don’t own these objects. We’re just the ones holding them for now. Every coin, button, and buckle you pull from the ground has already survived longer than you’ve been alive. Whether it survives another hundred years depends almost entirely on what you do with it in the next hour.
That’s not hyperbole. An estimated 70% of a coin’s numismatic value can be destroyed by improper cleaning. I’d argue the historical cost is even higher. I’ve seen it at club meetings. Someone pulls out a once-beautiful 18th-century copper that’s now bright pink and featureless because they soaked it in vinegar overnight. The date’s gone. The detail’s gone. The story’s gone. That artifact survived two centuries in the ground. It was destroyed in a single evening at someone’s kitchen sink.
I think about that first Indian Head penny I pulled from the swimming hole outside Sacramento — the one that started all this. It’s sitting in a labeled flip in my desk drawer now. It was properly cleaned with nothing but distilled water and patience. It’s sealed with a thin coat of Renaissance Wax. The green patina is intact. The 1880 date is sharp. My kids are still a little young to appreciate it. But someday they’ll hold that coin and understand that someone lost it 140 years ago. Their dad found it. He took the time to make sure it would still be here for them.
That’s the through-line. That’s the whole point.
So here’s my ask: share your cleaning successes — and your disasters — in the comments or at your next club meeting. I’ve learned more from the failures people were brave enough to admit than from any guide ever written. The community’s collective knowledge is what preserves this hobby’s future. Every “don’t do what I did” story saves the next detectorist from making the same mistake. Proper cleaning metal detector finds isn’t just technique — it’s stewardship.

My name is Paul and I am the founder of Detector For Metal, a dedicated resource for metal detecting enthusiasts seeking to uncover historical treasures and connect with the past using the latest technology. As a stay-at-home dad and family man, I’ve found metal detecting to be the perfect hobby that combines family adventure with historical learnings for the whole family.
As a father, I’m deeply committed to passing on this hobby to the next generation of detectorists, starting with my own children. I share advice on everything from metal detecting with kids to exploring the top 10 metal detecting sites you never thought about. My methodical approach to the hobby goes beyond the thrill of discovery—it’s about creating family traditions while preserving history and sharing the stories of those who came before us.