Table of contents
- What That Surface Coating Really Is
- Why You Research Before Cleaning Metal Detector Finds
- How to Remove Crud Without Damaging the Patina
- Wax and Protection for Your Finds
- Storage Tips Nobody Mentions
- When to Leave Cleaning to a Pro
- Common Questions About Cleaning Metal Detector Finds
- Why the Relic Is the Story
Most finds pulled from the ground should not be cleaned beyond a gentle rinse with water and a soft brush. That dark, uneven layer on your 1800s button or copper coin isn’t dirt. It’s patina — a protective skin that took 50 to 100-plus years to form. Scrubbing it off destroys both the historical character and the monetary value in about thirty seconds flat.
I know because I did exactly that.
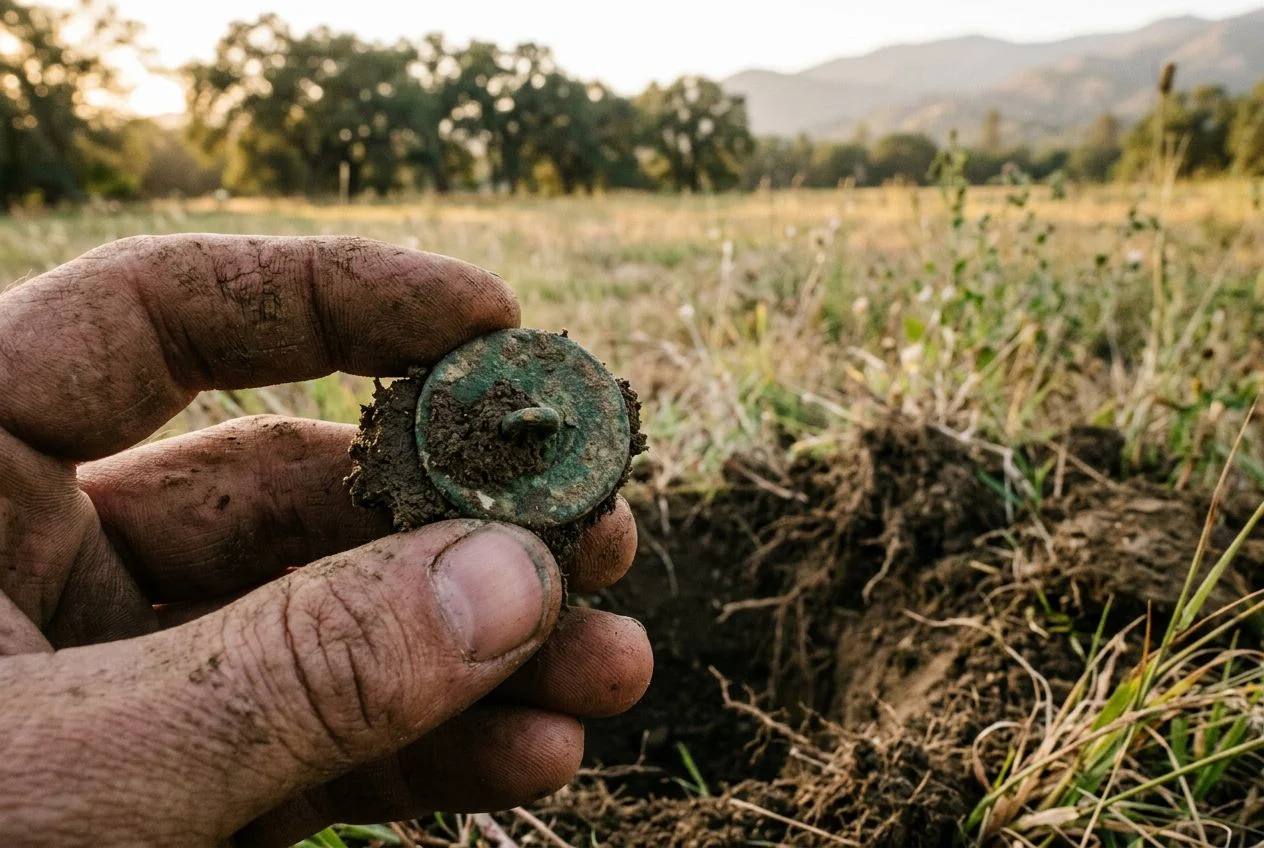
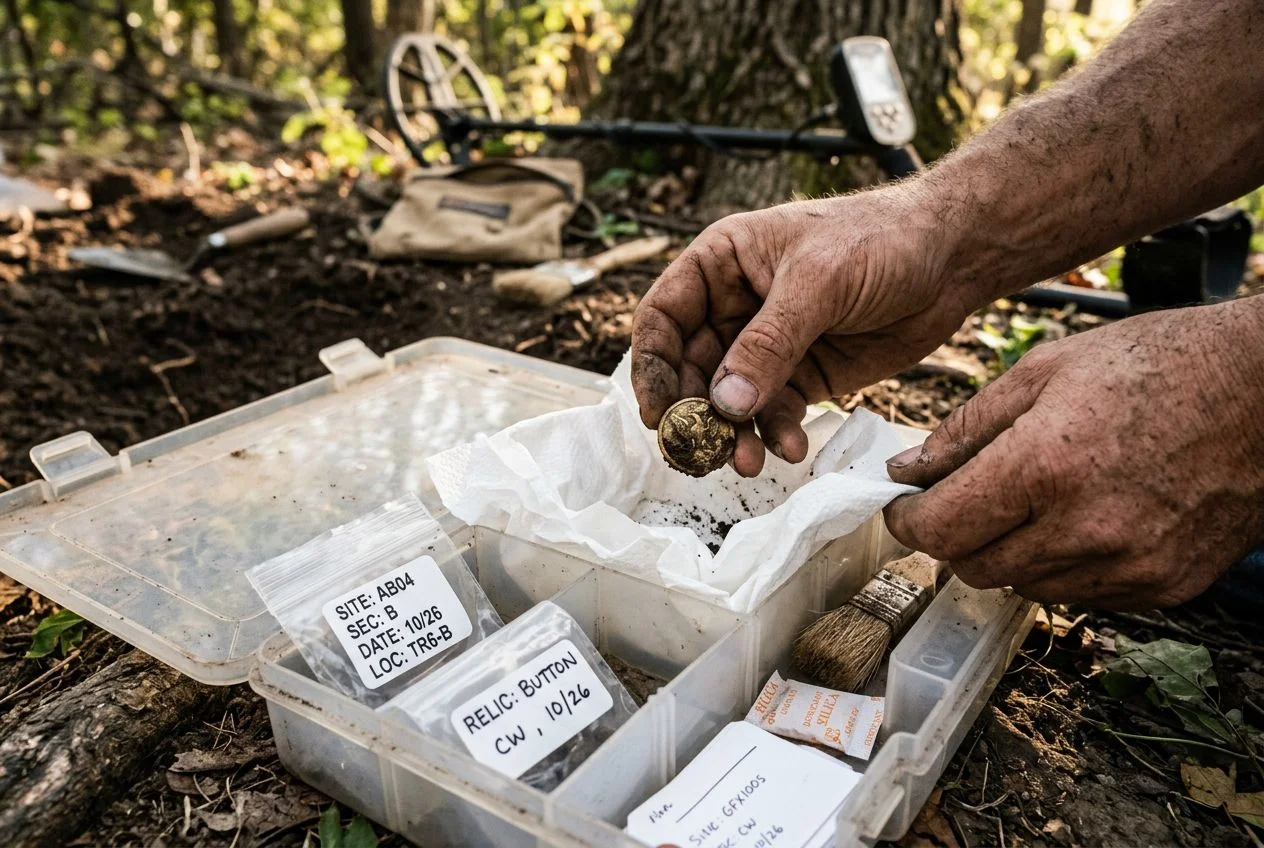
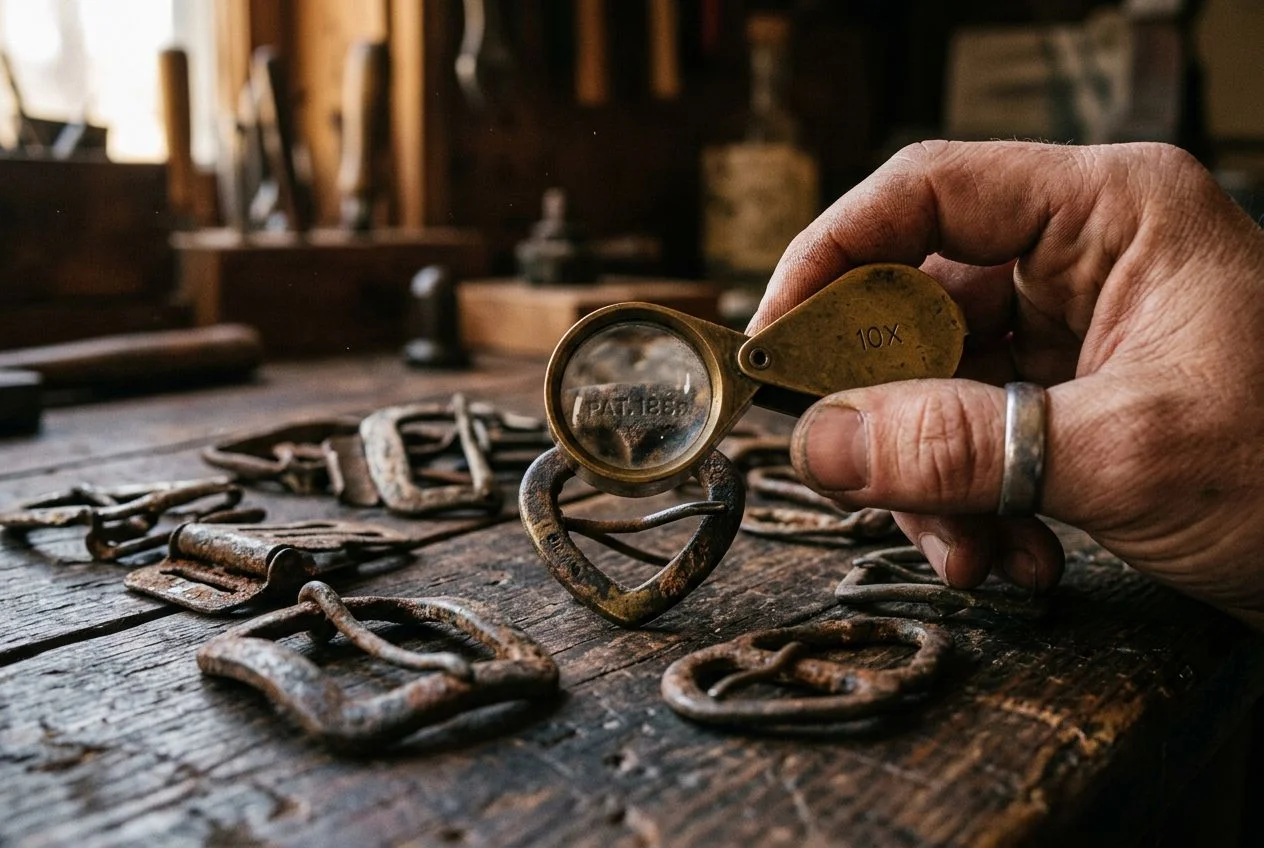
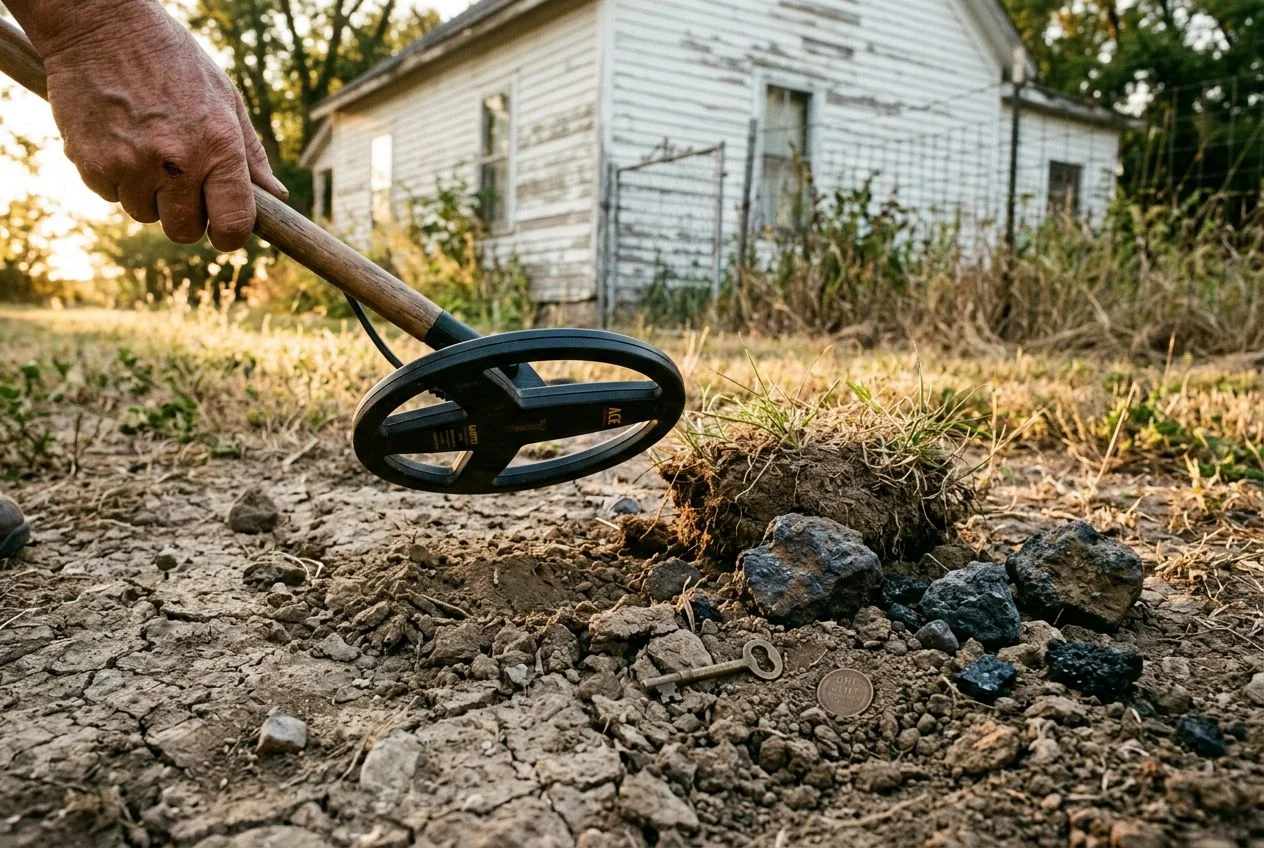
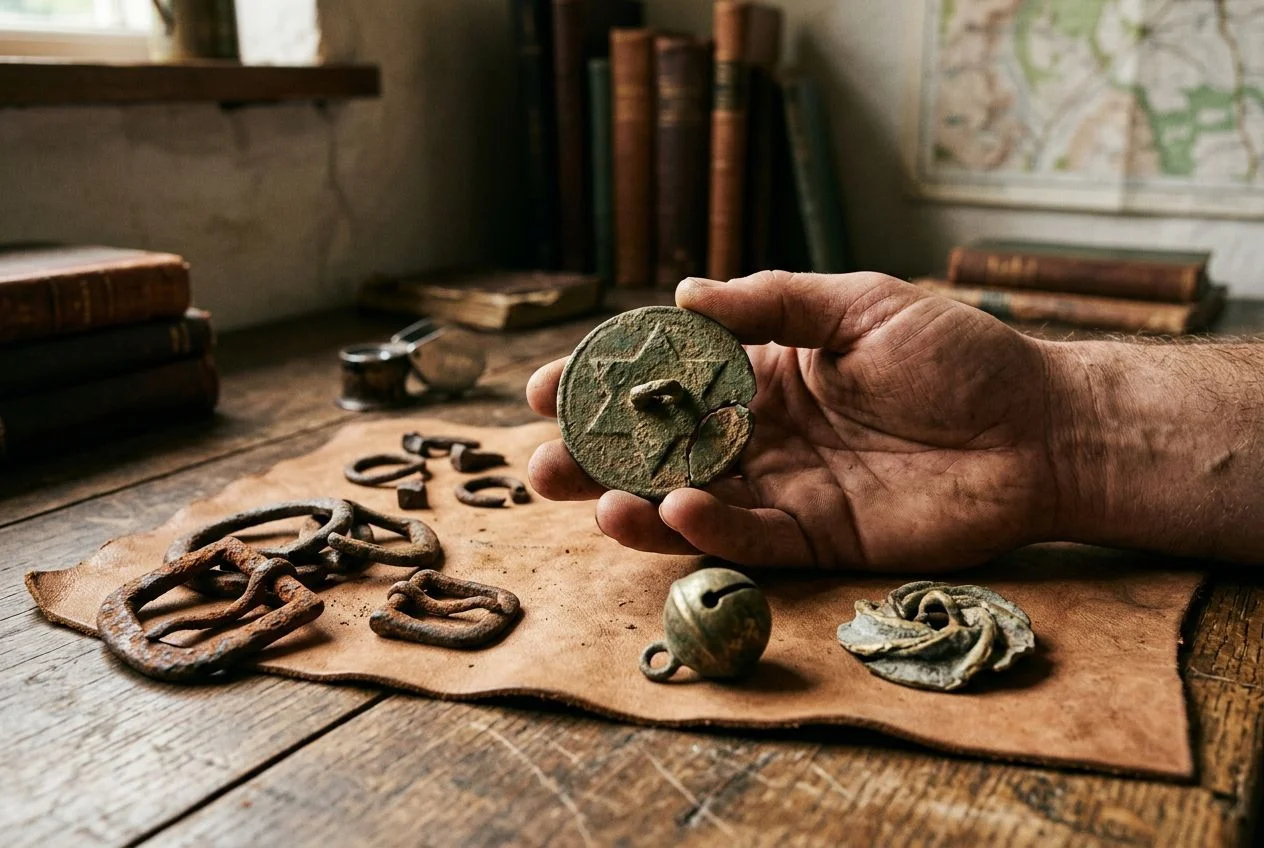
My first real “good” find was a brass flat button from an 1850s wagon trail stop outside Placerville. It came out of the ground with that gorgeous, mottled darkness. Hints of green at the edges faded into deep brown and black. It had the kind of surface that screams age the second you see it. I was so excited I went straight home and mixed up a baking soda paste. Some forum post had called it “natural and safe.” Thirty seconds later, I was holding a shiny, brassy, utterly generic button that looked like it came from a craft store. The patina — the whole story that button had spent 170 years writing — was gone. My buddy Mike still brings it up. Frankly, he should.
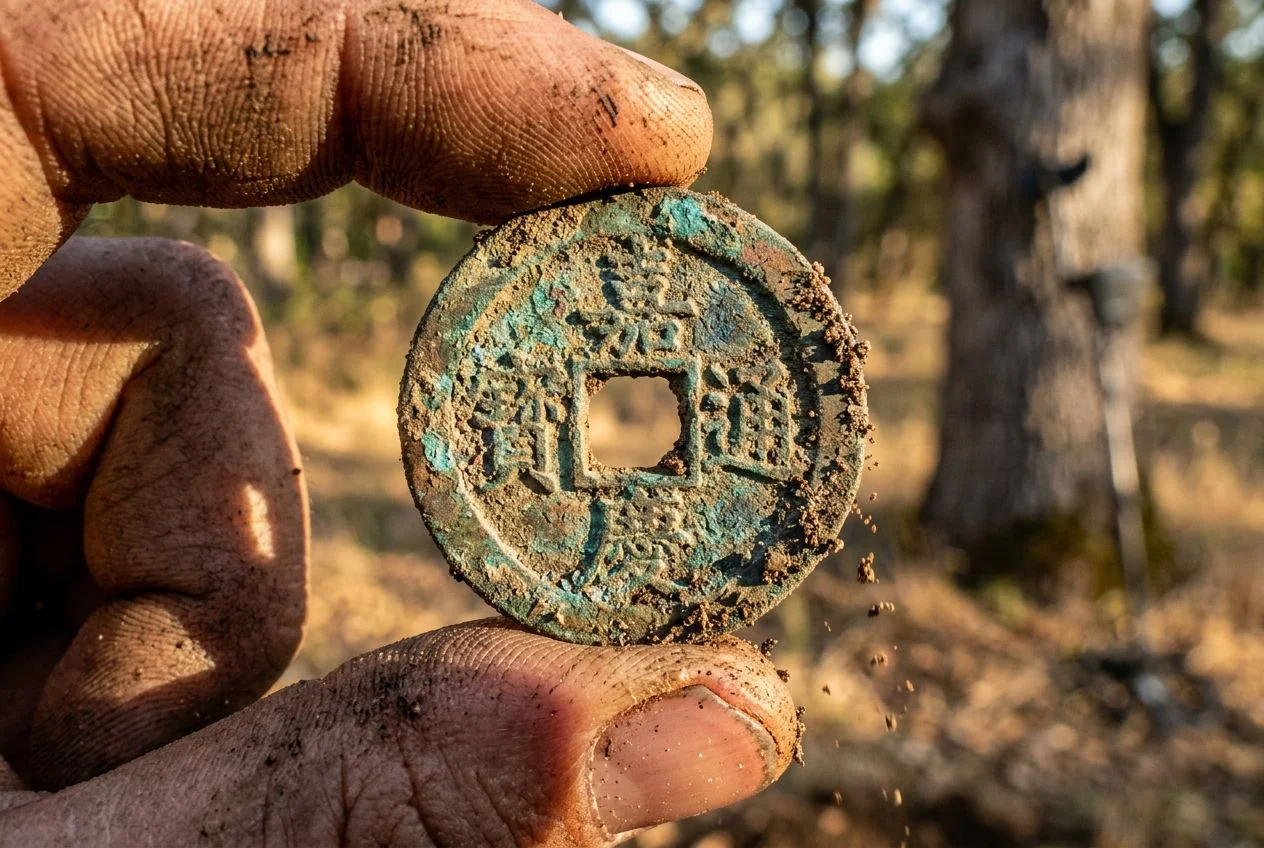
What I didn’t understand then is that patina isn’t just “tarnish.” It’s a complex chemical skin of carbonate, sulfate, and chloride salts. These form as copper and brass react with oxygen, water, and even the oils from someone’s hands over decades. That reaction produces what collectors call the “patina rainbow.” Blue, green, brown, and black hues layer across the surface. Each color represents a different stage of that decades-long conversation between metal and environment. Museums guard this stuff like gold. Once it’s gone, it’s gone. You can’t fake a century of chemistry.
What That Surface Coating Really Is
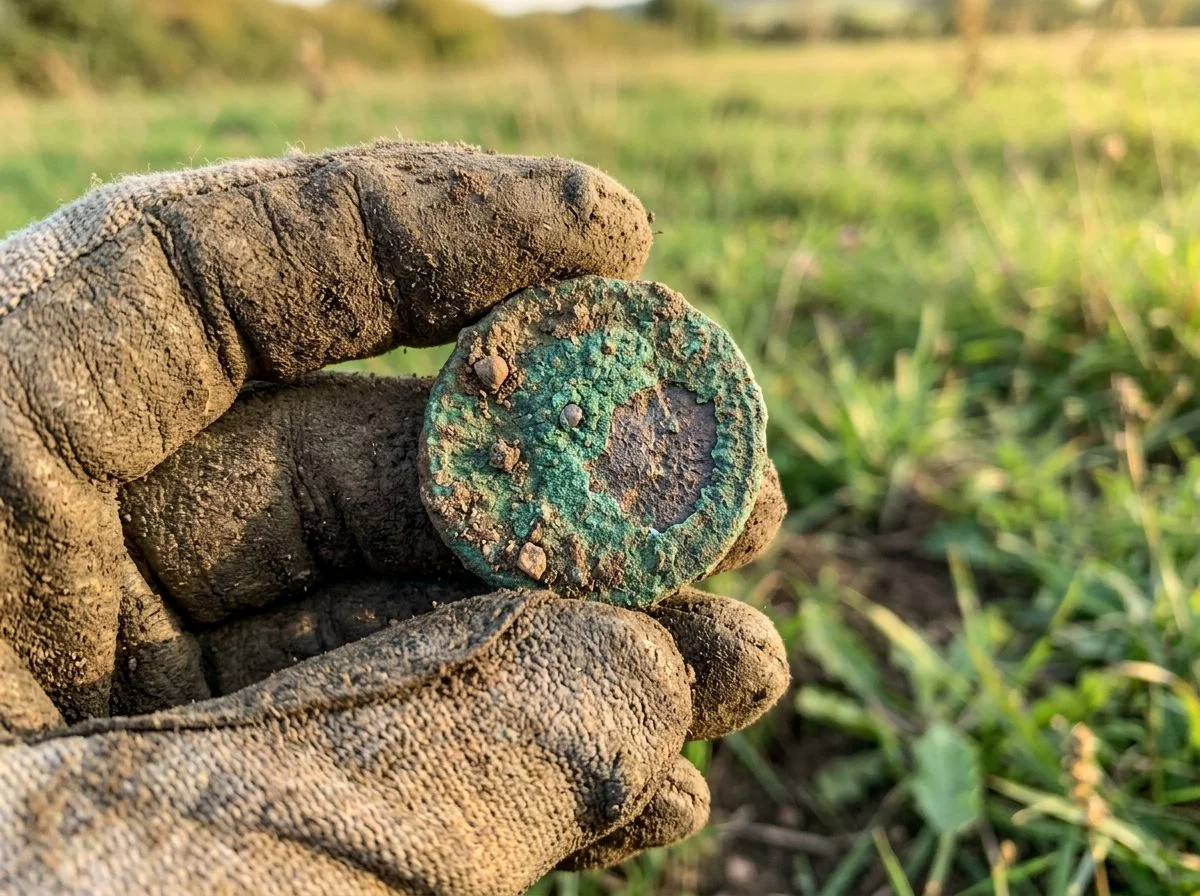
Patina is a chemical skin. It’s a complex layer of carbonate, sulfate, and chloride salts that forms when copper, brass, or bronze reacts with oxygen, water, and even the oils from human hands over decades or centuries. It’s not dirt. It’s not decay. It’s the metal’s own protective armor. Museums treat it like gold because, for ancient artifacts, it literally is the difference between survival and dust.
That dark, mottled layer on your find isn’t a uniform coating. It’s a layered history. The earliest metallic artifacts ever discovered were beaten from natural copper more than 6,000 years ago. Their survival depended entirely on stable patina formation. Without that chemical skin sealing the surface, those objects would have corroded into nothing millennia ago. The same process is happening on the button in your hand right now.
Here’s what’s going on chemically. Copper reacts with oxygen and moisture to form copper oxide. That’s the dark brown and black tones. Then it gradually converts to copper carbonate — those rich greens — and copper sulfate, which gives you the blues. This “patina rainbow” is a natural oxidation process that takes years to develop. Each color represents a different stage of that decades-long conversation between metal and environment.
But here’s where things get dangerous. Not all green is good.
There’s a destructive impostor called “bronze disease.” It’s cuprous chloride corrosion that appears as a powdery, pale, almost fluorescent light-green fuzz on the surface. Unlike stable patina, which is relatively hard and uniform, bronze disease is soft and dusty to the touch. It’s actively eating the metal. Left unchecked in humid conditions, it will pit and eventually destroy a copper alloy artifact. Stable patina protects. Bronze disease consumes. The Western Australian Museum’s Collections Care Manual is blunt on this point. Under no circumstances should patina be removed from ancient bronzes. If you’re seeing that powdery light-green corrosion, you’re not looking at patina. You’re looking at an active threat that needs professional conservation, not a baking soda scrub.
Why You Research Before Cleaning Metal Detector Finds
Before you even think about applying anything to a copper or brass relic, figure out what it’s supposed to look like. That means doing curatorial research, not guessing. Some objects were meant to be shiny. Others were never meant to be shiny. Polishing them destroys original, irreplaceable surface treatments that took craftsmen hours to apply a hundred years ago.
The Canadian Conservation Institute puts it bluntly. The desired appearance of an antique copper or brass object must be determined through curatorial research. That’s not museum-speak for “think about it for a second.” That’s a warning. Different objects had different original finishes. You can’t tell which is which by looking at tarnish alone. Cookware naturally acquires a stable tarnish over decades of use. That dark, even layer is part of its history and doesn’t need to be stripped. But medals from the same era may have been coated with a transparent protective varnish at the factory. Using solvents or polish on them can permanently disfigure the surface by removing that coating entirely.
I learned this distinction the hard way with a late 19th-century “bronze” statue I picked up at an estate sale. It wasn’t a detecting find, but the lesson transfers directly. The piece had a deep, almost chocolate-brown surface with hints of green in the recesses. I assumed it was just heavily tarnished. What I didn’t know — and what a quick bit of research would have told me — is that late 19th- and early 20th-century “bronze” statues were often artificially patinated and coated with a transparent tinted varnish. That was done specifically to achieve that exact look. The brown wasn’t neglect. It was the finish. I didn’t polish that one, thank god. I got distracted and set it aside. A week later I stumbled across the CCI note and realized how close I’d come to ruining it.
History Nebraska’s Ford Conservation Center is even more direct about the stakes. Removing original paint, shellac, or chemically induced patinas will permanently diminish an object’s historical and monetary value. Not “might.” Will. Permanently. That shellac coating on a military medal? It’s not dirt. That chemically induced patina on a commemorative plaque? Someone applied it on purpose. Strip either one, and you’ve got a shiny piece of metal worth a fraction of what it was five minutes earlier. There’s no undo button.
The practical takeaway is simpler than it sounds. If you don’t know what the object’s original surface looked like, don’t touch it beyond a dry, soft brush. Spend twenty minutes searching the item’s type, era, and known finishes before you reach for anything else. The internet is lousy with photos of ruined relics. Don’t add yours to the pile.
How to Remove Crud Without Damaging the Patina
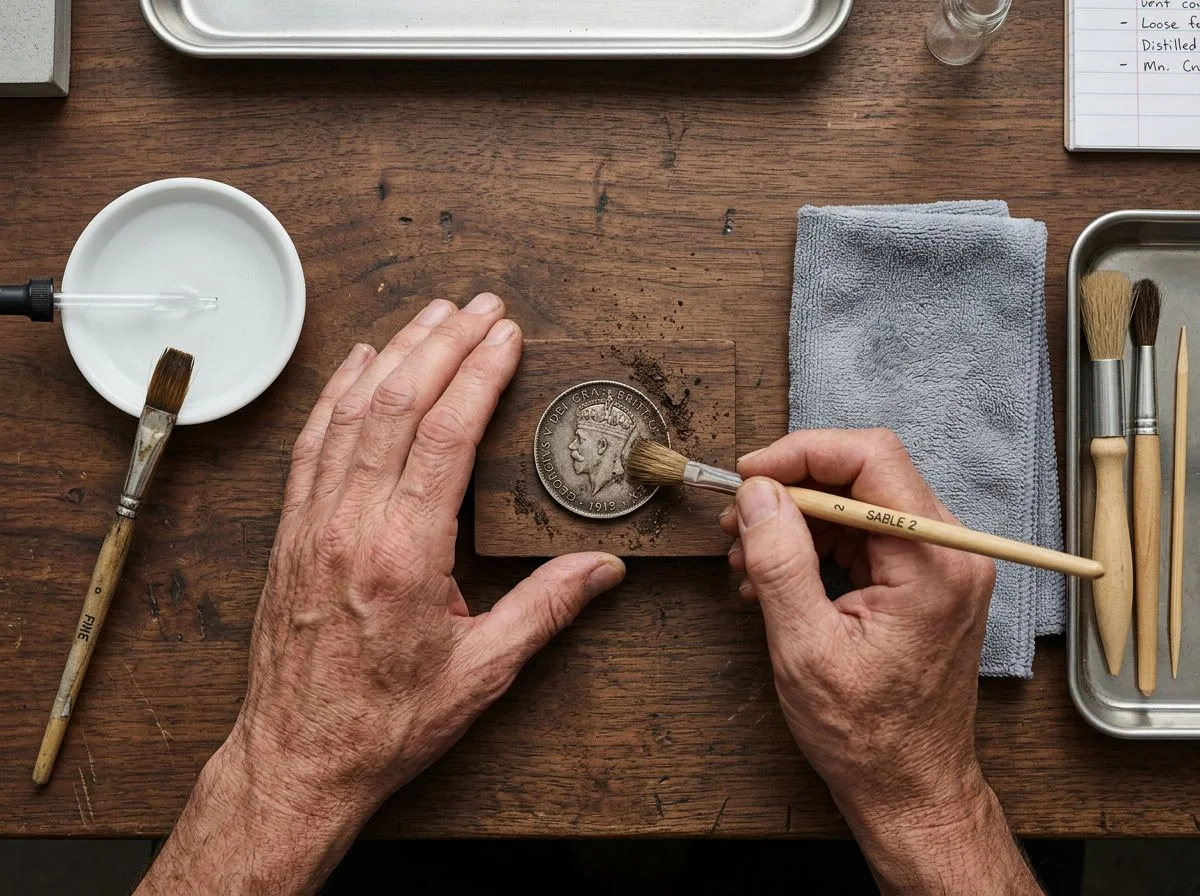
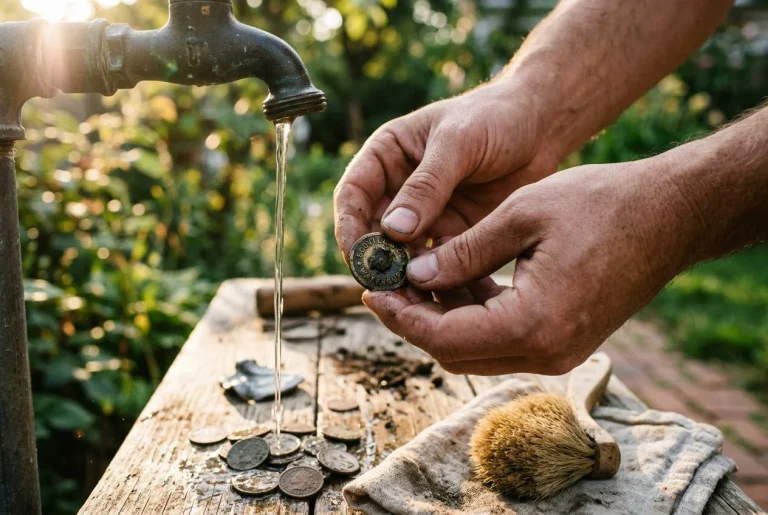
You clean a relic by removing the dirt and grease, not the history. That means starting with the least aggressive method possible. Use a soft brush and a tarnish-inhibiting cloth. Only escalate to mild abrasives when absolutely necessary. My rule of thumb is simple. If I wouldn’t use it on a coin worth three months of my detecting budget, I don’t use it on a relic.
For light tarnish and the kind of grime that comes from being handled at a club meeting, a brass/copper tarnish-inhibiting cloth is your best friend. The National Trust Manual of Housekeeping specifically recommends these for fingerprints and surface haze. They’re gentle enough that you’re not removing metal — just the stuff sitting on top of it. I keep one in my finds bag and use it before anything else.
When the tarnish is heavier and that cloth isn’t cutting it, you can step up to an abrasive paste like Solvol Autosol. The same National Trust guide references it for more stubborn jobs. But fair warning: this is still removing microscopic metal along with the tarnish. Megan Hansen, a conservator who cleaned a collection of vintage outboard motors, detailed her technique on the AIC forum. Apply a pea-sized amount of Brasso to a microfiber cloth. Let it sit for a couple of minutes on the heavily tarnished areas. Then buff it clean. It works — but it’s abrasive, period.
I only reach for these pastes when the tarnish is actively obscuring details I need to see. I never use them on anything where I suspect an original coating or artificial patina might be hiding underneath. The second you break through that surface, you’re not cleaning anymore. You’re erasing.
Wax and Protection for Your Finds
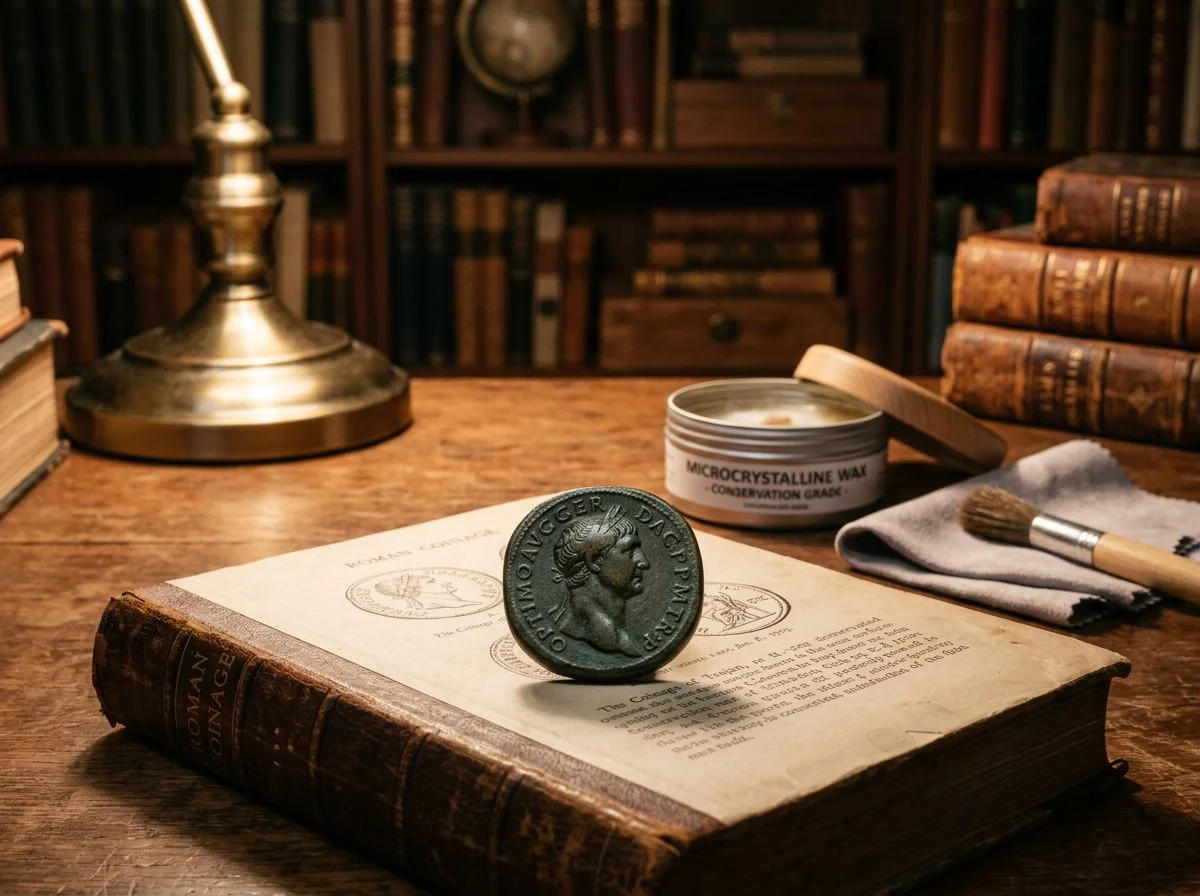
Once your relic is clean and completely dry, the best thing you can do is apply a thin coat of museum-grade microcrystalline wax. It seals the surface against moisture and skin oils without chemically altering the patina. It’s also fully reversible if a conservator ever needs to undo your work.
I use Renaissance Wax, and I’ll tell you exactly why. It’s a microcrystalline wax originally formulated by the British Museum. It’s available in small 200ml cans that’ll last a hobbyist for years. The Canadian Conservation Institute specifically recommends protective waxing as a separate step from cleaning. You’re not polishing when you wax. You’re sealing. That’s a critical distinction.
Here’s the ugly truth about why this matters. Copper alloys are highly reactive to the salts, oils, and acids on human skin. A single fingerprint can etch into the metal over time. I’m not exaggerating. History Nebraska’s conservation guidelines are explicit on this point. Those invisible residues you leave behind after handling a find will eventually become visible as permanent marks. You should be wearing clean cotton, latex, or nitrile gloves during this whole process anyway. But the wax adds a second line of defense for when the relic inevitably gets handled later.
My method is simple. I take a soft, lint-free cloth — nothing fancy, just a clean piece of old t-shirt — and work a tiny amount of Renaissance Wax into the fabric. Not directly onto the relic. Then I buff it onto the surface in thin, even strokes. You don’t need to cake it on. A barely-there layer is all it takes. Let it haze for thirty seconds. Then buff gently with a dry section of the cloth. The result is a satin sheen that protects without making the piece look like it’s encased in plastic.
One warning from the National Park Service’s Conserve O Gram: avoid gloves processed with chlorine. Chlorine residues react with copper alloys and can accelerate the very corrosion you’re trying to prevent. Plain nitrile gloves, the unpowered kind, are what you want. It’s a small detail, but small details are what separate preservation from slow destruction.
Storage Tips Nobody Mentions
Once your relic is clean, dry, and waxed, the real work begins. You need to control the invisible enemies in your display case that will undo all that effort in months. You need a stable environment. Keep temperatures below 72°F and relative humidity between 30% and 50%. That’s per History Nebraska’s conservation guidelines. If your find has wood attached — like a knife handle or a gun grip — keep that humidity above 40%. That way the wood doesn’t crack while the metal stays happy. It’s a balancing act. Honestly, most of us aren’t running museum-grade climate control in our dens.
But there’s a dead-simple trick I learned that costs about two dollars. Flea Market Insiders recommends placing sticks of plain schoolhouse chalk in your display cabinets. Chalk absorbs sulfur and the filming gases that cause tarnish. It’s the same stuff that turns a gleaming brass button dull brown in a year. I’ve got a couple sticks tucked behind the relics in my case. I swap them out every six months. It’s not glamorous, but it works.
For individual pieces that are particularly valuable or reactive, anti-tarnish bags are worth the small investment. These are treated with activated charcoal or zinc to neutralize corrosive gases. Flea Market Insiders suggests them for silver and copper items you want to keep bright without constant polishing. I keep my seated Liberty dime in one. Not because it’s worth a fortune, but because I spent three weekends finding it. I’m not about to let airborne sulfur undo that work.
One more thing that rarely gets mentioned. How you handle the relic even after it’s in storage matters. If you’re pulling something out to show a buddy or photograph it for a club newsletter, set up a padded work surface first. The National Park Service’s Conserve O Gram specifically recommends a large table covered with soft cotton flannel or muslin. I use an old flannel shirt stretched over a card table in my workshop. It’s saved more than one relic from an accidental drop onto concrete.
When to Leave Cleaning to a Pro
Here’s the hard truth. If you see powdery light-green spots, flaking metal that crumbles when you touch it, or any sign of an original coating you don’t fully understand, stop immediately. That find goes in a dry box. You make a call to a conservator. Not a forum. Not a YouTube comment section. A professional.
What you’re likely dealing with is bronze disease. It’s not just surface tarnish. It’s cuprous chloride corrosion — a destructive, cyclic chemical reaction that, once activated by moisture, will eat through a copper alloy relic like cancer. The Western Australian Museum’s conservation manual draws a sharp line between stable, protective patina and active corrosion that requires professional intervention. The difference is visual. Stable patina is smooth and even. Active bronze disease looks powdery, pale green, and it’ll flake off under your fingernail.
I learned this distinction the hard way with a Roman bronze coin. I’d been dry-brushing it for an hour before I noticed the telltale spots. It’s now sealed in a humidity-controlled container while I figure out who to send it to.
The British Antique Dealers’ Association is blunt about this. For heavily tarnished or damaged objects, consult a professional craftsman. Not a well-meaning friend. Not a DIY paste recipe. A trained conservator who understands that removing an original coating or chemically induced patina permanently diminishes both historical and financial value. Some things are worth more left alone. Some things are worth paying someone else to save.
Common Questions About Cleaning Metal Detector Finds
I’ve answered these so many times I can practically set my watch by them. Here’s the rapid-fire truth, based on ten years of finds and a few painful mistakes I’d rather not repeat.
“Does cleaning really kill value?”
Yes, if you strip the patina. The consensus on every coin collecting forum I’ve ever read is unanimous. A chemically cleaned coin is worth a fraction of an untouched one. History Nebraska warns that removing chemically induced patinas permanently diminishes historical and monetary value. I learned this the hard way with an 1850s brass button. Thirty seconds with baking soda paste and I’d erased 170 years of character. The dark surface I scrubbed off was literally irreplaceable.
“Can I use electrolysis on copper and brass?”
Rarely, and honestly, I’d steer clear unless you really know what you’re doing. The risk of over-cleaning and pitting the surface is real. Some folks in the cast iron restoration community draw a sharp distinction between electrolysis and acid methods. But for copper alloys, both can go wrong fast. I’ve only used electrolysis once on a brass relic. I spent more time worrying about it than I did actually cleaning it.
“What about olive oil soaks?”
Not recommended. I know there’s an old forum thread somewhere that swears by it. But olive oil goes rancid, attracts dust, and penetrates porous corrosion layers unpredictably. You’ll end up with a sticky, smelly relic that’s harder to clean than when you started. I tried it once on a crusty Roman bronze and regretted it within a week.
“How do I clean the green crust off a dug coin?”
Mechanical cleaning only. Dry brushing with a soft toothbrush, wooden picks, maybe a toothpick if you’re careful. That green crust is often part of the stable patina. Chemical dips will strip it instantly along with every bit of value the coin had. I’ve watched guys at club meetings pull out a bottle of coin dip and I physically wince. Once that patina’s gone, it’s gone.
Why the Relic Is the Story
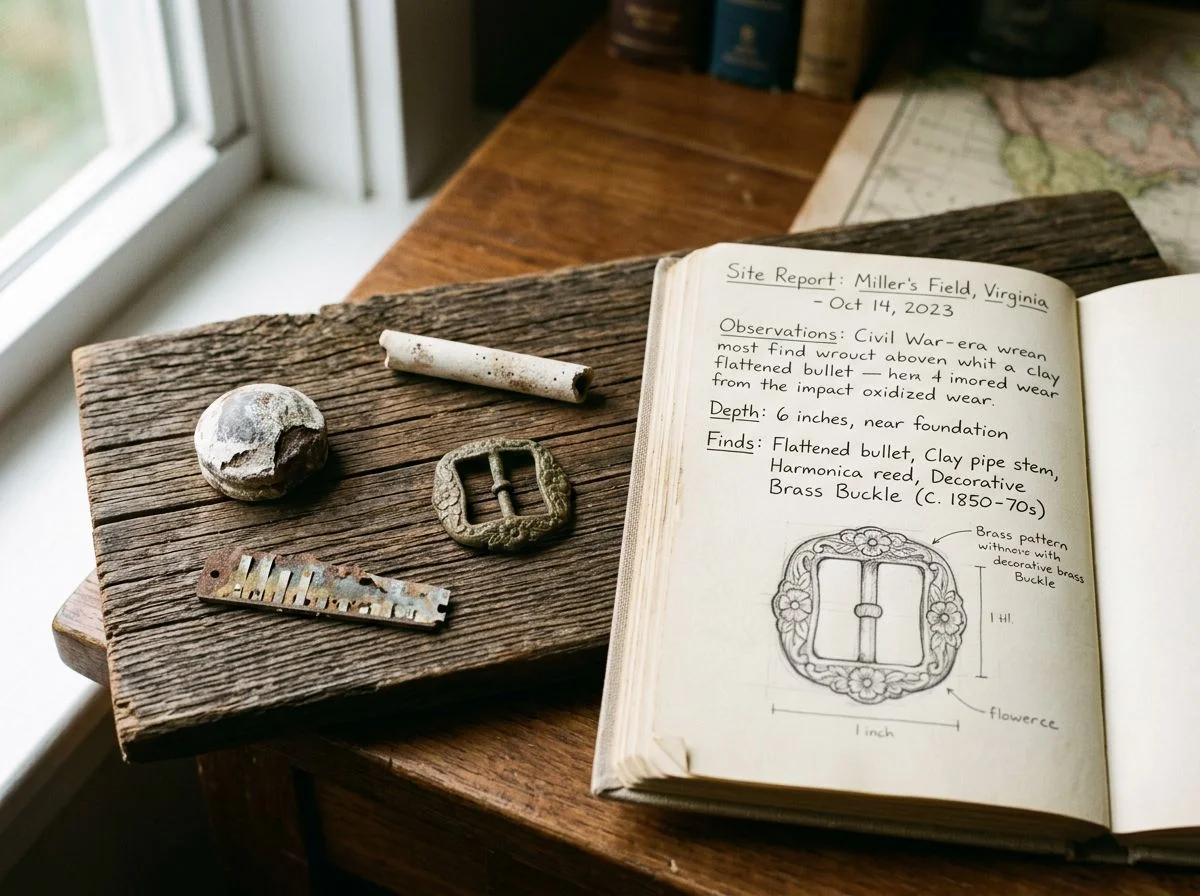
The relic isn’t a blank canvas waiting for you to restore it to some imagined “like new” condition. It’s already a finished story. The patina is the ink it’s written in. Clean to preserve, not to make it look new.
I think about that ruined brass button more than I’d like to admit. I held 170 years of history in my palm. Every molecule of that dark surface had formed through decades of reaction with soil, air, and time. Thirty seconds with baking soda paste, and I’d erased a story I had no business rewriting. The patina on your relic formed over decades or centuries. It can’t be replicated. Once it’s gone, it’s gone forever.
We’re not owners of these objects. We’re their current stewards, temporary caretakers who happened to pull them from the ground. The best thing we can do is stabilize them, understand them, and pass them along. Intact, honest, and still telling the truth about where they’ve been.

My name is Paul and I am the founder of Detector For Metal, a dedicated resource for metal detecting enthusiasts seeking to uncover historical treasures and connect with the past using the latest technology. As a stay-at-home dad and family man, I’ve found metal detecting to be the perfect hobby that combines family adventure with historical learnings for the whole family.
As a father, I’m deeply committed to passing on this hobby to the next generation of detectorists, starting with my own children. I share advice on everything from metal detecting with kids to exploring the top 10 metal detecting sites you never thought about. My methodical approach to the hobby goes beyond the thrill of discovery—it’s about creating family traditions while preserving history and sharing the stories of those who came before us.