Table of Contents
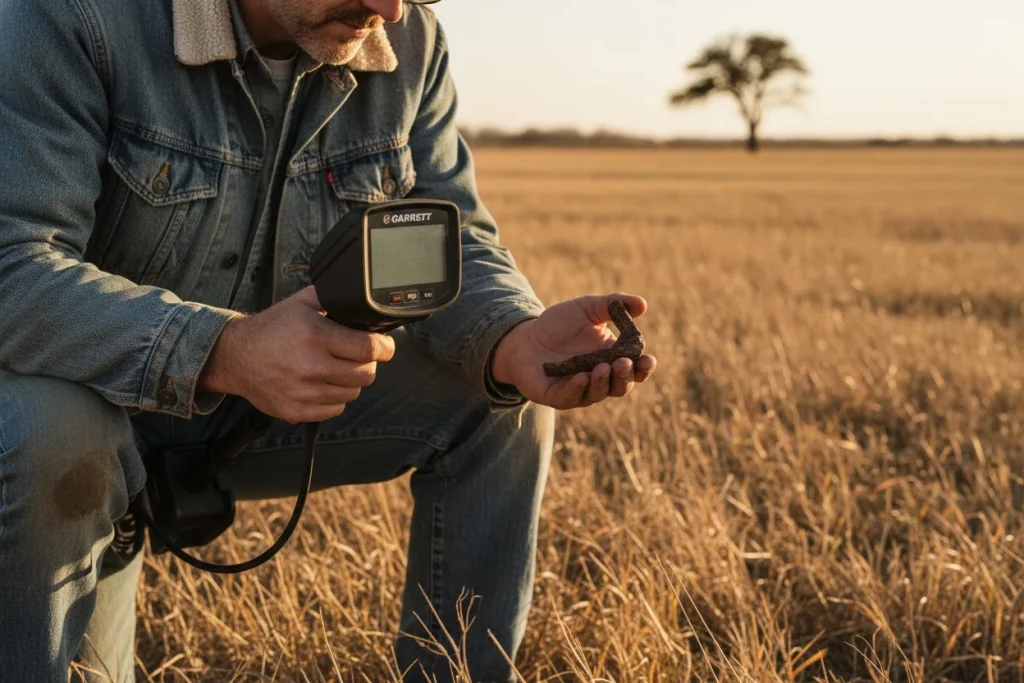
I’d dug fifty pull-tabs that morning near Auburn. The soil was perfect—loamy, easy to dig. My Minelab Equinox 900 was singing. Then I moved 200 feet east onto what looked like the same old train stop I’d found through a newspaper ad. My detector went nearly silent. Signals dropped from six inches deep to barely two. I spent the next hour chasing chatter, digging deeper, finding nothing. That patch of dirt had turned into a brick wall.
What I hit was red clay. And in that clay, iron oxides were putting out their own magnetic signals. My detector was trying to read them as targets. As one Garrett article explains, these minerals “interfere with a metal detector’s electromagnetic field by producing their own magnetic signals, which can mimic metal targets or obscure them entirely.”¹ My machine wasn’t broken. It was trying to hear through a layer of ground noise I hadn’t taught it to ignore.
Everyone who’s done this long enough has hit that wall. Perfect soil one step, dead air the next. It’s frustrating, and it’s the main reason people buy a new detector when they should be learning a setting. This guide will show you how ground balancing works in different soils, when to trust your machine’s auto features, and how to get your depth back when your detector goes quiet. That day taught me: the detector’s best feature means nothing if you haven’t taught it to ignore the ground.
¹ Ground Mineralization And Metal Detectors, Garrett (2025)
Understanding Ground Mineralization for Better Hunting

Before you touch a knob, you need to know what’s happening underground. Ground mineralization isn’t one problem—it’s two. And they behave completely differently. My wife says I collect obscure facts like some people collect stamps. But this one matters: knowing whether you’re fighting ferrous or conductive soil changes how you set your machine. Get this wrong, and you’ll chase settings all day while real targets stay hidden.
How Ferrous Mineralization Limits Your Depth
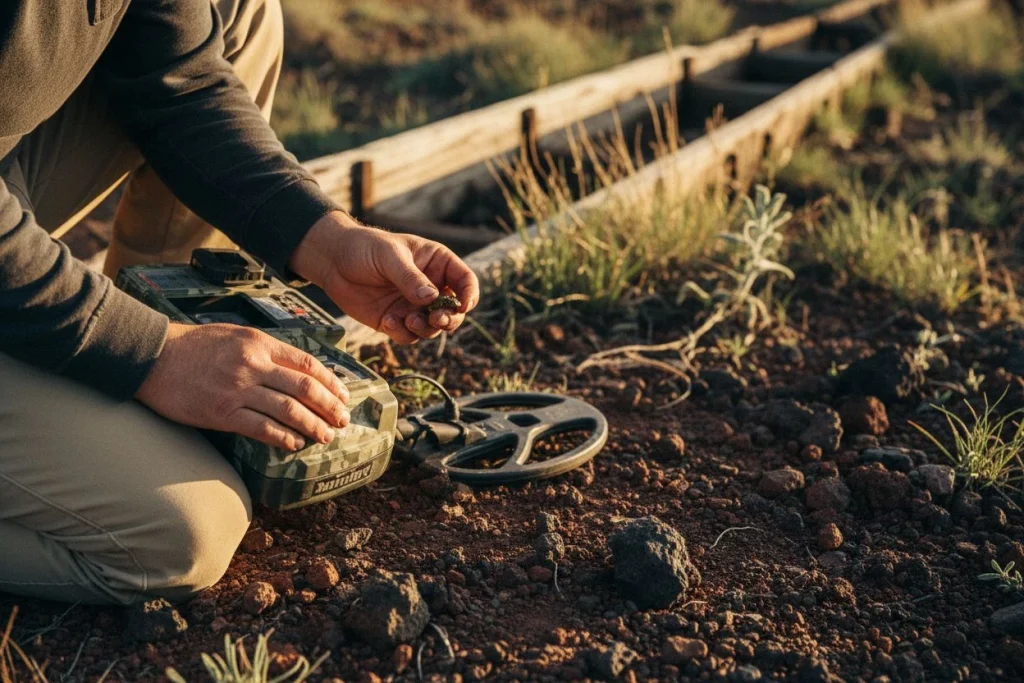
This is what wrecked my hunt near Auburn: iron oxides, magnetite, hematite. Tiny magnetic particles in red clay and black sand. As Garrett explains, these minerals “interfere with a metal detector’s electromagnetic field by producing their own magnetic signals” that can mimic metal targets or hide them entirely.¹ The result? Your detector sees the ground as one giant target. Without proper ground balance, you lose depth fast because the machine spends its power sorting out soil noise instead of actual metal.
Ferrous mineralization is everywhere—California gold country, Midwestern farm fields, even your local park after a rainy season. It’s magnetic, so it responds to the detector’s electromagnetic field in ways that confuse VLF machines. Pulse induction detectors handle it better (that’s why they dominate prospecting), but even a good PI unit needs a ground balance baseline.
Why Conductive Mineralization Wrecks Beach Hunts
Salt-based mineralization is different. You find it in wet beach sand, alkali flats, and coastal wetlands. It doesn’t produce a magnetic signal—it conducts electricity. Minelab calls it “non-ferrous mineralization,” and it creates a whole different kind of ground noise.² Wet salt sand has a conductive signature that overlaps with signals from good targets like coins and jewelry, making them nearly impossible to tell apart.
That’s why your fancy multi-frequency detector might sing on dry sand, then go haywire the moment you hit the wet tide line. The ground is literally sending back the same electrical response as a silver ring. MetalDetector.com calls this “electromagnetic masking”—the soil becomes a curtain that hides the treasure behind its own signal.³ You can’t balance out ferrous minerals the same way you handle salt. Try it, and you’ll either chase phantom targets or silence your machine entirely.
That’s why pulse induction detectors are the go-to for saltwater beaches—they ignore ground conductivity almost completely. But for the ferrous-rich dirt most of us hunt, VLF machines with solid ground balance circuits are the workhorses, provided you know which enemy you’re up against.
¹ Ground Mineralization And Metal Detectors, Garrett (2025)
² Detecting in Mineralized Soils, Minelab (2024)
³ How Do Metal Detectors Work: Ground Balancing, MetalDetector.com, Daniel Bernzweig
When Each Ground Balance Mode Fails You
Modern detectors give you three paths to ground balance: automatic, manual, and tracking. Each works great in certain conditions and falls apart in others. The trick is knowing which mode to use on which day.
Using Automatic Ground Balance Correctly
Most multi-frequency detectors handle auto balance by averaging the ground signal over a wide sweep and subtracting it from what your coil hears. This works brilliantly in moderate, consistent soil—your typical grassy park or loamy farm field. My Minelab Equinox 900 nails the balance in seconds there. I barely think about it.
But auto balance chokes when conditions shift underfoot. Walk from sandy loam into a patch of heavy red clay, and the detector doesn’t know the soil changed until it’s already lost depth. The machine is averaging an old signal while the ground throws a new one at it. Same problem at beaches: dry sand auto-balances fine, but the wet salt line changes the reading coil-length by coil-length. Auto mode can’t keep up with that kind of jump. As XP’s Merrill explains, matching the machine’s balance to the soil’s mineralization phase is “the primary requirement for achieving maximum performance”—and auto mode doesn’t always know the phase just shifted.
Manual Ground Balance Step by Step
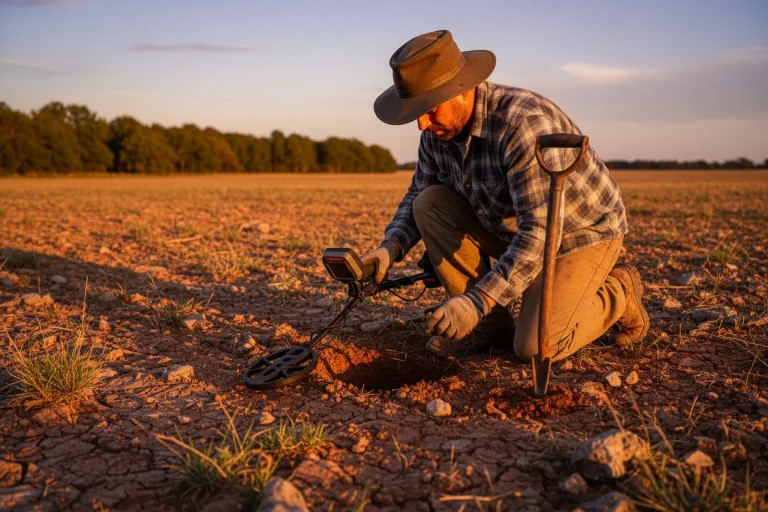
This is where I earn my keep. My buddy Tom—the race guy who specializes in old drag strips—learned manual the hard way. He was hunting a 1950s quarter-mile strip near Fresno, running auto balance, when the soil composition changed at the starting line. The strip had decomposed asphalt near the track and hard-packed clay under the spectator area. His machine went haywire, falsing on every swing. Tom spent two hours digging foil before he realized the ground had changed.
Manual balancing is simple but requires clean ground. Find a spot with no metal targets, lift your coil to chest height, then “pump” it down to an inch from the soil and back up. Adjust the balance setting until you hear no change in the audio threshold throughout the pump. LuckyFind’s guide nails it: you’re teaching the detector to “subtract” the soil noise until the signal stays steady. I re-balance every 30 minutes when soil changes are likely, which aligns with MWF’s recommendation for mineralized territory. Tom now uses manual as his default on strip hunts. He says it saved his Saturdays.

Ground Tracking Pros and Cons
Tracking mode keeps adjusting balance continuously as you walk. It’s the hands-free solution for gradual soil changes—like crossing a field where the clay content increases slowly over distance. XP’s guide points out that tracking works when the Ground ID numbers drift gradually; it locks onto the trend and follows it.
But tracking can mess you up if you’re not careful. Swing over a deep iron target and tracking may interpret that signal as a soil change, pulling your balance off. It also struggles with abrupt transitions—the edge of a damp creek bed, a calcium patch, a hot-rock concentration. For those spots, I lock in a manual grab and check it every thirty paces. Tracking is a co-pilot, not an autopilot.
What to Do When Every Spot Is Mineralized

The answer in a nutshell: When you can’t find a clean patch of ground to ground balance, you have three practical workarounds: clear a small area manually, use a known background target as a benchmark, or run a tracking-based grid pattern and lock it. Each one has saved a hunt for me.
Every guide tells you to “pump the coil over a clean spot until the threshold goes silent.” Sounds great—until you’re standing on a 1950s park carpeted with foil and pull-tabs. I’ve been there. My buddy Mike calls it “lucky” when I pull silver from trashy ground, but the secret is knowing how to balance when there’s no clean square inch to be found.
Here are three protocols I’ve used when the ground is anything but a lab bench.
Protocol 1: The “Cleared Zone” Pump
Scrape a 12-inch circle down to bare dirt and remove any visible metal with a scoop or your pinpointer. Pump the coil over that spot repeatedly, as MWF recommends, until the audio threshold goes silent. If your machine still warbles, you’ve got deep mineral noise you can’t fix by moving—time to shift to manual balance. LuckyFind calls manual balance the “single most significant improvement” you can make in challenging soil, and this is exactly why.
Protocol 2: The “Iron Blanket” Benchmark
Find a deep iron target (say, a rusty nail at 8+ inches) that gives a consistent low grunt. Lock onto that sound and pump your coil over the target, adjusting your ground balance until the iron tone remains stable. You’re effectively using the mineralized soil around the iron as your reference. It’s not perfect, but it’s faster than digging test holes all over.
Protocol 3: The Tracking Grid & Lock
Turn on ground tracking, walk a tight 20×20 foot grid, then switch tracking off and manually lock the balance. This averages the mineral signal across the area and gives you a stable baseline. I learned this trick from a detecting club member who hunts old fairgrounds—places so trashy you’d never find a clean spot. It works surprisingly well as long as you don’t cross a major soil boundary.
None of these are as clean as a textbook pump, but they get you hunting. And honestly, the best practice for mastering manual balance in messy sites is to bring home a handful of soil from your most hated location and practice on it with your coil off the ground at home. That’s a Thursday night activity in my house—right after story time with the kids.
When to Deliberately Misbalance Your Detector
Ground balance offset is the deliberate mismatch—a few degrees positive or negative—that shifts your detector’s sensitivity toward certain metal groups. Used intentionally, it turns a hidden trade-off into a tool for specific targets like iron relics or small gold.
I found my first seated Liberty dime because I was too lazy to reset my ground balance after a gold prospecting trip. I’d spent the weekend hunting tiny nuggets in the Sierra Nevada foothills, running a +2 offset to favor the low conductors. Back home in Sacramento, I hit a patch of red clay near an old fairground and—without thinking—kept swinging. The dime rang up at a solid 23 on the Equinox, a nickel-ish tone that reads like a mid-conductor. Normally I’d have ignored it as a pull-tab. But my detector, still biased positive, gave it a louder, sharper edge. At seven inches, that worn 1890 Liberty dime was unmistakable. Sometimes being lazy teaches you something.
Offset basics: A positive offset (e.g., +1 or +2) tells the machine to respond more aggressively to ferrous-style ground noise, which makes it see iron relics and small gold nuggets with extra emphasis. A negative offset does the opposite—it suppresses that background ferrous signal, letting non-ferrous targets like silver coins, copper pennies, and brass buttons punch through more clearly. Think of it as tilting the playing field toward one end of the conductivity spectrum.
But every tilt costs you. As XP’s Merrill explains, matching the detector’s balance to the soil’s mineralization phase is “the primary requirement for achieving maximum performance.” Offset deliberately mismatches that phase. Go positive by three points and you’ll gain depth on gold and iron, but your silver coin depth drops by maybe an inch. Go negative and you lose those tiny gold flakes under ferrous mask. It’s a conscious trade, not a free lunch.
When should you offset? Positive: gold prospecting, hunting old blacksmith shops, relic sites full of iron trash. Negative: coin shooting in mild soil, beach hunting for jewelry, any site where silver is the prize. Always test the difference on a known target first—I bury a test coin and a nail at six inches, then flip the offset to hear what each setting gives up. And once you commit, remember to switch back. My buddy Mike calls it “lucky” when I pull silver with a positive offset, but secrets like this just take a little deliberate wrongness.
Best Ground Balance Settings for Each Soil Type
The table below is a quick-reference guide I keep saved on my phone (and once laminated and duct-taped to my detector shaft, until my buddy Tom made fun of me). It distills the five most common soil types you’ll encounter, with specific dial-in settings. The visual clues come straight from Garrett’s mineralization guide—look for soil color and texture changes as your first warning.

| Soil Type | Mineralization | Recommended Balance | Frequency Tip | Common Locations |
|---|---|---|---|---|
| Red Clay / Iron-Rich Dirt | Heavy ferrous (magnetic iron oxides) | Manual, 80–90 on most VLF machines | Drop to 4–8 kHz; lower frequencies punch through iron better | Farmland, riverbanks, Southern/Piedmont regions |
| Black Sand (Beach & Streambed) | Extreme ferrous (magnetite) | Tracking mode preferred; manual at 85–95 if tracking unstable | Use 4 kHz minimum; PI detector preferred if available | Ocean beaches after storms, gold-bearing creeks, volcanic soils |
| Wet Salt Sand | Conductive (salt ions) | Negative offset (-1 to -3) or dedicated Beach mode | Single frequency at 10–14 kHz; avoid multi-frequency in wet salt | Tide lines, coastal beaches, salt flats |
| Dry/Mild Dirt | Low to moderate | Auto or fixed at 0–10 | Multi-frequency or any mid-range (10–15 kHz) | Grass parks, schoolyards, dry fields |
| Farmland / “Hot Rock” Gravel | Variable ferrous with hot rocks | Tracking mode; re-balance every 30 minutes per MWF’s advice | 8–12 kHz; larger coil covers variability faster | Plowed fields, old gravel drives, desert washes |
Quick Field Note: Minelab’s engineers point out something I learned the hard way—elevation changes of just 50 feet can shift soil composition enough to throw your balance off. I’ve pulled my Equinox out of tracking after climbing a small ridge and watched the Ground ID jump fifteen points. So use this table as a starting dial-in, then fine-tune using the techniques from earlier sections. The cheat sheet gets you close; the pump gets you exact.
Worth mentioning: if you’re hunting salt beaches, I’ve written more about wet-sand tactics in my Proven Beach Hunting Strategies guide. And if you’re chasing gold in hot-rock country, check out my Gold Detector’s Coin Shooting Revelation—sometimes the same settings that find nuggets will surprise you with old coins in unlikely places.
Why Confusing Ground Balance and Sensitivity Costs Depth
Here’s the simplest way to think about it: ground balance tells your detector to ignore the dirt itself, while sensitivity controls how loudly the machine listens for everything that isn’t dirt. Confuse the two, and you’ll spend months digging garbage or missing targets you should have found. I made this mistake for my first six months. Thought I was being clever cranking sensitivity to 10 everywhere. Turned out I was just amplifying my own worst enemy.
The confusion is understandable, because both settings affect how noisy your audio sounds. But they solve completely different problems:
- Ground balance subtracts the soil’s background signal. Bad balance means your detector treats the ground itself as a target. Every swing produces chatter, and real targets get lost in that noise.
- Sensitivity controls how much gain the detector applies to everything it hears—including that background noise if your balance is off.
Here’s where beginners go wrong: they hit mineralized ground, the machine starts chattering, and their first instinct is to crank sensitivity to 10 “so I don’t miss anything.” In reality, they’ve just turned up the volume on static. As Minelab’s engineers explain, when your detector remains unstable, reducing sensitivity—rather than running it at maximum—often yields better performance by maintaining a stable operating threshold. A stable machine at sensitivity 8 will find deeper targets than a chattering machine at 10.
My rule of thumb after years of learning this the hard way: set sensitivity to 7–8, correctly ground balance until the threshold goes quiet, then slowly increase sensitivity until you hear a faint hum returning. Back it off one notch. That’s your sweet spot. The MWF experts confirm this—operator skill overrides technology every time, and knowing when to dial back sensitivity is part of that skill. Running max sensitivity on a poorly balanced machine is like turning up the volume on static. You hear more noise, not more targets.
The practical takeaway? Finding the Best Frequency for Coin Detecting starts with the assumption you’re not fighting your own settings. Ground balance first. Sensitivity second. Getting that order wrong costs you six inches of depth and sixty pull-tabs per hunt. Get it right, and suddenly that old fairground you’ve hit twenty times has deeper signals you’ve been walking over for years.
Mastering Ground Balance Beats Buying a New Coil
I’ve dropped hundreds on bigger coils, fancier machines, and all the accessories that promise instant depth. But the single greatest upgrade I ever made to my detecting cost exactly nothing: learning to ground balance manually. That skill has saved more hunts than any piece of hardware I own.
I’ll never forget returning to that Auburn site where I’d first gotten skunked. The ground there is tricky — red clay pockets mixed with decent dirt, constantly shifting under your coil. First time, I’d trusted the auto balance and walked over a 1919 wheatie lying six inches deep without a peep. The machine read it as dead ground. Second time, I spent ten minutes pumping that coil over a clean patch until the threshold went smooth. Then I swung over the same spot and got a clean, repeatable signal at six inches. Same detector. Same coil. Different skill.
That’s the thing nobody tells you when you’re buying your first machine: the most expensive coil in the world can’t fix bad ground balance. But a free afternoon of practice can.
So here’s your challenge: find a patch of mineralized ground in your backyard. Pump that coil until the threshold smooths out. Then go dig something your detector was hiding from you. And once you’ve mastered that, the next step isn’t gear — it’s knowing where to swing in the first place. Your Ultimate Metal Detecting Weapon Is Researching Metal Detecting Sites in a Library.

My name is Paul and I am the founder of Detector For Metal, a dedicated resource for metal detecting enthusiasts seeking to uncover historical treasures and connect with the past using the latest technology. As a stay-at-home dad and family man, I’ve found metal detecting to be the perfect hobby that combines family adventure with historical learnings for the whole family.
As a father, I’m deeply committed to passing on this hobby to the next generation of detectorists, starting with my own children. I share advice on everything from metal detecting with kids to exploring the top 10 metal detecting sites you never thought about. My methodical approach to the hobby goes beyond the thrill of discovery—it’s about creating family traditions while preserving history and sharing the stories of those who came before us.