Table of Contents
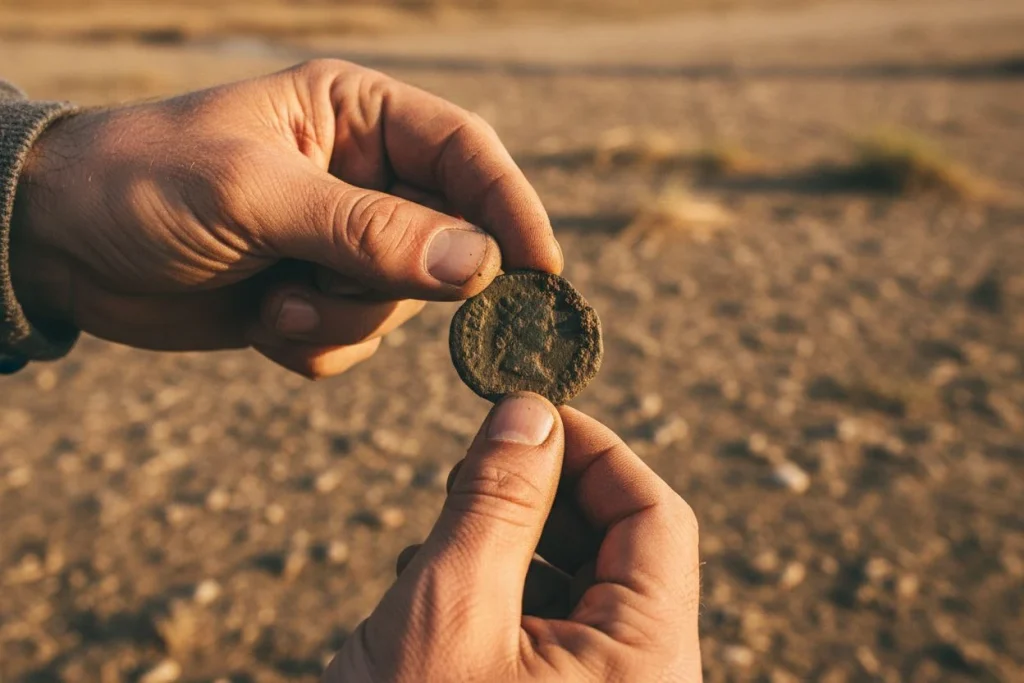
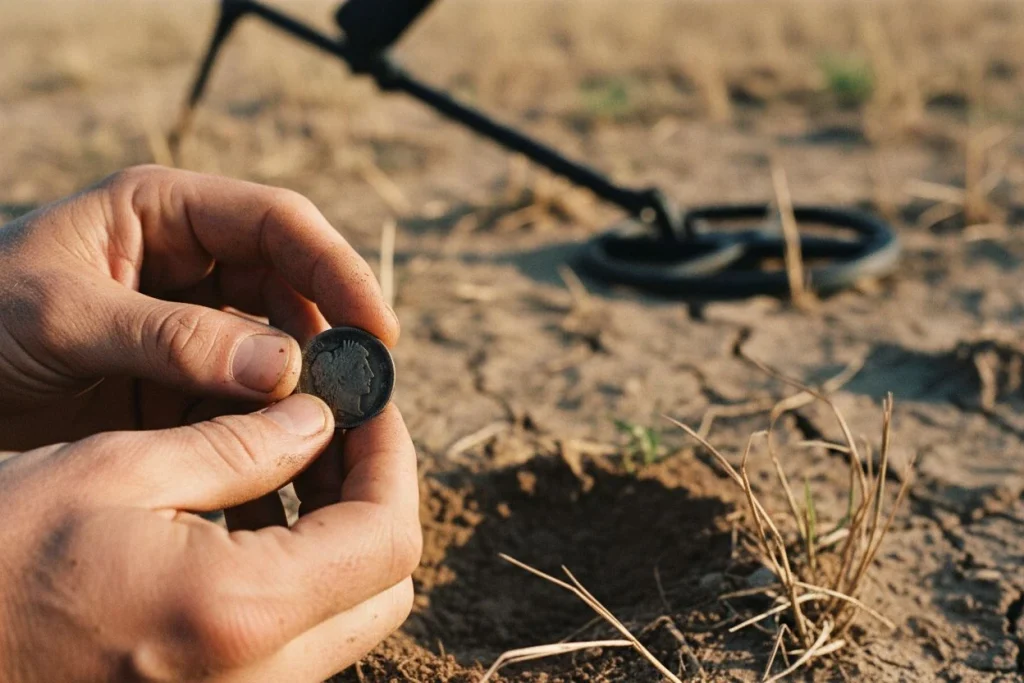
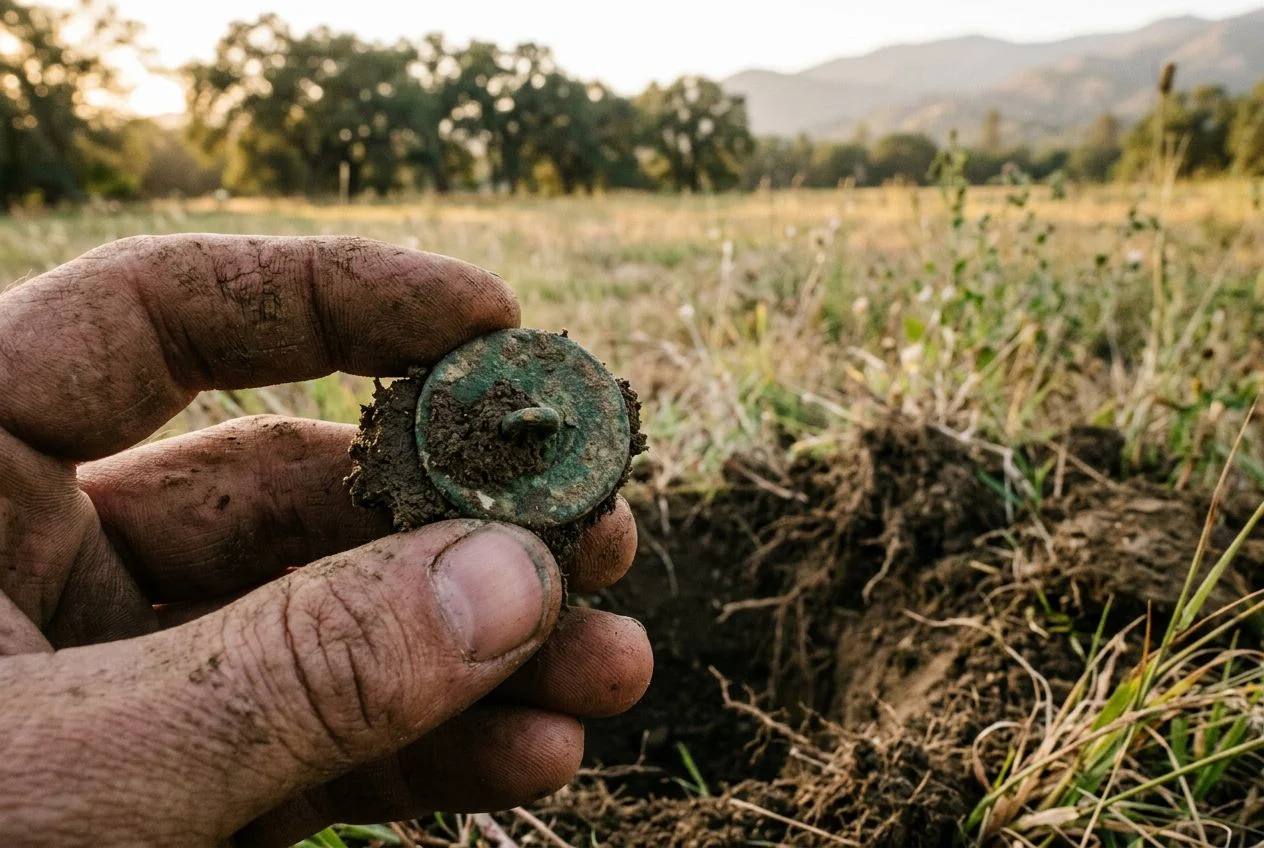
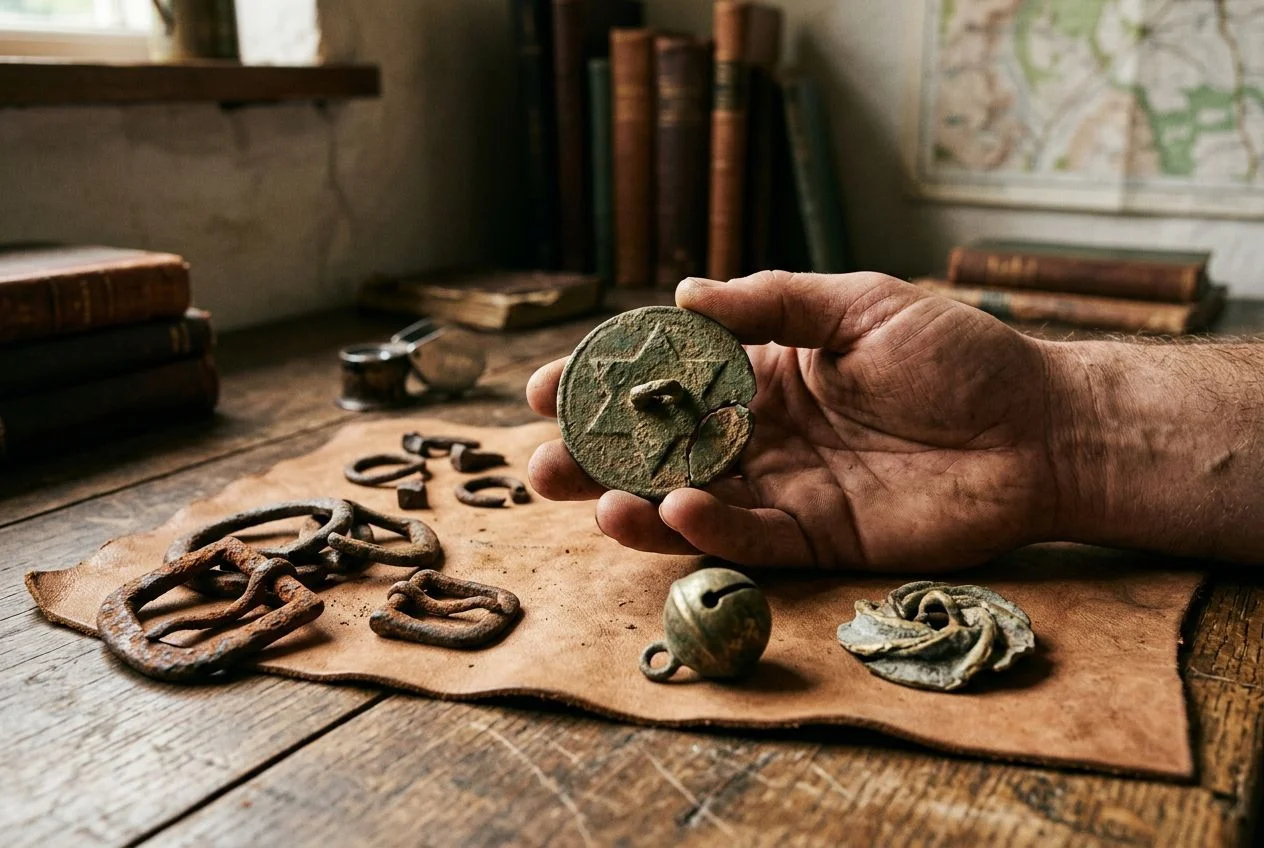
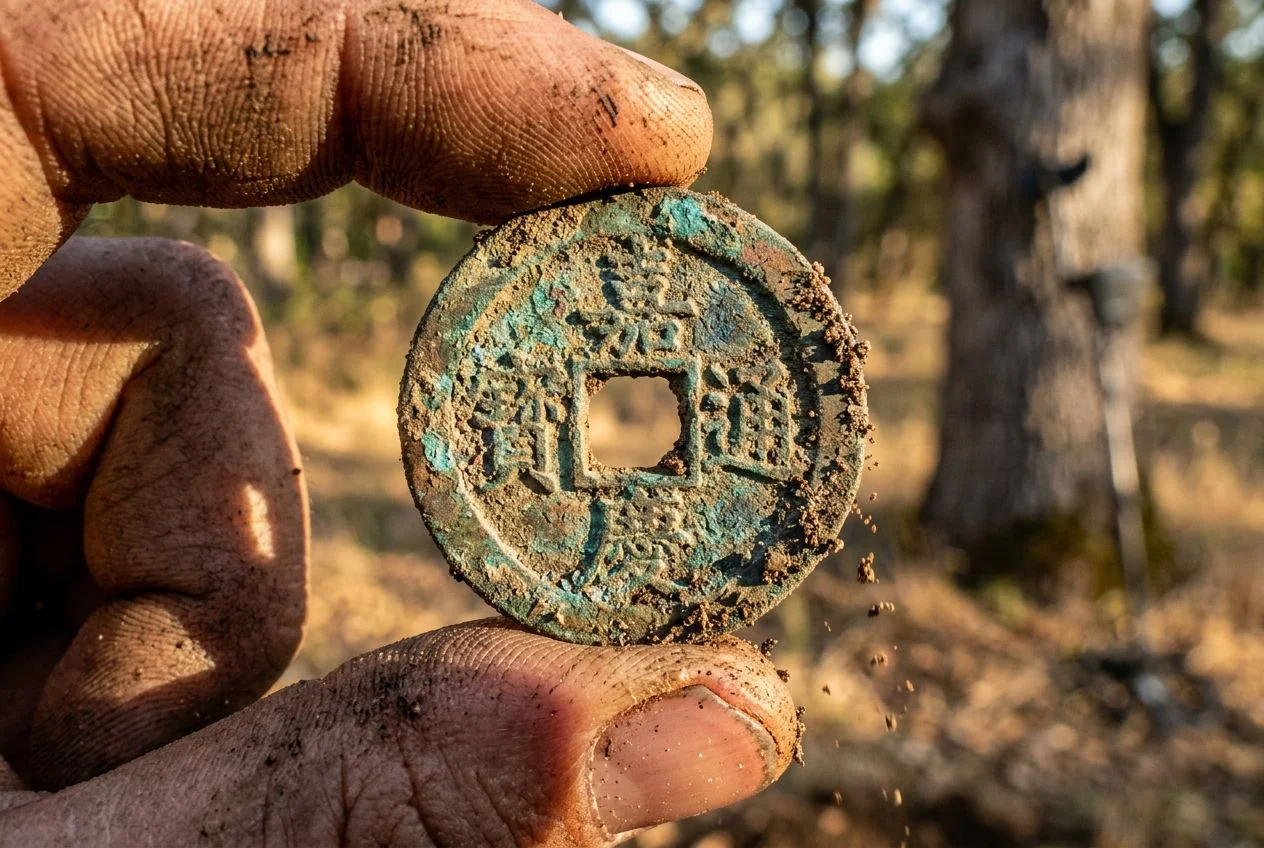
You just pulled a small brass disc out of the ground. Your mind races: is this a colonial coin? A button? Part of an old farming tool? Or just a rusted washer someone dropped three years ago? I’ve been there — standing in a muddy field outside Auburn, turning over a thin brass disc while my detecting buddy Tom squinted at it and said, “Button, I think. Or maybe a boot‑mounted something. Hard to tell.”
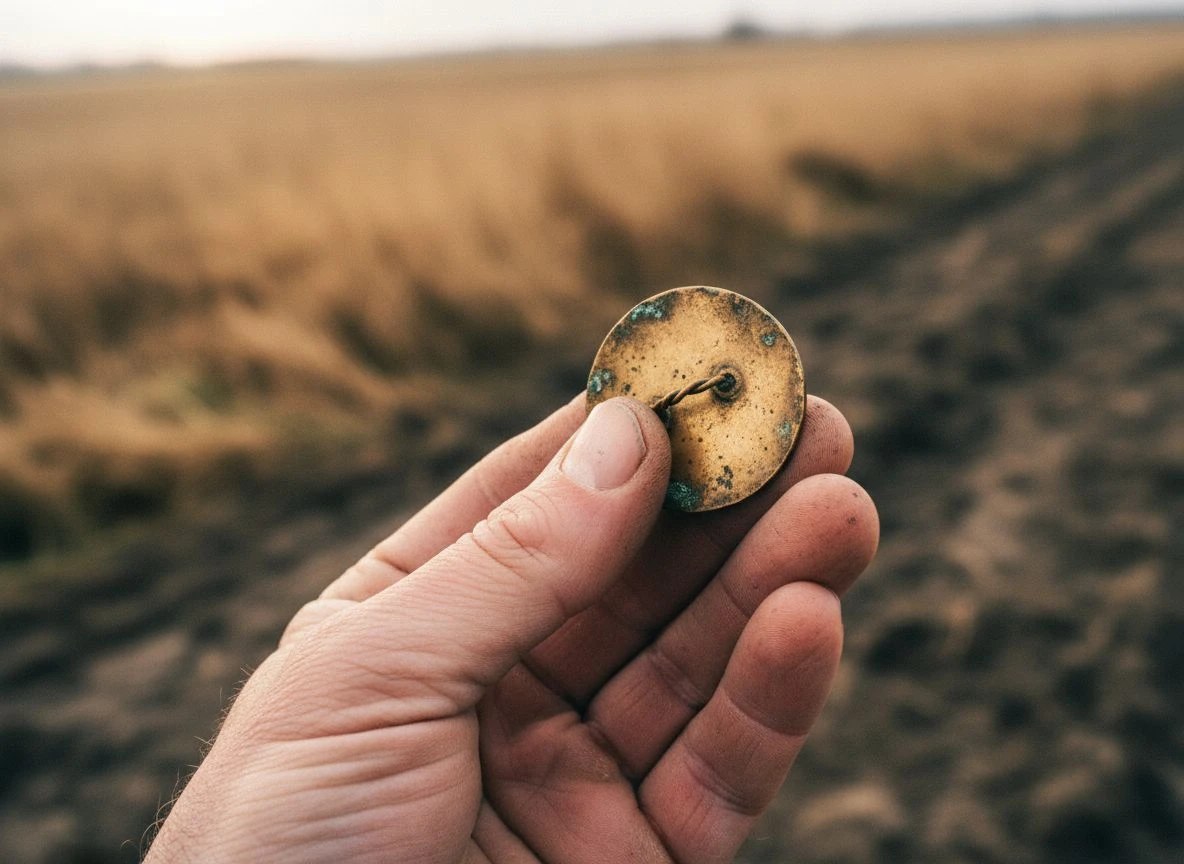
That disc turned out to be an early 19th‑century flat button with a wire shank. But I spent the next hour guessing instead of dating it. If you’ve ever dug a button, thimble, or buckle and wondered how old it really is, you’re not alone. These are some of the most common finds for detectorists — especially around old homesteads and trash pits. Yet most of us have no clue how to read the clues they carry.
My early attempts involved holding things up to the light and squinting — not exactly scientific.
By the end of this article, you’ll have a simple system for dating these household artifacts without an archaeology degree. We’ll cover buttons (that shank tells a story), thimbles (check the hallmarks), buckles (the chape is key), and I’ll throw in a quick decision tree that will save you hours of fruitless web searches next time you pop a mystery disc out of the dirt.
Why Buttons Thimbles and Buckles Date Your Site
Some of my most exciting finds have been the smallest — and the most overlooked by other detectorists. I still remember my first thimble. It was a rainy Saturday at an old homestead site near Folsom. I pulled a tiny brass dome out of a collapsed trash pit. I nearly tossed it in my junk pouch — just some old sewing tool, right? Then I cleaned it under a faucet and spotted the faintest stamp: “Occupied Japan.” That mark, which dates precisely to 1945–1952, didn’t just date the thimble — it dated the entire site. Suddenly the other finds made sense: the 1940s wheat pennies, the Bakelite button, the corroded zipper pull. One tiny hallmark gave me the whole timeline.
That’s the power of these household artifacts. Buttons, thimbles, and buckles are the most common finds around old homes and trash pits. And they’re surprisingly precise dating tools when you know what to look for.
What makes them so useful is that they were affected simultaneously by the Industrial Revolution. Before the 19th century, each was handmade — buttons cast with wire shanks, thimbles hammered from sheet metal, buckles filed and assembled by hand. Then came machine stamping, and everything changed. The DAACS cataloging manual (Source 1) breaks manufacturing into distinct categories — cast versus stamped, hand-drawn versus lathe-turned — and each category maps to a specific time window. A stamped brass button with an omega shank is 1800–1850. A machine-knurled thimble is post-1830. A chape with a central pin? Likely early 19th century.
Source 6 (“A Notion to Collect”) calls these items “notions” — small sewing accessories that were prized personal possessions, often passed down through generations. Finding them together in a trash pit or under an old floorboard is like reading the household’s inventory. They’re tell-tale evidence that can anchor your entire site’s chronology.
Once you learn to read them, these three artifacts become your best friends in the field. Let’s start with buttons — the most common and the most datable.
How Does the Button Shank Reveal Its Age
The quickest way to date a button you’ve dug is to flip it over and look at the shank — the loop on the back that held it to the garment. That single feature tells you more about the button’s age than any other clue. A wire shank (a simple loop of wire) points to the 18th century. An omega shank (a wire shaped like the Greek letter Ω) dates to 1800–1850. A box shank (a rectangular metal housing) is mid-19th-century military, often Civil War–era. Most antique buttons sell for under $50, but their real value is in what they reveal about your site’s history.
I have a jar on my workbench filled with shank-less buttons — broken loops I could never identify. Every time I find one, I kick myself for not paying closer attention before it snapped. So before you toss that button in your junk box, flip it over and look at the shank. Here’s what to look for.
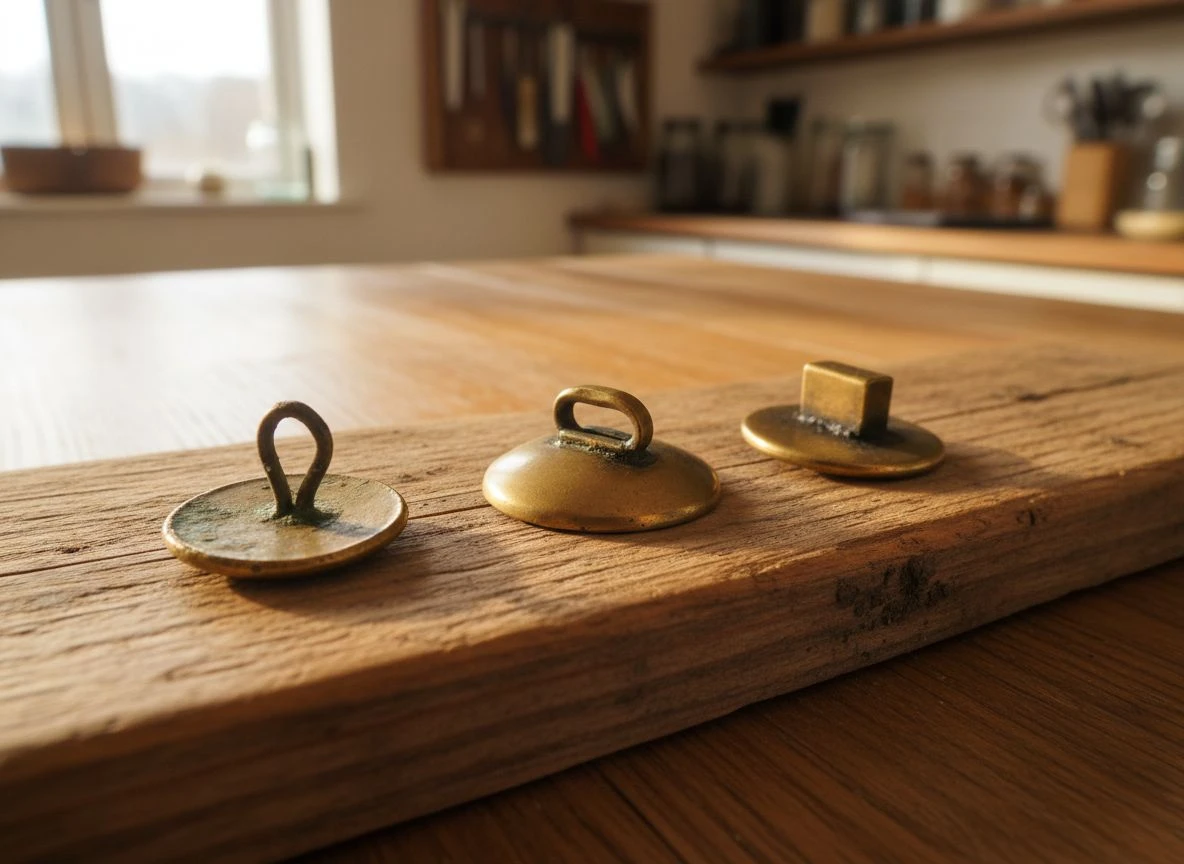
Wire shanks are the oldest — a simple wire loop inserted through the button back during casting. They’re common on 18th-century domestic sites and early military buttons. If the shank looks hand-formed and slightly irregular, you’re likely holding a pre-1800 piece.
Omega shanks arrived with the 19th century. These are wire loops soldered to the back in a flattened omega shape. They appear on everything from 1800–1850 civilian buttons to early uniform buttons. The soldering — often visible as a small blob — is your giveaway.
Box shanks are rectangular, stamped-metal housings, usually on mid-19th-century military buttons (Civil War era and later). They’re more robust and often found on large coat buttons.
Shank style alone can pinpoint a button to within a few decades. But there’s more. Roderick Sprague (2002) defined the “Prosser molded” button — a ceramic or porcelain button made by compressing clay in a mold, typically after 1840. Those buttons have a uniform, machine-made look. Before 1840, most buttons were stamped or cast by hand. Source 3 notes that the absence of mold lines indicates a handmade button, often pre-1750. Figural buttons — those with raised designs of people, animals, or scenes — are especially collectible, but still rarely top $50 unless extremely rare.
Think of button dating like dating a worn-out coin — you learn to read the subtle manufacturing clues. The shank is your date button. Start there, and you’ll stop tossing the best part of your find.
Hallmarks and Holes Date Your Thimble Find
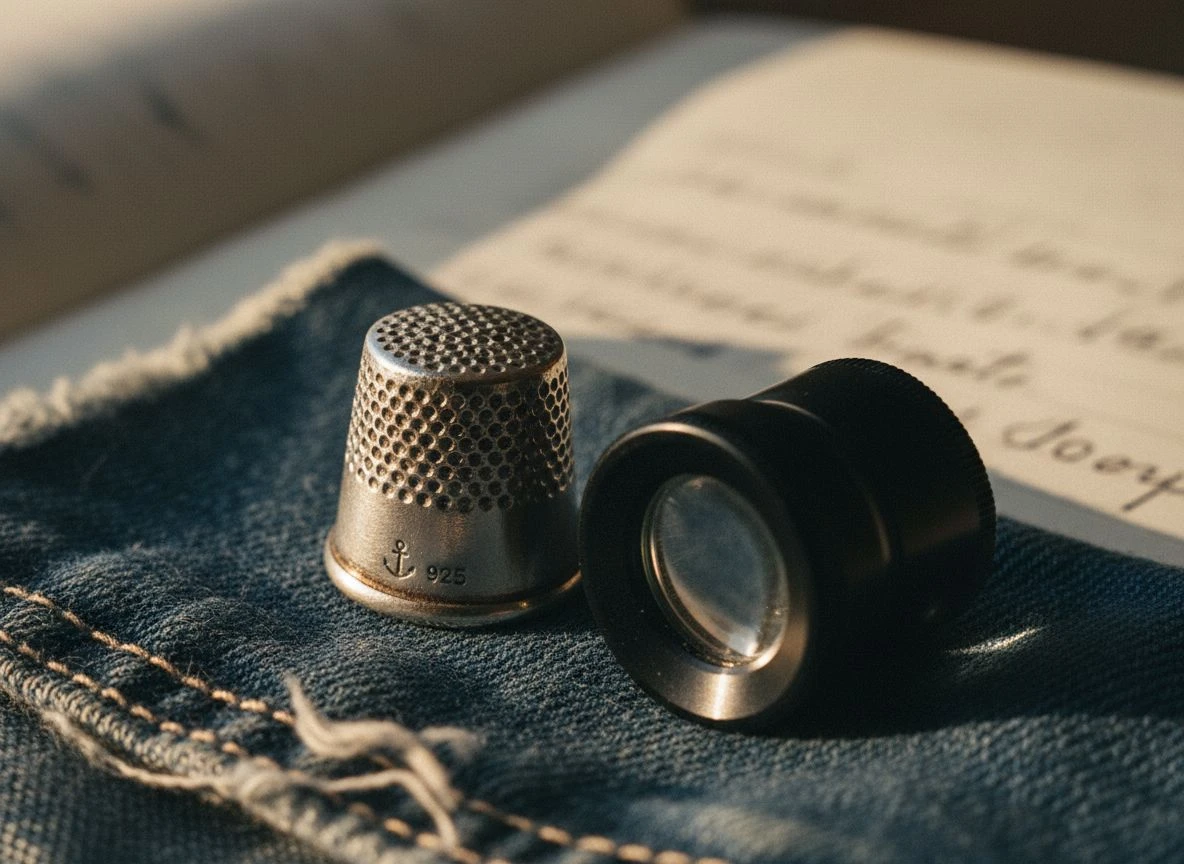
Thimbles can be precisely dated by reading their hallmarks, material, and knurling patterns. A jeweler’s loupe is your best friend for the job. One tiny stamp can pinpoint a thimble’s age to within a decade or two, which often dates the entire site around it.
I’ll never forget the afternoon I pulled a silver thimble from a cellar hole in the Sierra foothills. It was caked in dark patina, barely recognizable. After a gentle cleaning, I spotted something small near the rim. Out came my jeweler’s loupe — an investment I’d made after my first “Occupied Japan” find — and there it was: “925” and a tiny anchor. The anchor is the Birmingham assay office mark, which has been in use since 1773. That thimble wasn’t just silver; it was British silver, likely from the mid-to-late 19th century. I spent that evening cross-referencing it through Thimble Collectors International (TCI) records, confirming it was a Victorian-era sewing thimble, probably imported through San Francisco.
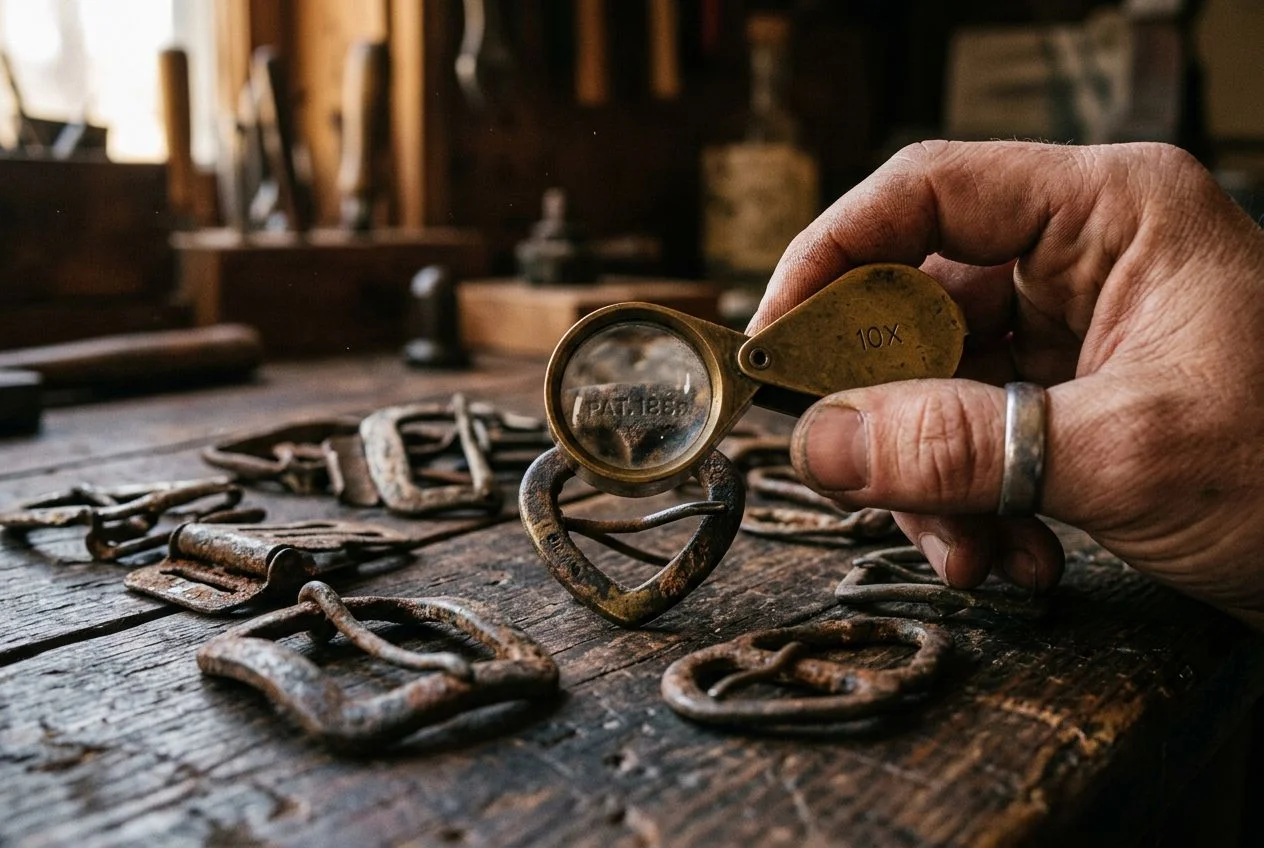
Start with the hallmarks. Sterling silver thimbles will almost always carry “925,” “STERLING,” or a standard mark. City marks like Birmingham’s anchor, Sheffield’s crown, or London’s leopard’s head are your next clue. Country-of-origin stamps are even better: “Made in Occupied Japan” dates precisely to 1945–1952. I keep a magnifying glass in my finds pouch for exactly this reason — those stamps are often microscopic.
Material matters. Silver thimbles are common finds, but you’ll also dig brass, copper, bone, and even early plastic. A Bakelite thimble? Post-1907. Celluloid? Post-1869. Bone or ivory could be any century, but look for lathe marks — machine-turned lines indicating post-1830 manufacture.
Don’t ignore the knurling. The dimpled pattern on a thimble’s crown tells a story. Hand-punched knurling (irregular, slightly off-center dots) suggests pre-industrial craft. Machine-punched or rolled knurling (perfectly uniform rows) is 19th century or later. Lathe-turned thimbles — where the entire dome has concentric machine lines — are a hallmark of Victorian production.
Here’s your quick checklist when you pull a thimble:
- Check for hallmarks — use your loupe, check the rim and interior
- Note the material — silver, brass, bone, or plastic?
- Look at the knurling — hand-punched or machine-rolled?
And a word of caution: reproductions exist. TCI’s online database is free and essential for verification. Be sure to document your thimble’s marks in your finds journal — you’ll thank yourself later when you’re piecing together a site’s timeline from those tiny stamps.
Why Buckles Are Your Best Dating Clue
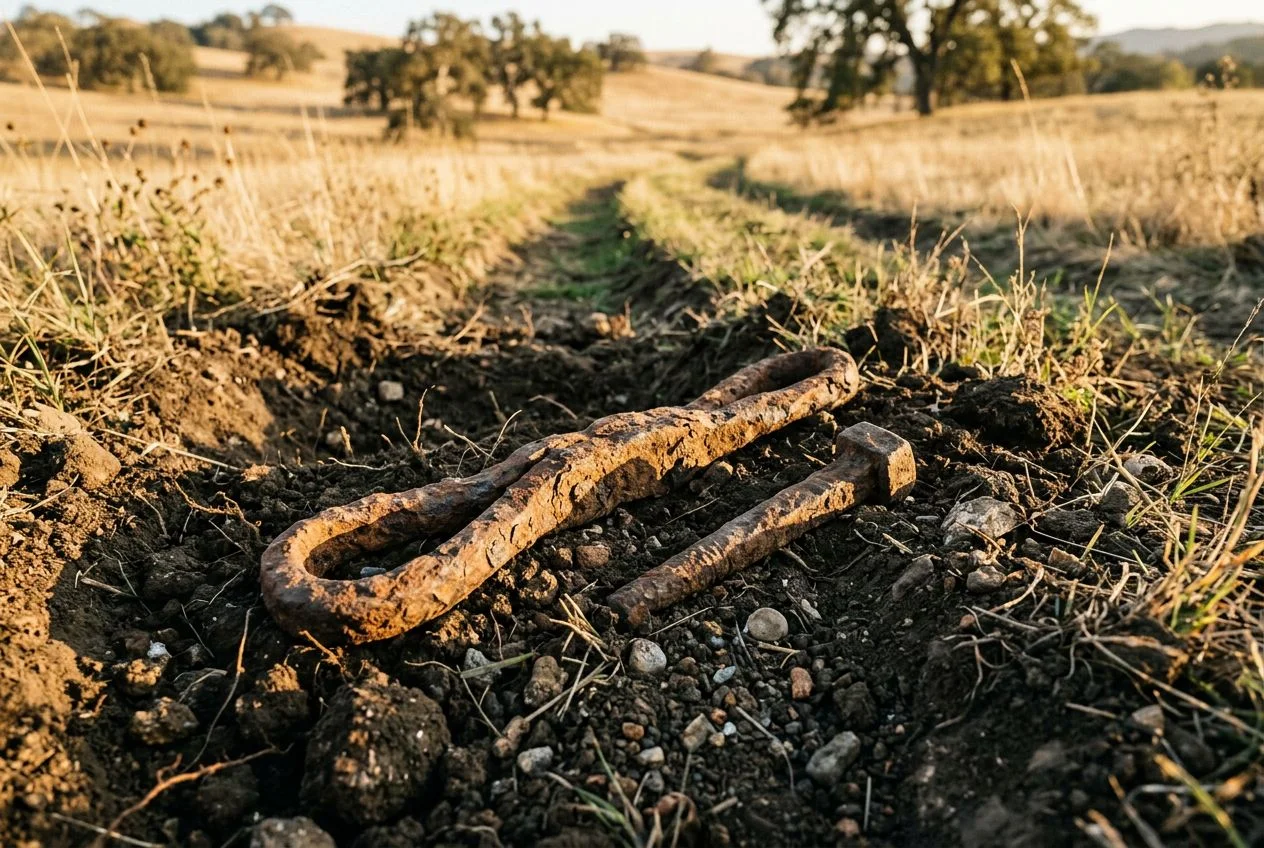
Buckles are among the most diagnostic artifacts you can dig, but they’re also the most commonly misidentified. The key is the chape — the pin, hook, and tongue configuration — not the frame shape. A tiny shoe buckle I once tossed into my junk pile turned out to be 18th-century, and I’ve never made that mistake again.
I still cringe thinking about that buckle. It was small, crusted with rust, and looked like nothing special — maybe a broken harness buckle from some long-dead mule. I dropped it in the “scrap” pouch without a second look. It sat there for weeks before I finally bothered to clean it. Under the crust was an intact chape with a slender, hand-filed iron pin and a hooked tongue. That’s when I realized what I’d actually found: an early 18th-century shoe buckle, likely from the original homesteaders who passed through that spot in the 1730s. I’d held a direct link to colonial America and nearly threw it away.
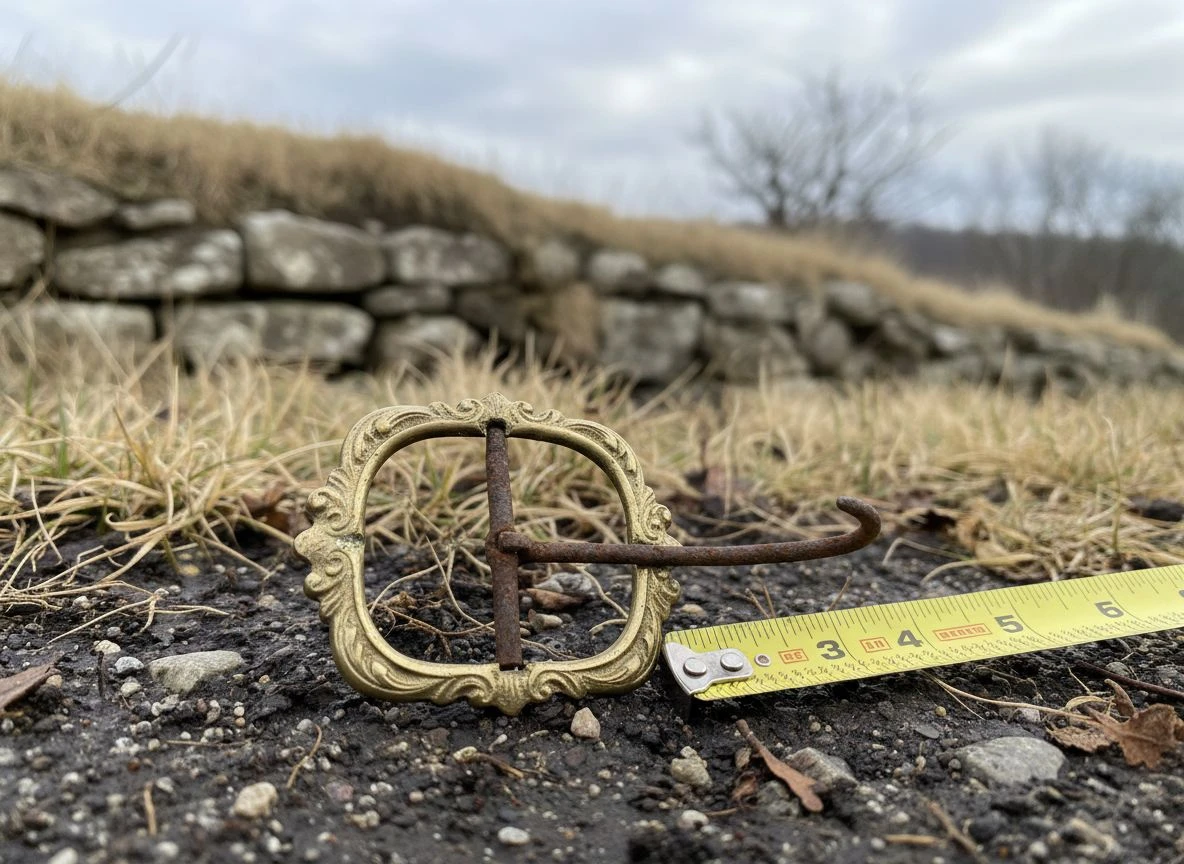
The chape form is everything. That’s the pin, hook, and tongue assembly that holds the strap. According to White (2002), still the standard reference for buckle classification, the chape is more diagnostic than the frame itself. A simple decision tree works in the field:
- Is the frame curved? → Shoe buckle. These are arched to sit on the instep, and the chape is usually attached to the frame’s center bar.
- Is it small with a single pin and no frame? → Hat buckle. Often under an inch wide, with a simple wire chape.
- Is it large with a rectangular frame and flat profile? → Belt buckle. Usually over an inch wide, with a double-pronged chape.
Military buckles throw in another wrinkle. They often feature box shanks — rectangular metal housings on the back that hold the chape assembly. I’ve pulled Civil War–era belt buckles with box shanks that were nearly identical to their early 20th-century cousins. The difference is in the frame’s thickness and decoration: earlier ones are hand-filed, later ones machine-stamped.
The easy confusion is real. A small belt buckle and a large hat buckle can look nearly identical. The DAACS manual recommends using “Unid: Clothing” for anything uncertain — solid advice I now follow religiously. They also emphasize that buckles should never be batched together; each one gets its own analysis. Measure the width, note the curvature, and examine the chape with a loupe.
Where you find the buckle matters, too. I’ve dug more buckles at old farmstead foundations than anywhere else — places I found by cross-referencing Sanborn fire insurance maps with local plat records. The site context often tells you as much as the buckle itself. A shoe buckle near a cellar hole suggests domestic occupation. A baldric buckle near an old road might mean military travel.
If you want consistent terminology, I can’t recommend the DAACS manual enough. It’ll save you from tossing 18th-century artifacts into the scrap pile — trust me on that one.
A Unified Decision Tree for Artifact Dating

Answer capsule: Instead of flipping through three separate guides, you can date buttons, thimbles, and buckles using the same three-step workflow: check the material, then the attachment hardware, then any marks. Here’s the decision tree I use in the field.
Step 1: Material
Start here — it instantly eliminates huge date ranges. Pre-1800 artifacts nearly always use hand-worked metal (brass, copper, silver) or bone/ivory. 1800–1850 sees a shift to machine-stamped brass and early composites. 1850–1900 brings molded ceramics (Prosser buttons), celluloid, and hard rubber. Post-1900 equals plastics – Bakelite after 1907, injection-molded anything later. If your find is plastic, it’s 20th century. Period.
Step 2: Shank / Chape / Knurling
This is where the real dating lives.
- Buttons (shank style): Pre-1800 – hand-forged wire shanks inserted through the back, often with a visible loop. 1800–1850 – omega shanks (a double wire loop soldered flat against the back). 1850–1900 – box shanks (rectangular housing, common on Civil War buttons) and Prosser buttons with wire shanks. Post-1900 – integral molded shanks. (Olsen’s 1963 “Dating Early Plain Buttons By Their Form” is still my go-to reference for this.)
- Thimbles (knurling pattern): Pre-1800 – hand-lathed dome knurling, irregularly spaced. 1800–1850 – machine-stamped thimbles with uniform dimples. 1850–1900 – celluloid thimbles (smooth or embossed). Post-1900 – injection-molded plastic, often with a seam.
- Buckles (chape form): Pre-1800 – forged iron chapes with hand-filed pins; the frame is often curved for shoe buckles. 1800–1850 – die-stamped chapes, simpler wire tongues. 1850–1900 – box-shank buckles for belts, often with a separate roller. Post-1900 – stamped sheet metal or plastic. (DAACS recommends checking the chape before the frame — that’s the diagnostic part.)
Step 3: Hallmarks / Marks
Once you’ve narrowed the era, look for stamps. Silver thimbles show “925” or city marks (Birmingham anchor, London leopard). Buttons might have maker names, “Extra Rich,” or “Best Quality.” Buckles rarely have marks, but military buckles often display regiment numbers. A jeweler’s loupe is essential here.
Print this page or bookmark it, because you’ll come back to it. Next time you pull an artifact from the dirt, run it through this three-step process. You might be surprised how quickly the date reveals itself. (And if you’re struggling to separate signals from trash, my guide on Unlock Your Detector’s Secret Language will sharpen your ear.)
Safe Cleaning for Buttons Thimbles and Buckles
Answer capsule: Clean household relics only enough to stabilize them and reveal diagnostic features. Over-cleaning destroys patina and removes the very evidence — tool marks, hallmark details, material texture — that lets you date them. For 90% of dug artifacts, less is more.
I remember my first real disaster with this. I’d pulled a pewter button from a creek bed near an old homestead. It was crusted with gray oxidation, and I wanted it shiny. So I grabbed a wire brush and went to work. Within thirty seconds I’d scrubbed away the patina, the shank, and every trace of whatever identifying marks might have been on the face. I was left with a smooth, featureless disk. No way to date it. No way to know if it was 18th-century or 20th-century junk. I still keep that button on my desk as a reminder.
For non-ferrous metals like brass and copper — the most common materials for buttons and buckles — use dilute dish soap and a soft toothbrush. That’s it. Gentle circular motion, rinse with distilled water, pat dry. No abrasives. No vinegar ever — it reacts chemically with brass and copper, etching the surface and destroying evidence of hand-stamped details. (I learned that one from a ruined buckle chape.)
Silver gets the same gentle wash but can handle a baking soda paste for tarnish — rub it on with your thumb, rinse immediately, never touch hallmarked areas. That tiny “925” or anchor stamp is your dating key, and scrubbing it off reduces the item to an unidentifiable lump.
Bone and shell artifacts are the most fragile. Water is actually destructive here — it seeps into the porous structure and causes cracking over time. Dry brushing only. A soft, dry toothbrush to remove loose dirt. That’s the whole protocol.
Plastic pieces are deceptively common — Bakelite, celluloid, hard rubber. Mild soap and water works for most, but skip the alcohol. Celluloid dissolves in it. I found that out the hard way with a nice Art Deco button that turned sticky under my fingers.
One more thing: reproductions sometimes come with a fake patina applied to look old. Gentle cleaning reveals the truth — modern tool marks, machine-perfect uniformity, no hand-finishing. The “lack of uniformity” test from Source 3 applies as much to cleaning as to inspection.
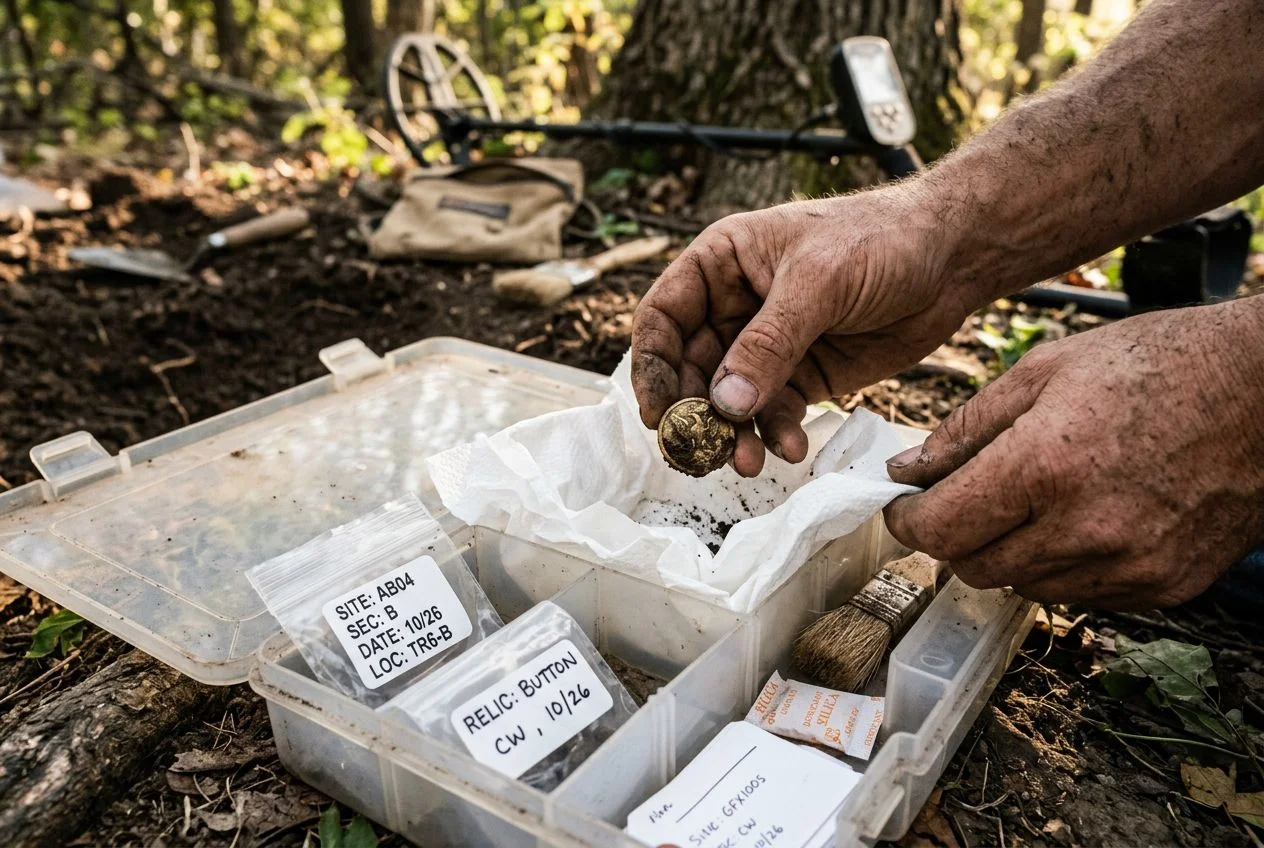
#CTA: Document your finds before cleaning — a photo in the dirt adds context. Then decide whether cleaning helps or hurts identification. Sometimes the best preservation is leaving it exactly as you found it.
Build an Artifact Reference Library Like a Pro
Answer capsule: You don’t need to memorize every hallmark and shank style. Build a personal reference library of a half-dozen key resources, and you can date most household relics in under two minutes. The trick is knowing where to look.
I keep a desktop folder called “Dug Relic ID” with bookmarks for the sites I actually use. At the top: the DAACS cataloging manuals for buttons and buckles (Sources 1, 5) — free, authoritative, and searchable. Next, Stanley Olsen’s 1963 article “Dating Early Plain Buttons By Their Form” (Source 2). Yes, it’s old, but the shank-dating breakdown has never been improved on. I also have Roderick Sprague’s 2002 work on Prosser molded buttons saved — it’s the definitive reference for those white ceramic buttons that show up on 1850s–1900s sites.
For thimbles, Thimble Collectors International (TCI) is the go-to. Their online resources and hallmark galleries are a lifesaver when you find a silver thimble with a tiny “925” or an anchor stamp. Pair that with assay office databases — Birmingham, London, Sheffield all have searchable hallmark registers online. And grab a 10x jewelry loupe. Those marks are microscopic, and I’ve wasted too many evenings squinting at a thimble with a phone camera.
Start a folder of bookmarks for these sites — they’ll save you hours of head-scratching. And I know keeping track of all these resources sounds like work, but it turns a frustrating “what is this?” moment into a genuine thrill of discovery.
Learn to Read Every Artifact’s Hidden Story
Answer capsule: Small finds like buttons, thimbles, and buckles often give you the tightest date ranges of any artifact you’ll dig. Don’t throw them in the junk box — use the three-step decision tree (shank style, material, hallmark) and you’ll turn a scrap pile into a timeline.
Next time you pull a crusty brass disc or a tiny silver thimble, remember: it’s not just a piece of trash. It’s a time capsule. The real value isn’t monetary — it’s that sentimental resonance, the connection to someone’s daily life a hundred or two hundred years ago. That’s the magic Source 6 talks about, and it’s why I keep a jar of shank-less buttons on my desk. Each one carries a story I’ll probably never know, but trying to find it is the fun part.
The best way to get better at reading these stories is to share them. Join a local detecting club or start a finds journal — documenting what you find, where, and at what depth forces you to pay attention. I’ve learned more from swapping field notes with my buddy Tom than from any book. And if you have a button, thimble, or buckle you can’t date, drop me a note. I love a good mystery.
Happy hunting, and may your next pull-tab actually be a rare button.

My name is Paul and I am the founder of Detector For Metal, a dedicated resource for metal detecting enthusiasts seeking to uncover historical treasures and connect with the past using the latest technology. As a stay-at-home dad and family man, I’ve found metal detecting to be the perfect hobby that combines family adventure with historical learnings for the whole family.
As a father, I’m deeply committed to passing on this hobby to the next generation of detectorists, starting with my own children. I share advice on everything from metal detecting with kids to exploring the top 10 metal detecting sites you never thought about. My methodical approach to the hobby goes beyond the thrill of discovery—it’s about creating family traditions while preserving history and sharing the stories of those who came before us.