Table of contents
- Do Metal Detecting Test Gardens Really Work
- What a Metal Detecting Test Garden Actually Is
- Picking the Right Spot for Your Test Garden
- Which Targets Should You Bury
- The PVC Pipe Method for Adjustable Targets
- How Do You Practice in a Test Garden
- Mistakes That Ruin Metal Detecting Test Gardens
- Advanced Test Garden Scenarios Worth Trying
Building a metal detecting test garden means burying a grid of known targets at measured depths. Some are clean. Some are paired with iron trash on purpose. That way, you hear exactly what your machine does in each scenario. It’s controlled practice, and it works faster than any amount of random park hunting.
Start by finding a clean corner of your yard. I mean clean — no roots, no utility lines, no buried fence wire from 1972. Scott Clark recommends clearing the area in all-metal mode before you dig anything. He’s right. You don’t want mystery signals contaminating your practice plot.
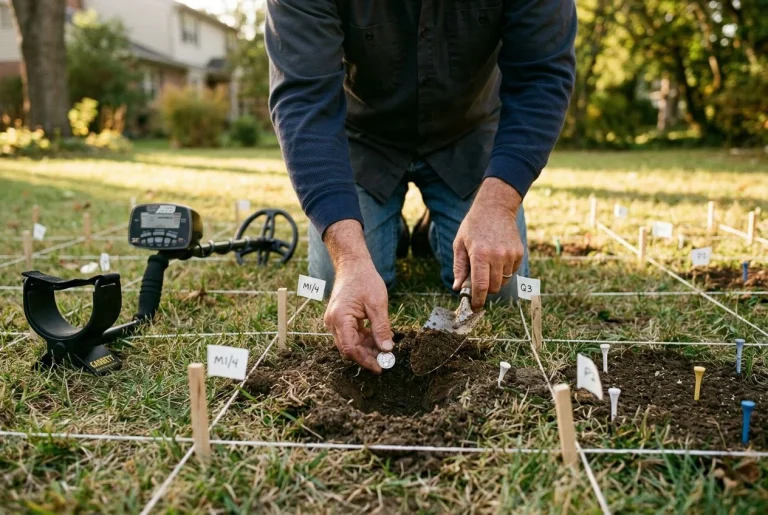
For the grid itself, bury 8 to 11 targets at depths between 4 and 8 inches. A silver dime at 8 inches. A clad quarter at 6. A nickel at 5. A zinc penny at 4. Mark everything with golf tees or small flags. And — this is the part people skip — write down what’s where. I’ve got a little notebook in the garage with a sketch of my garden. My wife thinks it looks like a treasure map drawn by a very confused pirate.
The magic happens when you add the trash targets. Bury a silver dime at 4 inches with a rusty nail exactly 2 inches above it to simulate iron masking. Throw a pull tab next to a nickel. That’s where you learn what a “maybe” signal sounds like on your Equinox 900 versus a clean coin hit.
One trick I picked up from a forum: cut a section of 2-inch PVC pipe, cap the bottom, and bury that vertically. Now you can adjust target depths without re-digging. Just pour in some dirt, drop the coin, add more. It saves your back and lets you test the same dime at 6, 8, and 10 inches in minutes.
Do Metal Detecting Test Gardens Really Work
Yes, they work — but not because they make your detector better. A metal detecting test garden works because it trains your ear to recognize how ground mineralization, target orientation, and nearby iron distort signals. In controlled conditions, you learn what a silver dime actually sounds like when it’s fighting a rusty nail for attention. That’s the skill that stops you from walking past good targets in the field.
Your detector isn’t broken. But it is misleading you. Ground mineralization, target orientation, and nearby iron all warp the signal your machine receives. A silver dime can read like a pull tab. A test garden lets you hear those distortions in controlled conditions.
Here’s the thing nobody tells you when you buy a $1,500 machine: your detector is doing its best with incomplete information. It’s not lying to be mean. It’s lying because the ground itself is a terrible messenger.
Last spring, I buried a silver dime at exactly 8 inches in my test garden. Clean hole, flat coin, packed dirt. I waited two weeks for everything to settle. Then I swung my Equinox 900 over it, fully expecting a crisp high tone and a solid target ID in the 90s.
What I got was a jumpy mid-tone that bounced between 67 and 78. Honestly? If I’d heard that in a park, I would have kept walking. Maybe muttered something about bottle caps and moved on. But I knew there was a silver dime down there. I’d put it there myself. The machine was telling me a more complicated truth than the one I wanted to hear.
That’s the point of a test garden. Not to confirm what your detector does right, but to expose what it does wrong. And to teach your brain the difference.
Ground mineralization is the biggest culprit. Depending on your soil, target ID numbers can shift by 10-20 points. That silver dime reading 78 instead of 90? That’s not a machine defect. That’s magnetite and iron particles in the dirt scrambling the signal before it ever reaches your coil. Hell, some soils are so hot I’ve watched a clad quarter read like a nickel.
Then there’s orientation. A coin lying flat gives you the best possible signal. Full surface area facing the coil. Bury that same coin on edge and everything changes. The signal gets weaker. The ID number drops. The tone turns mushy. I’ve dug coins on edge that read 15 points lower than their flat counterparts. Same coin. Same depth. Different story.
And iron? Iron is the bully of the detecting world. Place a rusty nail within 2 inches of a good target and your machine might not even register the coin at all. Or worse, it’ll blend the two signals into something that sounds like pure trash.
What a Metal Detecting Test Garden Actually Is
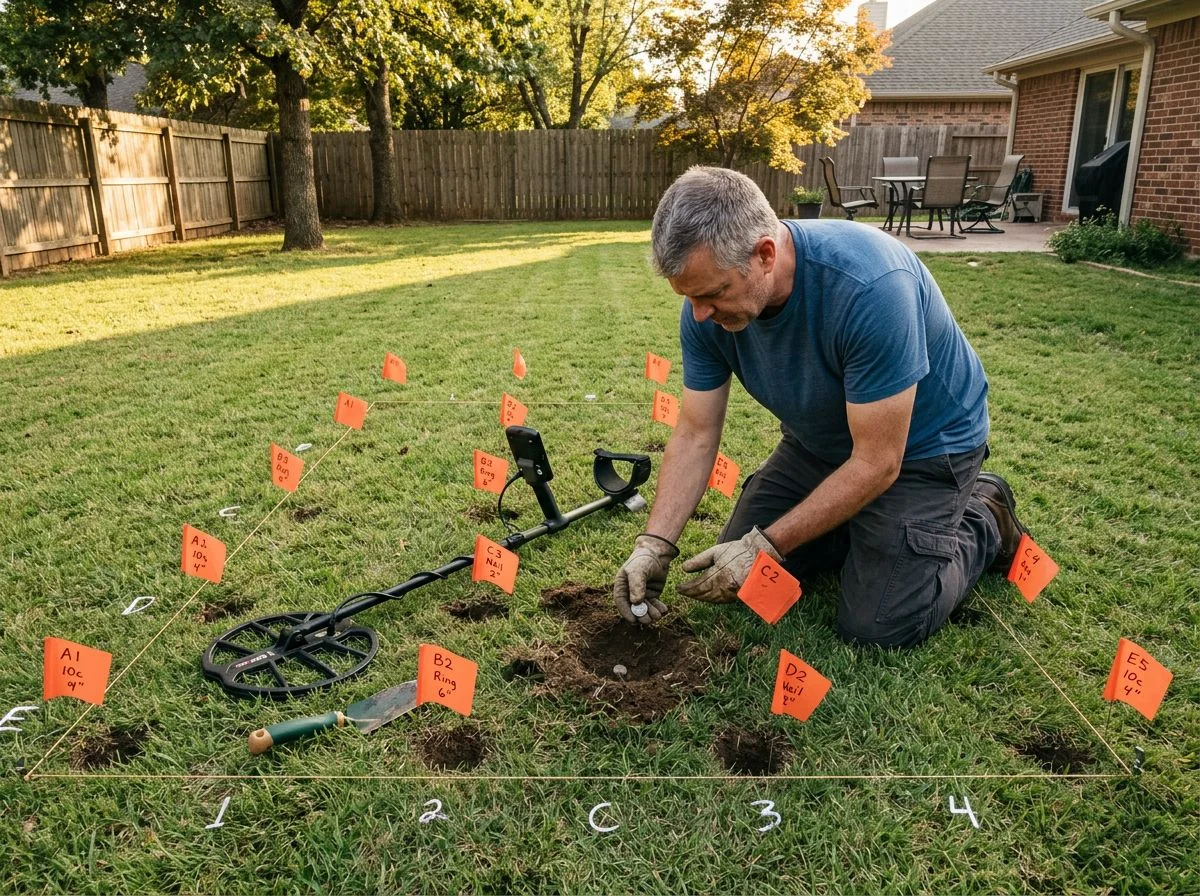
A metal detecting test garden is a deliberately mapped training plot. It holds 8 to 15 known targets buried at measured depths between 4 and 10 inches. Some are clean. Some are paired with iron trash to simulate the masking scenarios you’ll hit in real ground. It’s not a coin collection. It’s a laboratory.
Let me be blunt: if you’ve buried three coins in your yard and called it a day, you don’t have a test garden. You have a coin collection with extra steps. And that’s the problem with how most people approach this.
“Can’t I just bury a quarter and be done with it?” Sure, you can. But here’s what that teaches you: your detector beeps over a quarter sitting in loose, freshly-dug dirt. That’s it. You learn nothing about how depth shifts your target ID. Nothing about what a silver dime sounds like when it’s fighting a rusty nail for attention. Nothing about why a pull tab next to a nickel makes your machine hesitate. You’ve confirmed the obvious and learned zero about the hard stuff.
Dorian Cook, a 52-year veteran detectorist and former Garrett marketing manager, built his test garden to be more detailed than the one Garrett’s own engineers used. His whole philosophy: high-value targets need to sit right next to metal trash. That’s where the “iffy” signals live. And iffy signals are what separate detectorists who dig silver from detectorists who dig pull tabs.
That’s the real distinction. A few random coins teach you what your machine does when everything’s easy. A proper test garden teaches you what it does when everything’s not. And that’s the only scenario that matters out in the field.
Picking the Right Spot for Your Test Garden
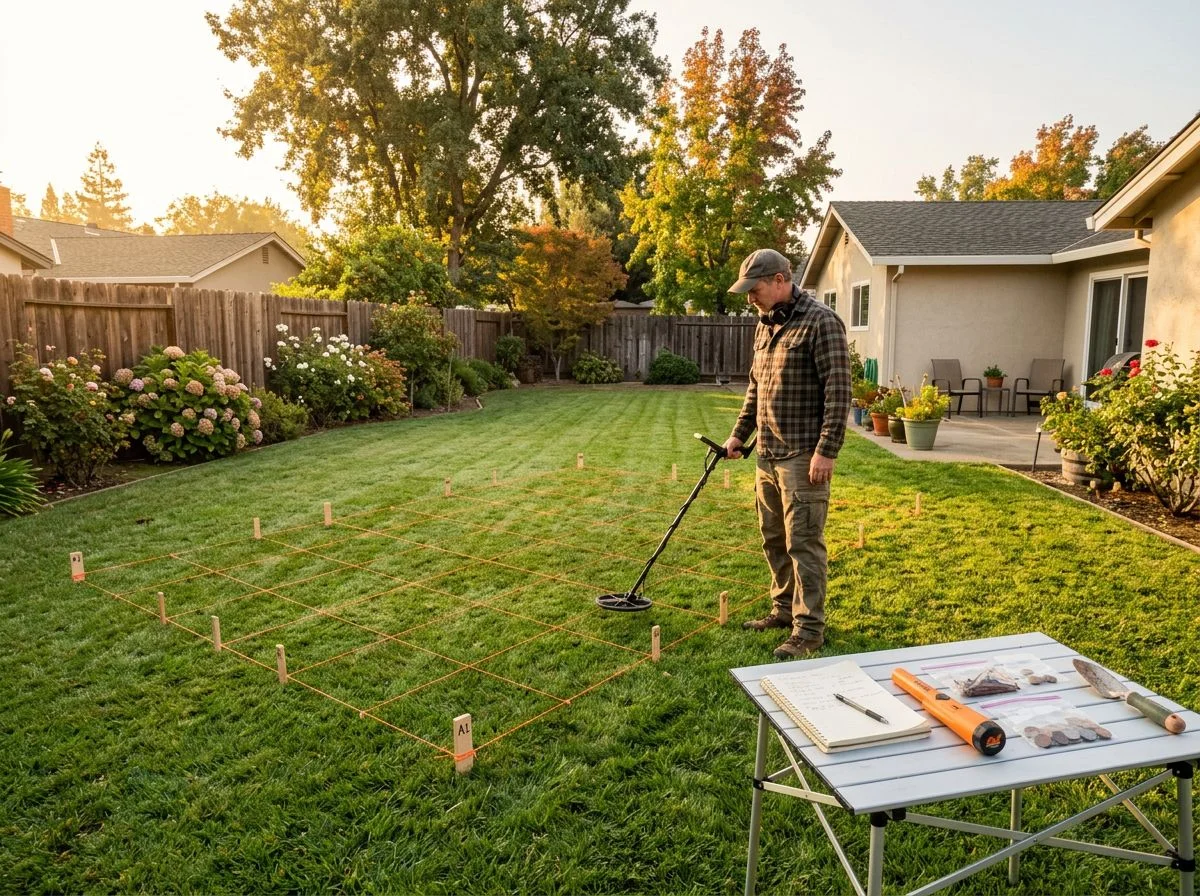
Pick a spot with soil that matches where you actually hunt. Not just the easiest corner of your yard. Your detector reads different ground completely differently. Build a test garden in clean, mild dirt, and you’re practicing signals you’ll never hear in the field.
Here’s what I mean. My buddy Tom lives 40 minutes from me, right along the American River. His soil is loose, sandy river-bottom. The kind of dirt that practically digs itself. My yard? Sacramento clay that turns into concrete by July. We both run Equinox 900s. But the same silver dime buried at 6 inches reads like two different targets on our machines. His gives a clean, crisp signal. Mine’s muddier, jumpier, a few points lower on the ID scale. Same coin, same depth, same detector. Completely different response.
That’s the soil talking, and it’s not subtle. Highly mineralized ground can cut your effective detection depth by 30-50%. If your detector’s ground balance struggles in your yard — and you’ll know, because the numbers bounce around even with the coil off the ground — your test garden targets need to sit 1-2 inches shallower than the standard recommendations you see online. Otherwise you’re burying coins your machine physically can’t hear. Then you’re wondering why your test garden “doesn’t work.”
The fix is simple: bury your test targets where you’ll actually hunt. If you detect old parks with mineralized soil, build the garden in that same soil type. If you’re a beach hunter, a backyard test garden only teaches you half the lesson. You’ll need a second plot in the sand. And before you dig anywhere, clear the area in all-metal mode and check for buried utility lines. Nothing ruins a test garden faster than a false signal from an old pipe running underneath it.
Which Targets Should You Bury
Your test garden needs a mix of high-value targets and trash, buried at different depths. The goal isn’t learning what clean coins sound like. It’s learning what silver sounds like when it’s fighting a rusty nail for your detector’s attention. That’s the scenario you’ll face in every real hunt.
The most important target in my garden is the one I almost gave up on: a silver dime at 4 inches with a rusty nail exactly 2 inches above it. That’s the iron-masking setup Serious Detecting recommends because it mirrors the most common real-world situation detectorists face. For the first three weeks, my Equinox 900 read that combo as pure iron. Every single time. I’d swing over it, get the low grunt, and move on. Which is exactly what I’d have done in the field. Then one afternoon I slowed my swing speed to a crawl. And there it was: the dime’s high tone bleeding through the nail’s low grunt. Faint but unmistakable. That single target taught me more about recovery speed and swing discipline than six months of random park hunting ever did.
Here’s the full list I’d bury if I were starting fresh:
- A silver dime at 6-7 inches, clean. Your baseline for deep silver.
- A clad quarter at 6 inches. Modern coin response at moderate depth.
- A nickel at 5 inches. The least conductive coin. Easy to miss if your discrimination is too aggressive.
- A zinc penny at 4 inches. They rot fast and read differently than copper pennies.
- A pull tab at 4 inches, flat. You’ll dig thousands of these. Learn the exact tone.
- A pull tab folded into a coin shape. Sneaky little devil. Reads more like a ring than a tab.
- The silver dime + rusty nail combo. Non-negotiable. This is your masking classroom.
- A small gold ring at 5 inches. Keep gold shallow. It’s the hardest to hear, and you want to actually find it while learning.
Pack the dirt firmly and let everything settle for a few weeks. Freshly dug soil is loose and airy. That makes targets read easier than they will in compacted ground. Trust me. The garden lies to you for the first month. Then it starts telling the truth.
The PVC Pipe Method for Adjustable Targets
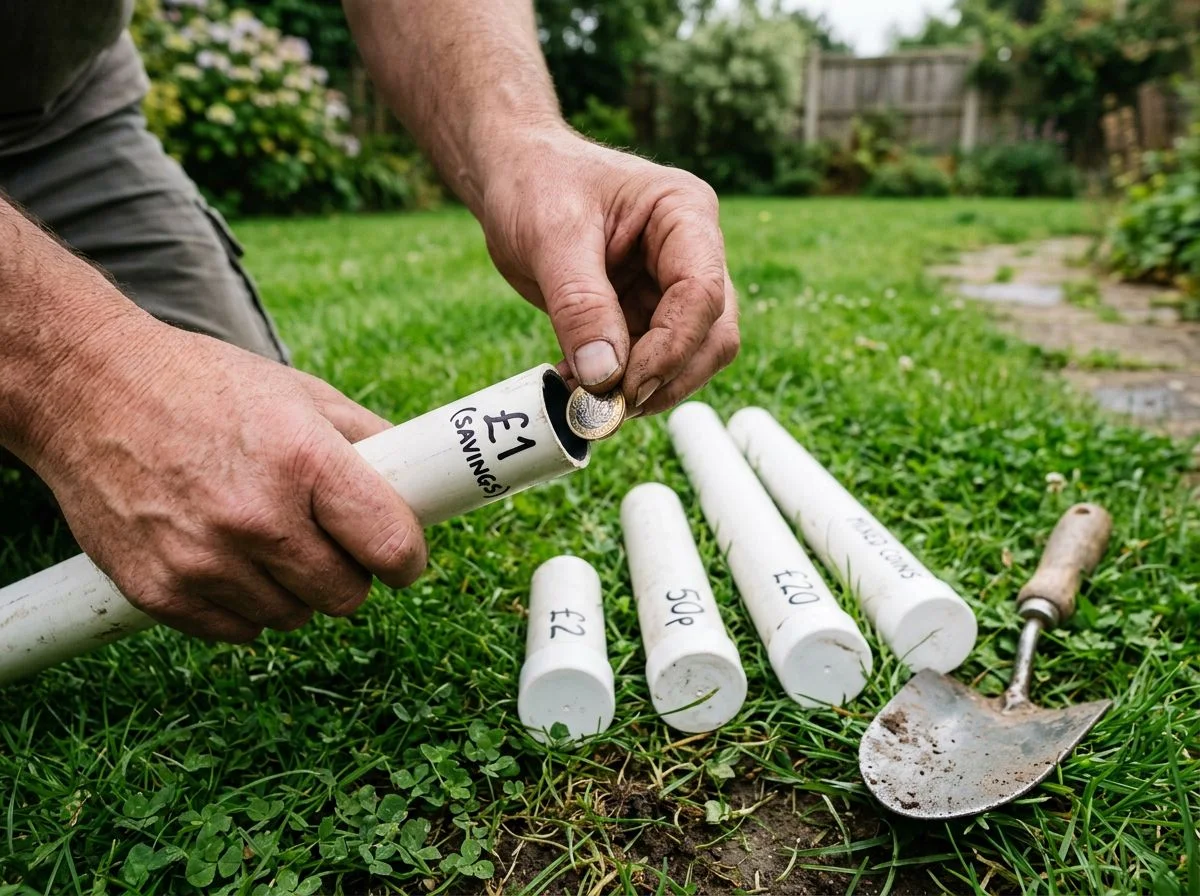
If you’re the type who likes to tweak things, the PVC pipe method gives you an adjustable test garden. You can change target depth on a whim. But it sacrifices the natural ground conditions that permanent gardens develop after settling for 2-4 weeks. Here’s the question that decides everything: do you want to learn your machine, or do you want to test machines against each other?
If it’s the latter, PVC is your answer. A forum member named maxxkatt from North Atlanta shared the setup that’s become my go-to for quick comparisons. Grab a 2-inch by 6-foot PVC pipe and an end cap from Home Depot. Cut a 12 or 18-inch section, glue the cap on, and dig a matching hole. To test a silver dime at 10 inches, pour 2 inches of dirt in the pipe, drop the coin, and fill the rest. Want to move that dime to 6 inches? Pull the pipe, dump some dirt, done. You can even place iron targets 2 to 3 inches above or below the coin to practice masking without digging a new hole every time.
The tradeoff is real, though. That loose dirt inside a plastic tube doesn’t replicate what happens underground after a garden settles and compacts naturally. My permanent garden took about three weeks before the signals stabilized into something resembling field conditions. The PVC rig never quite gets there. It’s a controlled lab, not a simulation. For hard clay like my Sacramento yard, maxxkatt recommends an $8 2-inch auger on a battery drill. Honestly, that saved my sanity.
How Do You Practice in a Test Garden
Here’s the truth: a test garden is worthless if you just wander over it swinging casually. You need a structured drill. And the gold standard is the blind test. Bury your targets, mark them, then have someone shuffle the markers so you don’t know what’s where. If you can’t correctly identify 8 out of 10 targets by sound alone, your ear isn’t trained yet.
My wife thinks this is hilarious. She’ll drag a tarp over the garden, shuffle my little marker flags around, and then stand there with her arms crossed while I sweat through the drill. “Is that a nickel or are you guessing again?” She’s not wrong to needle me. The first month, I was guessing. A lot.
Here’s the protocol I follow now:
- Swing slow, listen long. Creep the coil over each target zone. Most missed signals come from swinging too fast.
- Call it before you dig it. Say out loud what you think it is: “silver dime, 6 inches, clean.” Then check the flag. This forces honest self-assessment.
- Log your misses. I keep a notebook. The zinc penny at 4 inches fooled me for weeks. It read like a corroded copper cent until I burned that tone into my brain.
The blind drill works because it removes the crutch of knowing. In the field, you don’t know. So practice not knowing. Once you hit that 8-out-of-10 mark consistently, you’re ready to trust your ears on real hunts. Until then, keep the tarp out.
Mistakes That Ruin Metal Detecting Test Gardens
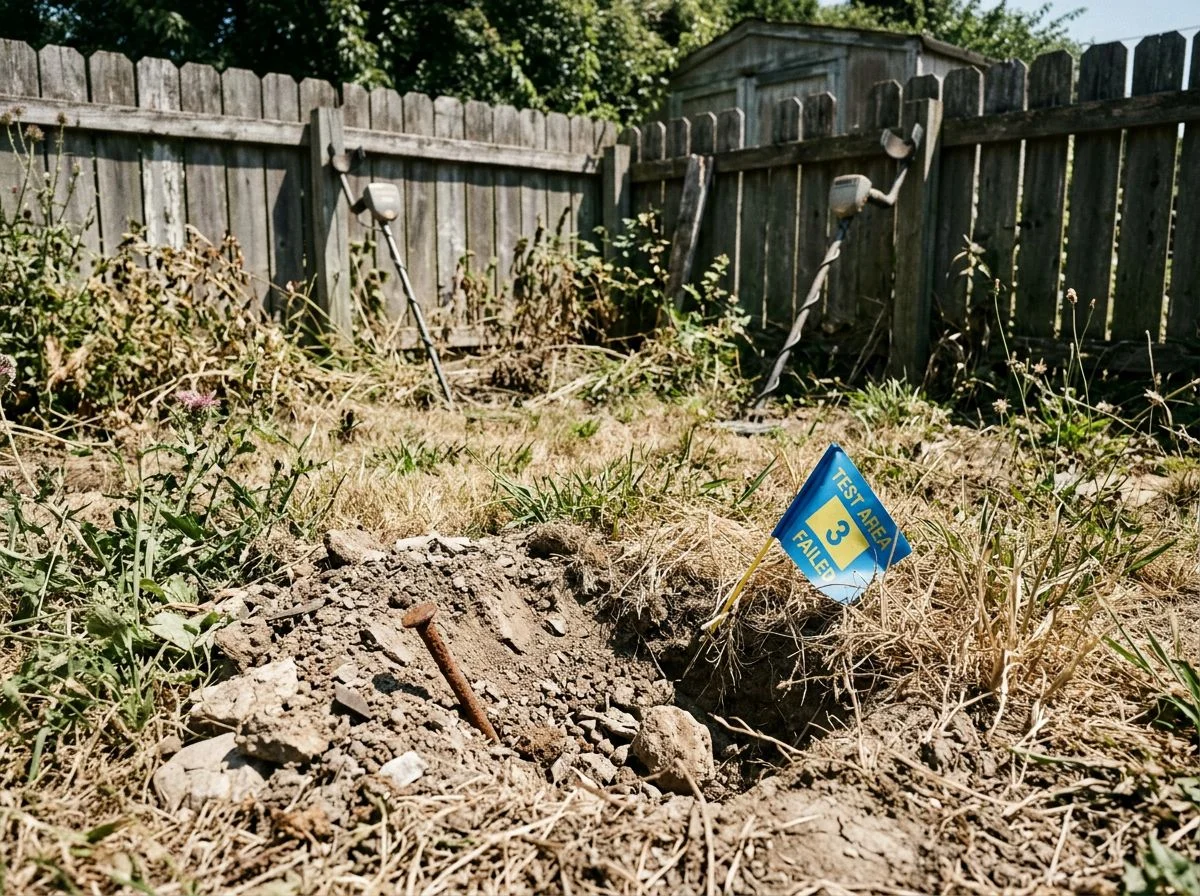
Most metal detecting test gardens fail for three reasons: targets buried too shallow, targets placed too close together, and “gold” targets that aren’t actually gold. Get those wrong and you’re training your ear on garbage data.
My first test garden was a disaster. I built it about fifteen feet from my house. I buried everything at two or three inches because I was impatient. And I threw in a “gold ring” I’d found at a garage sale. The ring turned out to be gold-plated brass. It read completely differently than solid gold. I discovered this only after weeks of wondering why my Equinox 900 gave me weird jumpy signals every time I passed over it. Here’s what I learned the hard way.
Shallow targets teach you nothing. Anything buried shallower than 3 inches produces such a strong, clean signal that your machine barely has to work. Real finds — the ones that make you dig — sit at 4 to 10 inches. That’s where ground mineralization and signal degradation actually come into play. Dorian Cook’s “Super Test Garden” is built around precisely this principle: depth is the variable that reveals your machine’s true capabilities and weaknesses.
Spacing matters more than you’d think. Targets closer than 2 feet apart create overlapping signals that bleed into each other. You’ll think you’re learning a dime’s tone when you’re actually hearing a dime mixed with a nail from the next hole over. Give every target its own space. Otherwise you’ll build a mental library of sounds that don’t exist in the field.
The gold-plated ring taught me the most valuable lesson of all: verify what you’re burying before you bury it. A brass core reads like a pull tab, not a gold ring. I spent a month memorizing the wrong signal. Fixing those three mistakes taught me more than the garden itself ever did.
Advanced Test Garden Scenarios Worth Trying
Once you’ve mastered single targets, it’s time to build scenarios that mimic what actually happens in the ground. Clusters, junk contamination, and wet soil. These are the setups that separate a trained ear from a guessing one.
The coin spill scenario humbled me fast. I buried three coins in one hole, all touching. A wheat penny, a Mercury dime, and a buffalo nickel. My Equinox 900 didn’t read three separate targets. It read one big, jumpy, high-tone blob that sounded more like a crushed soda can than three coins. In the field, I’d have walked right past it, assuming it was trash. That’s the thing about spills: burying clusters of coins together in a single hole changes the signal response completely. Your machine sees the combined mass, not the individual coins.
The junk-adjacent scenario is just as revealing. I placed a silver dime two inches from a rusty nail. Suddenly the clean, high tone I’d memorized became a scratchy, broken signal that cut in and out. Placing valuable metals directly adjacent to junk items forces you to learn what a masked target actually sounds like. Not what you think it should sound like from watching YouTube videos.
Then there’s moisture. I soaked one section of my garden with a hose and ran the same targets. Everything read deeper and cleaner. Introducing moisture to simulate wet ground conditions showed me why my detector hits harder after a rain. And why I should never judge a site’s potential based on dry-soil performance alone.

My name is Paul and I am the founder of Detector For Metal, a dedicated resource for metal detecting enthusiasts seeking to uncover historical treasures and connect with the past using the latest technology. As a stay-at-home dad and family man, I’ve found metal detecting to be the perfect hobby that combines family adventure with historical learnings for the whole family.
As a father, I’m deeply committed to passing on this hobby to the next generation of detectorists, starting with my own children. I share advice on everything from metal detecting with kids to exploring the top 10 metal detecting sites you never thought about. My methodical approach to the hobby goes beyond the thrill of discovery—it’s about creating family traditions while preserving history and sharing the stories of those who came before us.