Table of contents
- Why Most Detectorists Miss Pinpointer Side-Detection
- What Pinpointer Side-Detection Actually Is
- The Two-Stage Recovery Method
- Side-Detection for Coins on Edge and Trash
- Detuning to Shrink the Side-Detection Field
- Side-Detection Capabilities by Pinpointer Model
- Common Side-Detection Mistakes to Avoid
- Pinpointer Side-Detection Questions
- Side-Detection Is an Upgrade You Already Own
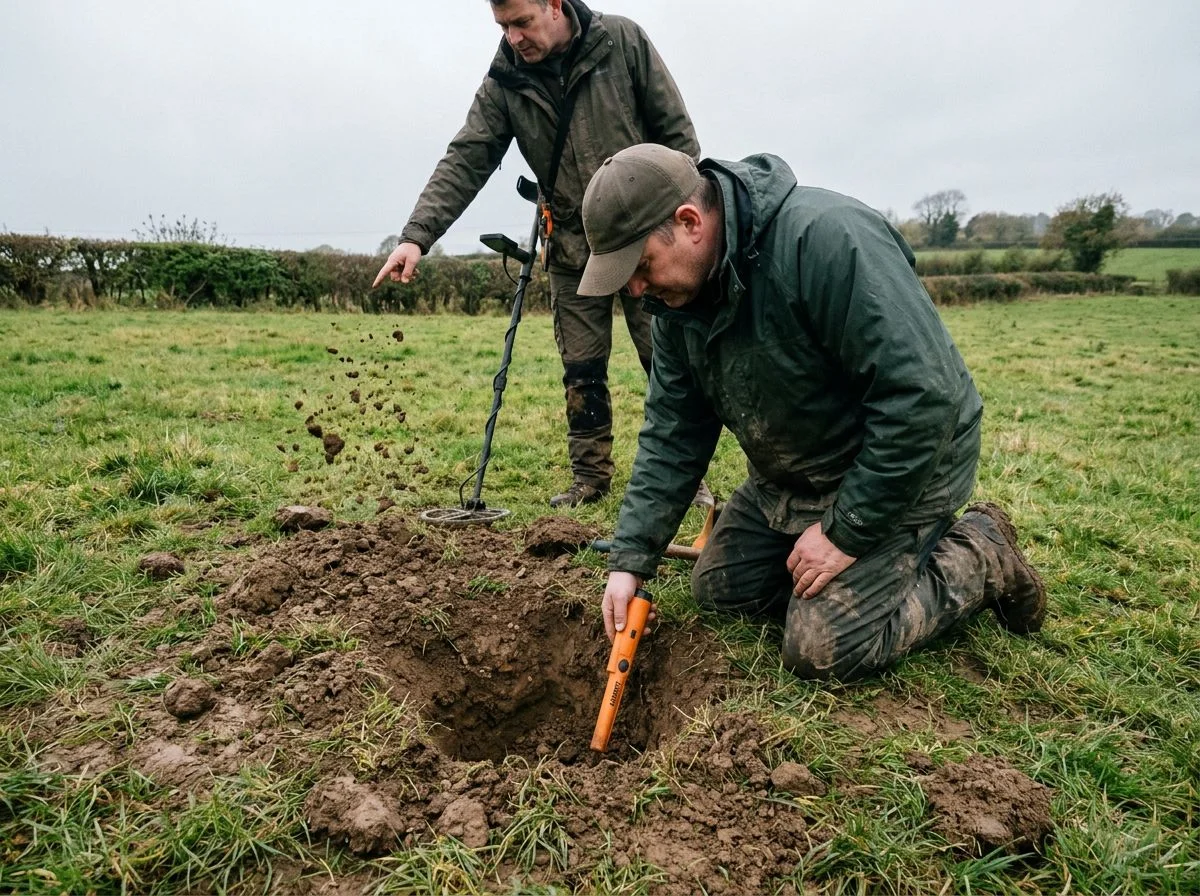
Side-scanning means holding your pinpointer on its side, flat against the ground or hole wall. You sweep it back and forth to cover a wide detection area quickly. It’s not about precision — it’s about finding the general zone in seconds. Then you switch to the tip and zero in.
The Garrett Pro-Pointer owner’s manual actually instructs this exact technique. Hold the device on its side and scan quickly to search a large area. Once you get a hit, switch to the pinpointing tip for the final location. That two-step workflow — wide scan, then precise tip — is what most detectorists never practice. They go straight to poking the tip into loose dirt, hoping to bump into the target.
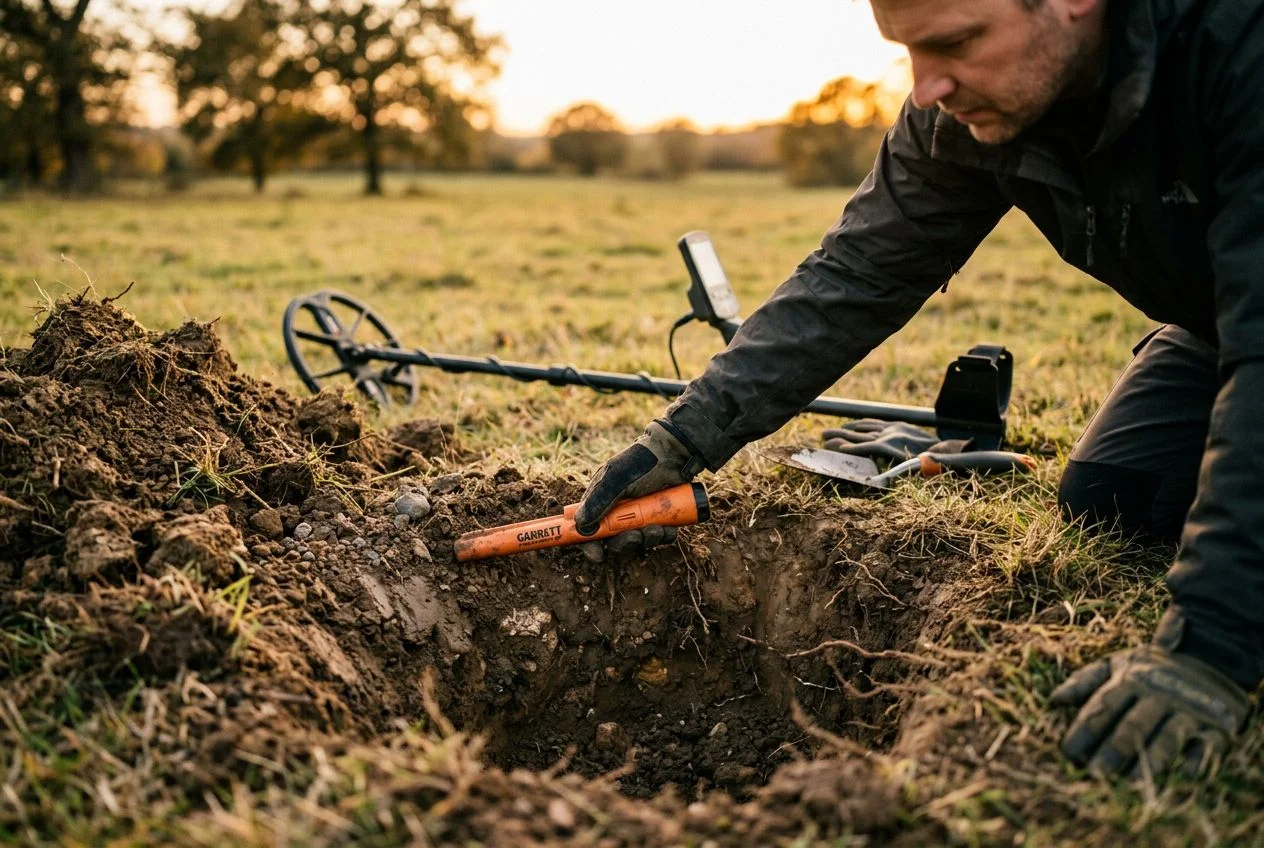
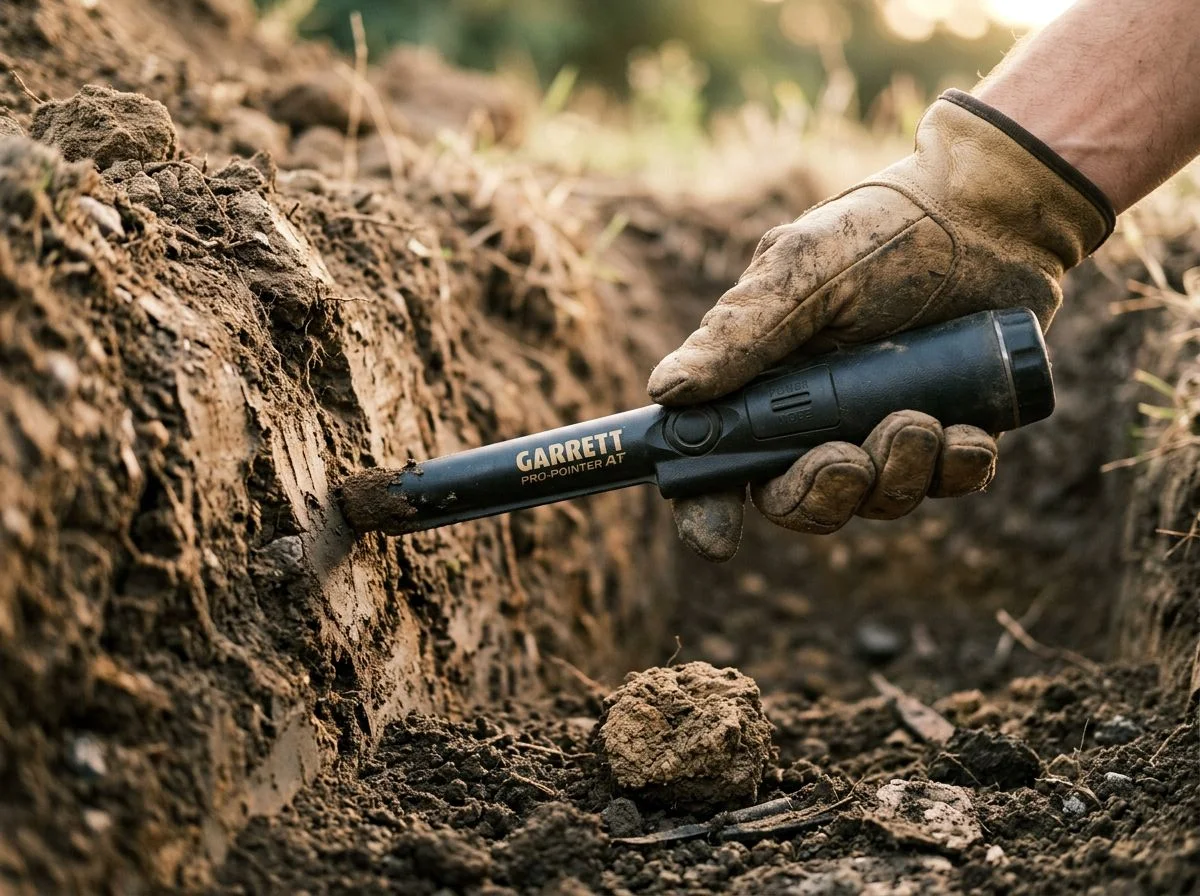
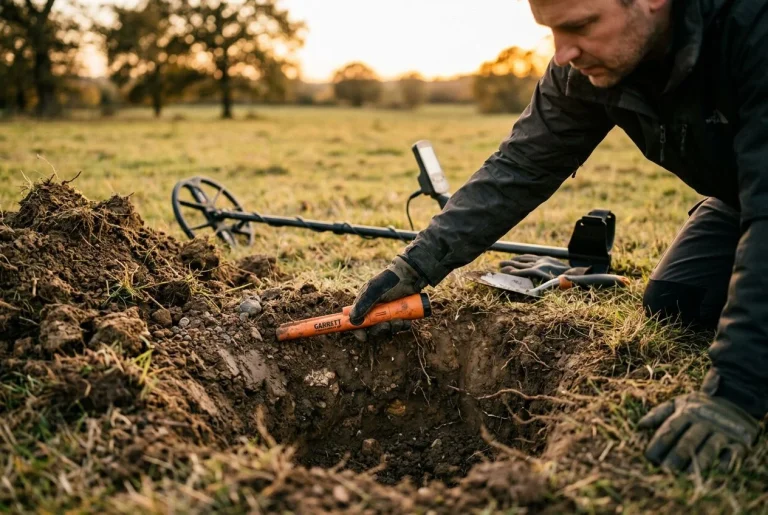
Side-scan really shines in the sidewalls of your hole. A coin resting on edge might be missed entirely by the tip. You’d dig deeper and wider for no reason. A slow side-scan around the hole’s circumference will catch that signal immediately. Detector Warehouse’s guide confirms this. A signal only on the sidewall means the target is in the wall. Scrape the side rather than dig deeper.
The Pro-Pointer AT’s 360-degree detection area makes this technique effortless. The entire body detects, not just the tip. I’ve cut my recovery time in half since I started scanning the plug and hole walls before ever poking around. It feels slower at first. It’s dramatically faster in practice.
Why Most Detectorists Miss Pinpointer Side-Detection
Here’s something that’ll mess with your head. The pinpointer technique most guides tell you to avoid is actually your fastest recovery tool. Side-scanning — holding your pinpointer on its side and sweeping — gets dismissed as imprecise by half the articles out there. But Garrett’s official manual explicitly instructs you to do exactly that for large-area coverage. The “tip-only” crowd is contradicting the manufacturer’s own guidance.
I’ll level with you. I believed the tip-only advice for years. It felt precise, deliberate, correct. Then I watched my buddy Tom recover three targets to my one during a hunt at an old fairground. I finally asked what he was doing differently. His answer? “I scan the whole damn hole first, then worry about being precise.”
That conversation sent me down a rabbit hole. I’m the type of person who gets obsessed with random technical details. My wife says I collect obscure facts like some people collect stamps. But here’s what I found. The 360-degree detection area built into pinpointers like the Garrett Pro-Pointer AT isn’t a flaw to work around. It’s a feature most of us never learned to use properly.
In this guide, I’ll show you exactly how side-scan works and when to deploy it. I’ll show you how to combine it with tip pinpointing for dramatically faster recoveries. You’ll learn the technique step by step. You’ll see how it handles tricky targets like coins resting on edge in sidewalls. And you’ll get specific model recommendations.
If you’re tired of poking blindly in a hole while your detecting buddy is already swinging again, this is the article you’ve been missing.
What Pinpointer Side-Detection Actually Is
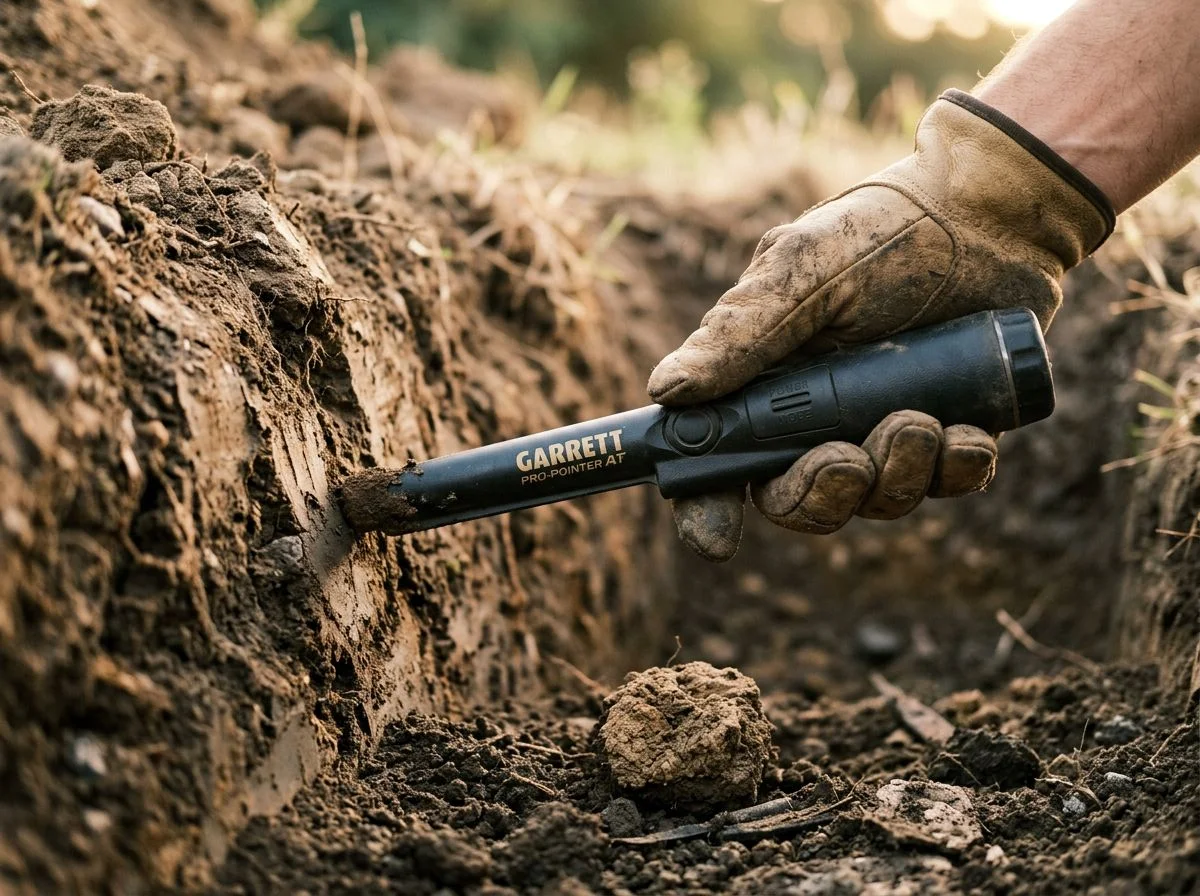
Side-scanning means holding your pinpointer on its side and sweeping it across the ground or hole wall. It covers a wide detection area fast. It’s not precise — that’s what the tip is for. But it tells you where to start looking in seconds instead of minutes.
Let me tell you about a hunt that still makes me shake my head. I was at an old swimming hole outside Sacramento. My Equinox 900 had flagged a signal near a root system. I dug a plug and checked it — nothing. I scanned the hole with the tip — nothing. I widened the hole — nothing. Ten minutes later, I found the target. A Mercury dime was sitting in the sidewall, on edge, about four inches from where I’d been poking. If I’d known to use side-scan, I’d have found it in thirty seconds.
Here’s what’s happening under the hood. Pinpointers like the Garrett Pro-Pointer AT feature a 360-degree side-scan detection area. That means the entire cylindrical body detects metal — not just the tip. The Pro-Pointer II has the same capability at 7.8 ounces. When you hold it on its side and sweep, you’re covering a much wider detection field than tip-down probing.
The trade-off is precision. A wide field tells you the target is somewhere nearby, but not exactly where. That’s why tip-only advice became conventional wisdom. For beginners, side signals feel confusing and imprecise. But once you understand the two-step workflow — wide scan first, then precise tip — that “imprecision” becomes your fastest tool.
The Two-Stage Recovery Method

Here’s the workflow that cut my recovery time in half. Side-scan the entire area first to find the target’s general position. Then transition to the pinpointing tip for precision. Garrett’s manual spells this out exactly. Hold the Pro-Pointer on its side, flat against the ground, and scan back and forth quickly. Once you’ve found the general location, switch to the tip to zero in.
Let me walk you through a real recovery so you can see the timing.
Last month I was hunting an old fairground with Tom. My Equinox flagged a target near a fence line. I cut a 6-inch plug, flipped it over, and grabbed my Pro-Pointer AT. Here’s the sequence, timed:
Step 1: Side-scan the plug (10 seconds). I laid the pinpointer on its side and swept across the plug in three passes. Nothing. That told me the target was still in the hole or the sidewall. It took ten seconds to rule out the plug entirely.
Step 2: Side-scan the hole walls (15 seconds). I swept the pinpointer vertically along each sidewall, holding it flat against the dirt. The signal hit on the north wall, about 4 inches down. Not precise — but now I knew which wall and roughly how deep.
Step 3: Tip-pinpoint the exact spot (10 seconds). I switched to tip-down probing on that wall section. The 360-degree detection field had already narrowed my search to a 2-inch zone. The tip found it immediately. A 1918 wheat penny, edge-on, wedged in the sidewall.
Total recovery time: 35 seconds. Before I learned this sequence, that same target would’ve taken me five minutes of poking blindly, widening the hole, and getting frustrated.
The key is discipline. Don’t jump straight to the tip — that’s the old habit. Side-scan gives you a map of the target’s general location. Moving in from the edges means you’re always narrowing, never guessing.
One more thing. If you’re working in mineralized soil and getting false side signals, use the quick retune. A fast power off/on will shrink the detection field and eliminate ground feedback. I do this constantly at old homestead sites with hot dirt.
Side-Detection for Coins on Edge and Trash
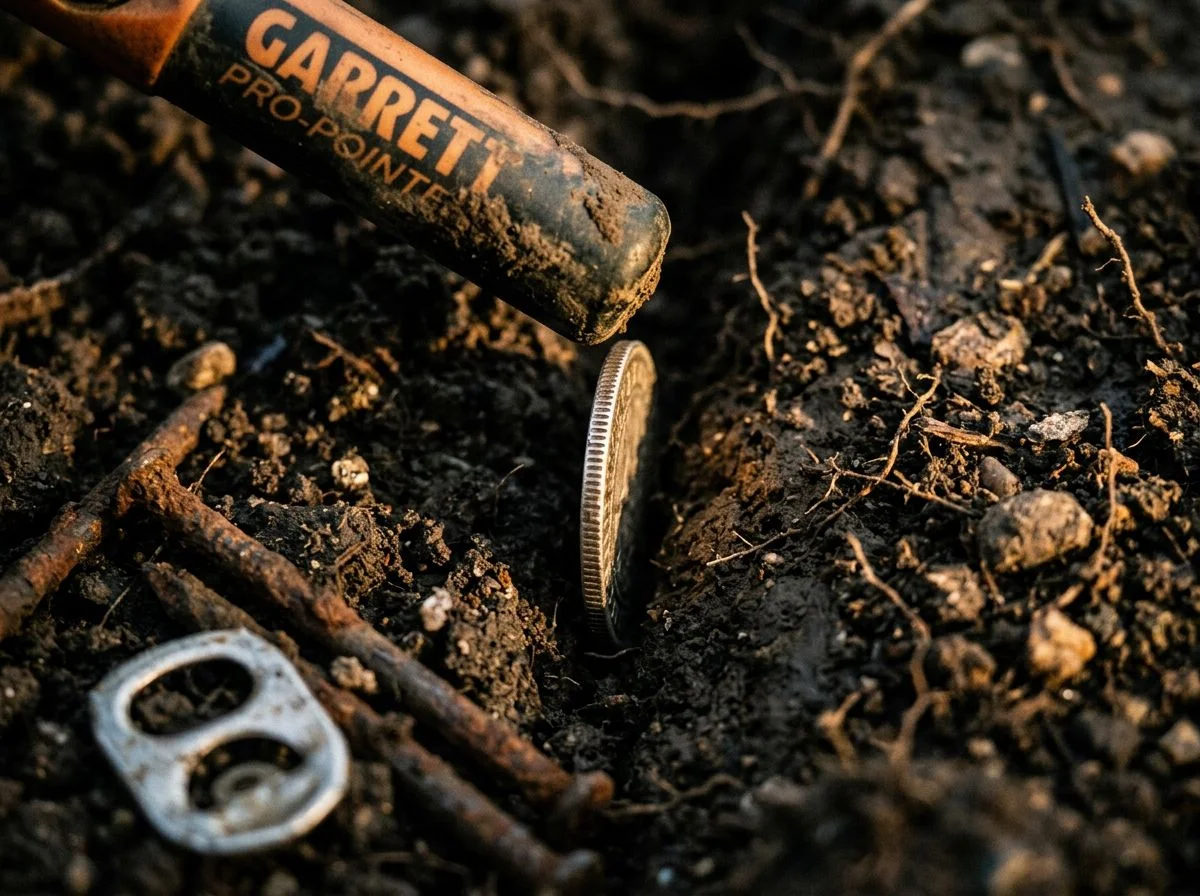
Side-scan’s real value shows up when targets hide where tip-down probing misses them entirely. Coins resting on edge in a hole’s sidewall. Good signals buried next to junk. Pinpointing the wall instead of the floor changes everything.
Let me show you what I mean with a recovery that finally made this click for me. I was hunting an old fairground with Mike. My Equinox flagged something near a packed-dirt path. I cut a plug and checked it — nothing. I scanned the floor of the hole with the tip — nothing. I was about to widen the hole when I remembered to side-scan the walls. Holding my Pro-Pointer AT flat against the north sidewall, the signal lit up immediately. A 1919 wheat penny, standing on edge, wedged into the wall about three inches down. Tip-down probing would never have touched it. The coin’s flat face was parallel to my probe, offering almost no surface area to the tip’s narrow field. But the 360-degree side-scan detection area caught the edge-on profile instantly.
This is exactly what Detector Warehouse’s troubleshooting guidance addresses. If you get a signal only when scanning the sidewall, the target is in the wall. Don’t dig deeper — scrape the side carefully. I’ve watched guys dig six extra inches straight down while a silver dime sat in the wall two inches from their coil the whole time.
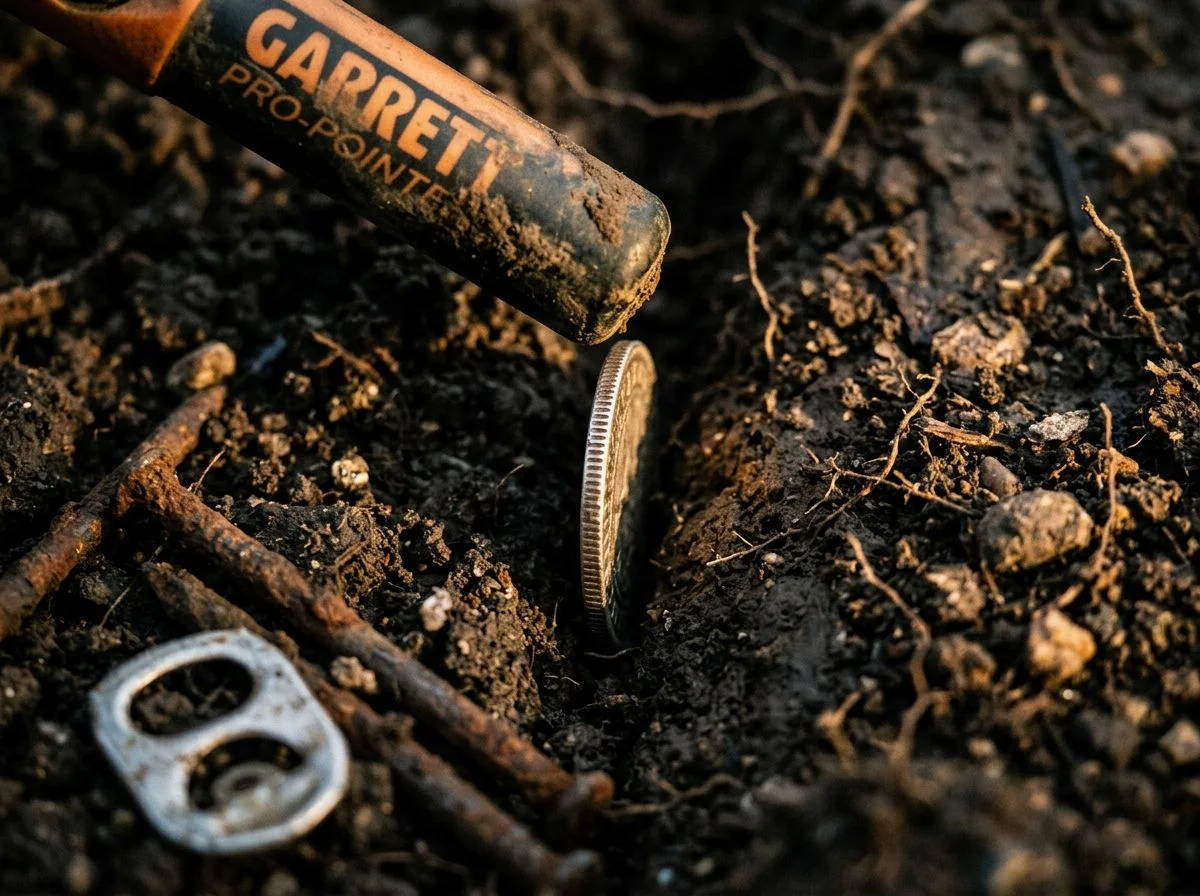
The other place side-scan earns its keep is high-density trash. Urban parks are brutal. Pull-tabs, bottle caps, foil everywhere. The Pro-Pointer II’s 360-degree field lets you isolate a coin signal from adjacent trash without enlarging the hole. I sweep the side across the hole at different angles. The strongest response tells me which direction to focus. A coin next to a pull-tab will still ring clear when you approach from the coin’s side. The field is wide enough to catch it even when junk sits inches away. That’s saved me from digging a crater in more manicured lawns than I care to count.
Detuning to Shrink the Side-Detection Field
Detuning is your escape hatch when a side-scan signal is too broad to be useful. Like when a big chunk of iron or a cluster of targets lights up the entire hole. The fix is simple. Slowly scan toward the object, then do a quick power off/on to shrink the active detection zone.
I hit this exact wall last spring at an old farmstead outside Lincoln. My Equinox flagged something big near a collapsed shed. When I opened the plug, my Pro-Pointer AT screamed from every angle. Side-scan? Useless. The whole hole was one giant signal. I couldn’t tell if I was dealing with a horseshoe, a buried pipe, or a coin sitting next to a rusted hinge.
That’s when detuning earns its keep. Garrett’s official procedure is dead simple. Hold the pinpointer near the strongest signal. Then slowly scan toward the object while it’s screaming. Right as the response peaks, flick the power off and back on. That quick retune tells the device, “This is your new baseline.” The detection field shrinks dramatically — sometimes by half or more.
Now the side-scan has a fighting chance. I detuned three times on that farmstead hole. Each pass narrowed the field until I isolated a 1912 Barber quarter sitting two inches from a rusted strap hinge. Without detuning, the hinge’s massive footprint would’ve masked the coin completely. I’d have either given up or dug a crater.
The same trick works when you’ve got multiple good targets in one hole. Detune after recovering the first. The pinpointer stops shouting about it. Then you can hear the second signal hiding underneath.
Side-Detection Capabilities by Pinpointer Model
Not every pinpointer handles side-scan the same way. The Pro-Pointer AT remains my go-to for its fully submersible design and 360-degree detection. But the Pro-Pointer II and Minelab Pro-Find 35 both bring legitimate side-scan performance at friendlier price points.
Here’s how the three stack up for side-scan work:
| Model | Price | Water Rating | Side-Scan Notes |
|---|---|---|---|
| Garrett Pro-Pointer AT | $140 | Fully submersible to 10 feet | 360-degree detection area; my primary for creek and beach hunts |
| Garrett Pro-Pointer II | $127.99 | IP66 water-resistant | Same 360-degree field; 7.8 oz; fine for rain and mud, just don’t dunk it |
| Minelab Pro-Find 35 | $99 | Water-resistant | Adjustable sensitivity helps in mineralized soil where side-scan gets noisy |
The AT’s waterproofing is the real differentiator if you hunt creeks, lake edges, or saltwater beaches. I’ve had mine fully submerged more times than I can count. The side-scan works just as well underwater as it does in a dry hole. That’s not something the Pro-Pointer II can claim. It’ll survive a rinse, but a full dunk is asking for trouble.
Where the Pro-Find 35 earns its keep is in trashy, mineralized ground. The adjustable sensitivity lets you dial back the side-scan field when it’s picking up too much junk from the surrounding soil. I’ve used one on loan from Mike at an old railroad depot. The cinder ballast made every pinpointer scream. Dropping the sensitivity tamed the side-scan enough to isolate individual targets without losing the coin signals.
For most detectorists, the Pro-Pointer II hits the sweet spot. You get the same 360-degree side-scan capability as the AT at a lower price. Unless you’re hunting in water, the IP66 rating covers everything you’ll realistically encounter. I ran a Pro-Pointer II for two years before upgrading. The side-scan performance was indistinguishable from the AT on dry land.
Common Side-Detection Mistakes to Avoid
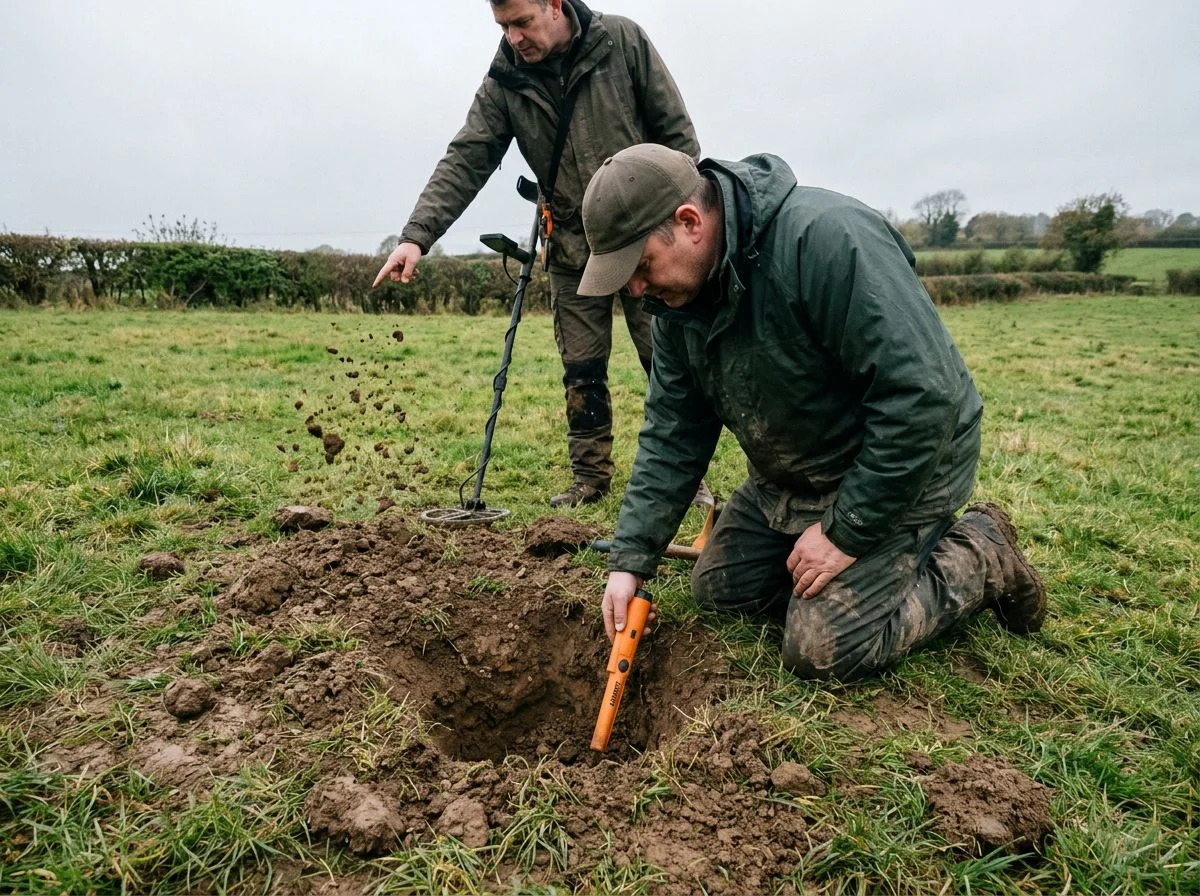
Most side-scan failures come down to three bad habits. Sweeping too fast. Not separating the plug from the hole. Powering on the pinpointer before it’s near the ground. I’ve made all three — repeatedly. They cost me more recovery time than any faulty gear ever has.
My first year with a pinpointer, I treated side-scan like I was painting a fence. Fast, wide sweeps across the hole, convinced I was being efficient. What I was actually doing was creating false signals. Crawfords Metal Detectors’ guide puts it plainly. Move the device slowly to avoid false readings. A pinpointer needs a beat to process what it’s passing over. Whip it across the hole and you’ll get chirps from targets that aren’t there. Or you’ll miss the faint edge of a coin sitting just outside the detection field. Now I sweep at about half the speed my instincts tell me to. Which, annoyingly, is usually the right speed.
The second mistake was scanning the hole and the plug together. Then digging both when the side-scan lit up. That’s a great way to turn a five-minute recovery into a twenty-minute excavation. Detector Warehouse’s workflow gets this right. Check the plug and the hole separately, scanning inward from the edges. Once you know which one holds the target, you can ignore the other entirely.
And here’s the one nobody talks about. Where is your pinpointer when you turn it on? If you power it up at waist height, then lower it into the hole, the device calibrates to the air — not the soil. Detector Warehouse recommends turning it on near the ground. That way it tunes itself to the actual environment you’re scanning. I learned this the hard way after a morning of phantom signals at a mineralized riverbank. Powered on at ground level? Clean signals. Powered on at my hip? Chaos.
None of this is complicated. It’s just slow, deliberate, and grounded — literally.
Pinpointer Side-Detection Questions
After a decade of club meetings and forum threads, I’ve heard every side-scan question at least twice. Here are the ones worth answering. Does side-scan create false signals? It doesn’t, if you sweep slowly. Does it work on walls? Yes — Garrett’s manual specifically recommends it for covering large vertical areas fast. Can you use it underwater? Only with the Pro-Pointer AT. The question that makes me laugh every time comes from new members. “Why does my pinpointer start beeping when I set it down?” That’s the Pro-Pointer II’s lost alarm chirping after five minutes of inactivity. I’ve triggered it more times than I’d care to admit while digging a second hole and forgetting where I left the damn thing. Tom asked me once if side-scan drains the battery faster. Honest answer: marginally, but not enough to matter on a full day’s hunt.
Side-Detection Is an Upgrade You Already Own
Side-scan isn’t a gimmick or a feature to avoid. It’s the fastest target recovery technique your pinpointer already has. Master it, and you’ll cut your recovery time roughly in half. I’ve timed it enough to know.
That Mercury dime from the intro? If I’d known to hold my Pro-Pointer on its side and sweep the hole’s edges, I’d have found it in thirty seconds instead of ten minutes. The coin was sitting in the sidewall, on edge. Exactly where a tip-only scan misses and a 360-degree side-scan catches immediately. That’s the difference between one hole and a crater.
Here’s the thing nobody tells you. Side-scan doesn’t require new gear. It’s a technique, not a purchase. The Garrett Pro-Pointer II and AT both have this capability built in. You just have to unlearn the “tip-only” advice that’s been floating around forums for years. Slow sweeps. Scan the plug and hole separately. Power on near the ground. Do that, and you’ll be swinging again while your buddy is still poking blindly.
Hell, half the finds I’ve made in the last two years came from holes I’d have given up on before I learned this. The upgrade was there all along. I just had to turn it sideways.

My name is Paul and I am the founder of Detector For Metal, a dedicated resource for metal detecting enthusiasts seeking to uncover historical treasures and connect with the past using the latest technology. As a stay-at-home dad and family man, I’ve found metal detecting to be the perfect hobby that combines family adventure with historical learnings for the whole family.
As a father, I’m deeply committed to passing on this hobby to the next generation of detectorists, starting with my own children. I share advice on everything from metal detecting with kids to exploring the top 10 metal detecting sites you never thought about. My methodical approach to the hobby goes beyond the thrill of discovery—it’s about creating family traditions while preserving history and sharing the stories of those who came before us.