Table of contents
- Why Finds Fall Apart in Your Pouch
- The Three Enemies of Found Relics
- A DIY Relic Protection Kit Under $60
- Handling Each Material Type in the Field
- Keep Them Wet and Calm
- Copper and Bronze
- Keep It Away From Sulfur
- Rigid Support, Zero Friction
- What Do You Do in the First 60 Seconds?
- Building a Wet-Find Kit for Water Hunting
- DIY Relic Protection Tips From Archaeological Kits
- Field Mistakes That Destroy Relics
- Quick Answers on Field Protection
- Build Your Kit This Weekend
A DIY relic protection kit is a small, portable system — under $60 — that stabilizes freshly dug finds. It does this by controlling oxygen, moisture, and friction before irreversible damage sets in. Think of it as first aid for artifacts, not a full conservation lab.
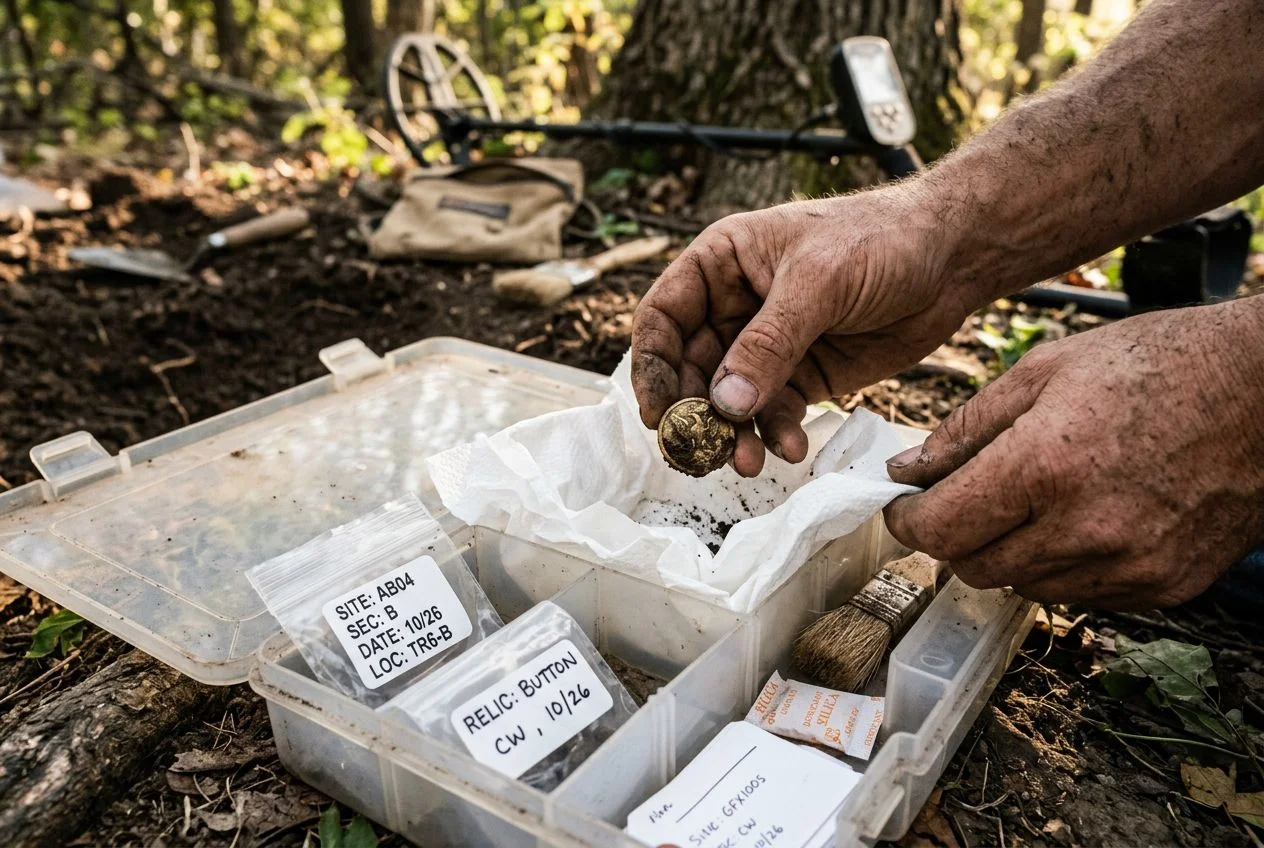
Start with the container. A cheap plastic tackle box or divided craft organizer works perfectly. The South Dakota State Historical Society’s curation guide recommends designating one person to manage the kit so methods stay consistent. In my case, that’s me. My wife wants nothing to do with my muddy Tupperware.
Inside, pack these essentials:
Polyethylene bags in multiple sizes. Ziplock-style bags are the workhorse. They create a micro-environment that slows oxygen exposure. But here’s the rule most people miss: never seal a wet iron relic. Trapped moisture accelerates rust faster than open air. Let iron air-dry partially before bagging.
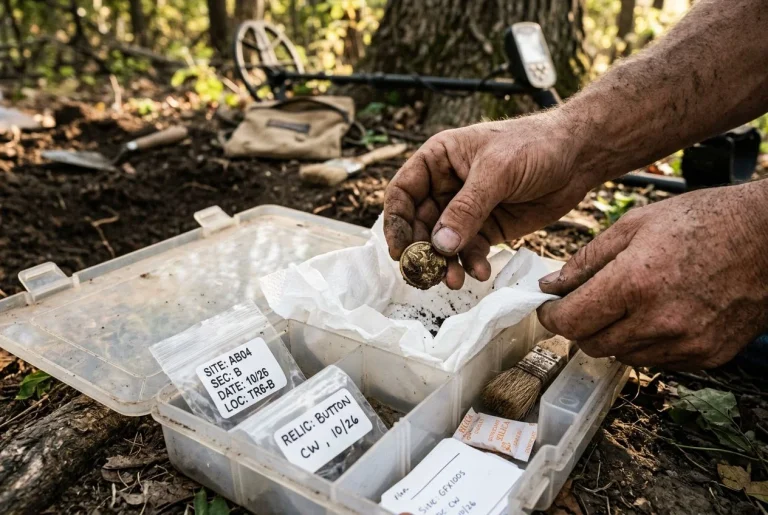
Acid-free tissue paper. Wrap copper coins and delicate buttons individually. The Bureau of Archaeological Research field guide emphasizes that proper packing materials prevent physical damage during transport. Muddy fingers on a patina are sandpaper. The tissue creates a barrier.
Small rigid containers. Altoids tins, pill bottles, or jewelry boxes work for fragile items. Glass beads and thin brass are good examples. They prevent crushing in your finds pouch.
Soft-bristle brushes. A cheap artist’s brush and an old toothbrush let you remove loose dirt without scratching. The First Aid for Finds manual stresses that field cleaning should be minimal — just enough to see what you’ve got.
Indelible marker and small paper tags. Label where you found each item. Context matters more than the relic itself. Catherine Sease’s conservation manual notes that all field treatments must be reversible. Good labeling is the first step in that chain.
Silica gel packets. Toss a few in your kit. They absorb residual moisture in sealed bags. This is especially useful for copper, which is prone to bronze disease when humidity climbs above 40%.
Why Finds Fall Apart in Your Pouch
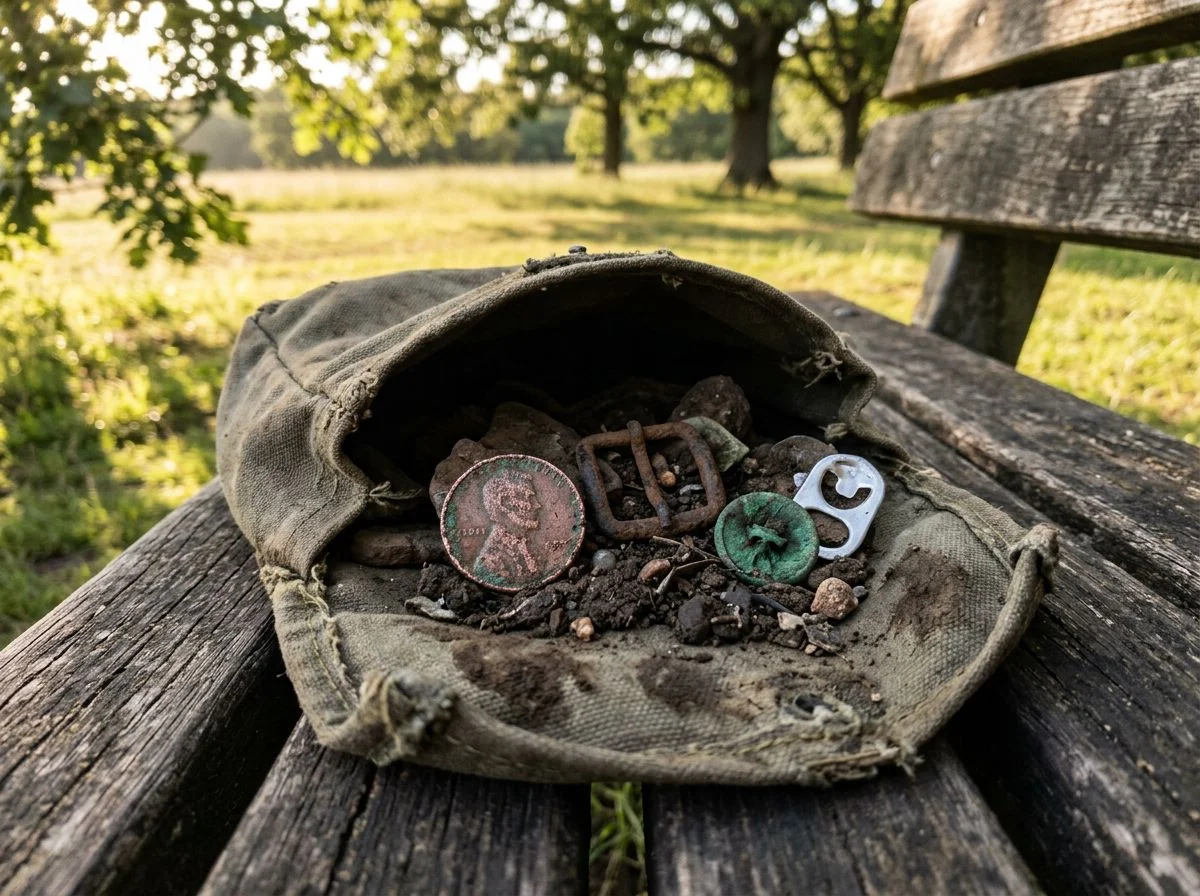
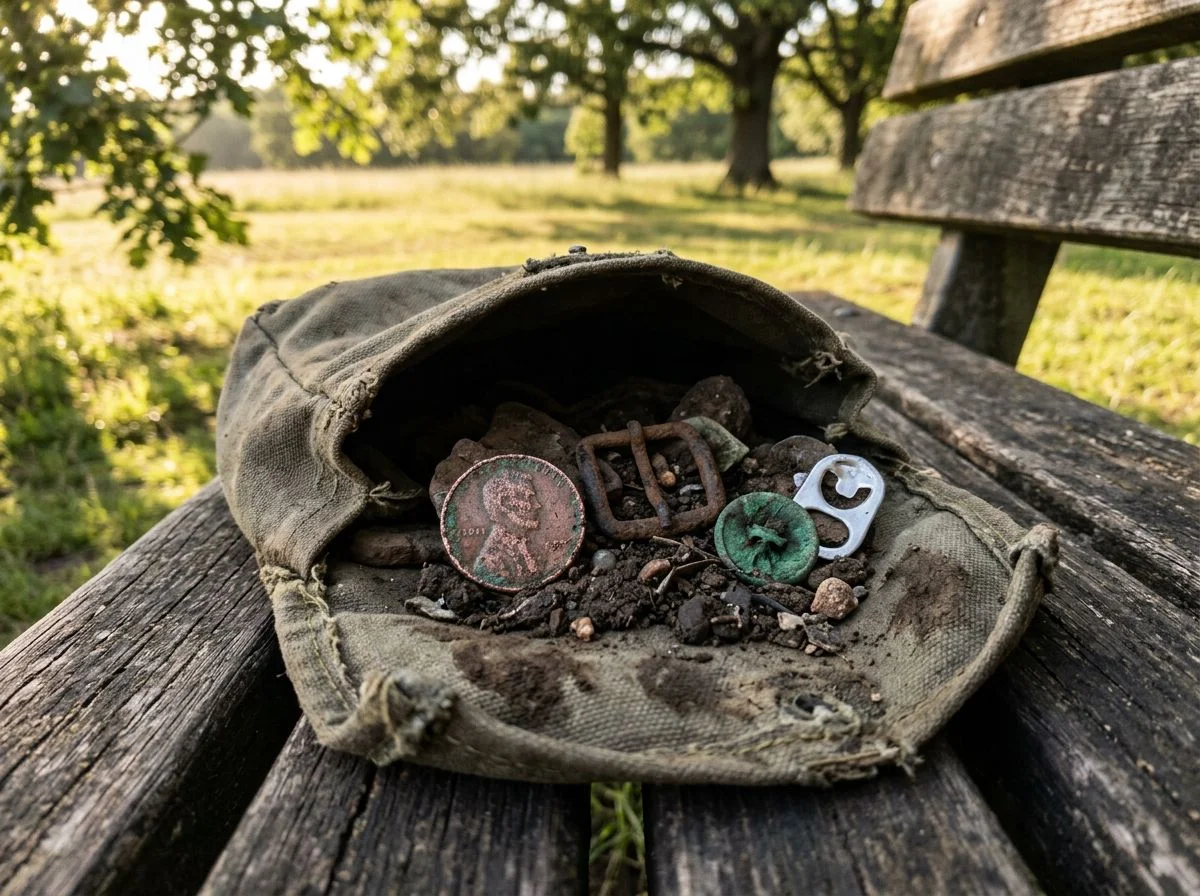
Every relic you pull from the ground starts deteriorating the second it hits open air. Your finds pouch often makes it worse. The moment an iron artifact leaves anaerobic soil, oxidation accelerates. A wet iron relic can begin flaking within hours. A copper coin’s patina can be irreversibly damaged by a single rub of muddy fingers.
I learned this the hard way. Years ago, I pulled a Confederate button from a campsite near Manassas. It was my first Civil War relic, and I was over the moon. It came out of the hole intact, still showing traces of gilt around the rim. I dropped it in my pouch next to a handful of square nails and kept swinging. Two hours later, I reached in to admire my find. I watched the face crumble between my fingers. The soil moisture had kept it stable underground. But the ride in my pouch — bouncing against iron, exposed to dry Virginia air — had started a reaction I couldn’t stop. No amount of careful cleaning at home was going to bring that button back.
The Florida Bureau of Archaeological Research’s Conservation Field Guide puts it bluntly: field workers must understand the decay mechanisms before handling artifacts. Iron corrodes through an electrochemical reaction that requires both oxygen and moisture. Remove either, and the process stalls. But leave a wet iron relic sealed in a plastic bag, and you’ve just built a rust incubator. Copper is trickier. That green patina looks stable. But when chlorides from the soil meet humidity above 40%, you get “bronze disease.” It’s a cyclic corrosion that eats the coin from the inside out.
The frustrating part? Most of this damage is preventable. The First Aid for Finds manual has been teaching detectorists and archaeologists the same core principle for over 50 years: stabilization happens in the field, not the lab. Your pouch isn’t a storage container. It’s a temporary holding cell. Right now, it’s holding your finds without any protection from the three things actively destroying them — oxygen, moisture, and friction.
The Three Enemies of Found Relics
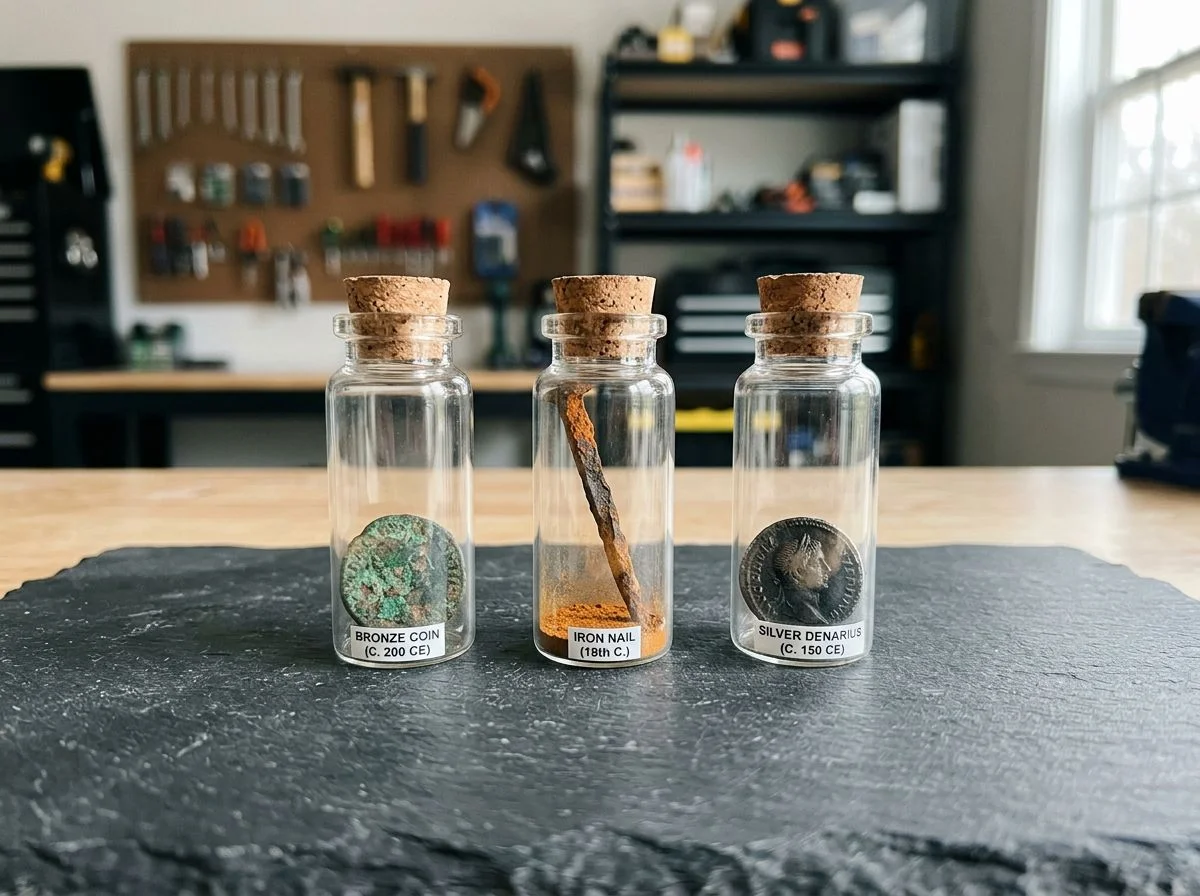
Every relic you pull from the ground is under attack from three forces. Oxygen triggers oxidation. Moisture accelerates every chemical reaction. Friction strips away the surface you’re trying to preserve. Control these three, and you control whether your find survives.
The chemistry here isn’t complicated, but it’s unforgiving. Iron corrodes via an electrochemical reaction. It requires both oxygen AND moisture. Remove either, and corrosion stops. That’s why a waterlogged iron artifact exposed to air can lose measurable surface material within 24 hours. The moment your shovel breaks the anaerobic seal, that clock starts ticking.
I’ve watched it happen. A buddy pulled a wrought-iron hinge from a colonial cellar hole. He set it on his truck tailgate to “dry out.” By the next morning, it had shed flakes the size of fingernails. He hadn’t done anything wrong by instinct. Dry it out, right? Wrong. The rapid drying plus oxygen exposure set off a reaction the artifact had been holding off for 200 years.
Copper plays a different game. That green patina looks stable, and in dry conditions it is. But when chlorides from the soil meet humidity above 40% RH, you get “bronze disease.” It’s a cyclic corrosion that eats the coin from the inside out. The patina doesn’t protect the metal. It becomes the problem. I’ve pulled copper coins that looked beautiful in the field. Three months later, they were pitted messes because I stored them in a basement that sat at 55% humidity all summer.
Friction is the one enemy that’s entirely on you. Muddy fingers on a patina are sandpaper. Tossing finds loose in a pouch means every step grinds them against each other. The Bureau of Archaeological Research field guide stresses that proper packing materials prevent physical damage during transport. That damage is permanent. Once the surface is gone, it’s gone.
Your kit exists to control these three variables from the moment the target leaves the hole. Not to clean. Not to restore. Just to freeze the artifact in the best possible state until you can do proper conservation at home.
A DIY Relic Protection Kit Under $60
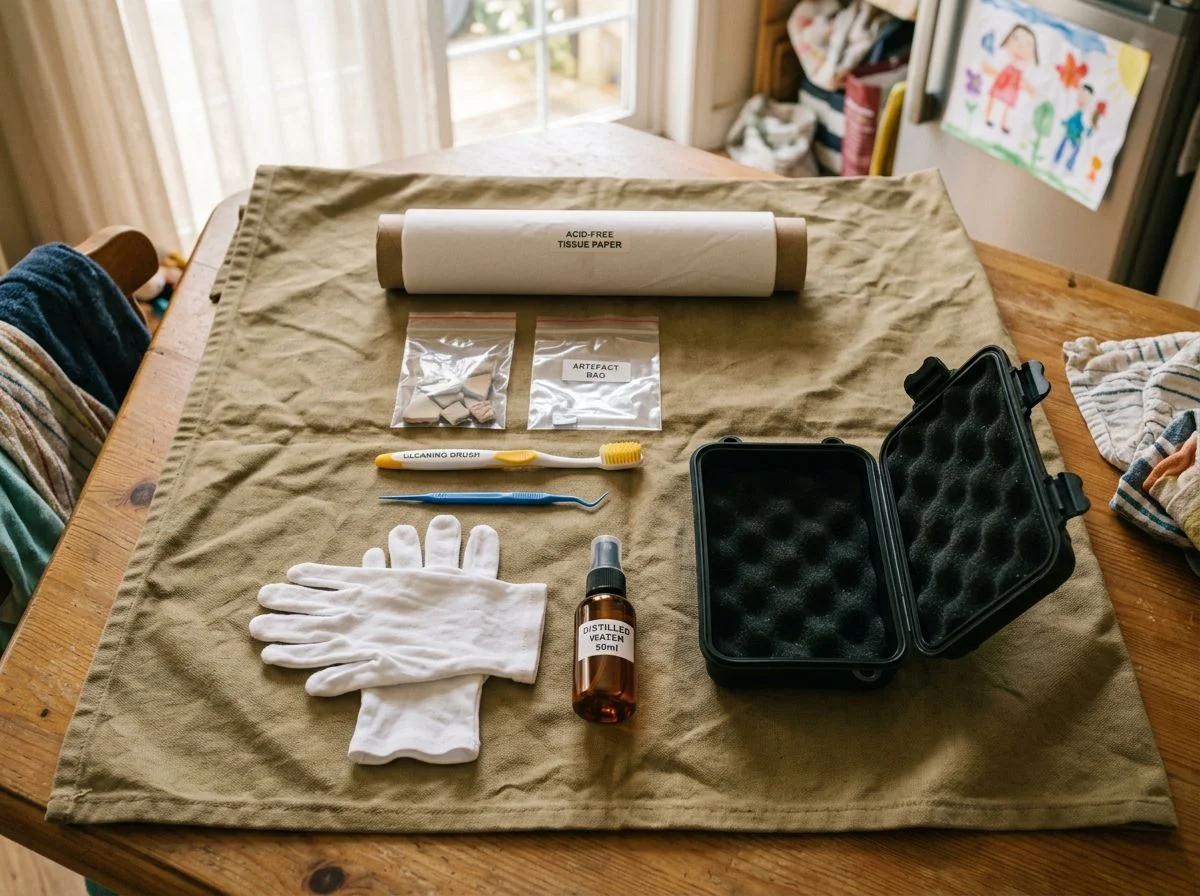
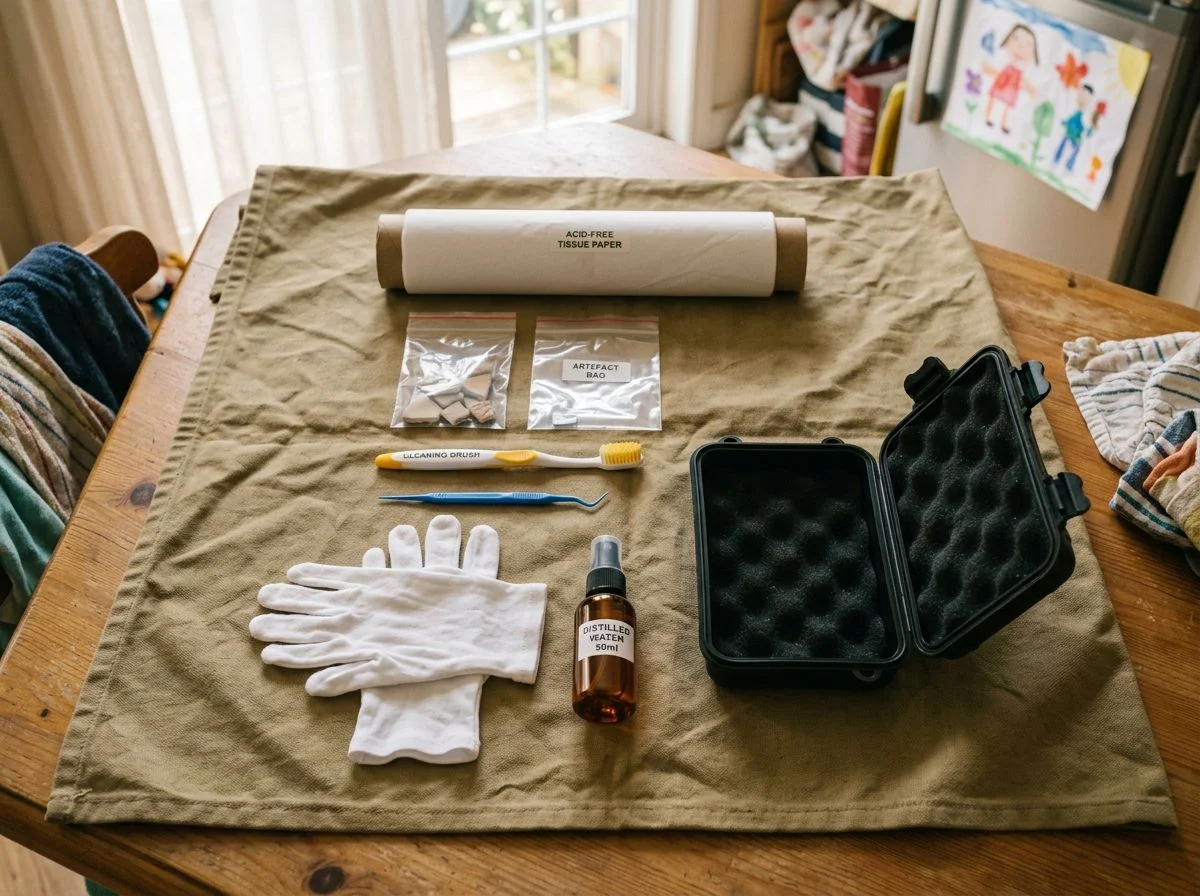
You can build a complete field protection kit for under $60. It all fits in a $12 Plano tackle box. The South Dakota State Historical Society’s curation requirements list 21 recommended field conservation items. I’ve distilled these into 12 essentials that actually earn their place in a detectorist’s pack.
1. Acid-free non-buffered tissue ($6) — This is your first-contact material. Wrap fragile finds before anything else touches them. Regular tissue paper contains acids that accelerate corrosion.
2. Polyethylene zip bags, assorted sizes ($5) — Not Ziploc sandwich bags. Polyethylene is chemically inert and won’t off-gas. Keep wet finds separate from dry ones. Never seal a soaking-wet iron relic without air holes.
3. Plastic toothbrush, soft bristle ($2) — For gentle dry brushing only. Never scrub a patina with this. It’s for removing loose soil from stable surfaces.
4. Wooden skewers and bamboo picks ($3) — Your primary mechanical cleaning tools. Wood won’t scratch copper or silver the way dental picks will. I keep a dozen in my kit. I sharpen them with a pocket knife as needed.
5. Cotton swabs, dry ($2) — For precision dirt removal around delicate details. Dampen with distilled water only if absolutely necessary.
6. Small spray bottle with distilled water ($3) — Distilled, not tap. Minerals in tap water can react with chlorides already in the artifact. That can kick off bronze disease.
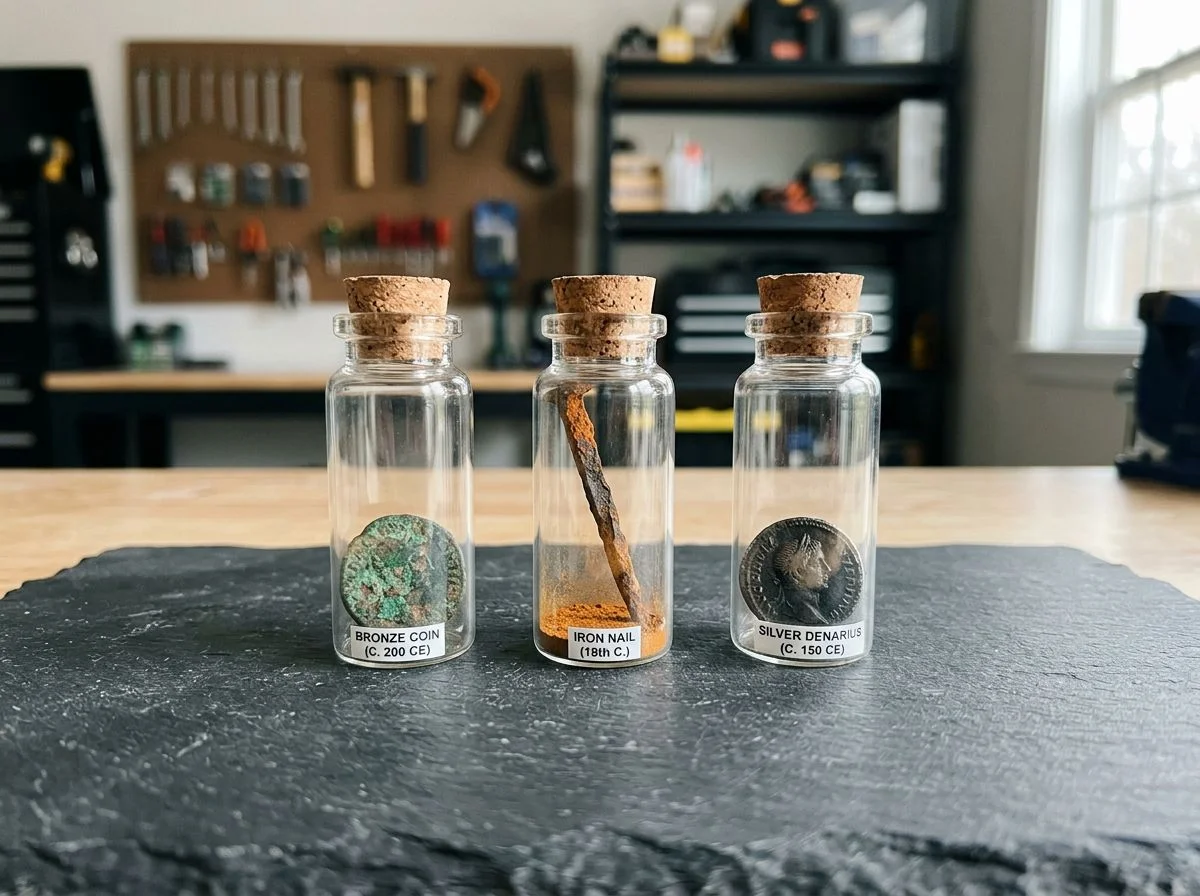
7. Plastic film canisters or small jars ($4) — For tiny, fragile items that need rigid protection. A glass bead or a delicate buckle tongue rattling around loose in a pouch is a broken find waiting to happen.
8. Indelible marker and paper tags ($4) — Label everything immediately. Site, date, depth, target ID. Memory fails. Ink doesn’t. The Florida Bureau of Archaeological Research field guide stresses recording field treatments as you go.
9. Foam sheets, 1/8-inch ($5) — Cut to fit your tackle box compartments. This creates cushioning so finds don’t shift and grind during the walk back to the truck.
10. Silica gel packets ($3) — Toss a few in the box to control ambient moisture. Replace them monthly. They saturate faster than you’d think.
11. Nitrile gloves, 5 pairs ($4) — Not for the finds. For you. Soil-borne bacteria, old lead, and chemical residues from fertilizers are all things you don’t want on your hands or in your truck.
12. Hand lens, 10x ($8) — Inspect finds before you pack them. A crack you spot in the field changes how you handle the artifact. A crack you discover at home is already too late.
Total: roughly $49, plus the tackle box. The remaining $11 buys you lunch.
What’s the one item in your kit right now that’s actually making things worse? If you said paper towels, you’re right. They shed fibers that stick to fragile surfaces and embed themselves in patinas. Swap them for the acid-free tissue. You’ve just fixed a problem you didn’t know you had.
Handling Each Material Type in the Field
Different relics need different field treatment. Iron wants to stay wet. Copper wants to dry slowly. Silver wants isolation from sulfur. Organics want rigid support with zero friction. Your kit handles all four. But only if you know which protocol to reach for.
Keep Them Wet and Calm
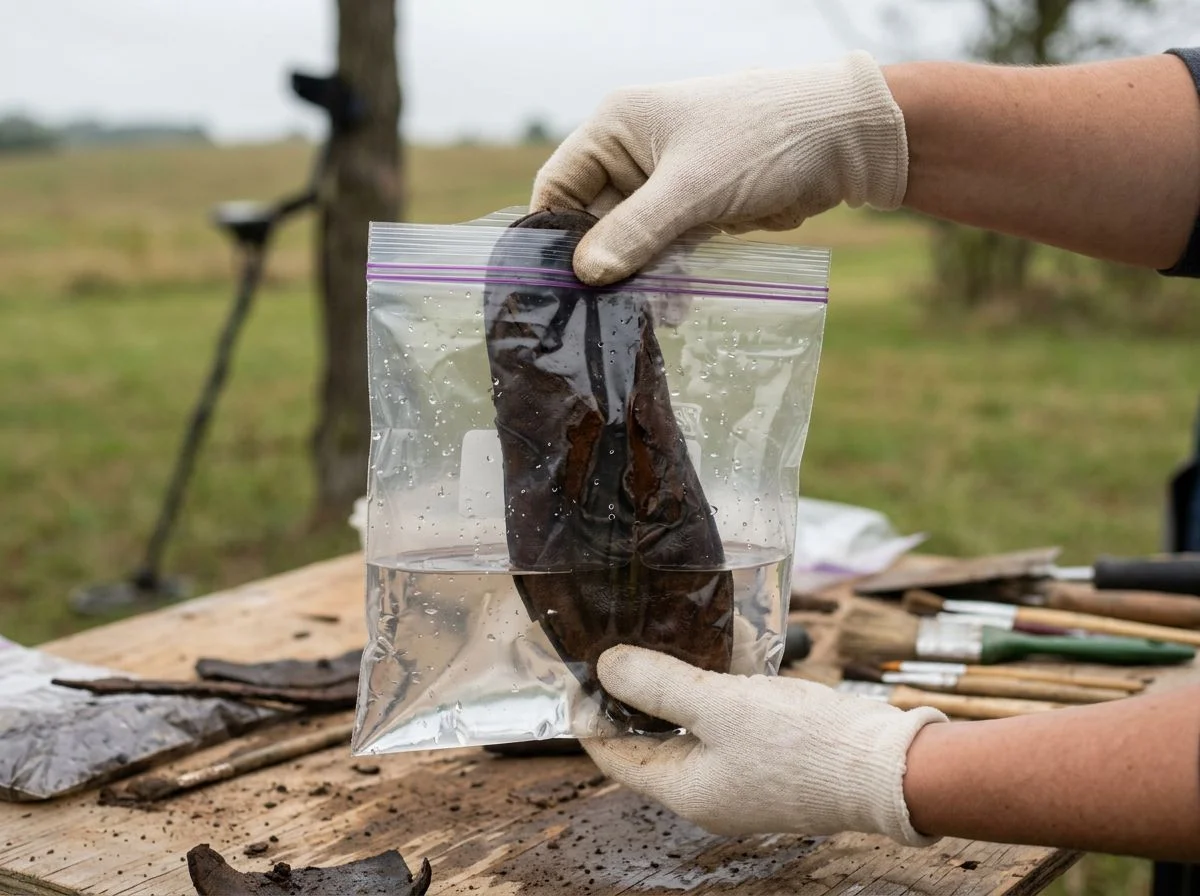
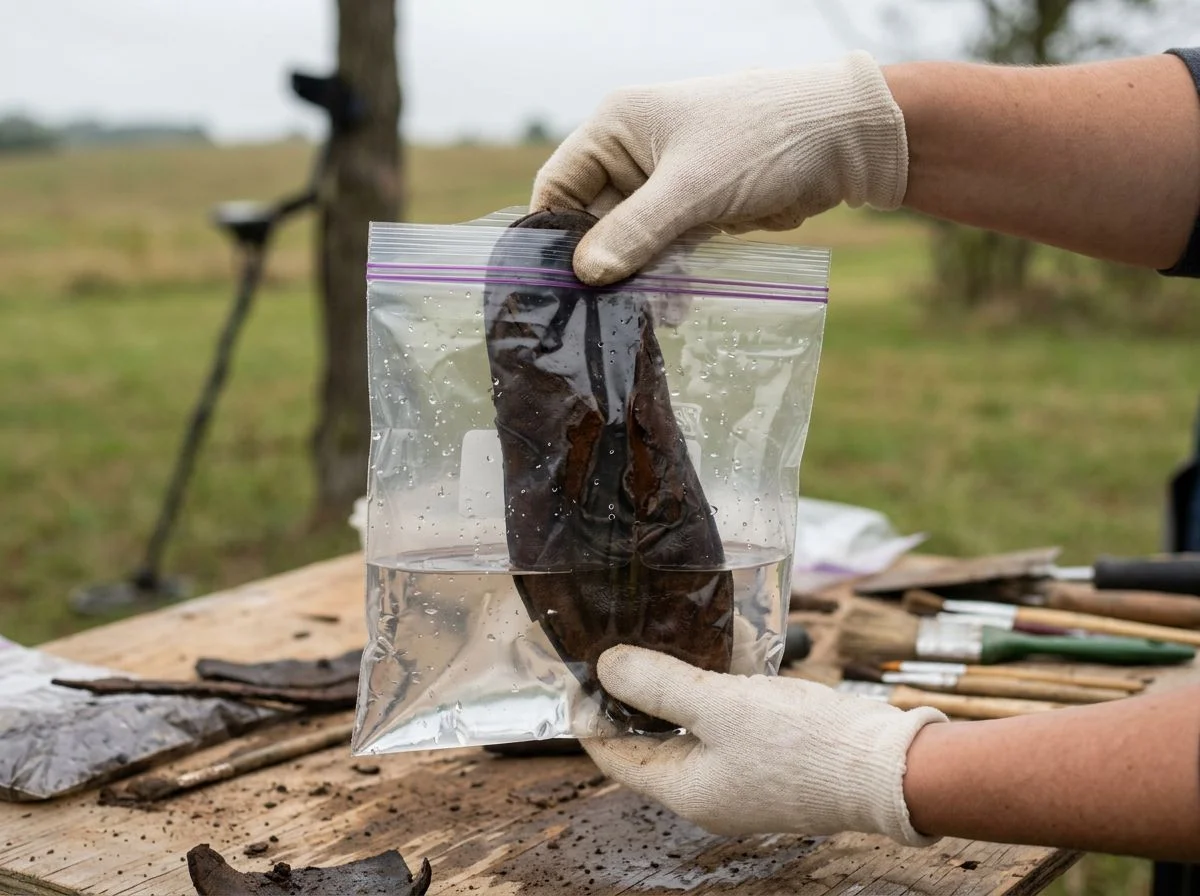
This is the one that trips up most detectorists because it’s completely counterintuitive. You pull a waterlogged iron hinge from a creek bank, and your instinct says dry it out. Wrong move. Iron artifacts from wet environments should be kept wet until they can be properly conserved. Air-drying a waterlogged iron object causes rapid, irreversible flaking. The moment that anaerobic seal breaks, the chlorides in the iron react with oxygen. The surface starts shedding.
If you’re hunting a wet site, bring a dedicated plastic container with a lid. Fill it with water from the same source the artifact came from. Submerge the iron completely, and seal it. Yes, it’s heavy. Yes, it’s awkward to carry back to the truck. But I’ve watched a buddy pull a wrought-iron colonial hinge. He set it on his tailgate to “dry out.” By morning, it had lost fingernail-sized flakes. He didn’t do anything stupid. He did what felt natural. That’s the problem.
For dry-site iron, the protocol flips. Brush off loose dirt with a soft toothbrush. Wrap it in acid-free tissue. Let it acclimate slowly in a perforated polyethylene bag. Don’t seal it tight. Trapped moisture is the enemy.
Copper and Bronze
That green patina is doing work. It’s a stable corrosion layer protecting the metal underneath. Rub it with muddy fingers, and you’ve just sandpapered away the artifact’s natural armor. Brush gently with a dry toothbrush only. If the coin or button is wet, wrap it in acid-free tissue. Let it dry gradually over several days. Rapid drying causes the patina to crack and lift.
The Florida Bureau of Archaeological Research field guide stresses that copper alloys from chloride-rich soils need low-humidity storage immediately. Below 40% RH if possible. A small silica gel packet in the bag helps. Just don’t let the gel touch the artifact directly.
Keep It Away From Sulfur
Silver tarnishes fastest when exposed to sulfur compounds. That includes the rubber bands some people use to bundle finds. I’ve seen guys wrap a handful of silver dimes in a rubber band “to keep them together.” Then they wonder why the edges turned black within a week. Rubber is sulfur-rich. So are wool felt pouches, some papers, and even the elastic in your finds pouch.
For silver, wrap each piece individually in acid-free tissue. Then place it in a polyethylene bag. Don’t bundle. Don’t rubber-band. If you find a silver coin that’s already tarnished, don’t try to polish it in the field. That’s a home project. Field polishing just grinds the tarnish into the surface.
Rigid Support, Zero Friction
Leather, wood, bone, and textile fragments are the most fragile things you’ll pull. They can look solid in the ground and disintegrate the moment they hit air. The rule is simple: don’t let them flex, don’t let them rub, and don’t let them dry too fast.
I learned this the hard way with a leather boot heel from an 1850s dump site. It looked solid in the hole. By the time I got it home in my pouch, it had cracked into three pieces. Now I carry a small rigid container just for organics. The find goes in with the surrounding soil still attached. I close the lid and don’t open it again until I’m at my workbench.
What Do You Do in the First 60 Seconds?
The first 60 seconds after a find leaves the ground decide whether you’ve rescued a relic or destroyed one. Don’t rub it. Don’t rinse it. Don’t even breathe on it wrong. Reach for your kit, not your enthusiasm. Document, stabilize, isolate. That’s the whole protocol.
I learned this the expensive way. My first Mercury dime came out of a swimming hole near Sacramento looking like a muddy gray blob. I did what felt natural. I rubbed it clean with my thumb right there in the water. I felt the detail emerge under my fingertip. It felt like archaeology. What I actually did was drag abrasive soil particles across the surface like sandpaper. The ckgscoop guide warns exactly this: rubbing a muddy coin in the field destroys numismatic value in seconds. That dime is worth melt value now. Maybe $2. The detail I rubbed away was worth twenty times that.
Contrast that with my seated Liberty dime from the Auburn train stop. Same excitement, different hands. I pulled it and set it on a square of acid-free tissue without touching the surface. I wrapped it loose and slid it into a labeled polyethylene bag. No water. No rubbing. No “just getting the dirt off.” It sat in that bag until I got home. Then I could assess it under good light with dry tools. That coin still has full detail. Still pristine. The difference wasn’t luck. It was 60 seconds of discipline.
Here’s the sequence. First: photograph or note the exact spot and depth before you move anything. Second: if the find is fragile or wet, leave it in its soil block. Don’t pry it free. Third: transfer it to your first-contact material without touching the surface with bare fingers. Acid-free tissue for most things. A rigid container for organics or tiny items. Fourth: label it immediately — site, date, depth. Fifth: isolate it in its own bag or container. Never loose in a pouch with other finds.
The Florida Bureau of Archaeological Research emphasizes that field treatment decisions made in these first moments determine whether stabilization is even possible later. You’re not cleaning anything in the field. You’re freezing the decay clock. That’s the golden hour. It starts the second your coil sings.
Building a Wet-Find Kit for Water Hunting
A wet-find kit is a small, sealed container system for stabilizing waterlogged relics before they dry out. You need a lidded plastic tub, source water, plastic labels, fishing line, and acid-free tissue. That’s it. Under $20, and it saves iron from flaking and organics from crumbling.
Why would you deliberately keep a relic wet when everything else in your kit is designed to dry things out? Because waterlogged artifacts exist in an anaerobic bubble. The moment they hit air, chlorides react with oxygen. The surface starts shedding. Keeping them submerged is the only way to pause that reaction until proper conservation happens.
Your wet-find kit starts with a dedicated lidded plastic container. Something rigid, not a zipper bag. Fill it with water from the same source the artifact came from. Creek water for creek finds. Lake water for lake finds. Tap water has different chemistry and can shock the material. Submerge the relic completely, seal the lid, and don’t open it again until you’re home.
Labeling is where most people fail. Paper labels disintegrate and ink runs the moment they touch water. The Florida Bureau of Archaeological Research specifically recommends plastic labels like DYMO brand. Secure them with fishing line for waterlogged artifacts. Punch a hole in the label. Thread the fishing line through. Tie it loosely around the artifact or the container handle. Don’t tie it tight around fragile material.
For organics — leather, wood, bone — wrap them in acid-free tissue first, then submerge. The tissue holds the object together while it’s suspended. It prevents knocking against the container sides. For iron, skip the tissue and go straight into the water. The less handling, the better.
One container per find. Don’t pile artifacts together. They’ll bang into each other. Different materials leach different chemicals into the water. A brass buckle sharing a tub with an iron hinge is a recipe for electrolytic corrosion.
Carry the container level. Keep it out of direct sunlight. Get it to a conservator or your home setup within 48 hours. The water buys you time. It doesn’t stop the clock.
DIY Relic Protection Tips From Archaeological Kits
Professional archaeologists don’t wing it. They pack a standardized kit with 21 specific items, from acid-free tissue to Acryloid B-72. Most hobbyist kits I’ve seen contain fewer than five. The gap isn’t budget. It’s knowledge of what actually matters in the field.
The South Dakota Archaeological Research Center doesn’t just recommend those 21 items. It recommends designating one crew member to manage the kit so methods stay consistent. That’s the level of discipline we’re talking about. Meanwhile, I’ve watched detecting buddies pull relics with bare hands and drop them into a canvas pouch with loose change. The difference in outcomes isn’t subtle.
The foundational text here is Catherine Sease’s Conservation Manual for the Field Archaeologist, published in 1987. It’s still the standard reference. Her core principle is one most hobbyists have never heard: every field treatment must be reversible. That means no nail polish on artifacts. It yellows, smears ink, and can’t be undone. No household glues. No improvised consolidants. If you can’t reverse it, you shouldn’t do it in the field.
What pros carry that you probably don’t: humidity indicator cards to monitor moisture inside sealed containers. Dental tools for precision lifting. Plaster bandages for block-lifting fragile objects. Polyethylene foam for cushioning. None of these are expensive. Most cost less than a decent digging trowel.
You don’t need all 21 items. But if your kit has fewer than five, you’re not protecting relics. You’re just carrying them home.
Field Mistakes That Destroy Relics
Most relic damage happens in the first ten minutes after excavation. It’s almost always self-inflicted. Rubbing dirt off a coin. Sealing a damp iron relic in a zipper bag. “Stabilizing” a find with whatever’s in the truck console. These are the three fastest ways to ruin what you just spent hours finding. The good news? Every one of these is preventable with a little discipline.
The worst offender I’ve seen: a detectorist who pulled a rare colonial copper and decided to “clean it up” with vinegar and salt right there at the truck. That patina — the green surface that numismatists pay premiums for — dissolved in about ninety seconds. The coin went from a $400 find to an $80 curiosity. Vinegar is an acid. Salt is an abrasive. Together they’re a relic-destroying machine. The damage is completely irreversible.
Then there’s the nail polish trick. I get why people do it. A quick coat feels like it’s sealing the surface. But the Florida Bureau of Archaeological Research explicitly warns against it. Nail polish has low pH. It yellows over time. It can smear ink or surface details. Once it’s on, it’s not coming off without professional intervention. If you wouldn’t put it on a museum artifact, don’t put it on yours.
Friction is the sneaky one. That instinct to rub a coin between your thumb and forefinger to “see what you’ve got” is sandpapering microscopic detail off the surface. The First Aid for Finds manual — the standard field reference for over 50 years — hammers this point. Every rub removes material you can’t put back. When the target comes out of the hole, it goes into a container. Not through your fingers first.
Quick Answers on Field Protection
Every club meeting, someone pulls me aside with the same handful of questions. New detectorists want to protect what they find. They just don’t know which materials actually work. Here’s what I tell them. These are the same answers I’ve given a dozen times, distilled down to what matters.
“What’s the one thing I should always carry?”
Acid-free tissue. It’s the workhorse of field protection. Wrap coins, buttons, and small relics in it before they go in your pouch. The South Dakota Archaeological Research Center lists it as the first item in their recommended field kit. There’s a good reason for that. Regular paper contains acids that transfer to artifacts over time. Acid-free tissue doesn’t.
“My find is soaking wet. Can I just bag it?”
Not yet. Waterlogged organics — bone, wood, leather — need plastic wrap to stay damp until you can get them stabilized. But wet metal is a different story. Let iron and copper air-dry before sealing anything. Otherwise, you’re creating a corrosion chamber. The First Aid for Finds manual has drilled this distinction into field workers for fifty years.
“What about those little silica packets?”
Keep a few in your kit. Silica gel pulls moisture out of sealed containers. That’s exactly what you want for coins and iron relics once they’re dry. Just don’t toss a damp relic and silica gel in the same bag and expect magic. Dry first, then desiccate.
“Can I wrap finds in paper towels?”
For the drive home, sure. For anything you’re keeping? No. Paper towels are made to be absorbent and disposable, not archival. They shed fibers and contain acids. Acid-free tissue costs a few bucks for a pack that’ll last a season. That’s the cheapest relic insurance you’ll ever buy.
Build Your Kit This Weekend
You can assemble this entire field protection kit for $58 in a single afternoon. One trip to a craft store, one to a hardware store, and you’re done. No specialty suppliers. No waiting on shipping. The acid-free tissue, polyethylene bags, plastic wrap, and silica packets all live in the same craft aisle. The brushes, dental tools, and small jars are hardware store staples. Total assembly time: under two hours, including the drive.
I’ve had my kit for three seasons now. It’s paid for itself a dozen times over. That seated Liberty dime I pulled near Auburn last spring went straight into acid-free tissue, not my sweaty palm. The iron harmonica reed from the old train stop got air-dried before it ever saw a bag. These aren’t complicated moves. They’re just habits. The kit makes them automatic.
So build yours this weekend. Then do me a favor. Take a photo of your setup and share it in the comments or on the forum. Tell me what you’re protecting. I want to see what’s coming out of the ground in your neck of the woods. Because every relic you stabilize properly is one that survives another century. That’s the whole point.

My name is Paul and I am the founder of Detector For Metal, a dedicated resource for metal detecting enthusiasts seeking to uncover historical treasures and connect with the past using the latest technology. As a stay-at-home dad and family man, I’ve found metal detecting to be the perfect hobby that combines family adventure with historical learnings for the whole family.
As a father, I’m deeply committed to passing on this hobby to the next generation of detectorists, starting with my own children. I share advice on everything from metal detecting with kids to exploring the top 10 metal detecting sites you never thought about. My methodical approach to the hobby goes beyond the thrill of discovery—it’s about creating family traditions while preserving history and sharing the stories of those who came before us.