Table of contents
- Finding the Invisible House: Advanced Metal Detecting Research Tactics
- The Oreo Cookie Method: Why Removing the Top Layer Changes Everything
- The Multi-Sweep System: A 4-Pass Strategy That Forces the Iron to Give Up Its Secrets
- Small Coil, Big Results: Why Your 6-Inch Coil Is the Real Relic Hunter
- Speed vs. Power: Tuning Your Detector’s Brain for the Iron Carpet
- The “Re-Match” Mindset: Why Your First Hunt at a Cellar Hole Should Be a Scouting Mission
- FAQ: Your Cellar Hole Questions, Answered
- The Ethical Detectorist’s Cellar Hole Code
Yes, absolutely. And it’s not because your detector is broken or your settings are wrong. That maddening wall of low grunts and chirps is a literal carpet of iron. It physically masks the good stuff underneath. A single collapsed 19th-century roof can drop over 500 iron nails per square yard. When those nails rust and settle for a hundred years, they form a nearly solid shield. Your detector’s signal just can’t punch through. This is where advanced metal detecting techniques become essential.
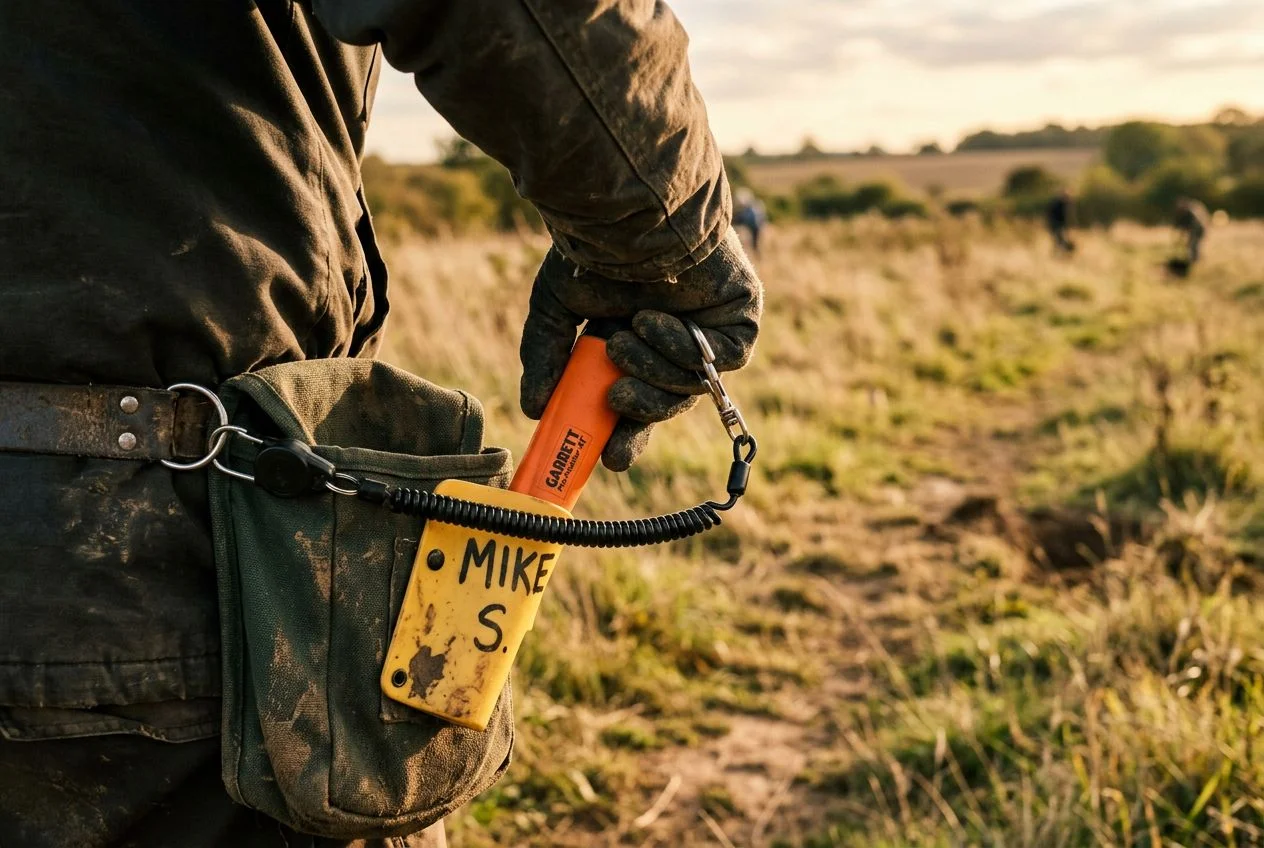
I learned this the hard way on my first cellar hole hunt. It was about an hour east of me in the Sierra foothills. I’d spent two weeks researching the site—an old stagecoach stop that burned down in the 1880s. I showed up with my Garrett AT Pro, convinced I was about to pull seated Liberty dimes out of the ground like a Pez dispenser. Three hours later, I had a pocket full of square nails and a sunburn. Every signal was iron. Every. Single. One.
I sat down on a fallen log, frustrated and ready to leave. Then it clicked. The nails weren’t random. They were everywhere, in every direction, at roughly the same depth. I wasn’t hunting a site with some iron trash in it. I was hunting a site that was iron trash. The good finds were trapped underneath. My detector wasn’t broken. I was just being outsmarted by a century of roofing debris. And I hadn’t brought the right advanced metal detecting strategy to deal with it.
Finding the Invisible House: Advanced Metal Detecting Research Tactics
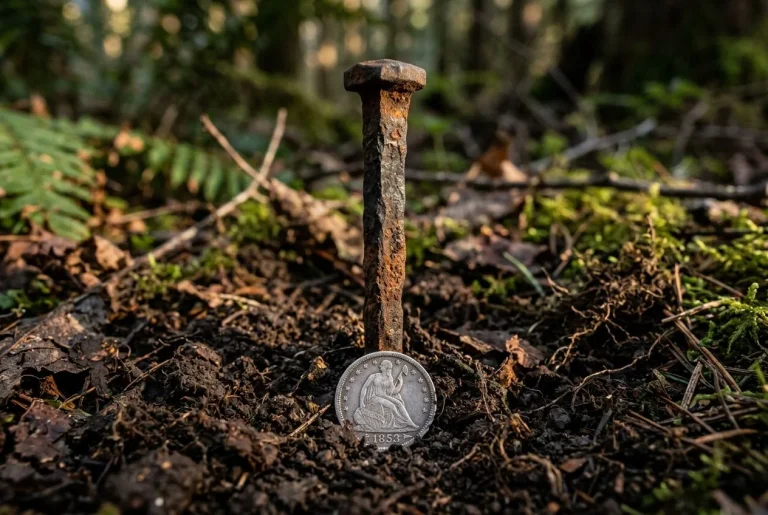
The best cellar hole in your county probably isn’t on any modern map. But it’s hiding in plain sight if you know what to look for. A subtle dip in the woods, a scatter of brick shards, or a faint rectangular shadow on a bare-earth elevation model can reveal a homesite lost for a century. Finding it before you ever swing a coil is what separates a good hunt from a long, frustrating walk with a pocket full of .22 casings. This is the research foundation that makes advanced metal detecting possible.
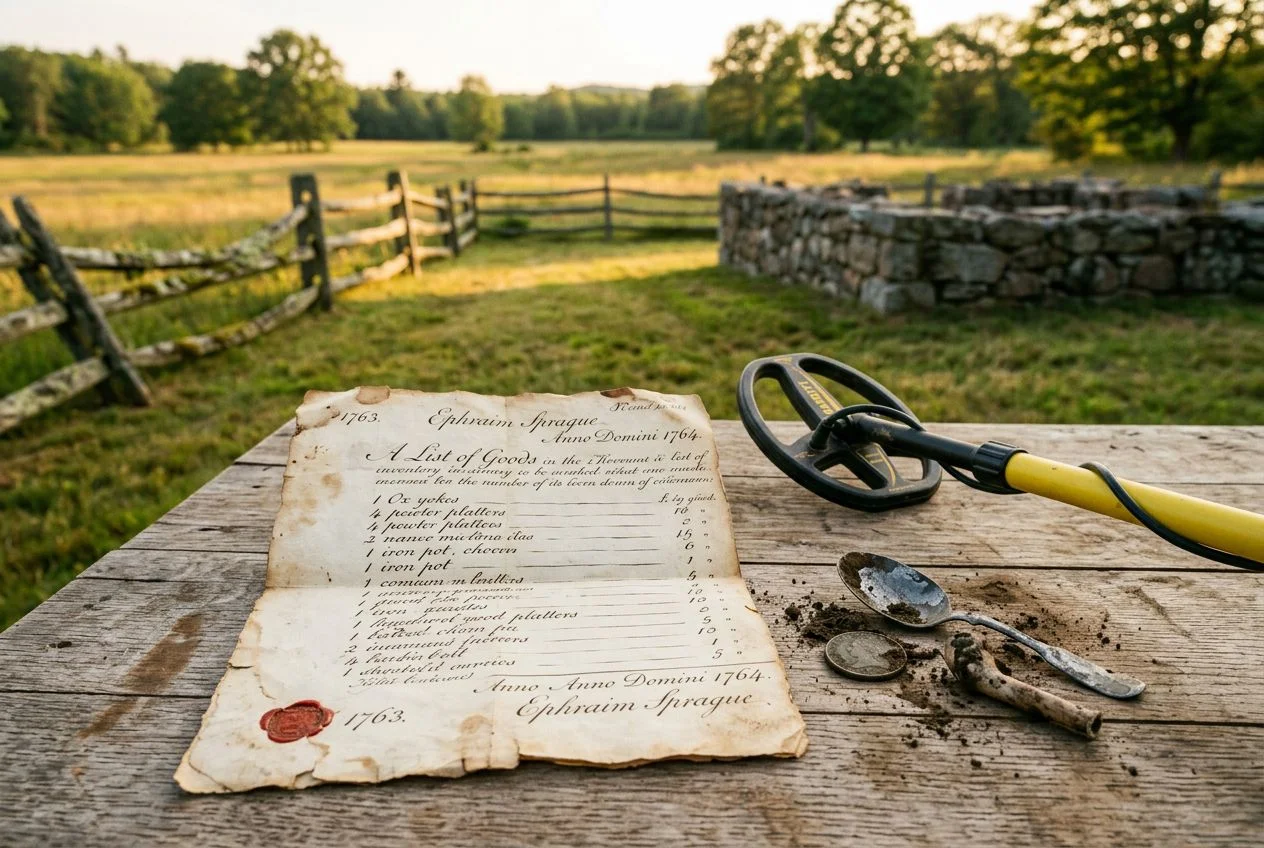
My approach changed when I stopped relying on marked historical sites. I started treating every patch of woods like a puzzle. The first tool I reach for now isn’t my detector. It’s Lidar imagery. Light Detection and Ranging scans strip away vegetation digitally. This reveals the bare-earth shape. You can see exactly where foundations, road beds, and cellar depressions sit under dense forest canopy. I’ve found at least four sites in my area that don’t appear on a single 20th-century map but are clearly visible as geometric dips on Lidar.
Once you have a promising Lidar hit, you need to confirm it on the ground. This is where Dorian Cook’s advice on reading surface clues becomes invaluable. Brick shards, pottery fragments, and dense iron concentrations are the calling cards of a long-gone structure. I look for soil that seems unnaturally dark or ashy. That’s old hearth material. I also look for any plants that look different from the surrounding woods. Lilacs, daffodils, and old apple trees don’t plant themselves in the middle of nowhere. Someone put them there. They’ve been quietly marking a homesite for a century.
The Oreo Cookie Method: Why Removing the Top Layer Changes Everything
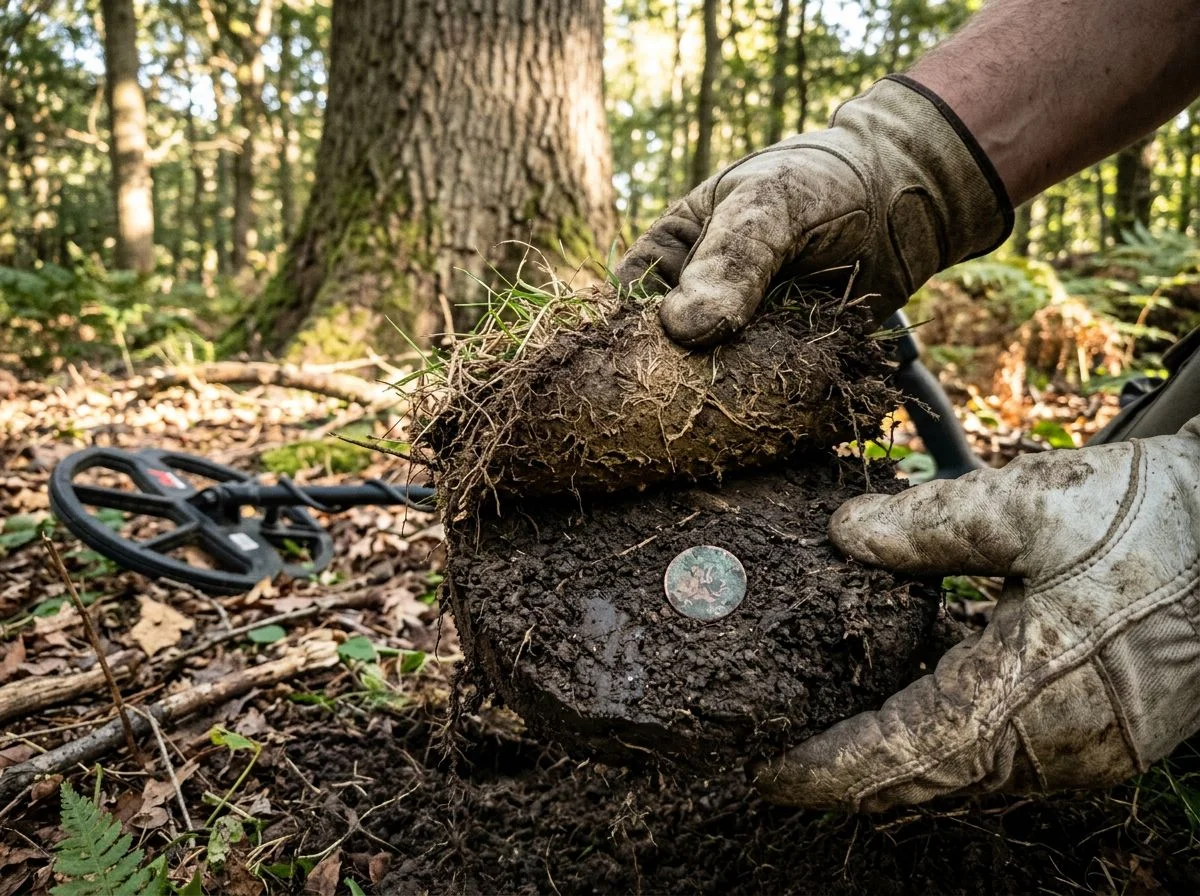
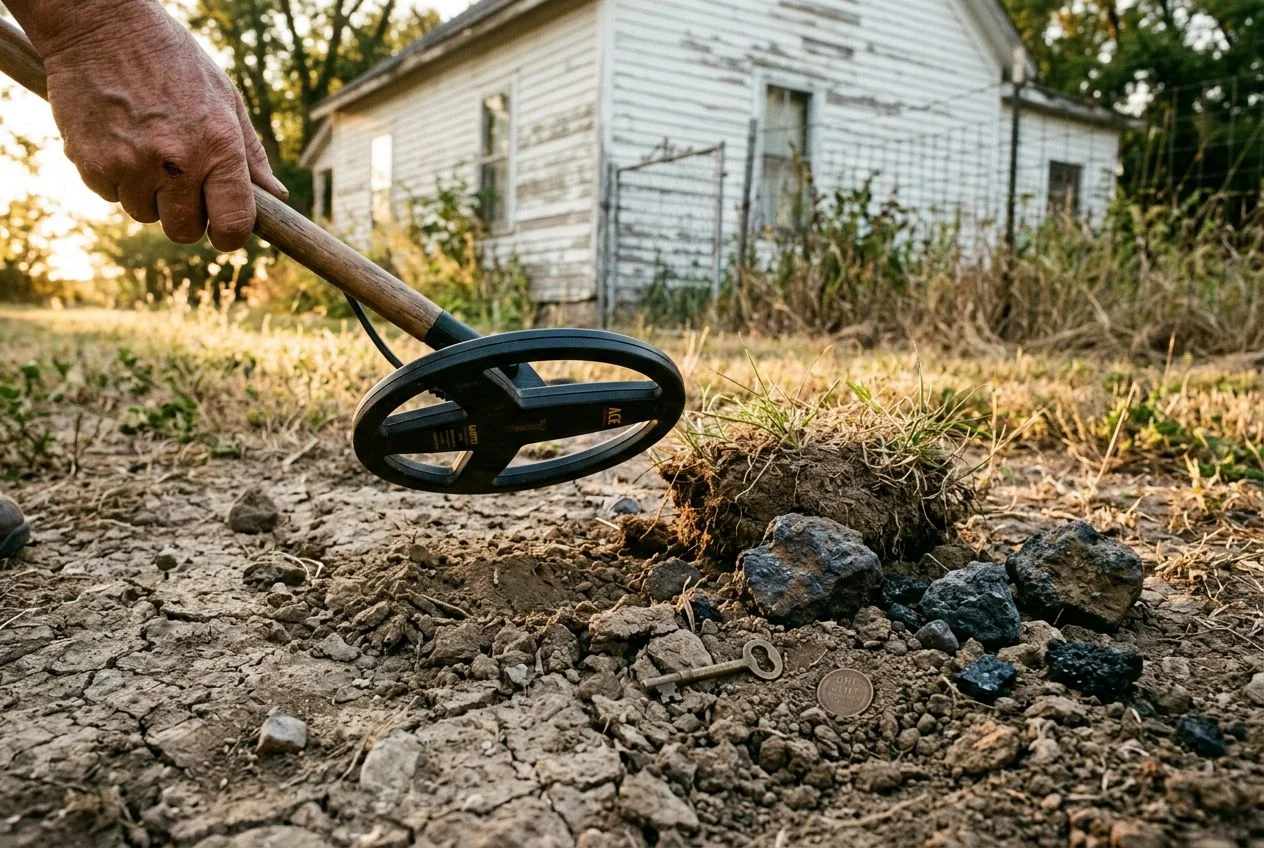
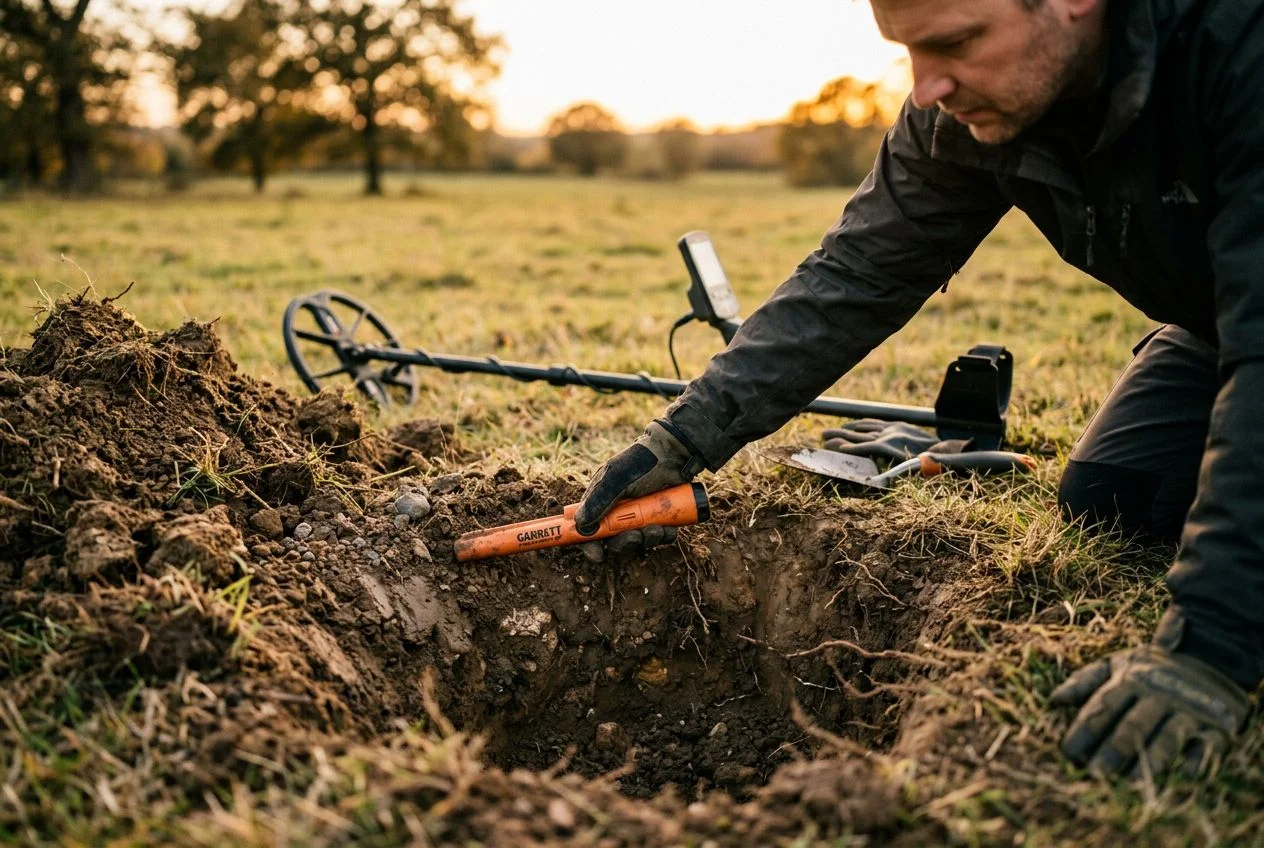
The Oreo Cookie method means physically stripping away the top few inches of iron-laced soil so your detector can finally “see” the non-ferrous targets hiding underneath. You’re not just clearing trash. You’re taking apart a magnetic shield that can blind your machine to coins and relics sitting inches away. This is a cornerstone of advanced metal detecting in iron-infested sites.
I had my “axe head epiphany” on a site I’d nearly given up on. The cellar hole belonged to an old blacksmith’s homestead. The ground was so full of iron that my Equinox 900 sounded like a broken smoke alarm. I dug nothing but hand-forged spikes and slag for an hour. Then I got a screaming overload signal near the old back door. I figured it was a plow blade or a piece of stove plate. But I was frustrated enough to dig it out anyway, just to shut the detector up.
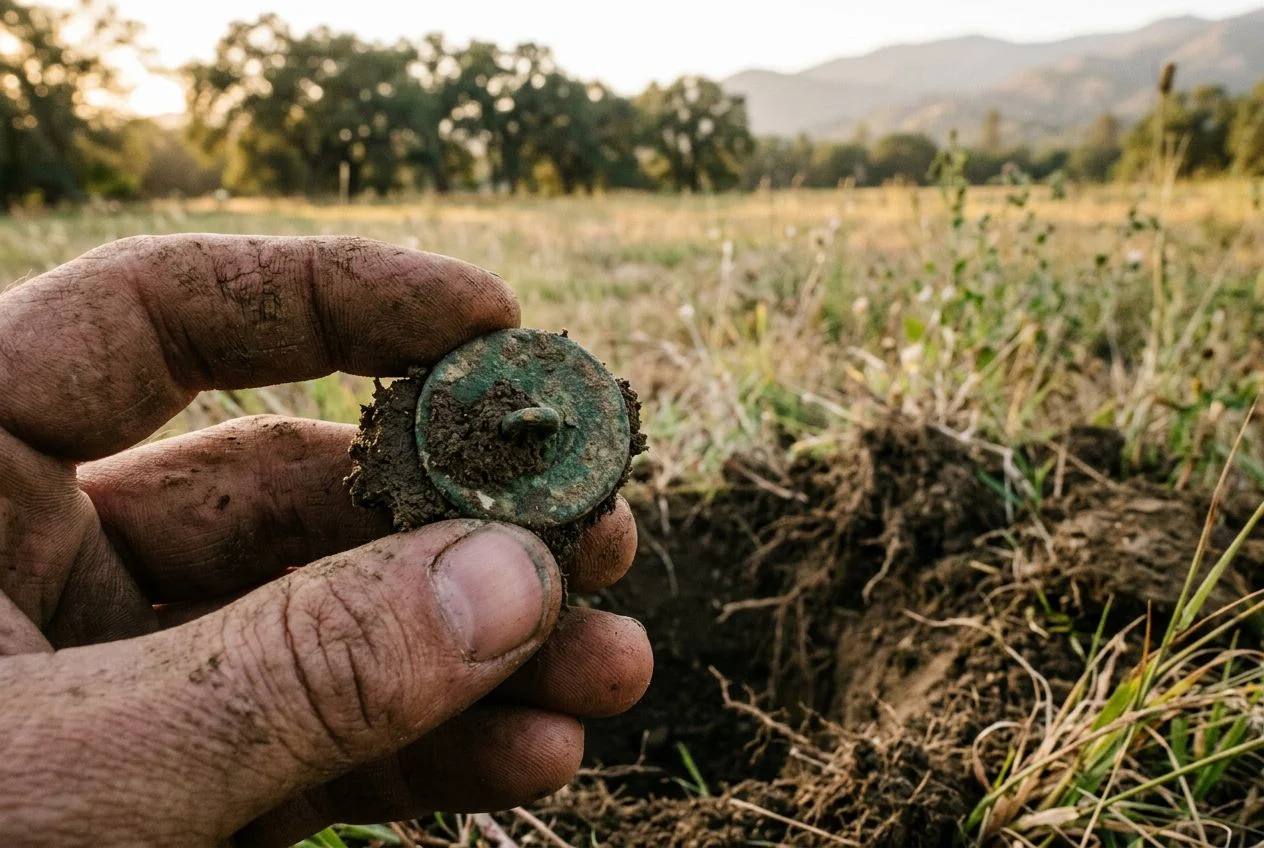
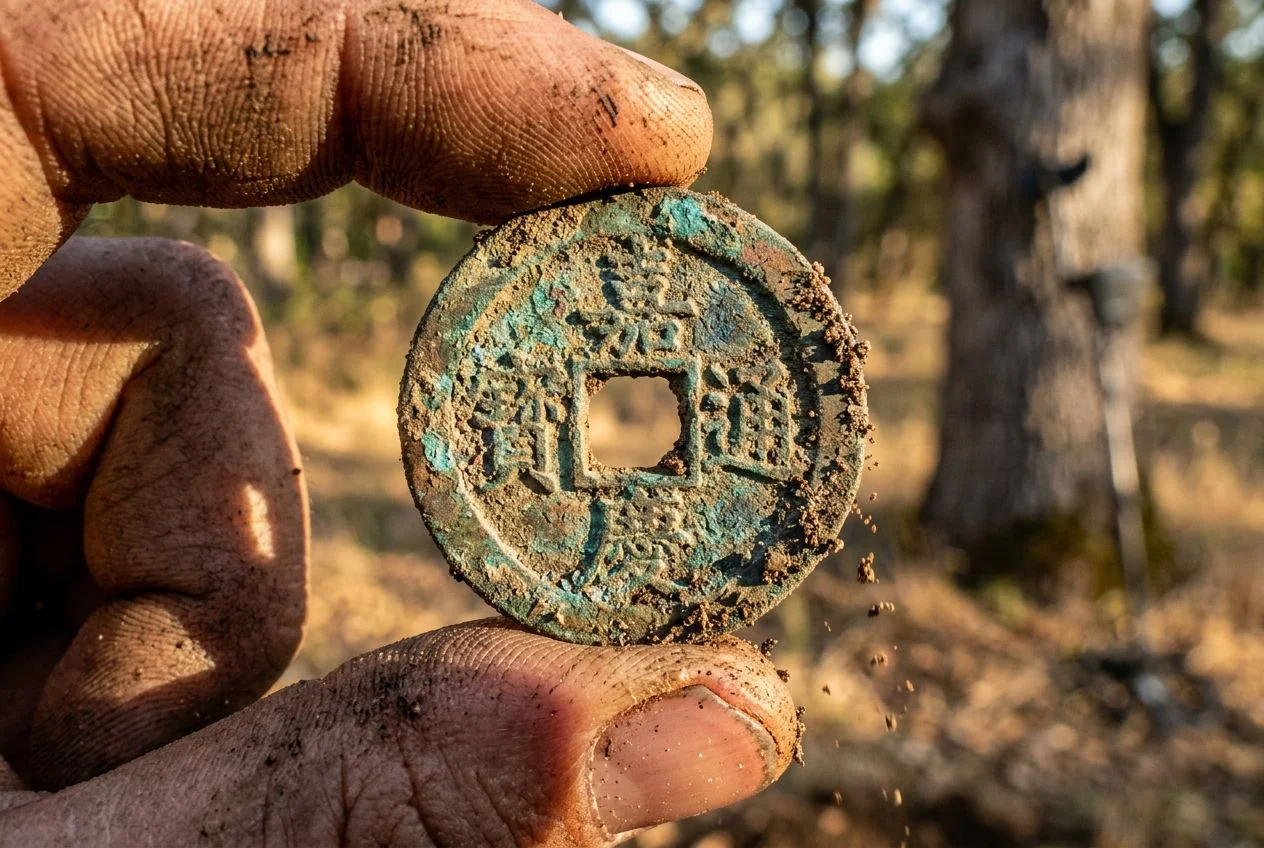
About ten inches down, I pried out a massive iron axe head. It was easily four pounds and corroded into something like a fossilized potato. I tossed it aside and swung the coil back over the hole out of habit. I got a clean, repeatable high tone reading 88-89. Two more scoops of dirt, and I was holding an 1845 large cent. It was in damn near perfect condition. The axe head had been sitting directly above it for probably 150 years.
This isn’t some fluke of the Garrett AT Pro, either. Dorian Cook describes digging a massive iron axe head under nearly identical conditions. He pulled an 1845 large cent from underneath it. The physics here are simple and a little maddening. Big iron objects create a magnetic “shadow” that can reach up to 6 inches wide. This completely hides nearby non-ferrous targets from standard discrimination. Your detector’s circuits see the iron’s huge signal and either null it out or average the target ID down into the iron range.
The Multi-Sweep System: A 4-Pass Strategy That Forces the Iron to Give Up Its Secrets
The multi-sweep system is a methodical, four-pass approach that physically and electronically takes apart an iron-infested site layer by layer. You start with a big coil and wide-open settings to map the junk, then tighten your discrimination and shrink your coil to isolate the non-ferrous targets hiding in the wreckage. For anyone serious about advanced metal detecting, this system is non-negotiable.
Dorian Cook described a version of this using his Garrett AT Pro. It’s the most structured approach I’ve seen in any detecting article. But the AT Pro is a single-frequency machine. Modern Simultaneous Multi-Frequency detectors—the Equinox 900, the Deus II, the Manticore—give you a whole new set of controls. Nobody has really laid out how to adapt the multi-sweep system for them. Here’s how I do it.
Sweep 1: Map the Iron (Large Coil, All-Metal, Full Sensitivity)
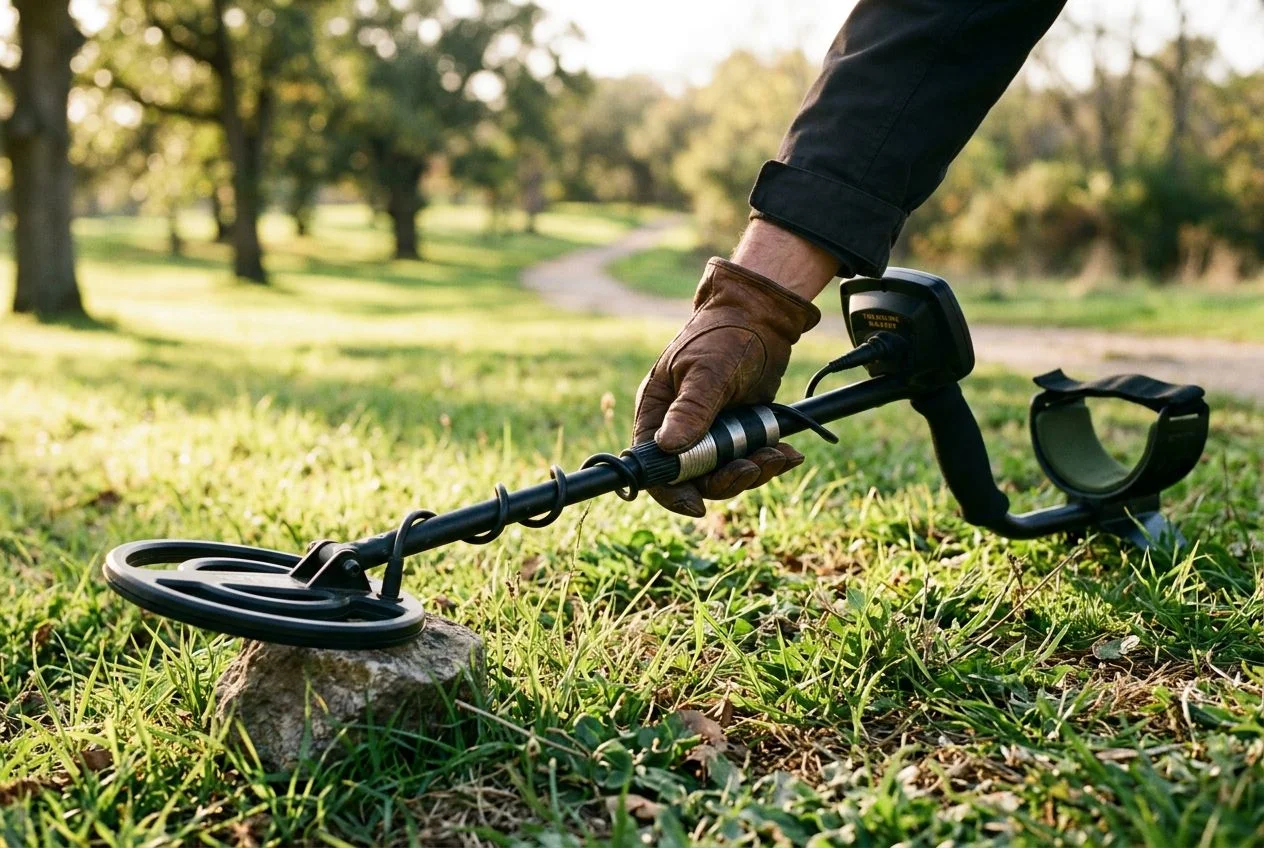
Strap on your stock 11-inch coil and switch to all-metal mode. Crank the sensitivity as high as it’ll go without chattering. Your goal here isn’t to find keepers. It’s to build a mental map of where the iron is. I swing pretty fast and cover the whole site in a loose grid. I flag every big overload signal with a pin flag or a mental note. On the Equinox 900, I run Recovery Speed at 4 for this pass. A slower recovery lets the machine report deeper iron that faster settings might clip.
Sweep 2: Cherry-Pick Shallow Non-Ferrous (Large Coil, Discriminate, Reduced Sensitivity)
Now switch to your standard discrimination mode. Drop sensitivity by about 30-35%. On the Equinox 900, I use Field 1 with Iron Bias set to low. This is important: high Iron Bias on the Manticore can cause bent nails to false as non-ferrous. So keep it conservative. The idea here is to skim the shallow layer for non-ferrous targets that aren’t heavily masked. You’re looking for coins and buttons sitting above or between the iron you mapped in Sweep 1. Keep your swing speed moderate.
Sweep 3: Isolate Masked Targets (Small Coil, All-Metal, High Recovery Speed)
This is where the real advanced metal detecting work begins. Switch to a 6-inch coil and go back to all-metal mode. Now crank your recovery speed or reactivity way up. I’m talking Recovery Speed 6-7 on the Equinox 900. Or Reactivity 2.5-3 on the XP Deus II. Terry Shannon swears by this approach with his Nokta Legend and a small coil, and he’s right. The small coil lets you isolate targets that the big coil simply can’t separate from nearby iron. Swing slow and tight. You’re listening for high-tone blips that break through.
Small Coil, Big Results: Why Your 6-Inch Coil Is the Real Relic Hunter
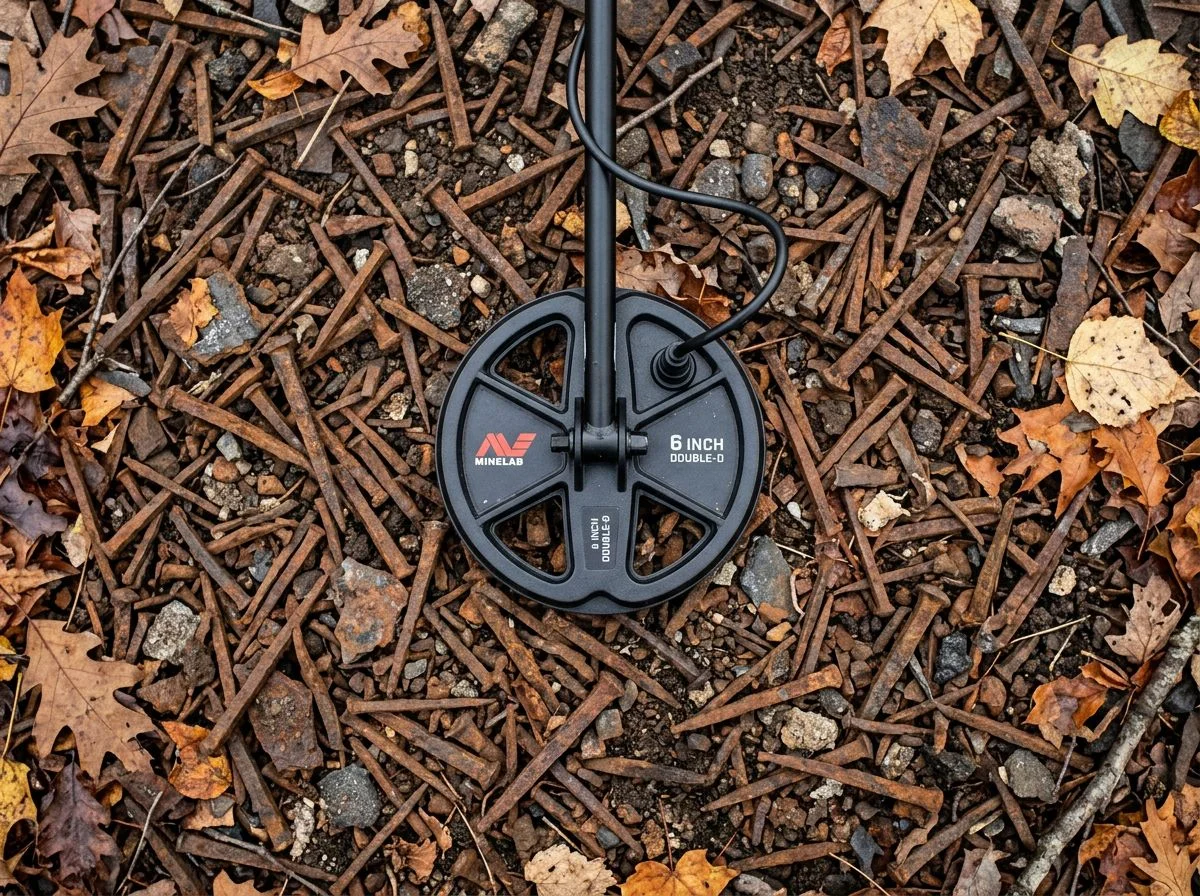
The small coil isn’t a downgrade. It’s a surgical instrument that can separate targets as close as 1.5 inches apart in iron trash, where an 11-inch coil needs 3-4 inches to do the same. You’ll lose 20-30% depth, but the sweet spot is using the small coil only after you’ve mapped the iron carpet with your big coil. This is advanced metal detecting coil strategy at its finest, and it transforms hunted-out sites into productive ground again.
My buddy Terry Shannon ran into this exact situation. He was using his Nokta Legend at a cellar hole that had already been hunted hard. The site was blanketed with iron nails. It was the kind of place where your detector sounds like a Geiger counter at Chernobyl. Terry had already worked it with the stock 11-inch coil. He’d pulled a few buttons and a toasted copper. But he knew there was more hiding in the nail beds. So he strapped on the small coil and worked the same ground again, moving at a crawl.
What he found on that second pass changed how I think about coil choice. Relics that the larger coil had completely missed started popping up. These were targets literally masked by iron sitting inches away. The small coil’s narrower detection field meant it was only seeing one target at a time. It wasn’t averaging two or three together and reporting the whole mess as iron.
Here’s the physics that makes this work. A large coil’s magnetic field is shaped like a wide cone. When that cone passes over a nail sitting beside a brass button, the detector sees both targets at once. The nail dominates the signal. A 6-inch coil’s field is more like a narrow column. It can slip between iron targets and ping the non-ferrous one sitting right next to them. The depth tradeoff is real, and I’m not going to pretend otherwise.
Speed vs. Power: Tuning Your Detector’s Brain for the Iron Carpet
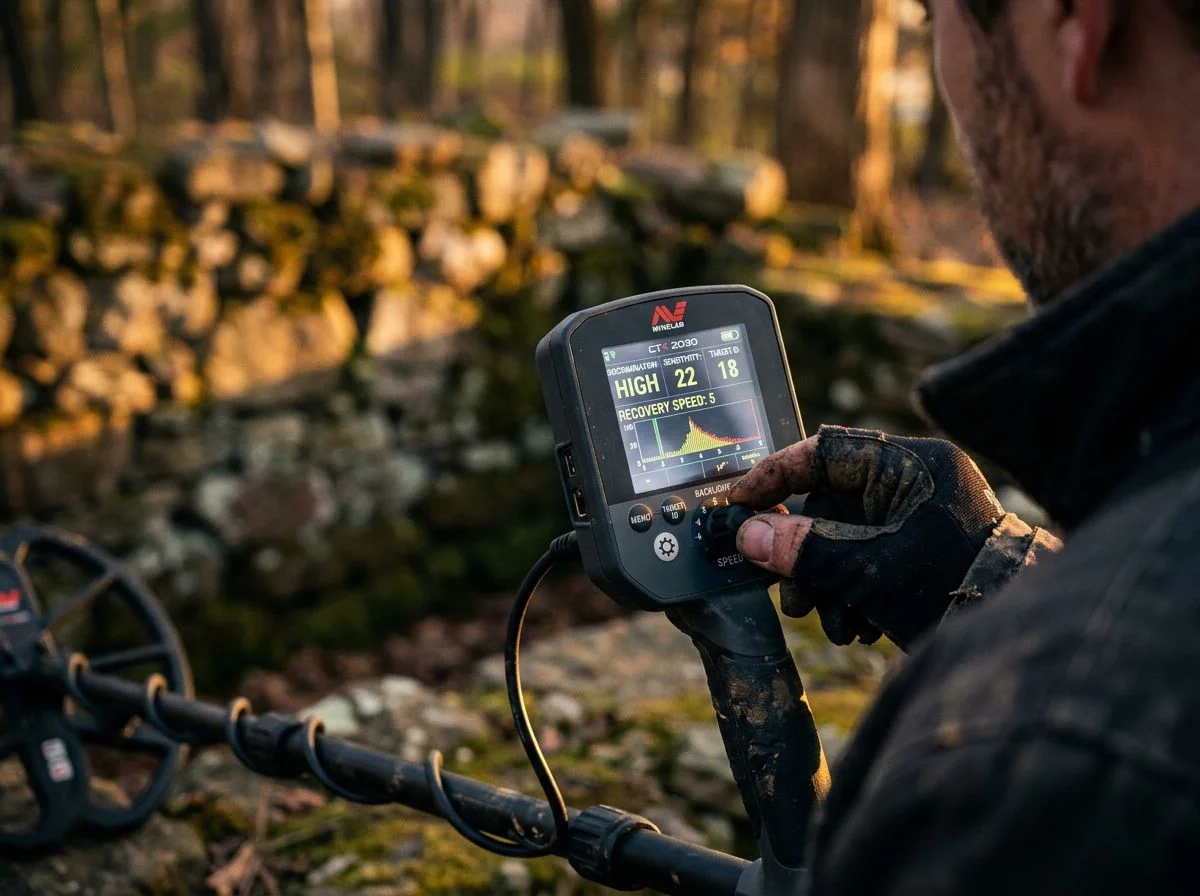
In dense iron, you need to prioritize separation speed so you can hear what’s between the nails. But if you’re hunting the fringe of the iron zone for deep, solitary relics, you should prioritize raw transmit power instead. The setting that saves you in one spot will blind you in the other. Knowing which “brain” to use is pure advanced metal detecting judgment, and it’s the difference between a pouch full of keepers and a pouch full of frustration.
Think of Recovery Speed like a camera shutter. Too slow, and a moving target blurs. You miss a coin next to a nail. Too fast, and the image is dark. You lose depth on a deep, solitary target. That’s the core tradeoff you make every time you adjust this setting. A very fast recovery speed tells your detector to reset almost instantly after hitting a target. This lets it report on a brass button an inch from a square nail. The downside? That ultrafast reset doesn’t give the machine enough time to fully “light up” a deep target at the edge of its range.
So how do you choose? It depends on where you are in your hunt. If you’re working the heart of the iron carpet, you need speed above all else. This is the area directly over the collapsed structure, where my buddy Terry Shannon was pulling relics with his small coil. This is where the XP Deus II’s Fast Multi-Frequency technology really shines. Its processing is so fast it can isolate non-ferrous targets in a bed of nails. On a slower machine, those nails would blend into a single, nulled-out grunt.
Now, shift your focus to the edges of the site. Think of the yard, the approach path, the area 30 yards from the foundation where the ground is quieter. Here, you’re no longer fighting a nail every two inches. You’re hunting for deep, solitary targets that everyone else missed. This is where you dial the speed back and go for raw power. The Manticore’s Multi-IQ+ engine is practically built for this. It floods the ground with a dense field that hits hard on deep conductors. On an Equinox 900, I’ll switch to Park 2 mode and drop the Recovery Speed to 3 or 4.
The “Re-Match” Mindset: Why Your First Hunt at a Cellar Hole Should Be a Scouting Mission
My personal rule is simple. The first hunt at a new cellar hole is reconnaissance, period. I map the iron concentration. I flag the boundaries of the debris field. And I dig exactly zero non-ferrous targets. The second hunt is the real treasure hunt. I come back with a plan and a machine dialed in for what’s actually down there. This is the advanced metal detecting mindset that separates the frustrated from the successful.
That approach sounds insane to most detectorists, and I get it. You’ve done the research. You’ve driven an hour. And now you’re supposed to not dig the good signals? But here’s what happens when you skip the scouting mission. You cherry-pick the loudest high tones. You mask half the site with your own footprints and plugs. And you leave without understanding the iron pattern that’s hiding the deep stuff. You got a toasted copper, sure. But you also just ruined your best shot at the seated dime sitting under a nail bed you never even found.
Dorian Cook puts it perfectly: “Some days yield nothing but scrap metal,” but returning for a “re-match” with refined settings and a plan is key. That re-match only works if you gathered intel on the first visit. So what does a scouting hunt actually look like? I run my big coil in all-metal mode with the sensitivity pushed. I’m not listening for good targets. I’m listening for iron density. I flag the transitions with surveyor’s tape or GPS pins. By the time I leave, I know the exact footprint of the structure and the cleaner zones around the edges. That’s the map I use to plan the real hunt.
FAQ: Your Cellar Hole Questions, Answered
Look, after 15 years of swinging a coil over collapsed chimneys and forgotten foundations, I’ve heard the same questions from nearly every detectorist I’ve hunted with. Here are the straight answers. No fluff. Just what I’d tell you if we were standing at the edge of a cellar hole together right now.
Should I dig every iron signal? God, no. You’d be there until your grandkids retired. But dig the big, round, boomy iron hits. The ones that sound like a garbage can lid at six inches. Those are often axe heads, stove parts, or plow shares. They’re notorious for masking coins and buttons directly underneath them. Dorian Cook’s 1845 large cent was sitting right below an axe head he almost walked past.
What’s the best detector under $500 for cellar holes? The Nokta Simplex Ultra with the small coil package, hands down. It’s waterproof and runs simultaneous multi-frequency. That little coil is a scalpel in the iron. You’ll spend more on gas getting to sites than you will on the machine. And it’ll find everything the flagship detectors find if you do the research and apply advanced metal detecting tactics.
How do I know if a cellar hole is worth hunting? Look for brick fragments, pottery shards, and glass scattered on the surface. Those mean the structure was substantial, not just a lean-to. Then check your historical maps. You want at least 50 years of occupation history. A farmhouse that stood from 1880 to 1930 will have way more targets than a tenant shack that lasted a decade.
I only have two hours to hunt. What’s the move? Stef Tanguay’s advice is spot-on here. When time is tight, skip the big coil entirely. Go straight to the small coil. You won’t cover as much ground. But you’ll actually hear the masked targets instead of just nulling over them. Two productive hours beats six frustrated ones every time.
The Ethical Detectorist’s Cellar Hole Code
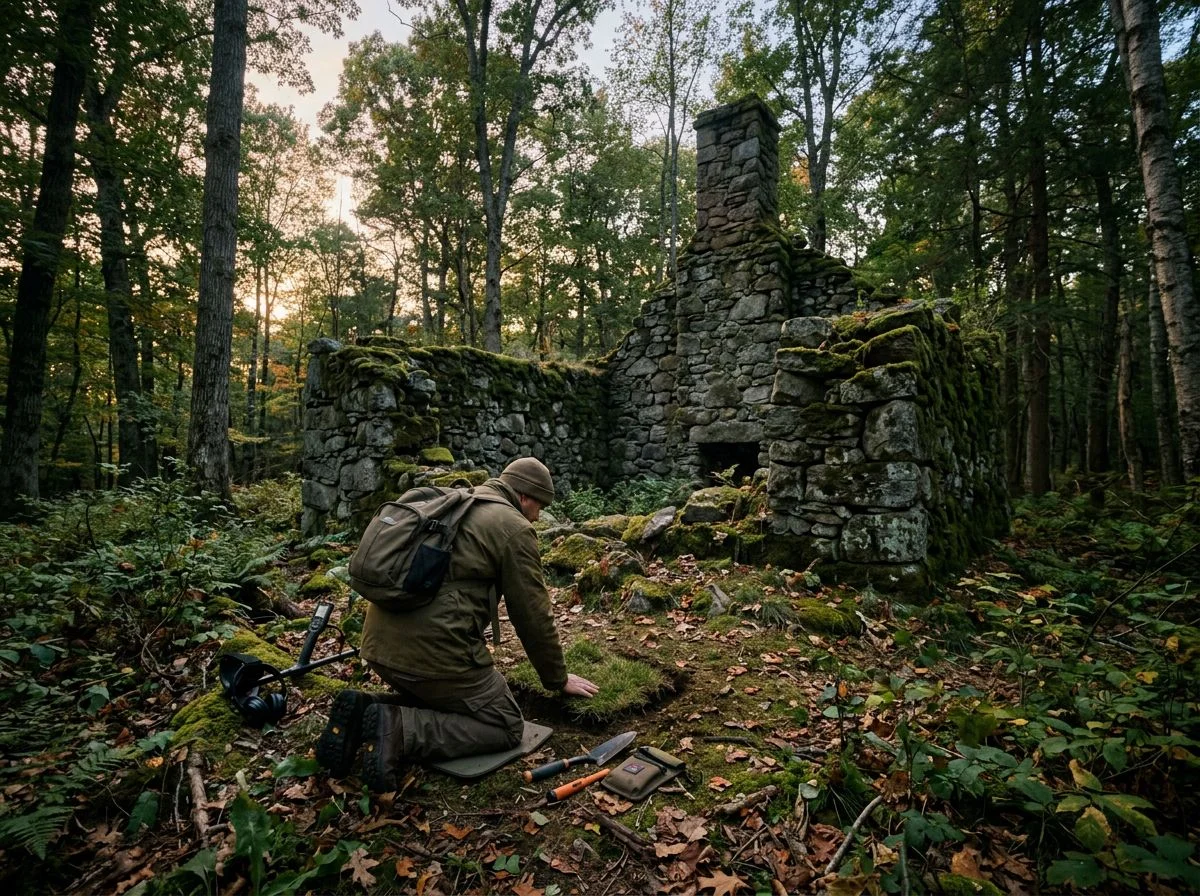
At its core, the cellar hole code is simple. Get permission. Fill your holes. And know when a find belongs to the public, not your display case. I’ve never met a cellar hole that wasn’t on someone’s land. Getting permission isn’t optional. It’s the only way the hobby survives. That talk with a landowner is the foundation everything else rests on. Skipping it poisons the well for every detectorist who comes after you. Ethical practice is as much a part of advanced metal detecting as any technical skill.
Beyond permission, there’s the question of what you do with what you find. I think about Terry Shannon’s approach a lot. He’s planning to donate all his cellar hole recoveries to a local museum. This ensures those bits of local history stay in the community that produced them. Not every find calls for that, but some do. If you uncover pre-1800 structural remains, human remains, or culturally sensitive artifacts, you report them to your state historic preservation office. That’s not a suggestion. It’s the law in most states. And it’s the right thing to do everywhere. A shoe buckle from 1750 tells a better story in a museum display than it does in a shoebox under your bed. Deep down, we all know it.

My name is Paul and I am the founder of Detector For Metal, a dedicated resource for metal detecting enthusiasts seeking to uncover historical treasures and connect with the past using the latest technology. As a stay-at-home dad and family man, I’ve found metal detecting to be the perfect hobby that combines family adventure with historical learnings for the whole family.
As a father, I’m deeply committed to passing on this hobby to the next generation of detectorists, starting with my own children. I share advice on everything from metal detecting with kids to exploring the top 10 metal detecting sites you never thought about. My methodical approach to the hobby goes beyond the thrill of discovery—it’s about creating family traditions while preserving history and sharing the stories of those who came before us.