Table of contents
- The Gold That Got Away
- Why Historic Tailings Still Hold Gold
- Mining Claims and the 1872 Law
- Research Old Mining Sites With Satellites
- Identifying Different Tailings Types
- PI or VLF for Metal Detecting Gold Tailings?
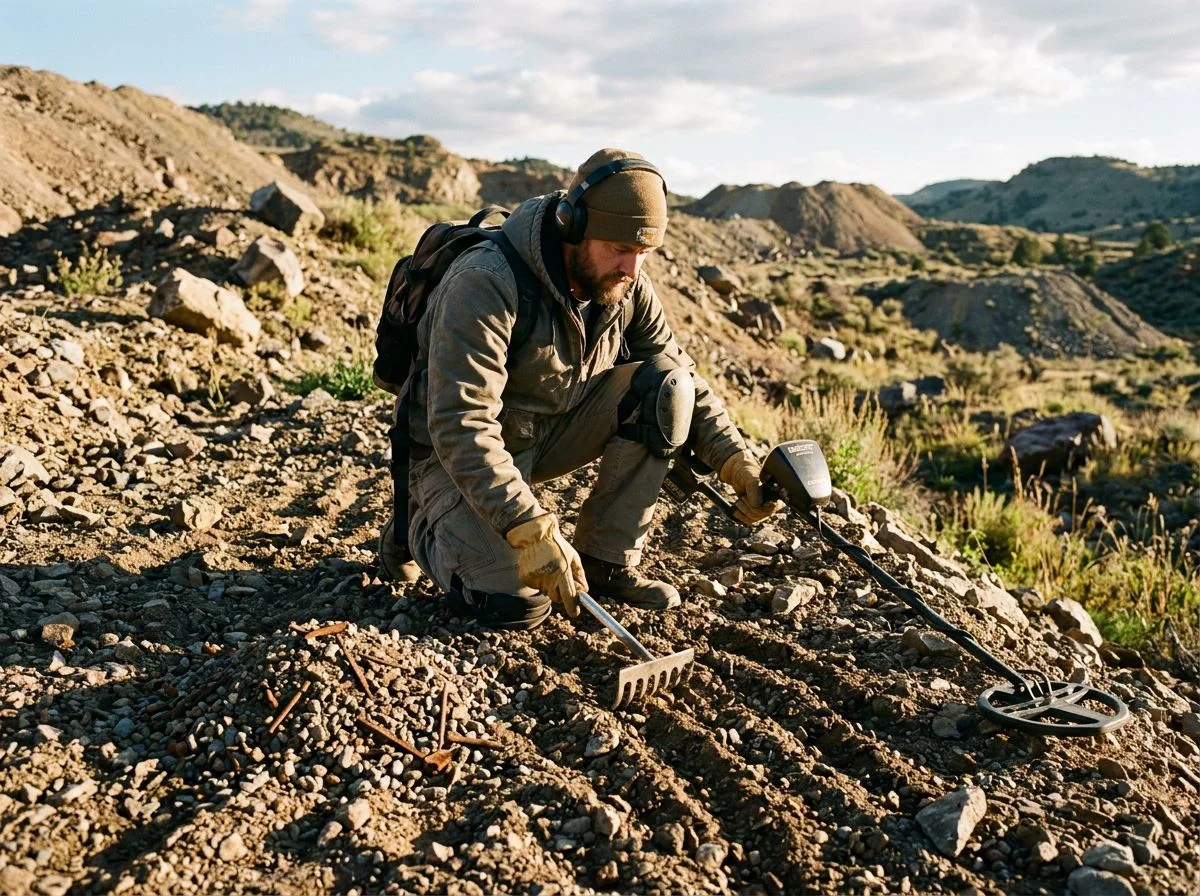
- The Rake-and-Detect Method
- Ethics and Safety on Old Mining Sites
- Common Questions About Detecting Tailings
- The Gold Is Still There If You Do the Work
Historic gold mine tailings are legal to detect only if you first verify land status through BLM and county records, confirm no active claims exist, and follow collection limits — then you can hunt piles the old-timers’ equipment physically couldn’t process.
The mistake I see detectorists make again and again is treating tailings like any other public land. They’re not. A drywash pile outside Auburn might sit on BLM ground, but that doesn’t mean it’s unclaimed. The BLM’s collection rules allow recreational prospecting with hand tools and metal detectors, but only where no one else holds a claim. I’ve had a buddy find a 4-gram nugget on what turned out to be an active unpatented claim — the conversation with the claim holder was not fun, and he walked away with nothing.
On National Forest land, the rules are different again. The USDA Forest Service treats gold detecting under the General Mining Laws. That means a Notice of Intent usually isn’t required unless you’re going to disturb the surface significantly. But — and this is the part most people skip — many mineralized areas inside National Forests are already claimed. You have to check county and BLM records before you swing.
The good news is the gold is genuinely there. The USGS confirms most western placer deposits have been reworked at least twice. Yet modern detectors still pull missed nuggets. The old equipment was inefficient — drywasher bellows lost fine gold, trommel screens rejected oversized rocks with specimen gold still locked inside. That’s your opening. Just make sure you’re standing somewhere you’re allowed to dig.
The Gold That Got Away
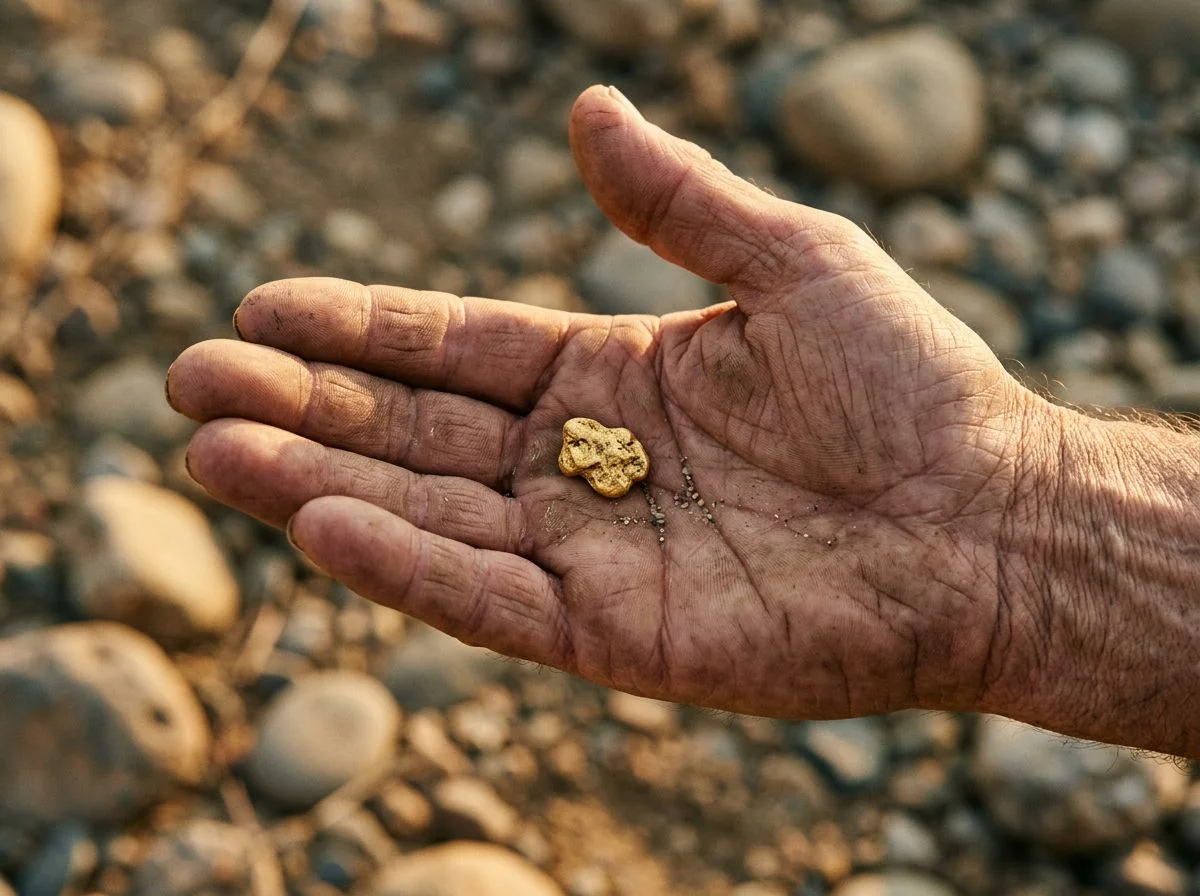
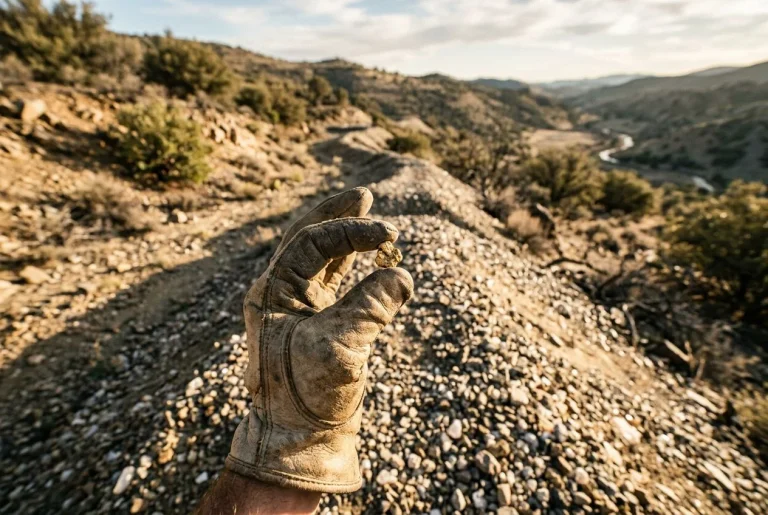
The gold didn’t get away — it got left behind. Old-timer equipment was good enough to make a living, but lousy at catching everything. That’s exactly why tailings piles are still worth swinging a coil over today.
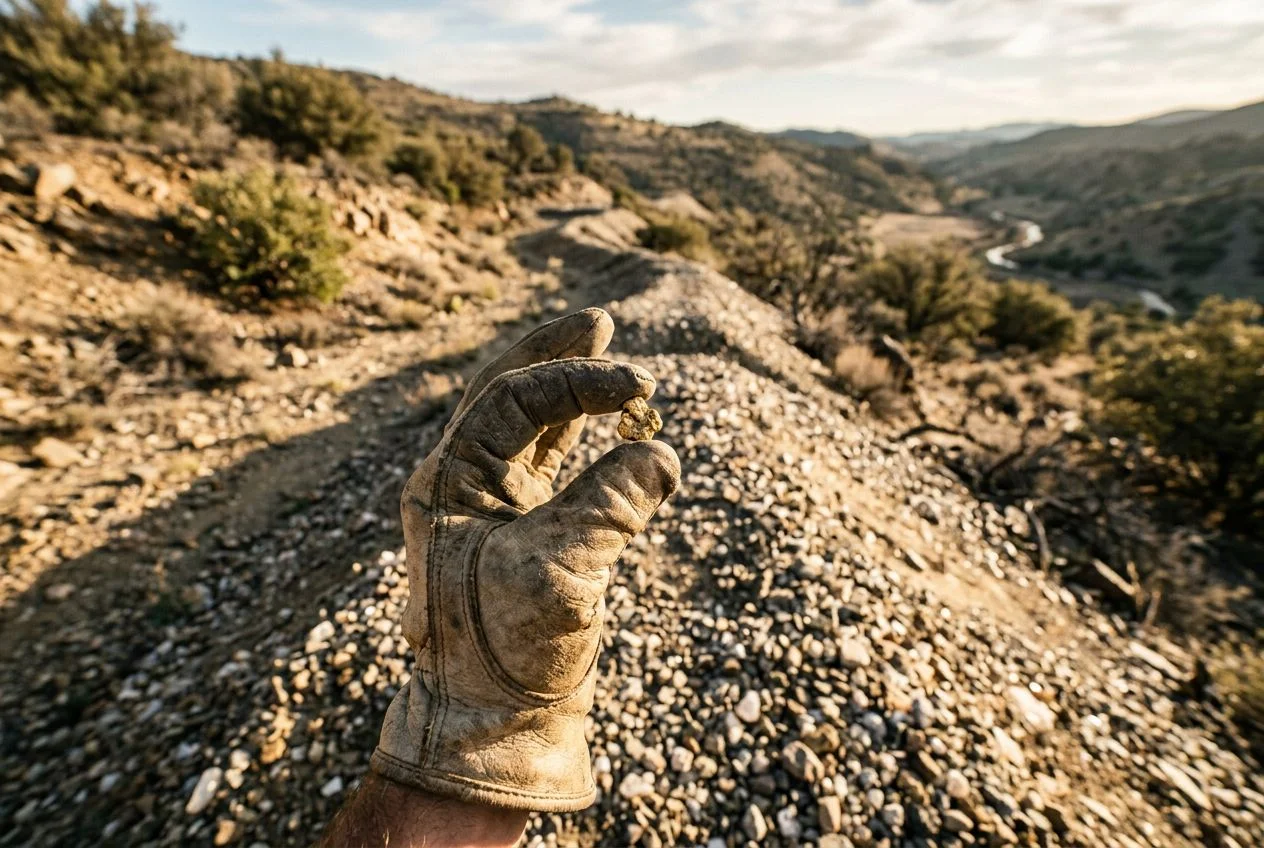
Last spring I was standing on a drywash pile outside Auburn. It didn’t look like much — just a long ridge of gravel and cobble snaking down a hillside, overgrown with manzanita. Some 1930s miner had worked this ground with a drywasher. He’d run bucket after bucket of material through the bellows and riffles. I’d done my homework, checked the land status, confirmed no active claims. Then I dug a faint signal about six inches down.
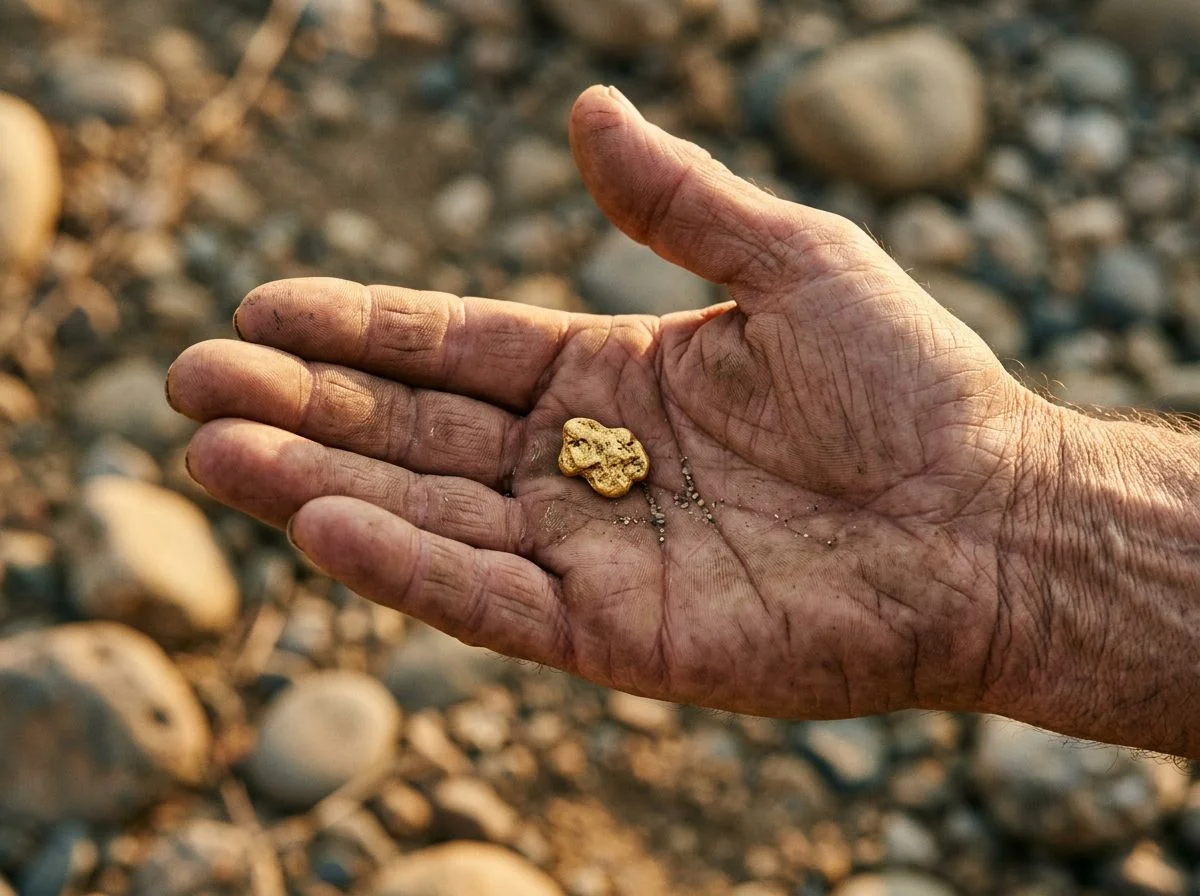
It was a 2.3-gram nugget. Not huge. But here’s the thing that still gets me: that nugget sat in a pile of rock the original miner had already processed. He’d dug it up, run it through his machine, and thrown it onto the tailings pile — and his equipment physically couldn’t catch it.
That’s not a fluke. The USGS confirms that most western placer deposits have been reworked at least twice. First by Chinese laborers who arrived after the initial gold rushes, then by itinerant miners during the 1930s Depression. Yet modern detectors still pull missed gold from those same workings. The old drywashers lost fine gold through inefficient bellows. Trommel screens rejected oversized rocks with specimen gold locked inside. Hydraulic monitors blasted gold into bedrock cracks nobody ever cleaned.
The gold is there. The question is whether you’re standing somewhere you’re legally allowed to dig for it — and that’s what this guide is about.
Why Historic Tailings Still Hold Gold
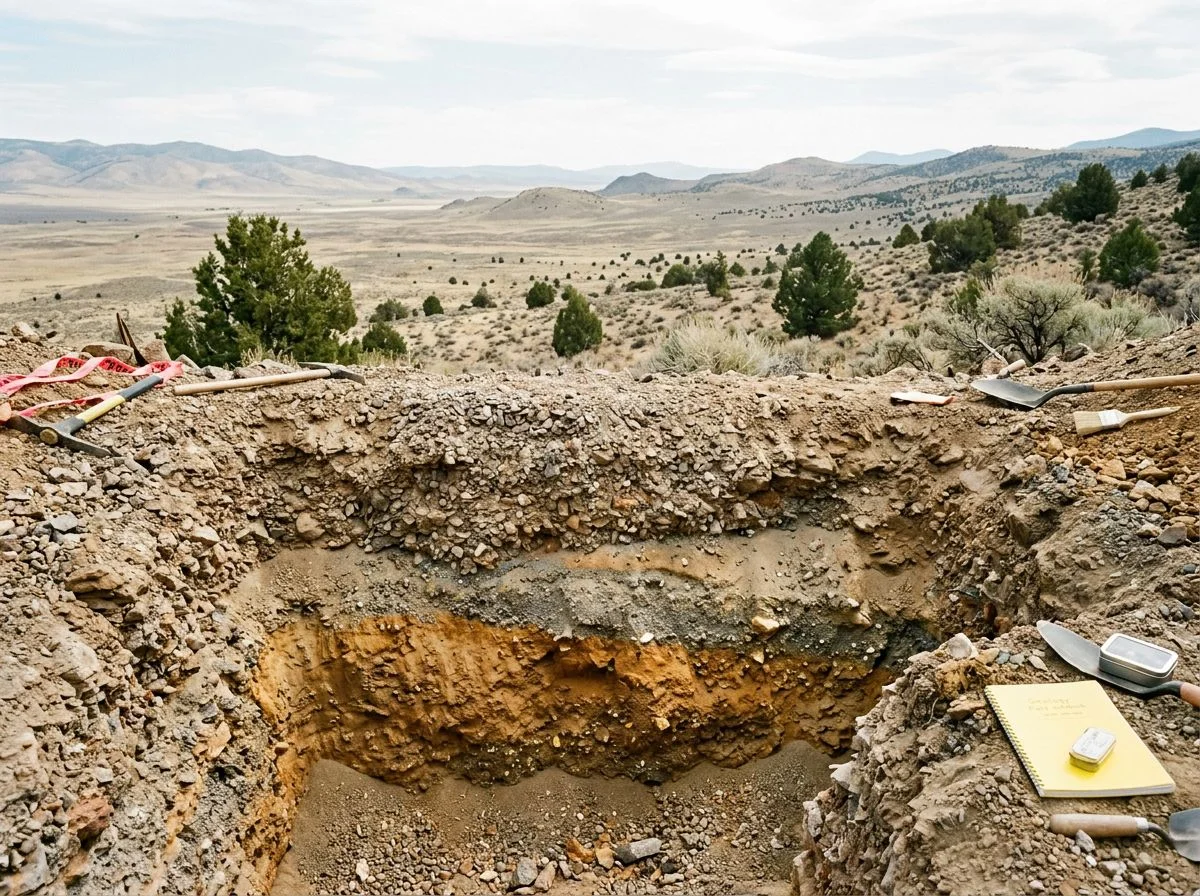
The short answer: old-timer equipment was good enough to make a living, but lousy at catching everything. Drywashers lost fine gold through inefficient bellows. Trommel screens rejected oversized rocks with specimen gold locked inside. Hydraulic monitors blasted gold into bedrock cracks nobody ever cleaned. The gold didn’t vanish — it got left behind in the piles.
The bucket-line dredge trommel is my favorite example, because it’s almost comical. These massive floating machines dominated California’s rivers in the early 1900s. They chewed through gravel beds with an endless chain of steel buckets. Material got dumped into a rotating trommel screen that separated gravel by size. Anything smaller than the screen openings fell through to the sluice boxes below. Anything larger — and here’s the kicker — got kicked out the back as waste.
That oversized rock category is exactly where specimen gold hid. A chunk of quartz with visible gold locked inside it, maybe the size of a softball, would bounce down the trommel and get ejected onto the tailings pile without a second thought. The machine couldn’t crush it, couldn’t process it, and didn’t care. The gold was literally thrown away. I’ve seen detectorists pull multi-ounce specimen pieces from dredge tailings along the Yuba River that the original operation physically rejected.
Drywashers had their own failure point. The bellows system that puffed air through the riffles was never efficient enough to hold fine gold. Dust and flour gold blew right out the back with the waste. And hydraulic monitors — those giant water cannons that washed entire hillsides into sluice runs — blasted gold downward into cracks and crevices in the bedrock that were never cleaned. The miners took what their equipment could catch and moved on.
That’s your opening. Every tailings pile is a record of what the old-timers couldn’t recover, not what they did.
Mining Claims and the 1872 Law
Here’s the uncomfortable truth: most historic tailings piles sit on land you don’t have automatic rights to detect. Some are on public land with collection limits. Some are on active mining claims owned by someone else. Swinging a coil on the wrong one can turn a great day into a legal headache. Know the difference before you dig.
I learned this lesson vicariously through a guy I’ll call Dave. Dave found a beautiful 4-gram nugget in a drywash pile near the Bradshaw Mountains. He posted it on a prospecting forum. Three hours later, he got a private message from a claim holder who recognized the exact pile in the background of Dave’s photo. The conversation that followed was, by Dave’s account, deeply awkward. The claim holder was polite but firm: that nugget belonged to him, the pile was on his unpatented claim, and Dave had been claim jumping whether he meant to or not. Dave returned the nugget. He’s lucky the guy didn’t press charges.
That’s the thing about the 1872 Mining Law — it’s still the law of the land for locatable minerals like gold. It gives claim holders the exclusive right to extract minerals from their claim. An unpatented claim doesn’t mean the claimant owns the surface land; that’s still public. But they own the mineral rights, and that includes the gold sitting in those old tailings piles. You can walk across an unpatented claim. You cannot detect it for gold without the claim holder’s permission. Period.
On BLM land that’s not under claim, recreational gold detecting is generally allowed — but with hard limits. The BLM caps non-commercial collection at 25 pounds of rocks and minerals per day and 250 pounds per year per person. For gold nuggets, that’s a lot of weight. But the point is the framework: you’re a casual collector, not a commercial operator. The moment you start moving serious material or disturbing the surface beyond hand tools, you’ve crossed into territory that requires permits.
National Forest land follows a different rulebook. The USDA Forest Service guidance is clear that metal detecting for gold falls under the General Mining Laws and 36 CFR 228A. The good news: a Notice of Intent is typically not required for standard detecting unless your activity is likely to cause surface disturbance. The bad news: many mineralized areas within National Forests are already claimed. The Forest Service explicitly warns that you need to search county and BLM records before you detect — otherwise you’re claim jumping.
The practical takeaway isn’t complicated. Check the claim status before you swing. It takes twenty minutes on the BLM’s Mineral & Land Records System. It’s the difference between a legal nugget and an awkward conversation with a claim holder who wants his gold back.
Research Old Mining Sites With Satellites
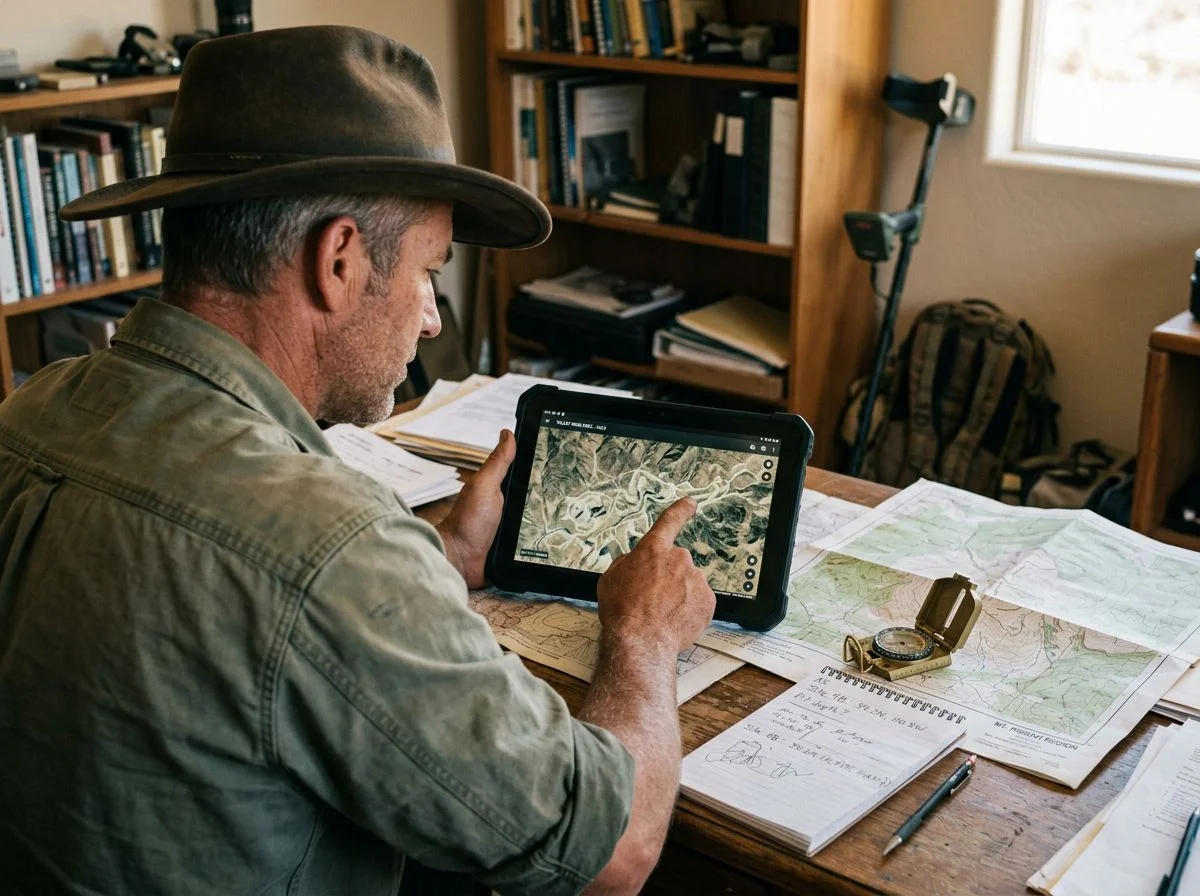
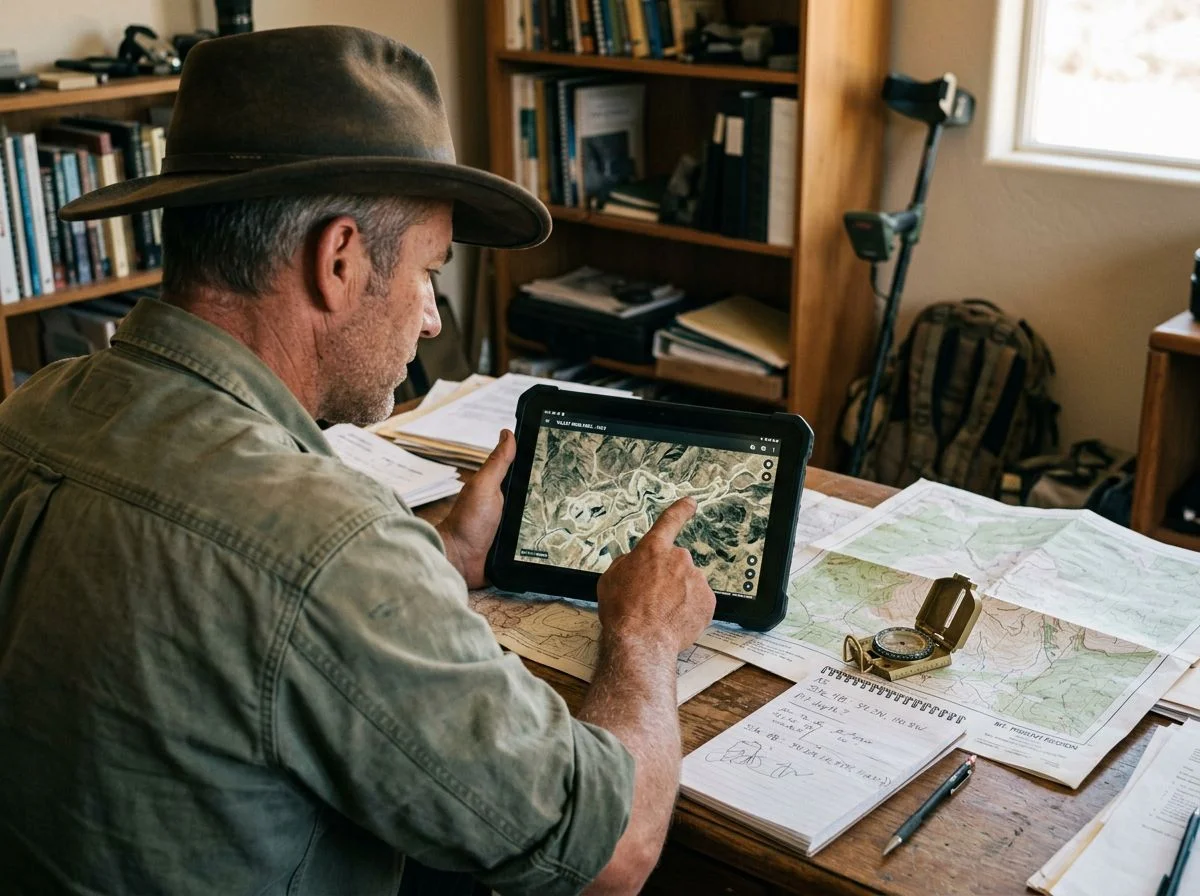
The short version: old maps tell you where miners worked. Mining district records tell you what they found. Modern satellite imagery shows you exactly where they piled the waste. You can do all of this from your kitchen table before ever swinging a coil.
My workflow starts with USGS topographic maps from the 1890s through the 1930s. These older quads are gold themselves — they mark mining operations, mill sites, and sometimes even individual diggings that newer maps have erased. The USGS notes that most western placer deposits were reworked at least twice. Those early maps catch the second wave of activity that later surveys missed entirely.
From there, I cross-reference with county mining district records. Most counties in gold country kept assessment rolls and district filings. These list specific claims, operators, and occasionally production numbers. A claim that shows consistent assessment work through 1915, then nothing, usually means the operator walked away — and left tailings behind.
Then comes the part that feels like cheating: free satellite imagery. Tailings piles are shockingly visible from above once you know what to look for. Drywash piles show up as long, linear ridges of lighter-colored gravel. Dredge tailings look like a giant’s fingerprints dragged across a riverbed.
That’s exactly how I found a forgotten drywash pile outside Auburn. A 1932 newspaper ad mentioned a “dry washing operation, Miller’s Ravine, west of town.” A Sanborn fire insurance map from the same era showed a small structure at the ravine’s mouth. I pulled up satellite imagery, zoomed in, and there it was — a series of parallel gravel ridges about 200 yards long. Invisible from the road, but obvious from orbit. I confirmed the location before I ever loaded my detector in the truck.
Identifying Different Tailings Types
Here’s the short version: each mining method left a distinctive signature on the ground. Once you can read those signatures, you know exactly where to start swinging. Dredge tailings appear as parallel ridges. Drywash piles are fan-shaped gravel heaps. Hydraulic workings show exposed bedrock with gravel banks. Lode dumps are angular rock piles near adits.
The biggest tell — and the one that gets me genuinely excited — is the difference between hand-stacked rock and machine-worked ground. When you find hand-stacked rock walls, you’re looking at the earliest, most labor-intensive mining. Chinese laborers and early prospectors moved every stone by hand. They stacked cobbles into neat walls to clear the ground underneath. That’s not just tailings; that’s a timestamp. Those hand-stacked walls mean the ground beneath them was worked before mechanization, often in the 1850s through 1870s. Recovery methods then were crude, and plenty of gold slipped through.
Machine-worked ground, by contrast, has a raw, churned, chaotic look. Bucket-line dredges left those distinctive parallel ridges that look like a giant dragged his fingers through the riverbed. Each ridge represents a pass of the dredge bucket. The hand-stacked walls are where I start. The old-timers physically couldn’t move some of the ground the machines later chewed through. But they also couldn’t recover what their simple sluices missed.
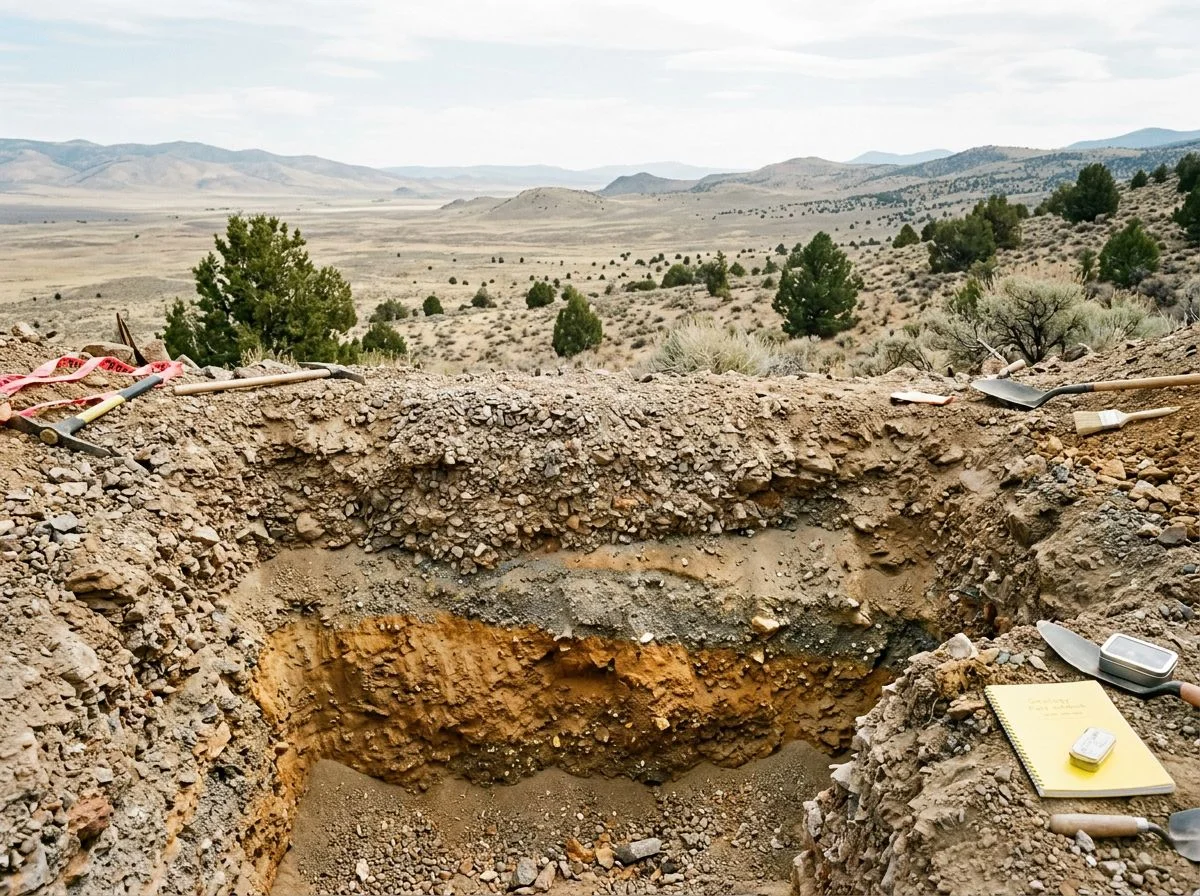
Gold Mining Basics breaks down the visual signatures well. Dredge tailings are the easiest to spot from satellite imagery — long, regular, parallel ridges of rounded cobbles, usually running perpendicular to a river channel. Drywash piles, common in desert districts, are fan-shaped gravel heaps where the drywasher operator dumped tailings in a spreading arc. Hydraulic workings are unmistakable: exposed bedrock scoured clean, with banks of gravel and cobble stacked at the base of the cut. Lode dumps are the most straightforward — angular, sharp-edged rock piles near a mine adit or shaft. That’s the broken quartz and country rock that was hauled out but never crushed.
Once you can read these signatures, you’re not wandering. You’re hunting with intent.
PI or VLF for Metal Detecting Gold Tailings?
Here’s the short version: on mineralized tailings, a Pulse Induction detector punches deeper and ignores hot rocks. But you’ll dig every nail, boot tack, and rusty can fragment. A VLF discriminates iron but loses significant depth in bad ground. The right choice depends entirely on how much trash is in the pile.
Let me put it in concrete terms, because I’ve actually run both machines on the same ground. Last spring I hit a lode dump outside Nevada City with my Equinox 900 first. The dump was littered with square nails, broken pick heads, and can fragments from the 1930s rework era. The VLF’s discrimination was a lifesaver — I notched out iron and cherry-picked the non-ferrous signals. I found a couple of small specimen pieces in quartz, maybe 1.5 grams total. But here’s the thing: I know I was missing deeper targets. In that mineralized serpentine soil, the Equinox was effectively blind past 6 or 7 inches, even with the sensitivity cranked.
Then I borrowed my buddy Tom’s Garrett Axiom and went back to the same pile. Completely different experience. The PI ignored the hot rocks that had been falsing the VLF all morning — and those serpentine hot rocks are brutal, let me tell you. The Axiom was hitting targets at 12, 14 inches that the Equinox never even whispered at. The problem? Every single one of those deep targets was a nail. I dug 40 pieces of iron trash that afternoon. No gold. But on a clean drywash pile with minimal trash, that same Axiom would have been the clear winner. The depth advantage in mineralized gravel is real. And there’s no discrimination penalty when there’s nothing to discriminate.
So here’s my rule of thumb: trash-heavy lode dumps, run the VLF. You’ll miss depth, but you’ll actually hear the good targets among the iron. Clean drywash piles or dredge tailings with low trash density, run the PI. The OMMO guide on Arizona detecting recommends the same split — PI for depth in mineralized washes, VLF for smaller gold in milder ground. If you can swing it, bring both. Start with the VLF to clean out the shallow non-ferrous targets. Then come back with the PI to go deep once the easy signals are gone.
The Rake-and-Detect Method
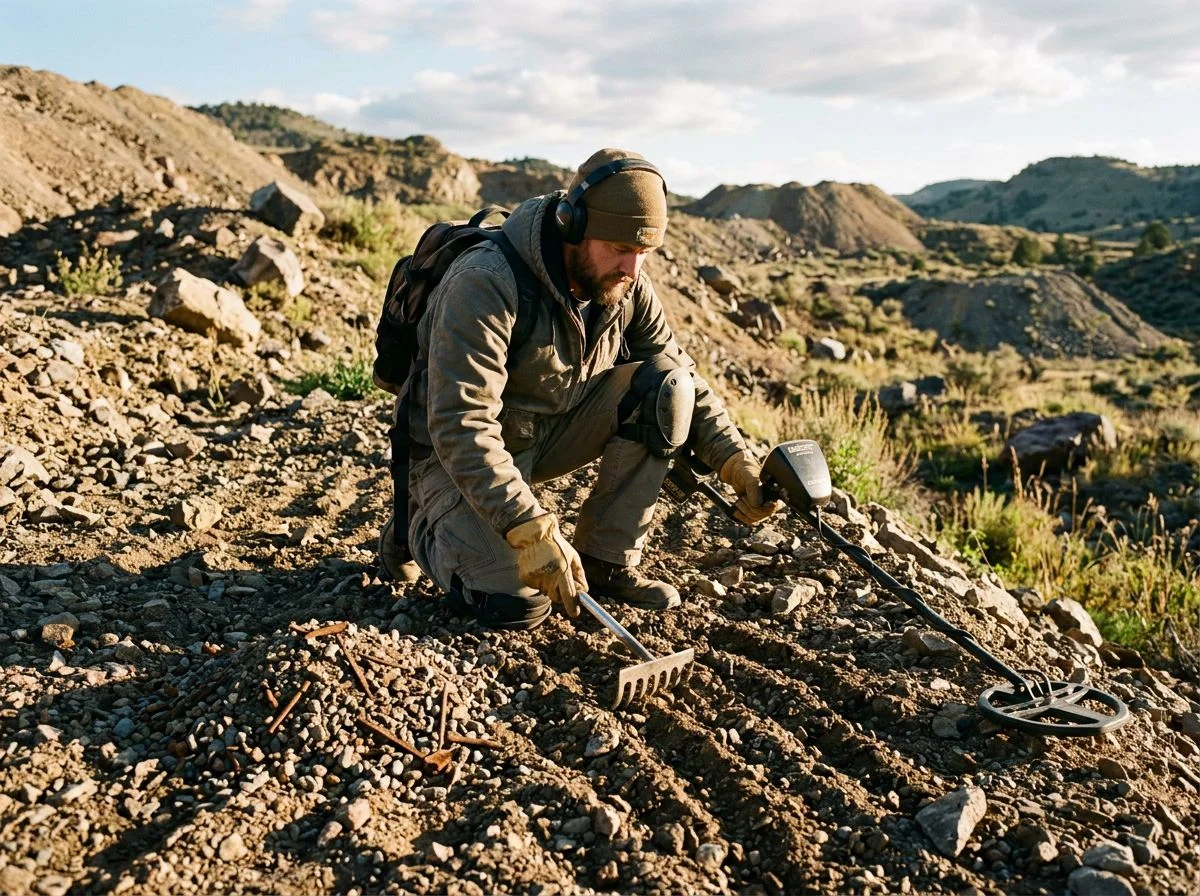
Here’s the short version: on old tailings piles, the gold is rarely on the surface. It’s buried under inches of gravel that other detectors have already swept. The rake-and-detect method solves this by systematically removing material in thin layers and re-scanning each one. That exposes targets that were previously out of reach.
The core of the technique is what I call the two-inch rule. You rake off about two inches of gravel at a time, then re-scan the freshly exposed layer before raking any deeper. Don’t just rake a random patch — work in parallel strips across the pile. Keep each strip about three feet wide so you can actually reach the middle with your coil. Overlap every coil sweep by 50%. I know it feels slow. But on mineralized ground, that overlap is the difference between hearing a faint 1.8-gram nugget and walking right over it.
Here’s the part that still gets me genuinely excited: last fall, I was working a drywash pile outside Auburn that my buddy Mike had detected twice. Tom had hit it once the week before. I raked off my first two inches, re-scanned, and got a whisper of a signal — the kind you’d swear was ground noise. I dug down another four inches and pulled a 1.8-gram nugget from a pile three other people had already swept that same month. The nugget wasn’t deep. It was just buried under two inches of gravel that everyone else’s coil had skimmed right over.
The other rule I follow: dig all signals below a certain depth threshold, even if they sound like iron. On old tailings, deep iron signals often mask gold sitting underneath or beside the trash. I’d rather dig ten square nails at eight inches than miss one nugget hiding under a rusty can fragment. The rake-and-detect method is tedious, sure. But the gold that got missed is almost never on top. It’s waiting just under the surface, and the rake is how you finally hear it.
Ethics and Safety on Old Mining Sites
Here’s the short version: detecting historic mine tailings means you’re a guest on land with real legal teeth and real physical hazards. Fill every hole. Stay out of abandoned workings. Never hunt remote sites alone. The gold isn’t worth a collapsed adit or a federal citation.
Let me start with the rule my detecting club lives by: “If you can’t fill it, don’t dig it.” It sounds obvious. But on a drywash pile where the gravel is loose and the wind is blowing, it’s tempting to half-fill a hole and move on. Don’t. Last year one of our club members got a formal warning from a BLM ranger for leaving unfilled holes on a drywash pile outside Randsburg. No fine, but the ranger made it clear: another incident and it wouldn’t be a conversation. The holes were maybe eight inches deep. But on public land, that’s surface disturbance, and the BLM takes it seriously.
Then there’s the legal layer most detectorists don’t think about until it’s too late. The Archaeological Resources Protection Act prohibits disturbing archaeological resources over 100 years old on federal land. Here’s the kicker: some historic mining sites qualify. Old arrastres, stone cabin foundations, and certain tailings associated with pre-1900 workings can fall under ARPA protection. That doesn’t mean you can’t detect there. But it does mean you shouldn’t be excavating structural features or hauling off artifacts. Know the difference between a tailings pile and an archaeological site.
Safety is the part nobody wants to talk about, but it matters more than the gold. Never enter abandoned adits. Ever. The timbering is rotten, the air can be oxygen-depleted, and nobody’s coming to pull you out quickly. Watch for unstable tailings slopes too. Those loose gravel piles can slough without warning, especially after rain. And if you’re detecting remote sites, which most good tailings piles are, carry a partner. I’ve broken this rule myself, and it’s stupid. A twisted ankle three miles from the truck becomes a real problem when you’re alone and the sun’s dropping.
Leave the site better than you found it. Pack out trash you dig — the old-timers left plenty. Fill your holes. And if you’re on a claim, follow the claim holder’s rules to the letter. The gold will still be there next weekend.
Common Questions About Detecting Tailings
People ask me the same handful of questions every time tailings come up at club meetings or in my inbox. Here are the ones that actually matter, answered straight.
“How much gold can I legally take from BLM land?” The BLM allows 25 pounds of rocks and minerals per day, capped at 250 pounds per person per year. That’s a lot of nuggets — you’re not hitting that limit with a detector unless you’ve found something truly ridiculous. The rule exists for rockhounds hauling buckets of agate, not for the 2-gram picker you just dug.
“Do I need a permit to detect on National Forest land?” Usually not. The USFS guidance says a Notice of Intent isn’t required for standard metal detecting unless you’re likely to cause surface disturbance beyond minor digging. Fill your holes and you’re fine. Start trenching into a tailings pile with a shovel and you’ve crossed the line.
“What if nobody’s actively mining the claim? Can I detect it then?” This one shows up on r/Prospecting constantly, and the answer never changes: no. An active claim is the claim holder’s property interest whether they’re standing on it or not. “Nobody was there” isn’t a defense — it’s claim jumping. I’ve had exactly one awkward conversation with a claim holder in ten years, and that was enough. Check the claim status before you swing.
“Are old tailings piles protected as archaeological sites?” Some are. Pre-1900 workings with structural features — stone cabin foundations, arrastres, intact sluice boxes — can fall under ARPA. The tailings themselves are usually fine to detect. But don’t excavate the structures or haul off artifacts. Know the difference between a gravel pile and a historical site.
The Gold Is Still There If You Do the Work
That 2.3-gram nugget on the Auburn drywash pile wasn’t luck. It was research that put me on the right pile. It was a legality check that kept me on the right side of the claim map. And it was technique that let me hear a whisper of a signal through a century of gravel. The gold was there the whole time — the original miners just couldn’t catch it.
The USGS puts it plainly: most western placer deposits have been worked twice over. First by Chinese laborers after the initial rushes, then again by itinerant miners during the 1930s. And yet modern detectors still pull gold out of those same piles. Not because we’re smarter than they were — because our machines are more sensitive, and because we’re willing to slow down and listen for what the old equipment missed.
But here’s the thing: the gold doesn’t care how good your detector is if you’re standing on the wrong pile or swinging on the wrong side of a claim boundary. The work is the whole game. Check the claim status before you drive out. Fill your holes when you’re done. Learn the difference between a tailings pile and an archaeological site. That’s not bureaucracy — that’s what keeps the hobby alive and keeps you out of trouble.
The gold is still there. It’s just waiting for someone who knows where to look, how to look legally, and what to swing.

My name is Paul and I am the founder of Detector For Metal, a dedicated resource for metal detecting enthusiasts seeking to uncover historical treasures and connect with the past using the latest technology. As a stay-at-home dad and family man, I’ve found metal detecting to be the perfect hobby that combines family adventure with historical learnings for the whole family.
As a father, I’m deeply committed to passing on this hobby to the next generation of detectorists, starting with my own children. I share advice on everything from metal detecting with kids to exploring the top 10 metal detecting sites you never thought about. My methodical approach to the hobby goes beyond the thrill of discovery—it’s about creating family traditions while preserving history and sharing the stories of those who came before us.